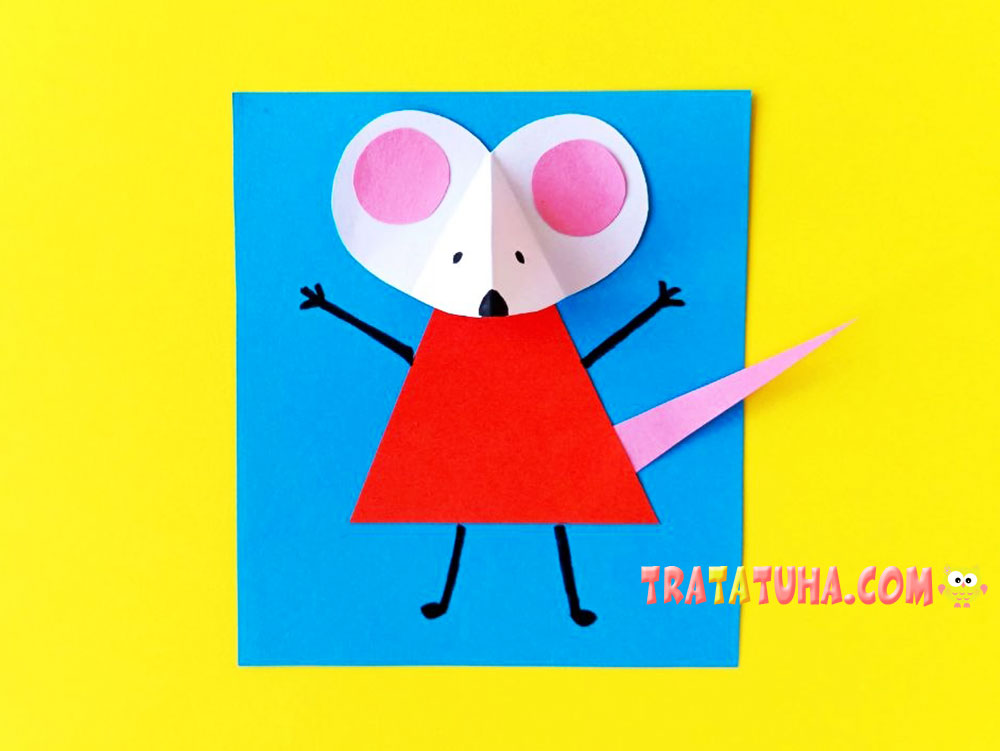
This is a very simple mouse craft for the youngest children. To make it, you only need to cut out five easy shapes and draw the arms and legs with a marker.
You will need:
- White and pink paper for the mouse;
- Colored paper for the dress;
- Colored cardstock or paper for the background;
- A black marker for the arms, legs, and face;
- Scissors;
- Glue.
Mouse Craft for Toddlers: Step-by-Step
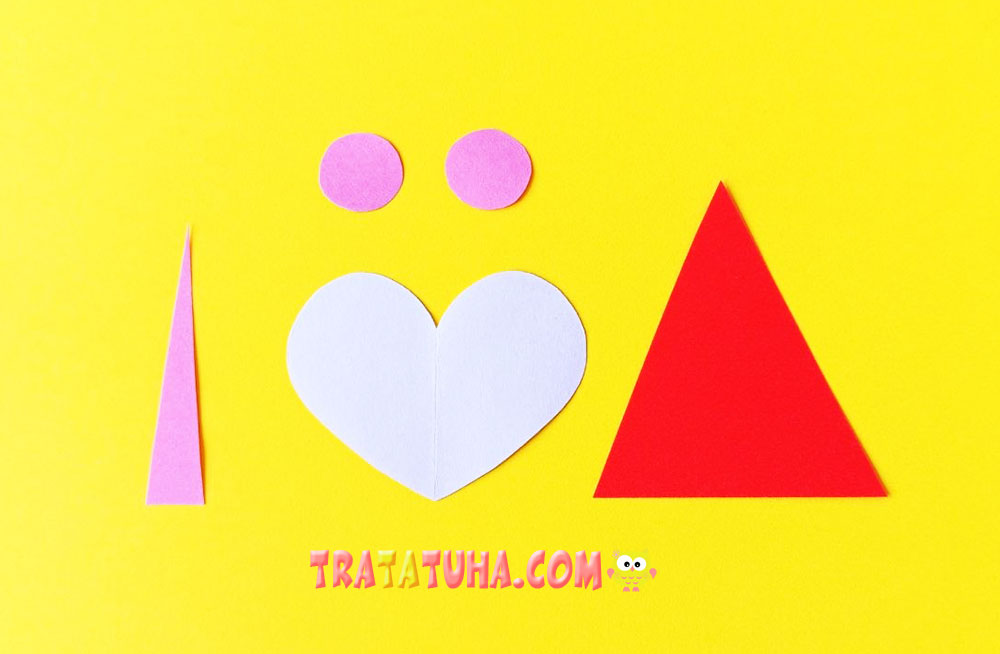
First, cut out the simple craft pieces.
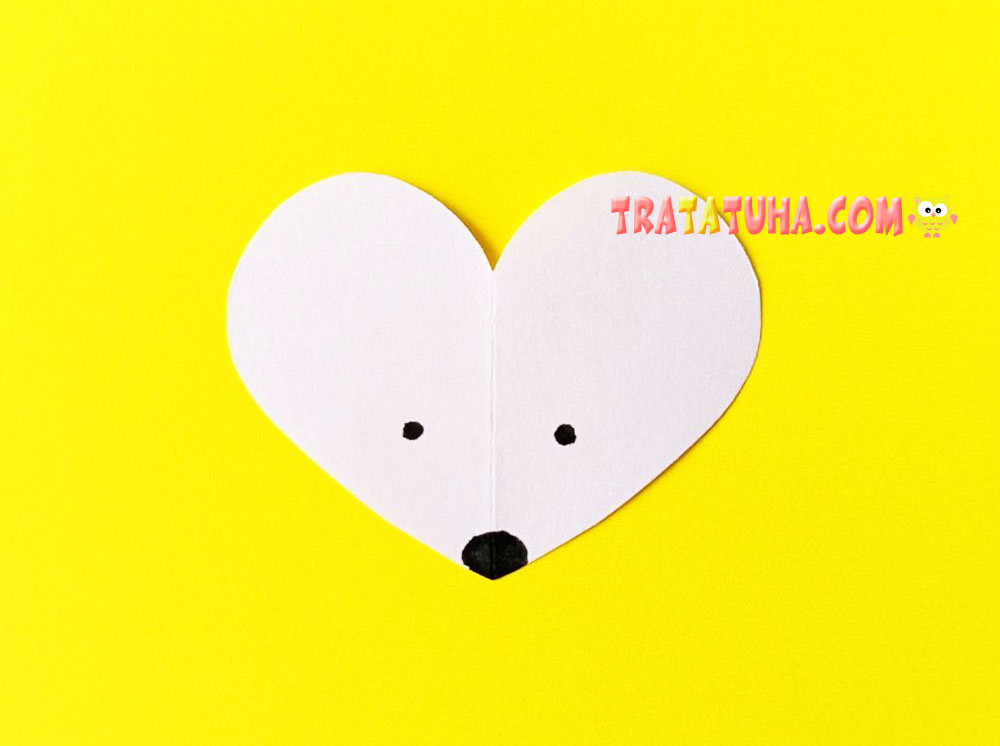
- From white paper, cut out a wide heart shape for the mouse’s head. To make it symmetrical, fold the paper in half and cut out half of the heart directly along the fold. Unfold the piece, and you will have a neat, even heart. For convenience, you can draw the outline of the shape first and cut along it.
- From pink paper, cut out a very tall, long triangle for the mouse’s tail. Also cut out two circles. They do not have to be perfectly even.
- From almost any colored paper, cut out a triangle that will become the little animal’s pretty dress. We chose red, but you can use another color, such as orange or yellow. The most important thing is that it does not blend in with the background or the mouse.
Next, draw the mouse’s face on the head: a little nose and bead-like eyes. Draw the eyes on the two different halves of the heart and place the nose at the fold.
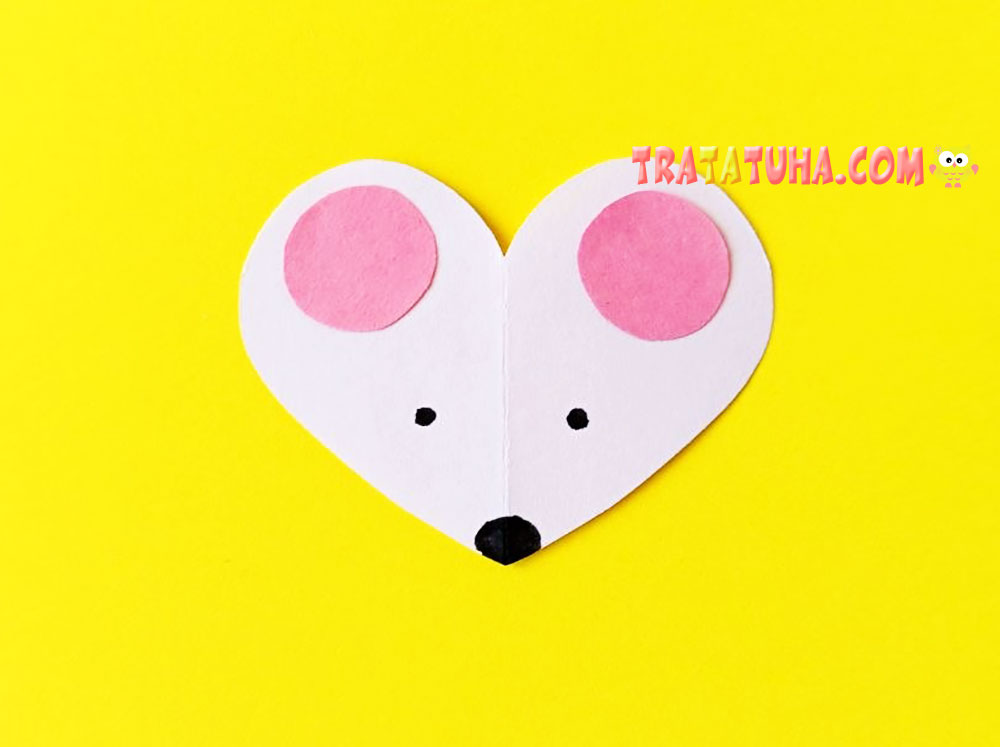
Then glue the pink circles to the head to make the inner parts of the mouse’s ears. Glue them onto the two top points of the heart.
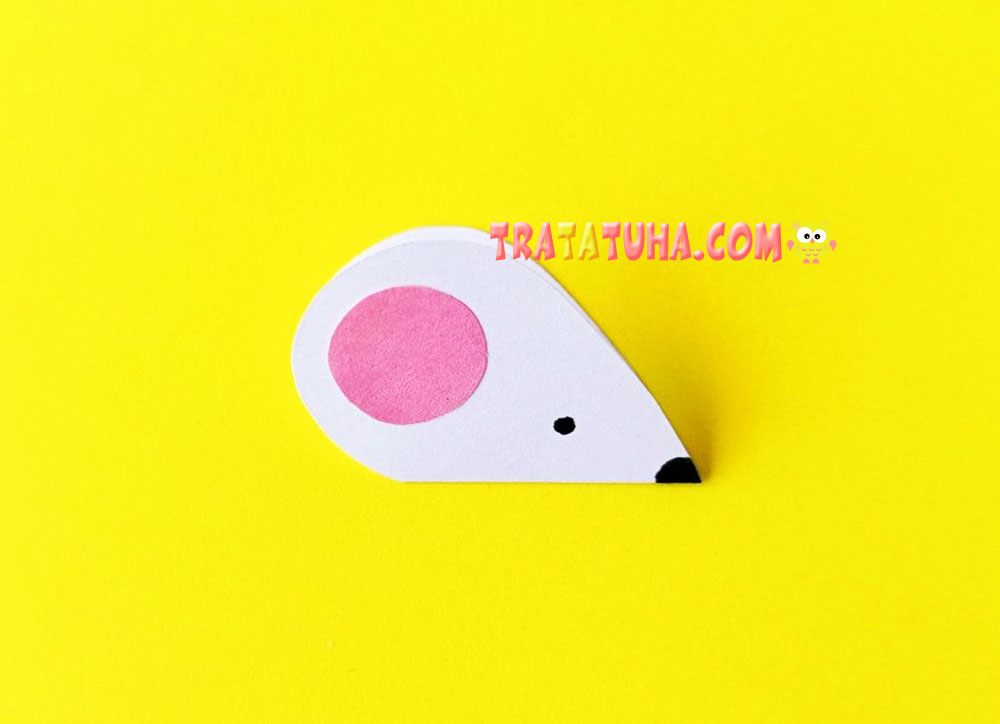
Next, fold the heart in half.
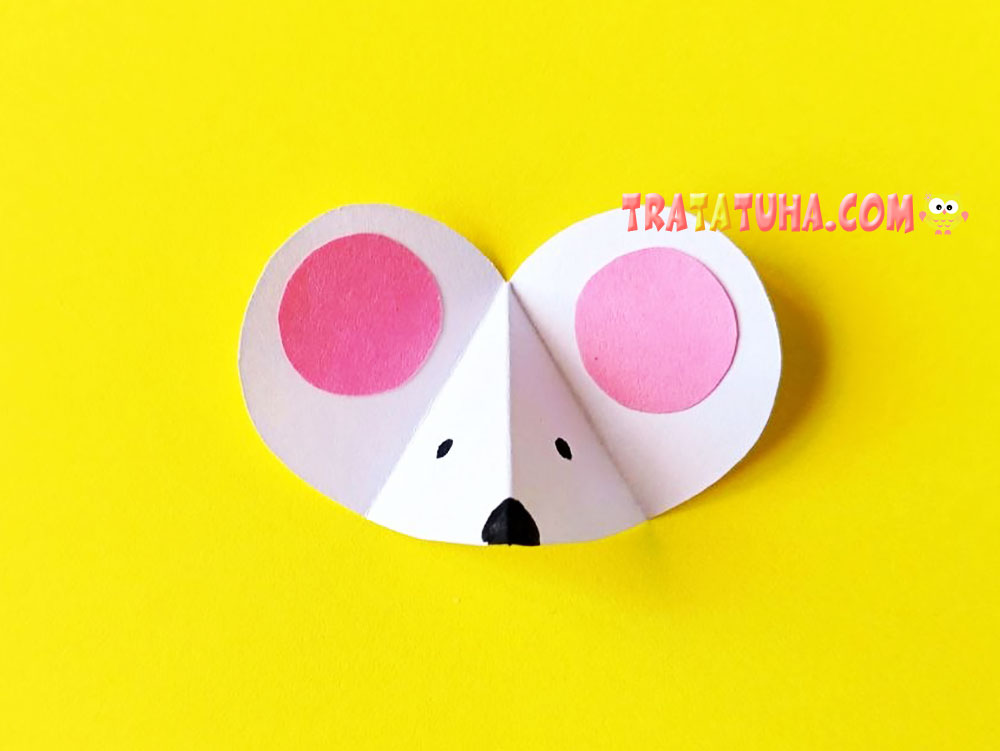
Then fold the two points of the heart toward the center fold. Straighten the figure so that the ears formed by the points lie flat on the table while the pointed muzzle sticks upward.
Next, glue the finished mouse head onto the background sheet, more precisely, onto its upper part. The background can be any color that contrasts with the mouse and the dress. We chose blue.
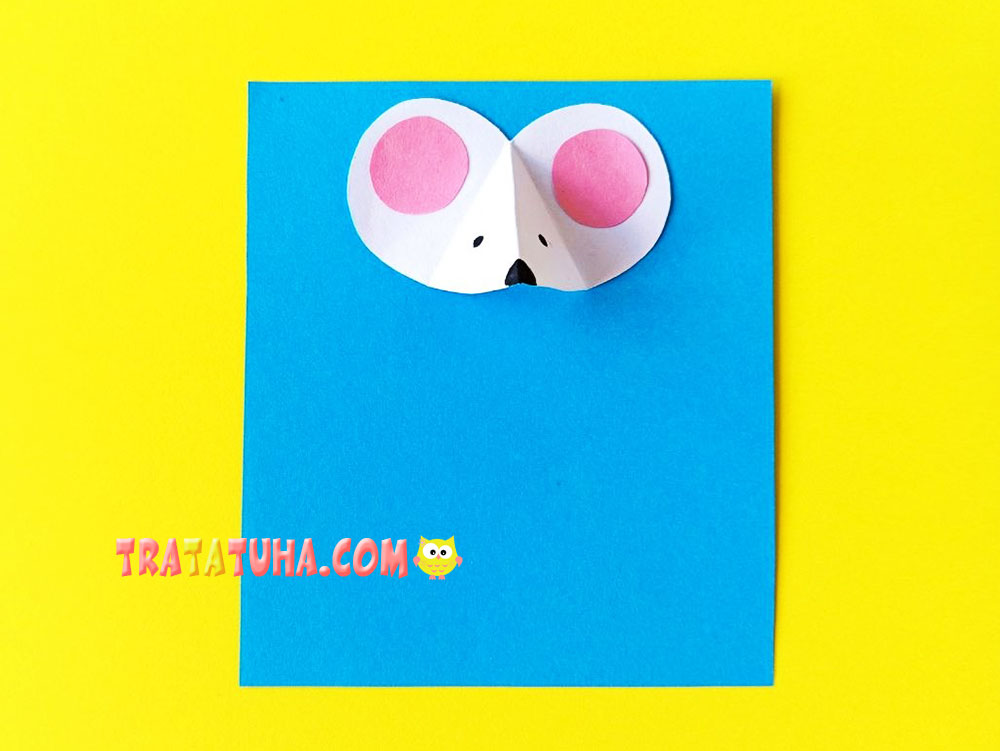
After that, glue the animal’s dress onto the background. Place the triangle with its point facing upward, and tuck the point underneath the mouse’s muzzle so that the head looks natural rather than balancing on a sharp corner.
Do not apply glue to the lower part of the right side of the triangle: in the next step, you will tuck the tail underneath it.
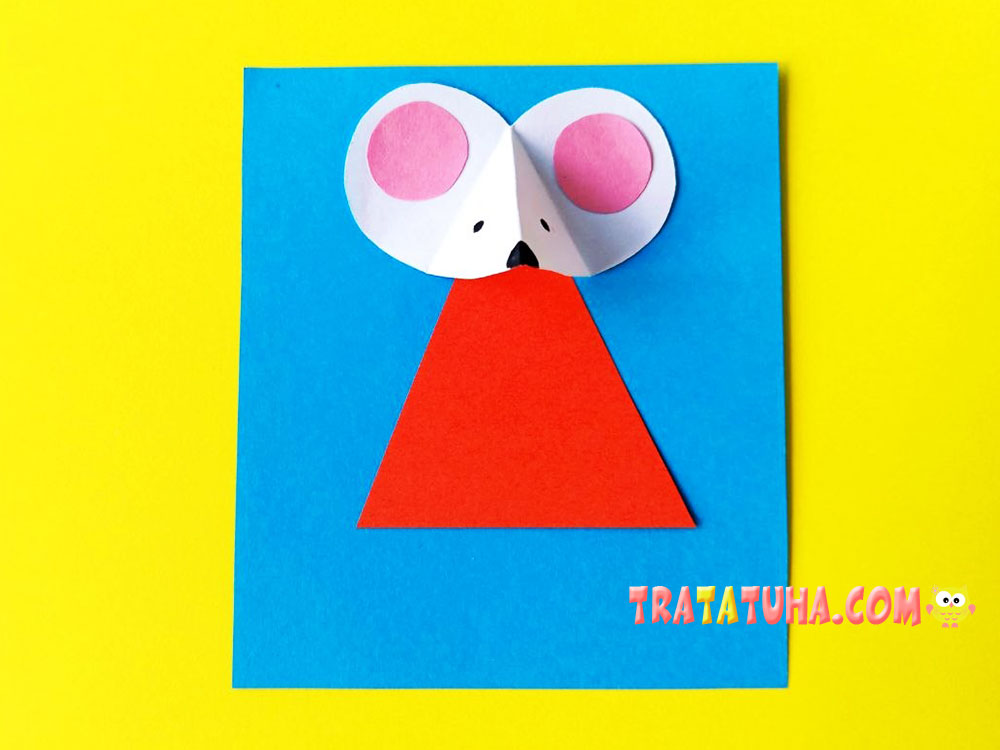
Next, as promised, glue the tail onto the background. Tuck it underneath the triangle so that there are no harsh joins in the finished craft.
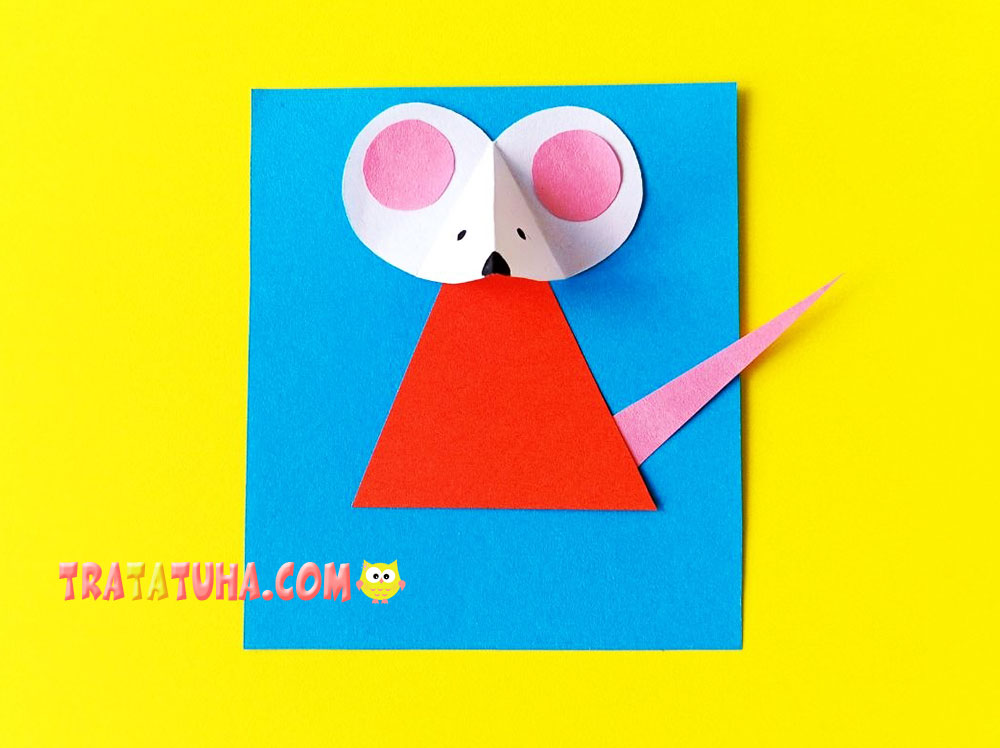
Finally, draw the little mouse’s legs and arms. They should extend from underneath the triangular dress. Draw little “shoes” on the feet and fingers on the hands.
Here are even more step-by-step ideas for making a mouse.
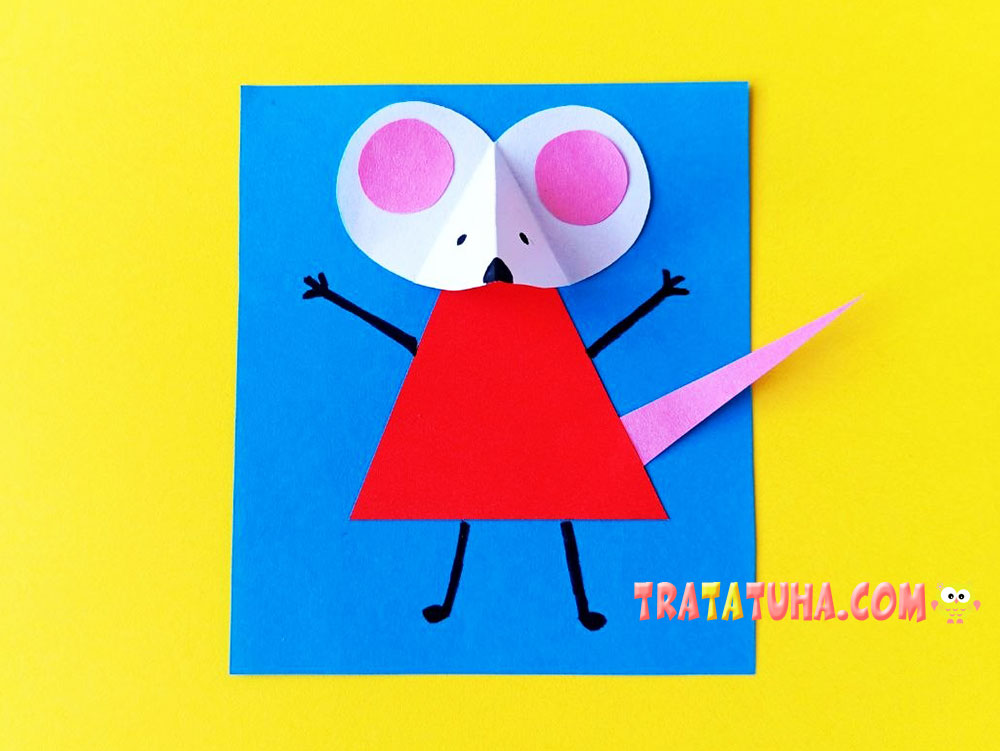
And that’s it! Our mouse craft for toddlers is ready! All the pieces are simple, so even a very young child can make this cute craft. Your little one will be proud of the result of their work.
Related Post: