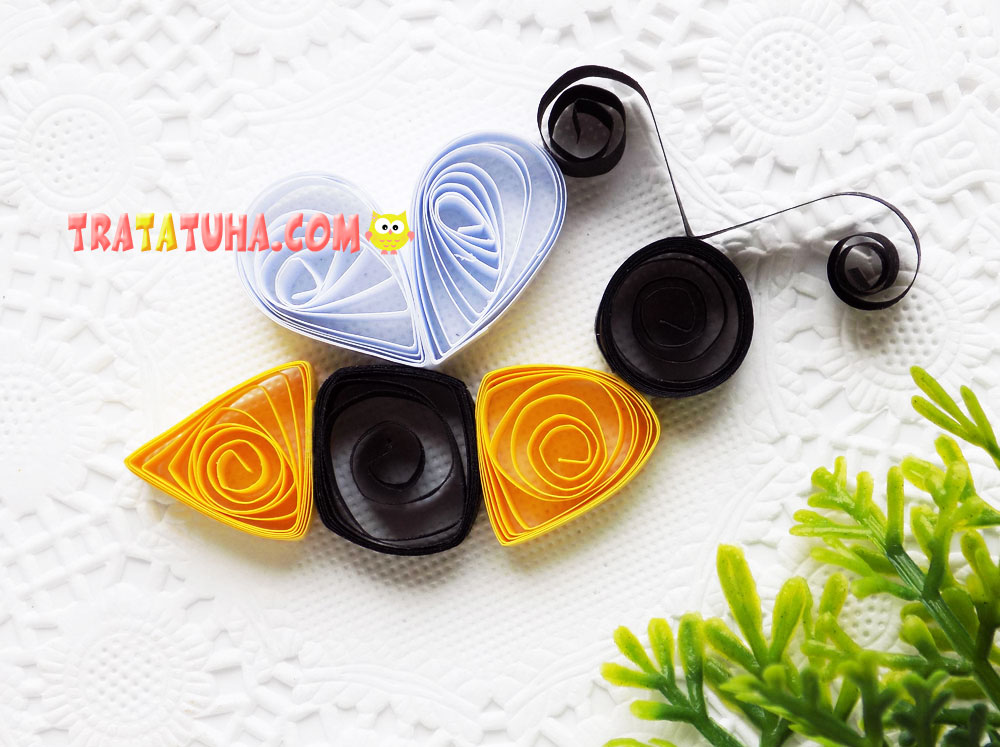
The wasp presented in this tutorial is made of thin paper strips. You can easily repeat this craft, the quilling wasp is suitable for postcards, collages.
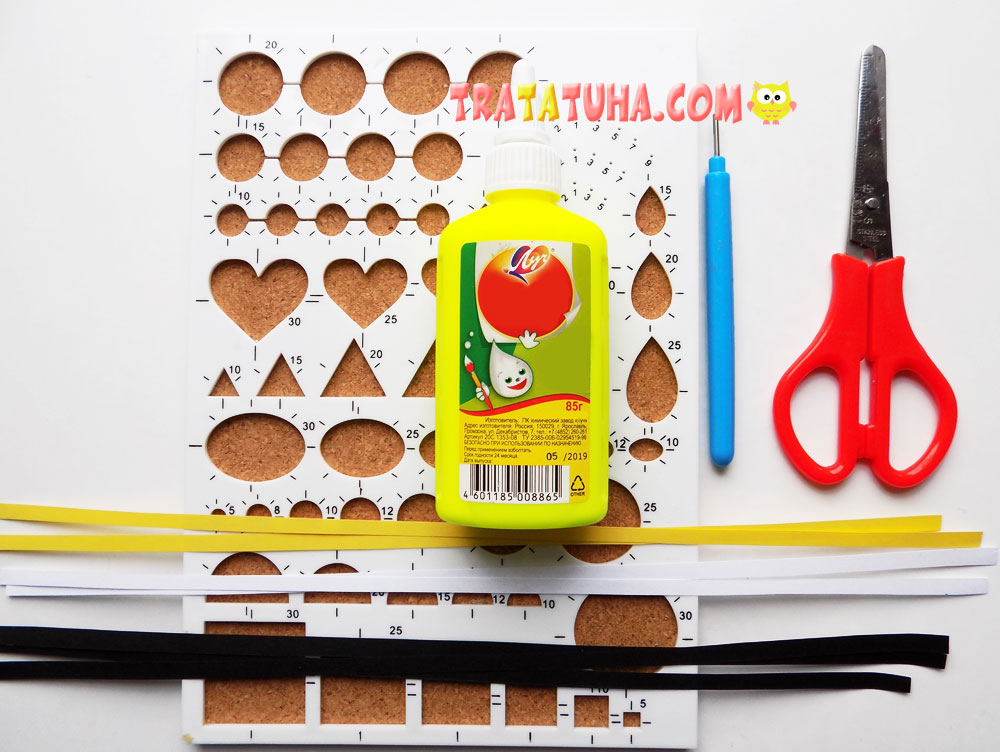
To create a wasp, we will take:
- strips of yellow, black, white paper;
- scissors;
- tool;
- quilling template;
- white glue.
Quilling Wasp Step by Step
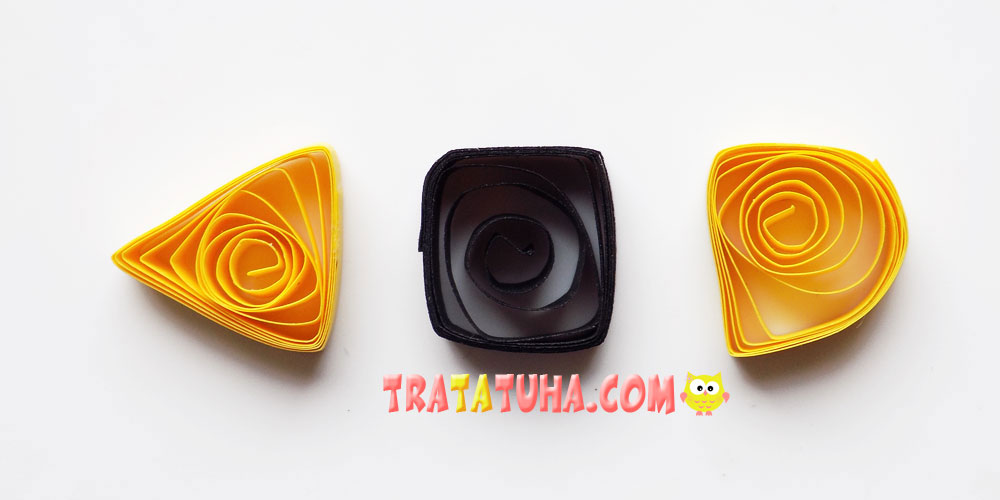
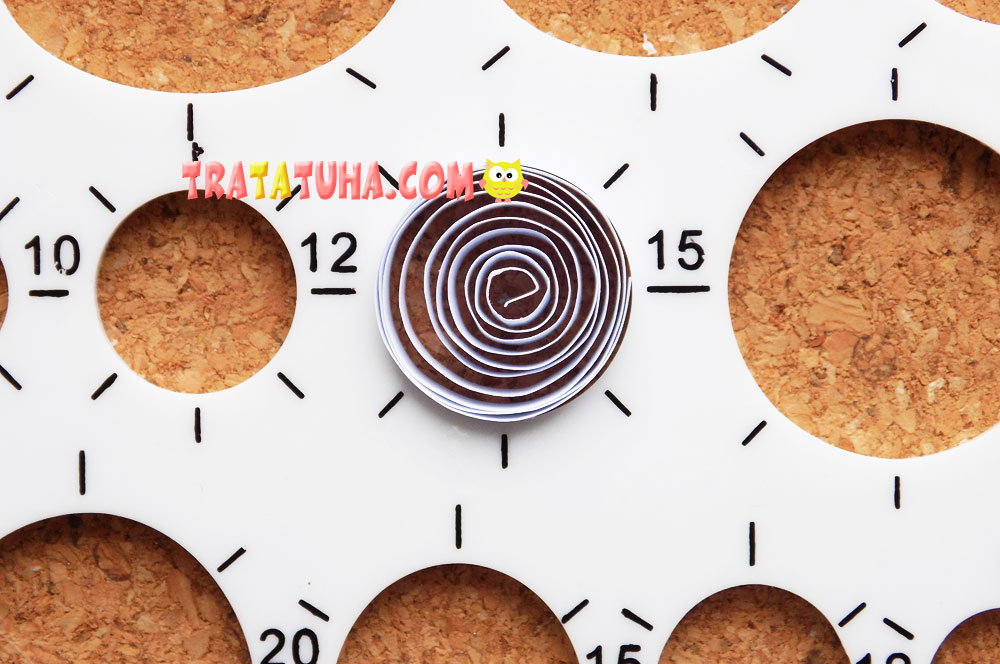
First, we will make blanks for the body of an insect. Let’s start with a strip of black paper that needs to be rolled up and placed in a template marked “15”.
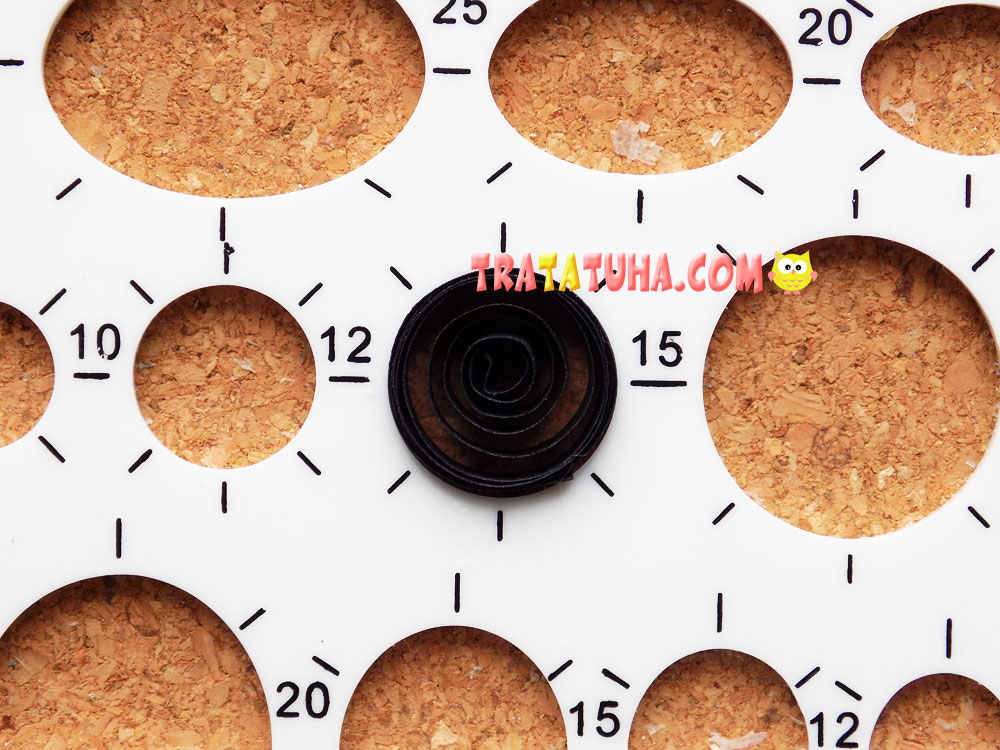
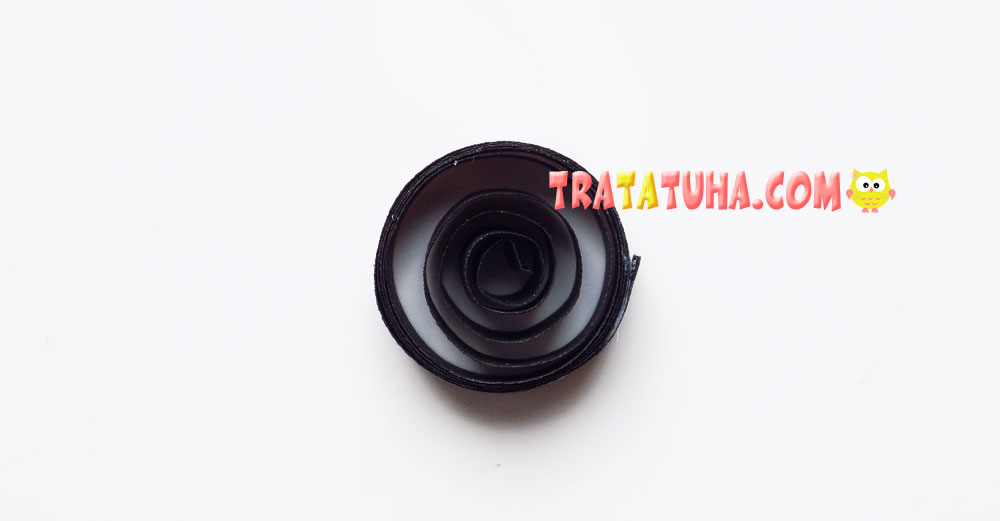
We take out this round blank from the recess, and then fix the tip of the strip with glue.
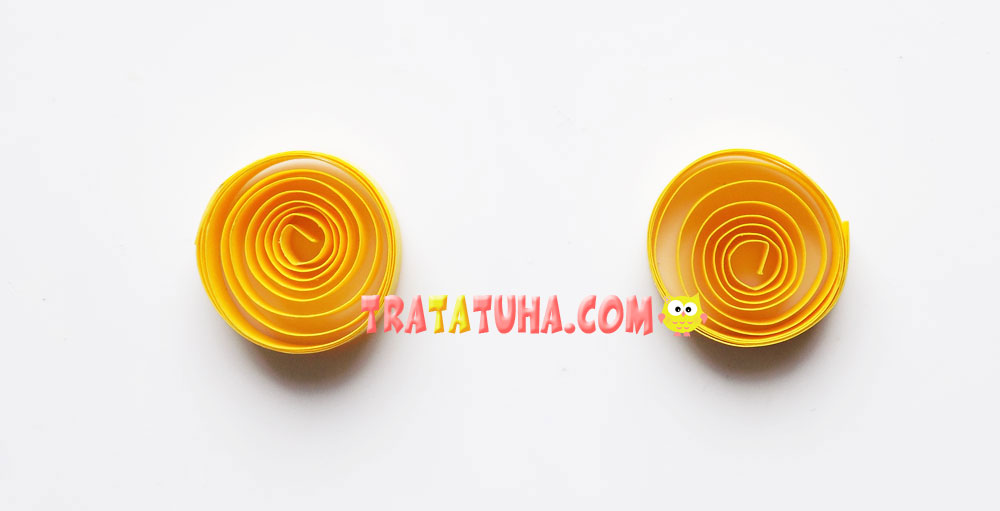
After that, we take a yellow strip, from which we twist a workpiece with a diameter of 15 mm.

We need to make 2 such blanks in yellow.
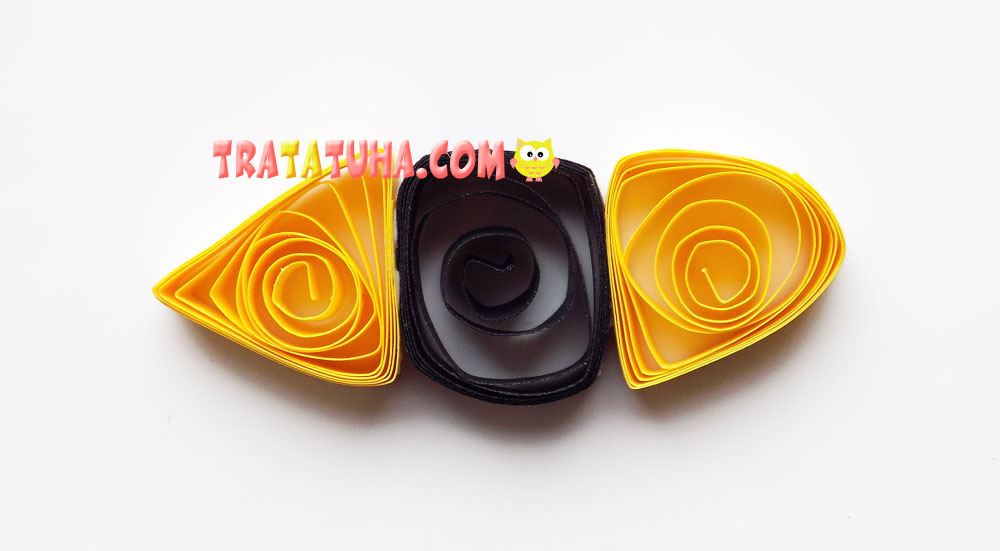
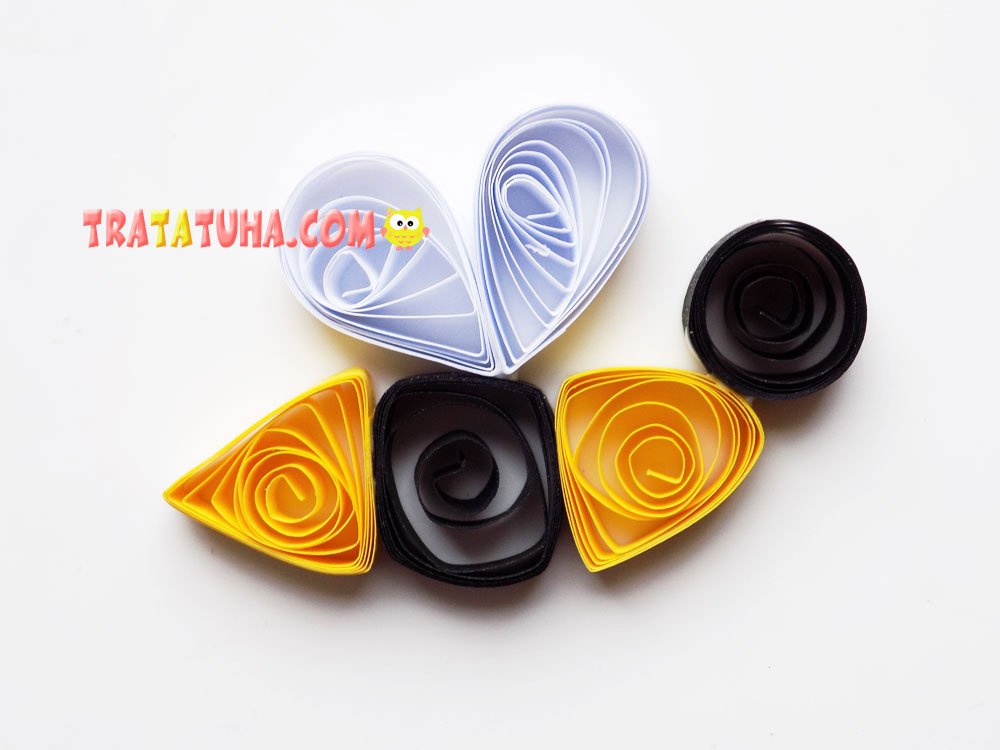
In total, 3 blanks are required for the body of the wasp. They need to be given the desired shape.
We glue these elements together, placing black in the middle.
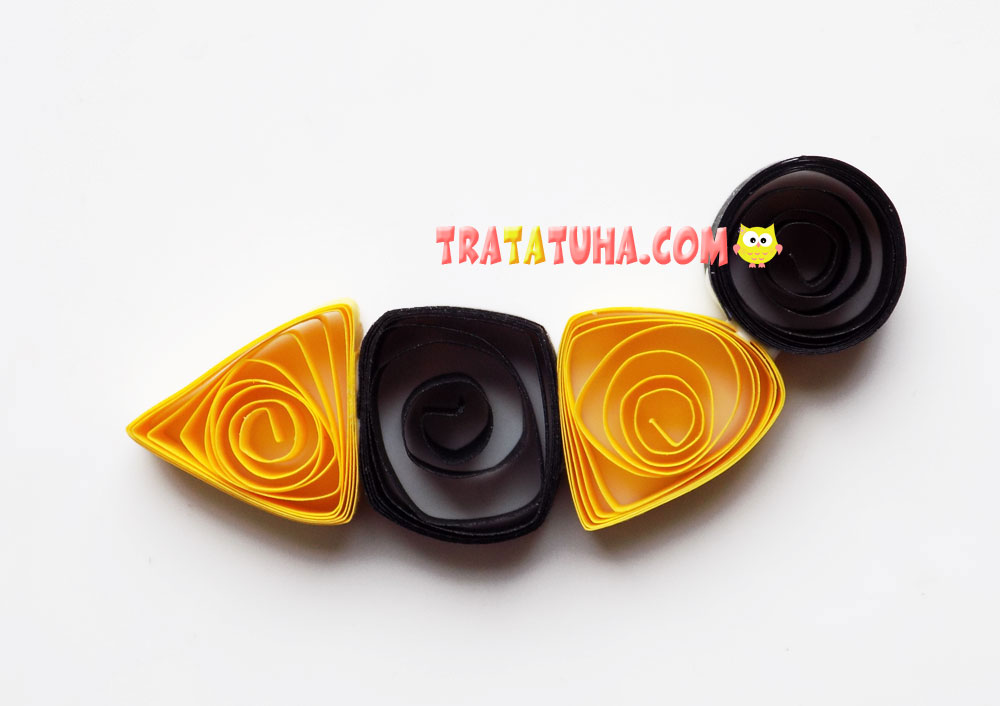
For the head of the wasp, we twist the black strip into a circle with a diameter of 12 mm, and then glue it to the body.
We will make wings from white circles with a diameter of 15 mm.
We prepare 2 such circles.

We give them a teardrop shape.

Glue these wings to the top of the craft.
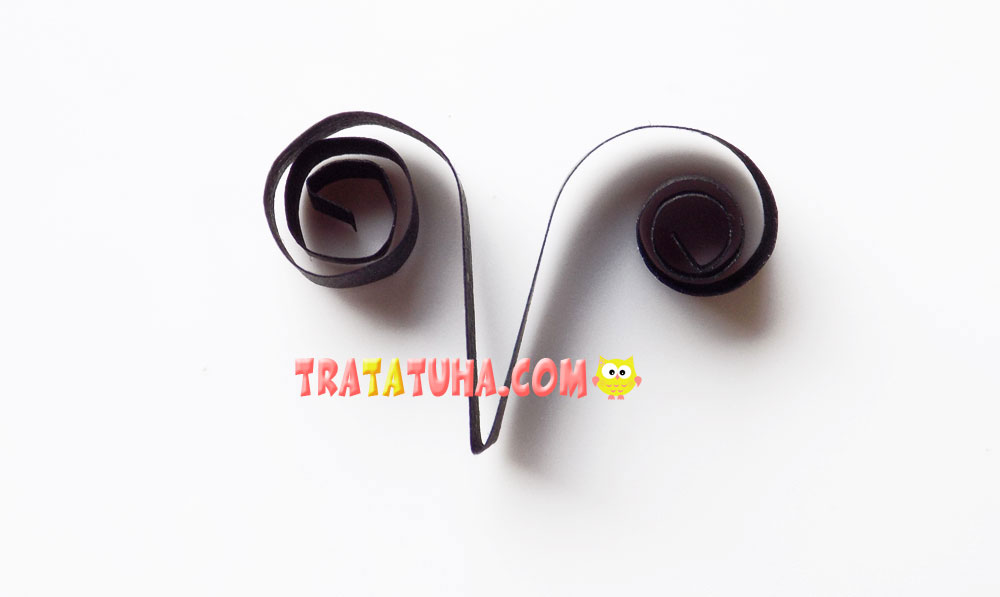
For the antennae, half a black strip is enough for us. We first bend it in half, and then twist the ends with a tool.
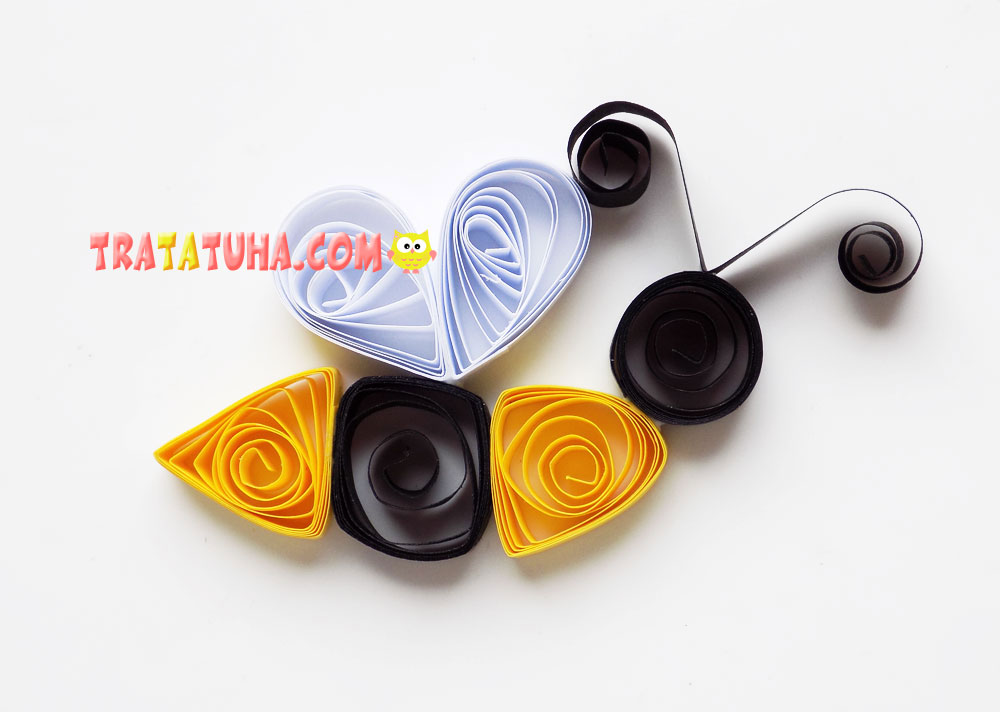
We fix the antennae on the head. It turned out such a wasp using the quilling technique.
Interested in technology? Even more ideas in the heading — easy paper quilling.
Also, you might be interested in the collection of insect crafts.
Related Post: