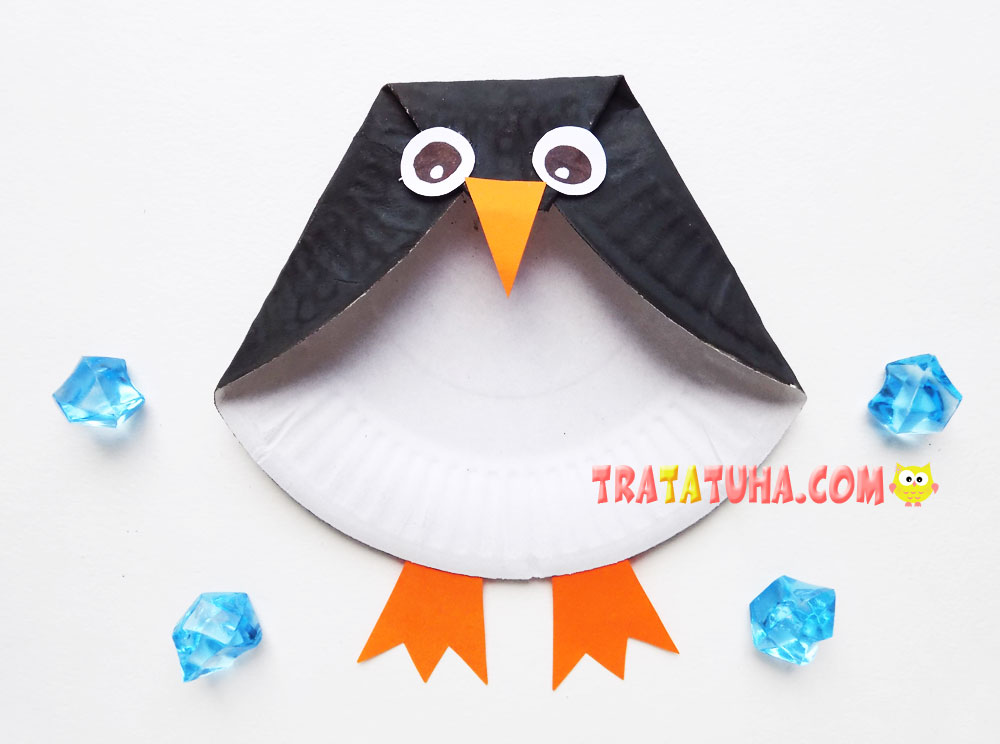
Are you running out of fun ideas to do for craft time? This paper plate penguin craft is not only a fun craft to do, it’s super simple.
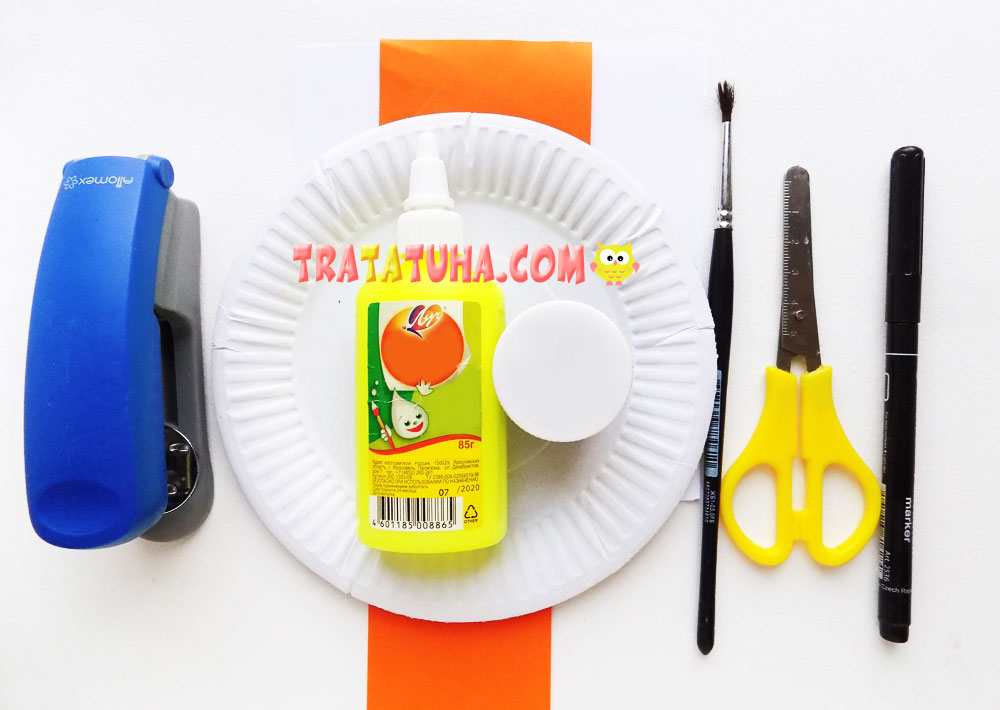
To create such a penguin, we will prepare:
- white paper plate;
- brush with black gouache;
- orange and white paper
- black marker;
- scissors with white glue;
- stapler.
Paper Plate Penguin Step by Step
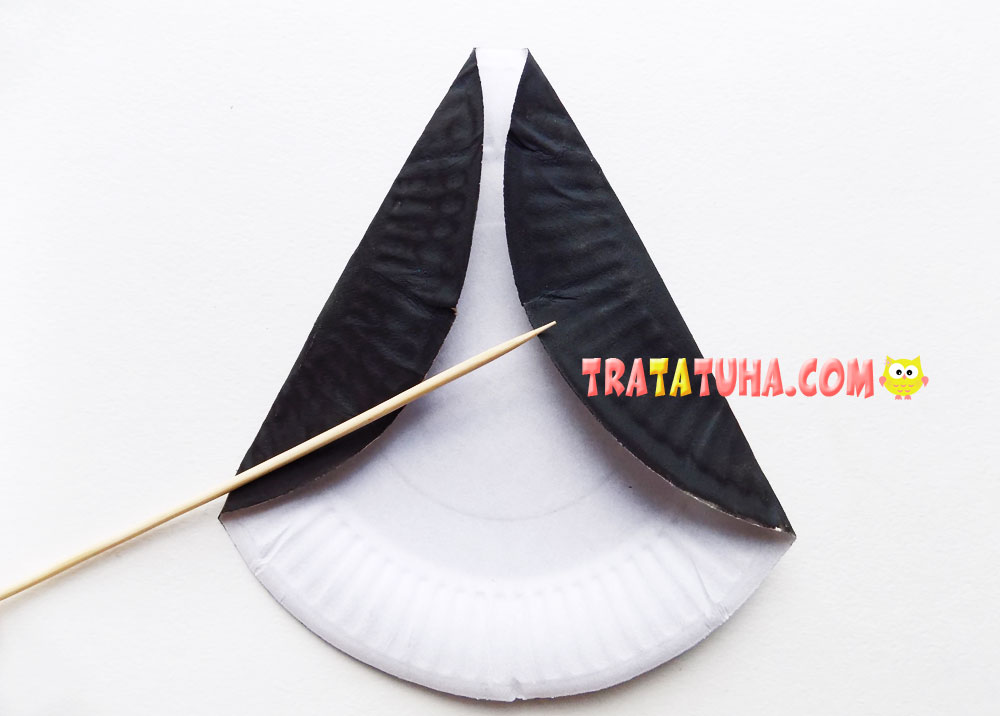
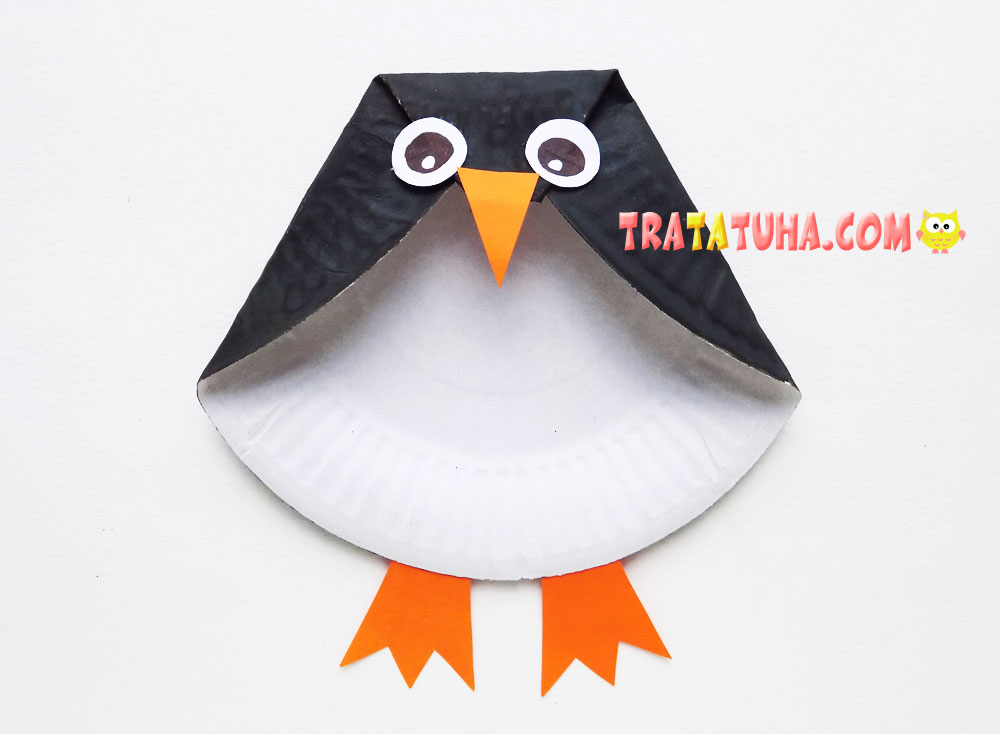
First we need to paint the back of the paper plate black. To do this, use a brush and gouache of the appropriate color. We are waiting for the complete drying of the paint.

Next, let’s start shaping our penguin. To do this, place the paper blank with the white side up. And first we bend the sides. In this case, the black side is on top. So we outlined the wings of the future penguin.
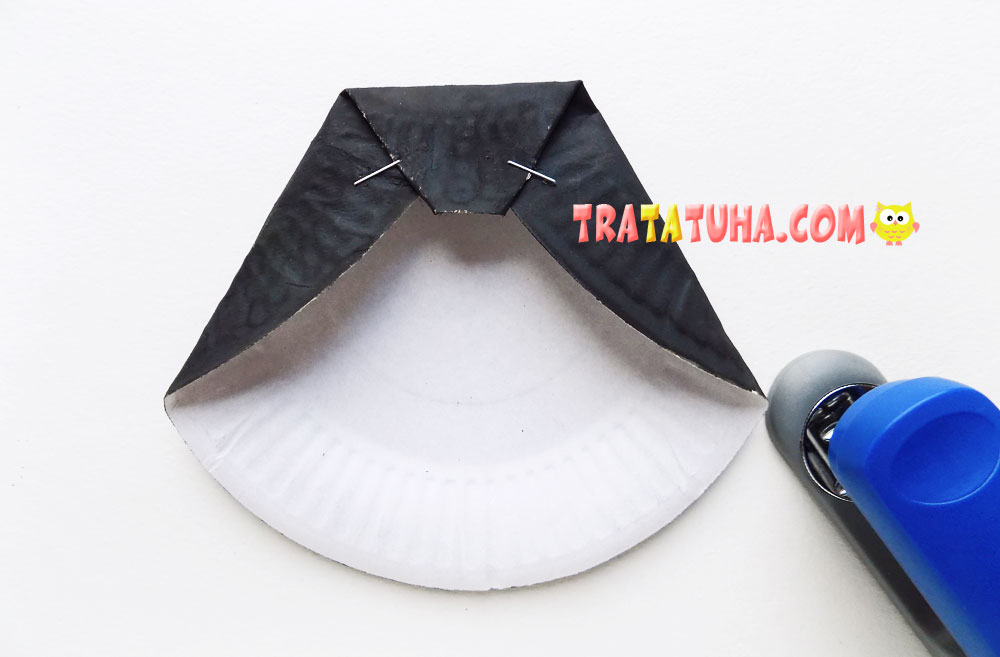
After that, we bend down the upper part of the paper plate, forming the head. We use a stapler to securely fasten the folded edges. Alternatively, you can glue the edges with a heat gun.
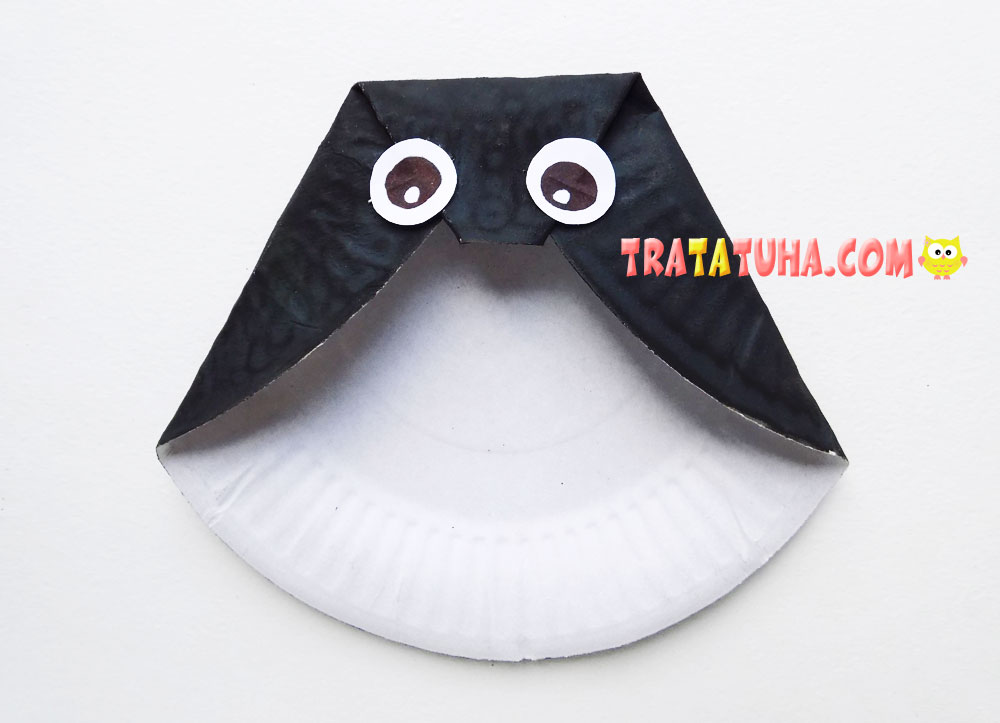
Add eyes that will cover the brackets at the same time. We draw eyes with a black felt-tip pen on circles of white paper, and then glue them.
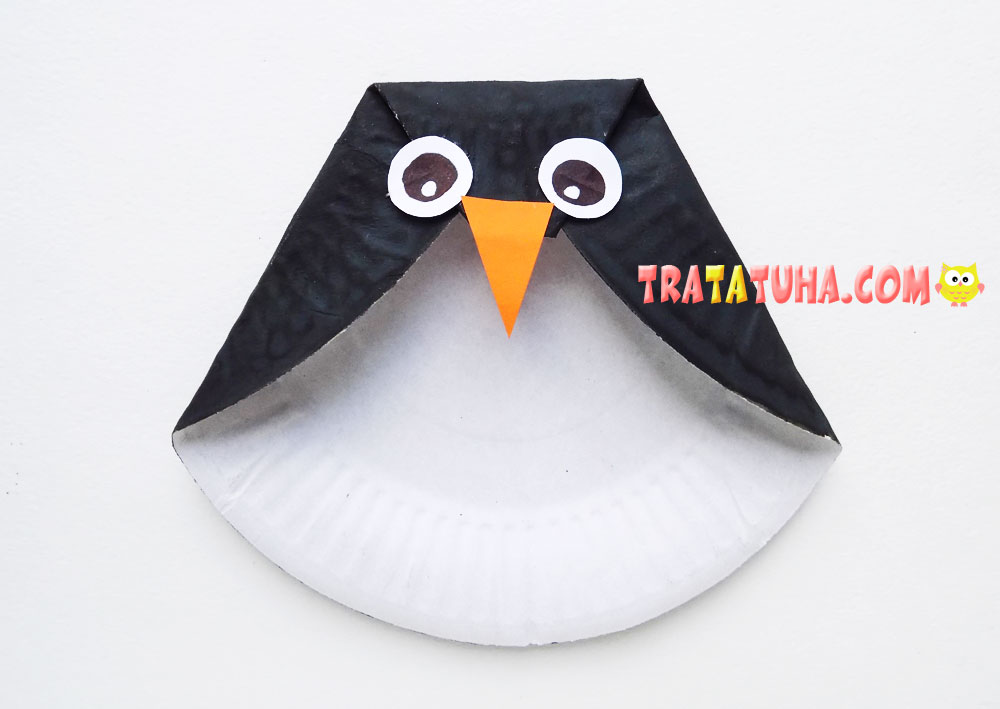
We will make the penguin’s beak from a triangle of orange paper. We fix it in the middle of the craft.
It remains to make paws. To do this, take the orange paper again and cut out a couple of paws from it.

Glue these paws on the reverse side at the bottom of the craft. This is how we got a penguin from a paper plate.
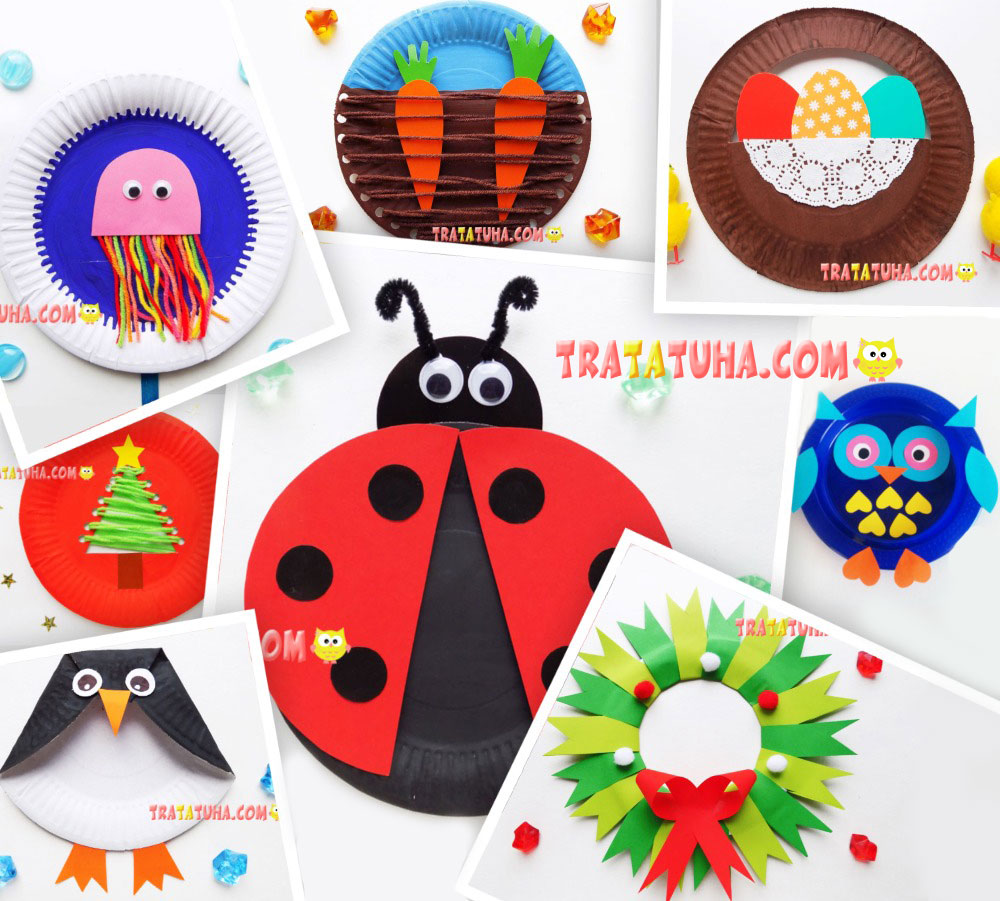
You can also make a paper plate ladybug with your kids.
Many other ideas in the collection of Paper Plate Crafts.
Related Post: