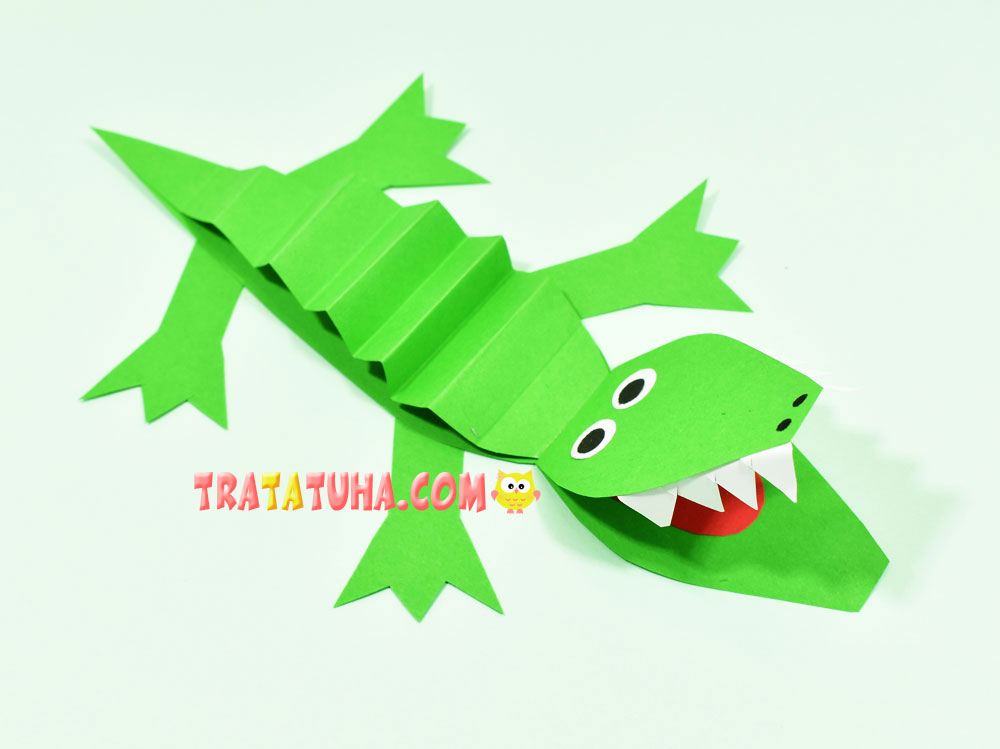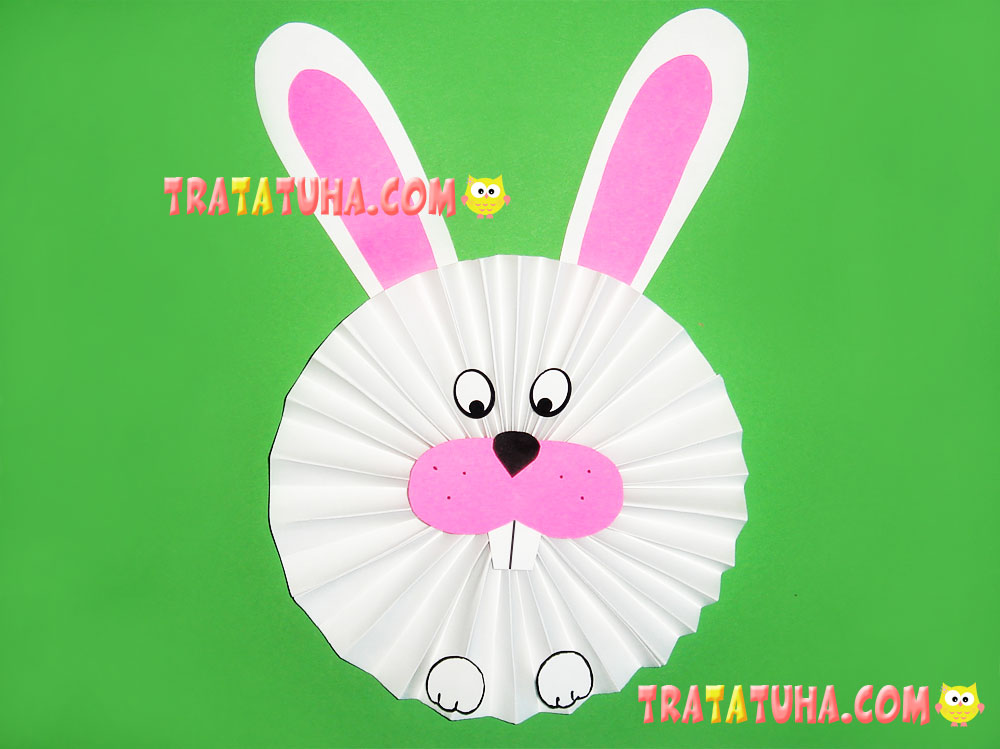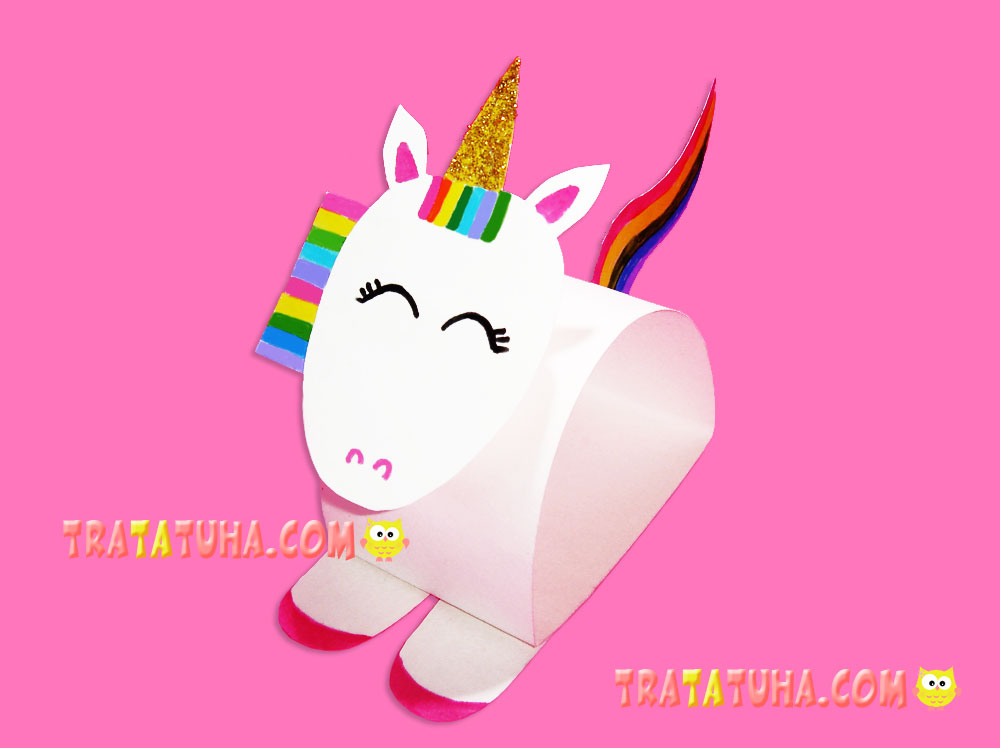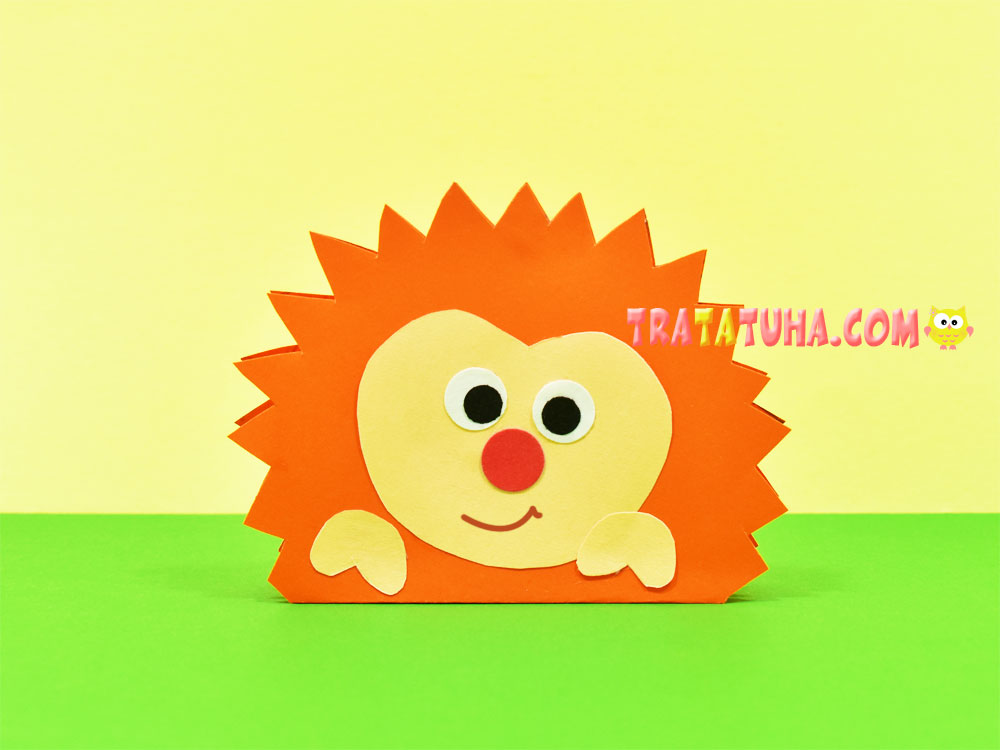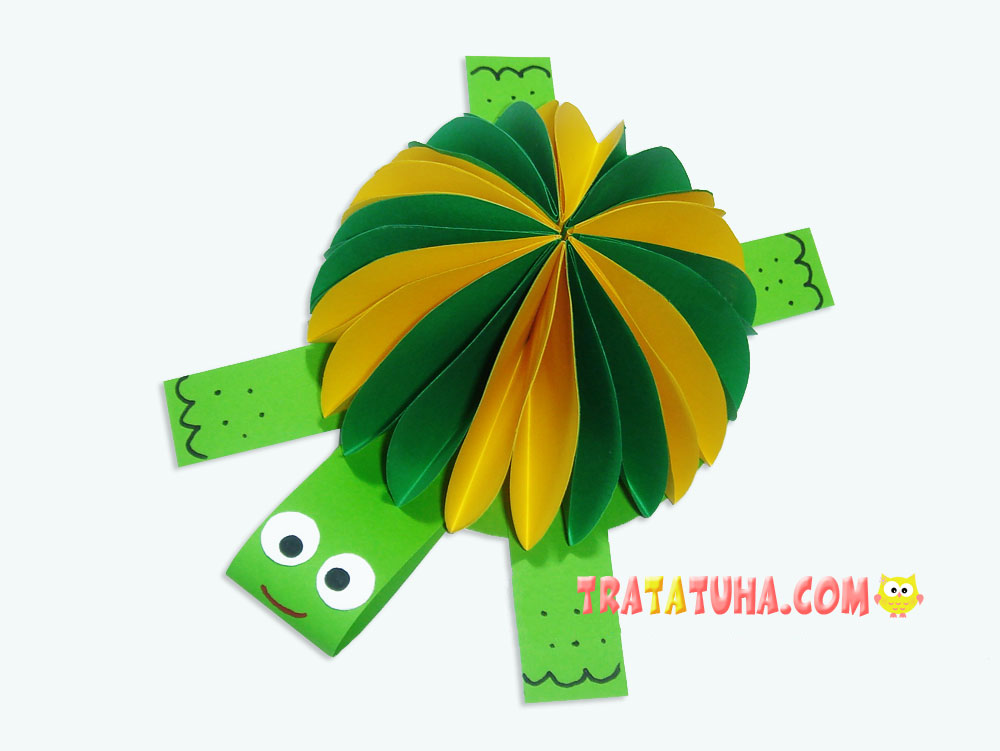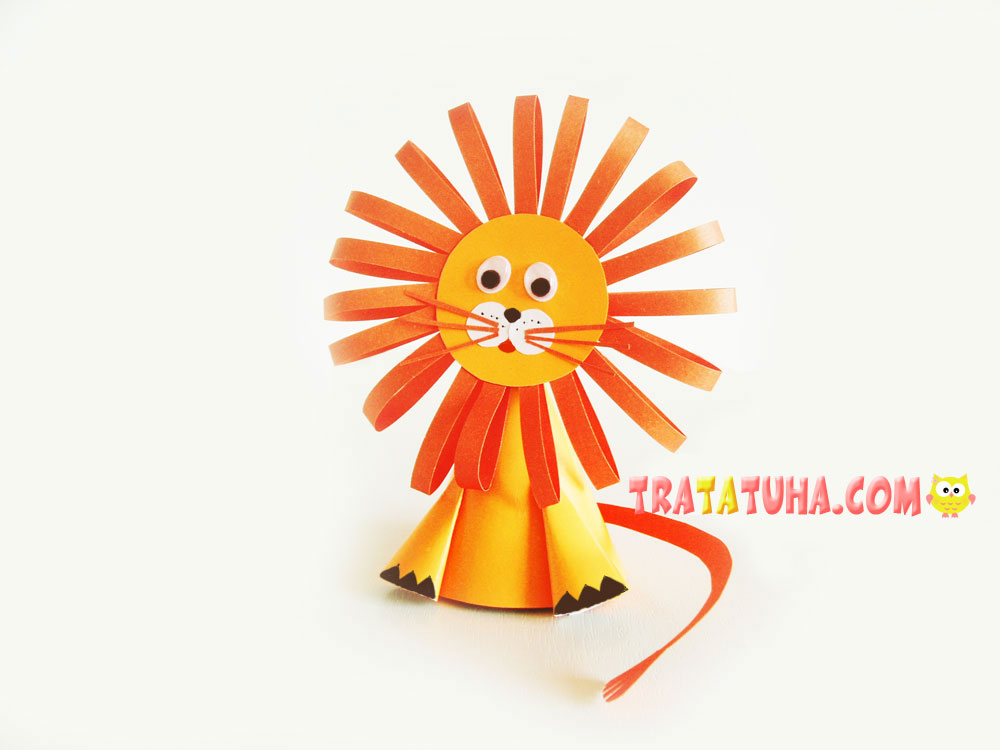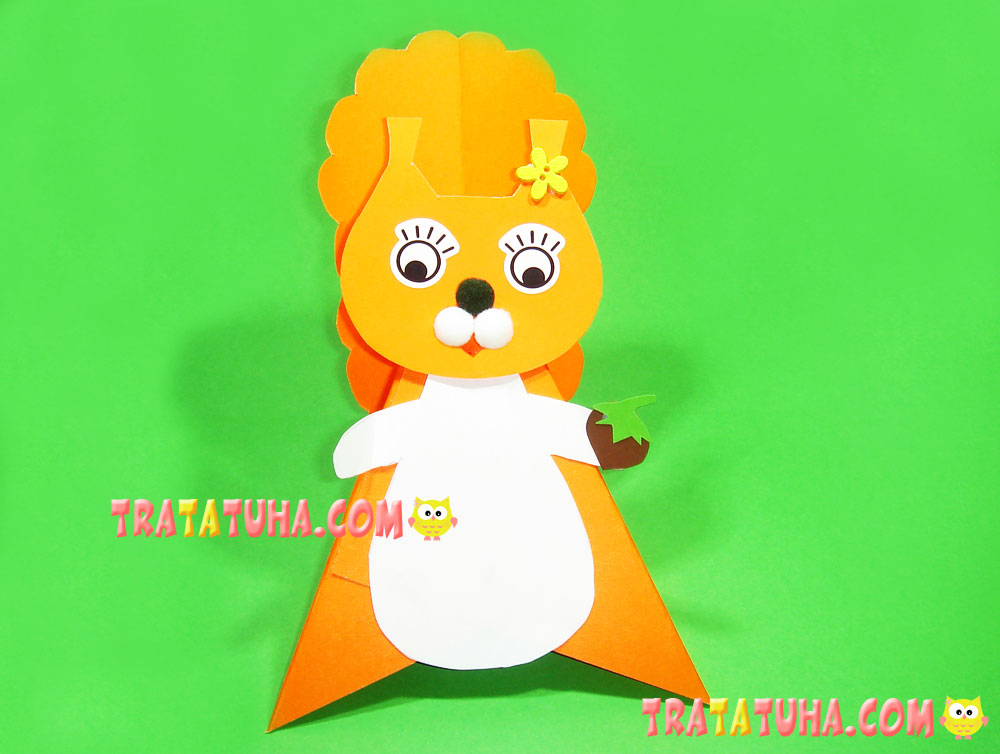
A paper squirrel craft using this method is an excellent kid’s craft, almost a homemade toy. The main work is to create the base-body of the squirrel, and the rest of the details are easy to draw, as an option – use the ready-made template presented in this review.
Materials used:
- Orange cardboard and white paper;
- Eye stickers and pom-poms;
- Button for decoration in the form of a flower;
- Scissors, glue stick, simple pencil, red felt-tip pen.
How to Make a Paper Squirrel Craft?
We make a body
Prepare a rectangular piece of cardboard. Sizes depending on the size of the protein you need. If you cut along the narrow part of the A4 paper, a strip 15 cm high, as in this version, you get a rather large squirrel, similar in height, not counting the tail, which is even higher.
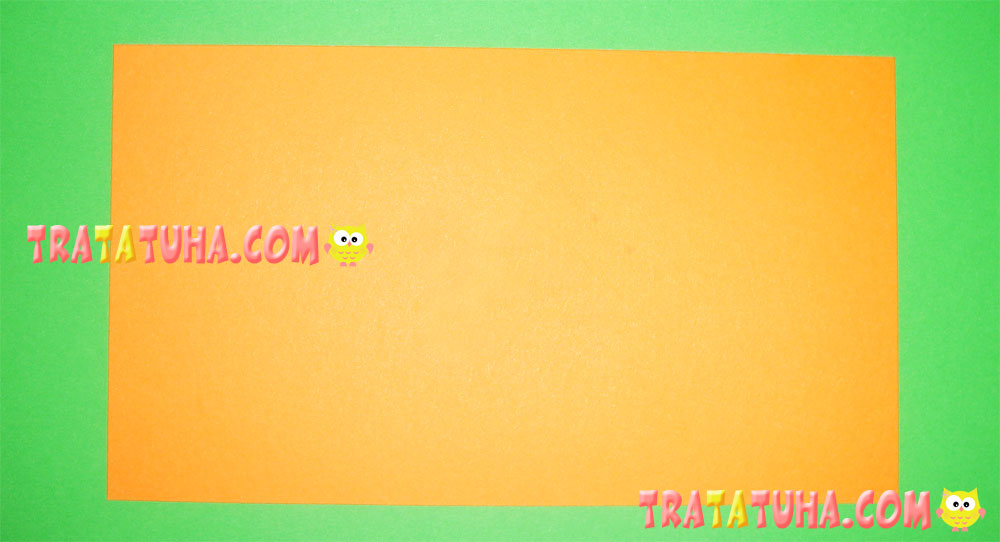
Fold the cardboard in half to define the middle.
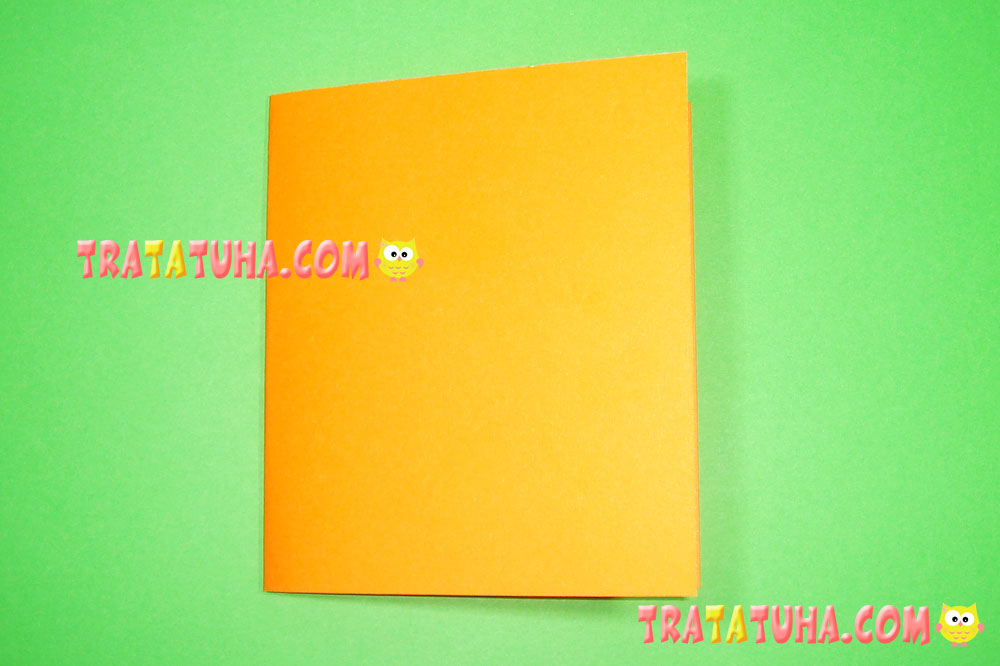
Open the paper, fold one corner first, aligning it with the central fold, and then the second.
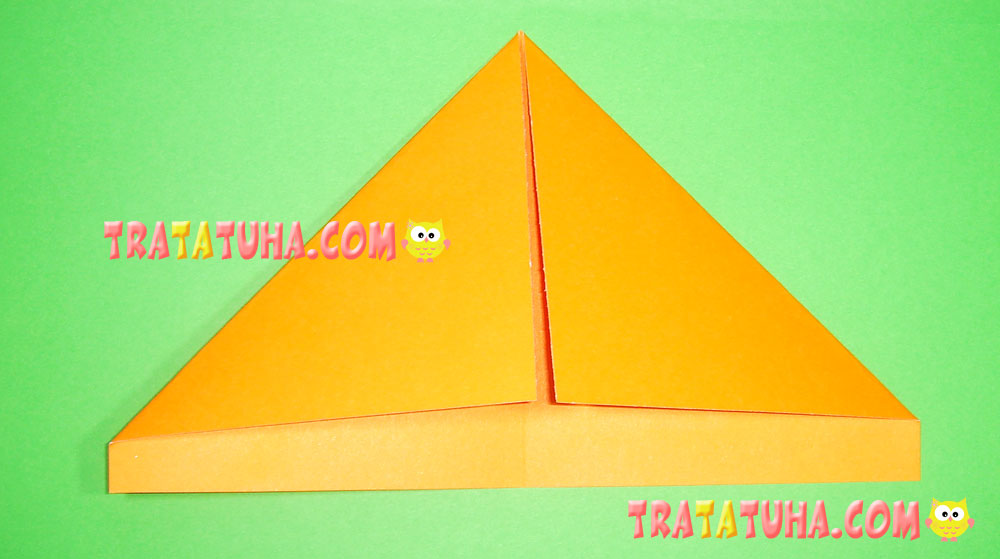
Cut off the excess from the bottom.
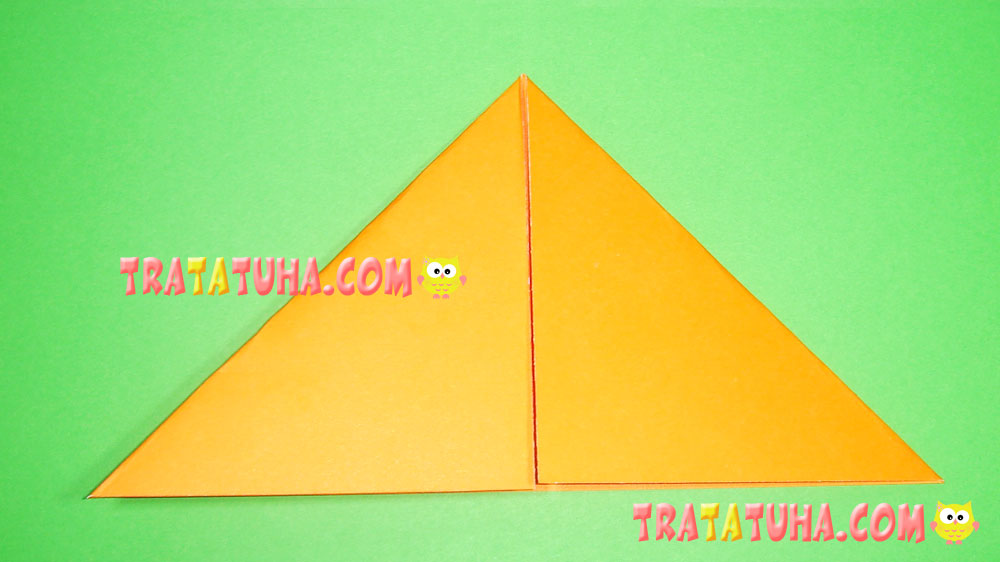
Apply glue to the left triangle, and then cover it with the right one and glue it. Of course, the order of the parties can be changed at your discretion. The body of the paper squirrel is ready.
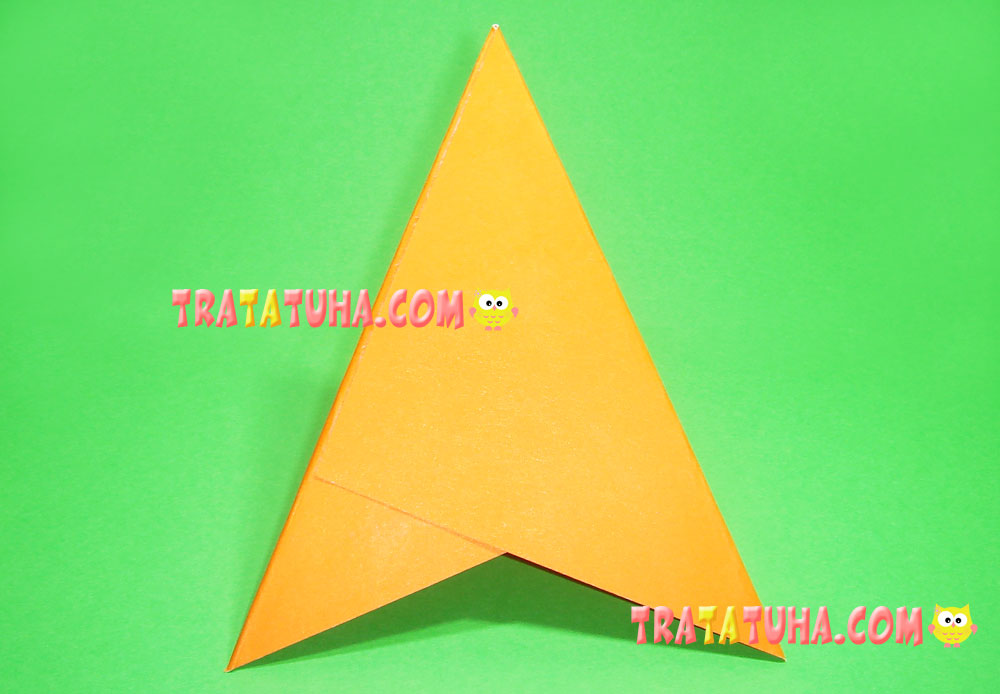
Similar variant of the body in paper sheep.
The final step in creating paper squirrel craft
Use the template or draw your own head, torso and lush squirrel tail.
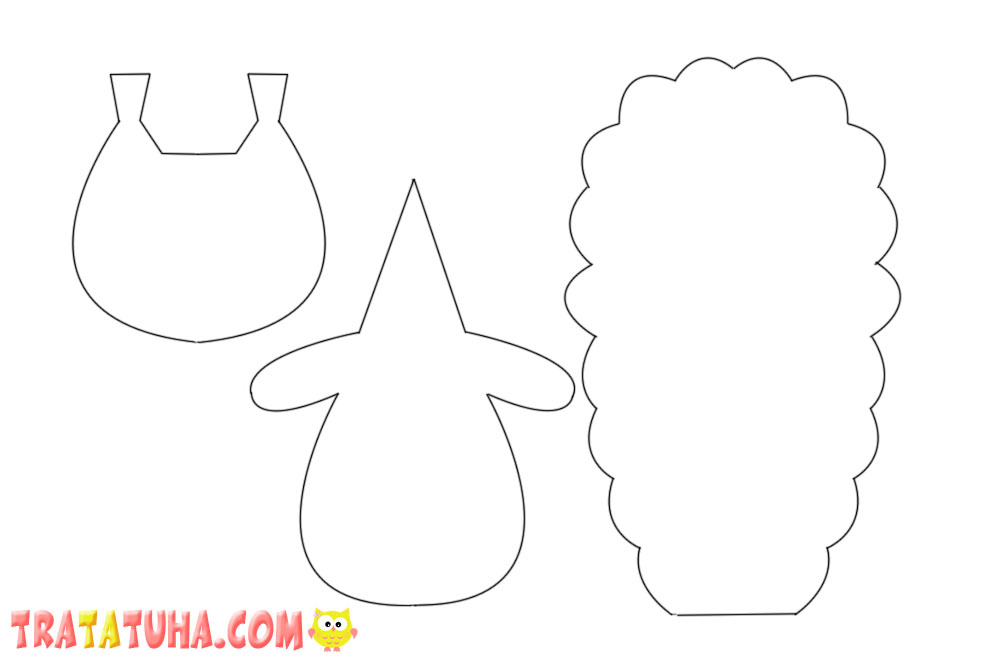
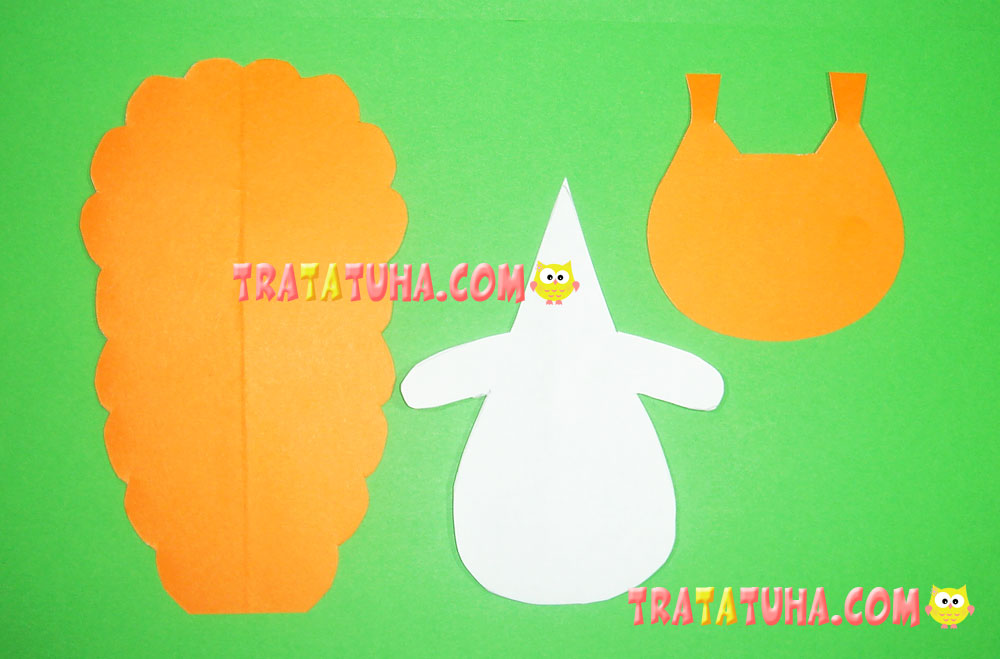
Cut out the orange tail and head, as well as the white body.
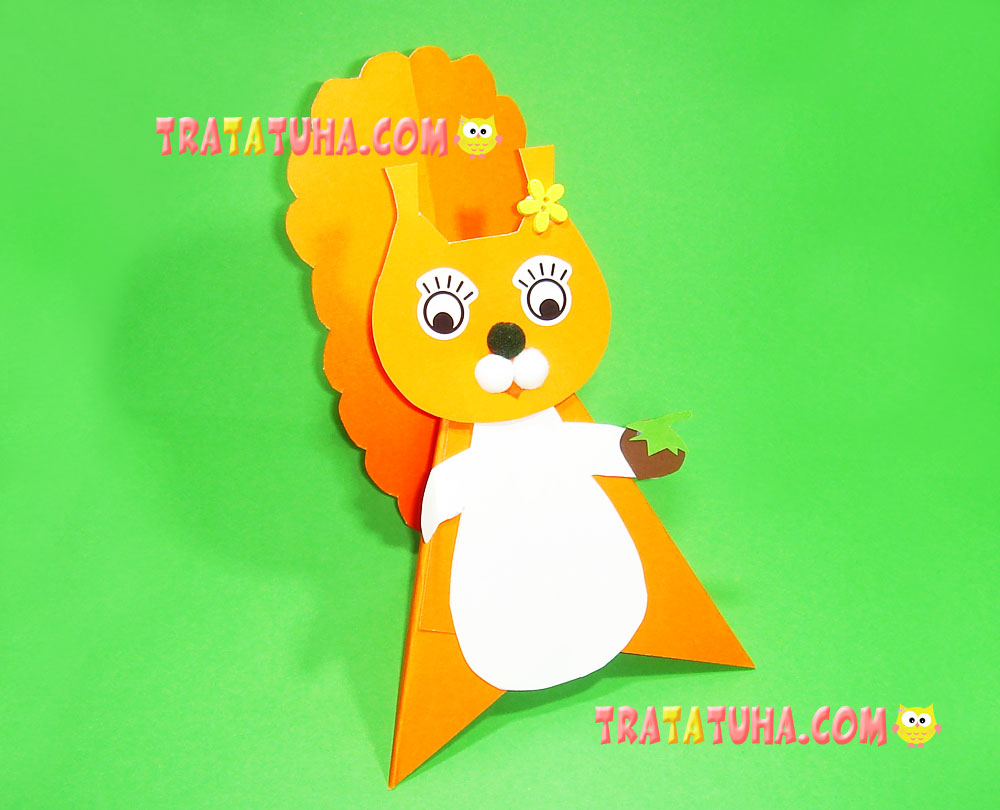
Glue the body to the base, the head on top, and the tail on the back. First, draw or glue ready-made eyes, a muzzle from pompons or paper circles on the head. Draw a mouth, attach a bow if desired, bend the paws and hand the animal a nut. Everything, the paper squirrel craft is ready.
Many other ideas in the collection of Paper Animals Craft.
Crafts for Kids – learn how to make craft at home! Super cute crafts for all age groups!
