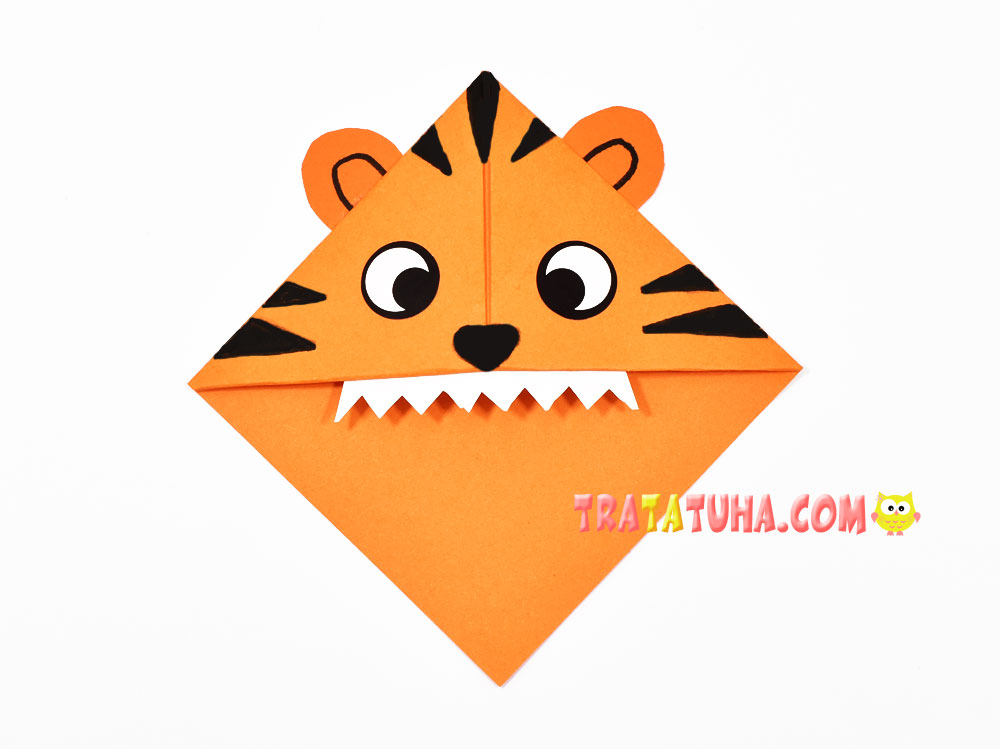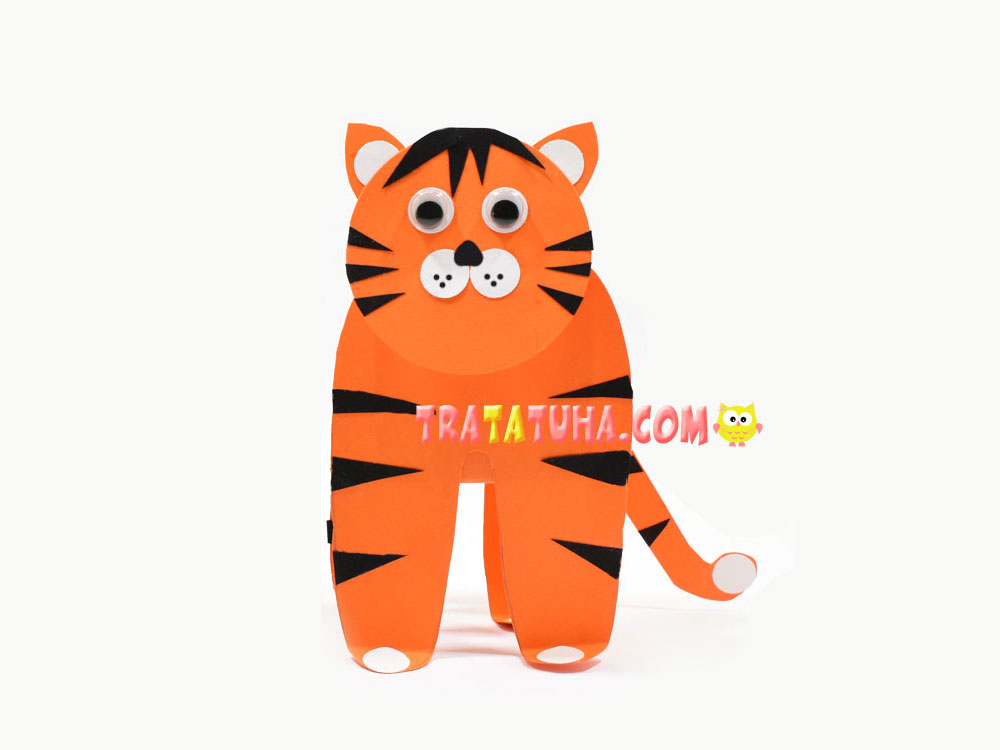
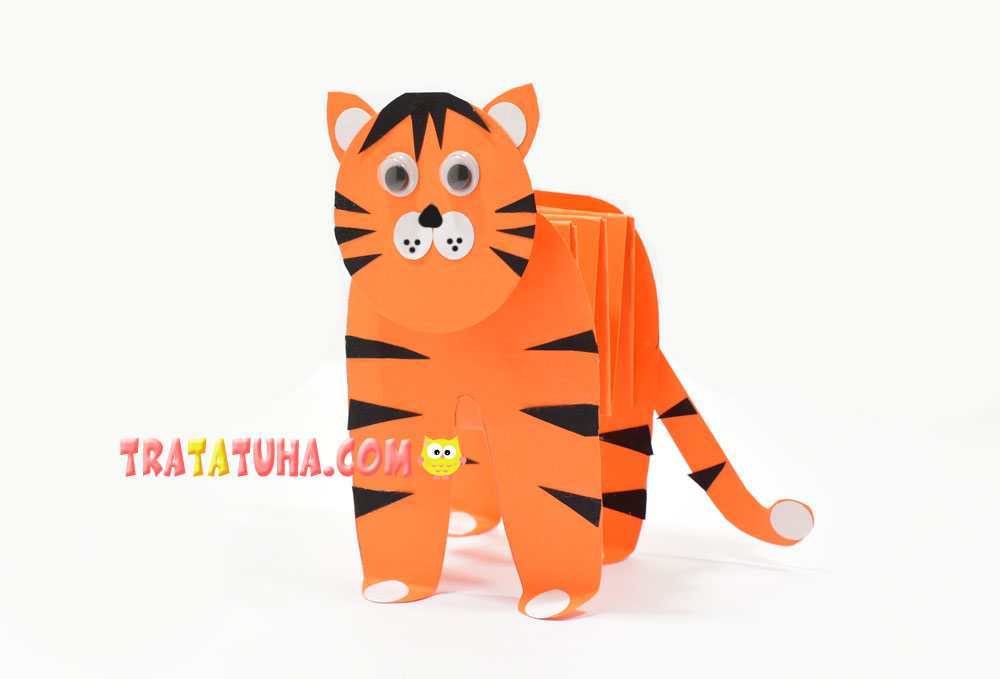
A simple accordion paper tiger for kids art. Step by step instructions with photos. Bright tiger craft for kids.
Materials:
- Orange cardboard;
- White and black paper;
- Moving plastic eyes;
- Compasses, simple pencil, scissors, glue, black marker;
- Figured hole punch.
Accordion Paper Tiger Step by Step
At the first stage – the creation of the body, which is a complex accordion. For it, you will need two long strips of cardboard. The size is at your own discretion, these strips are 4 cm wide, and the length is equal to the wide side of A4 paper.

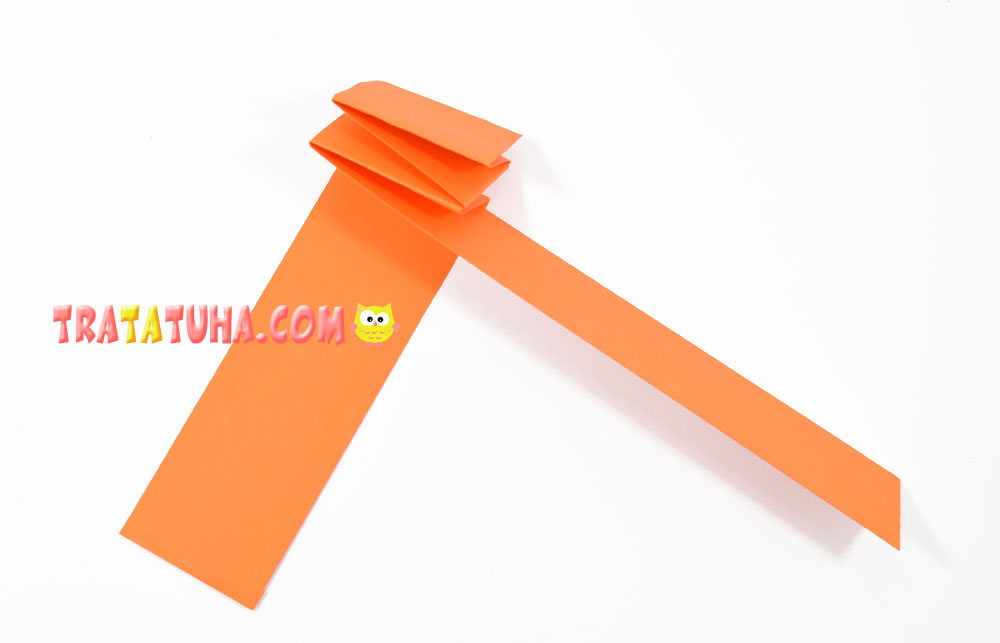
Glue the strips as shown in the photo.
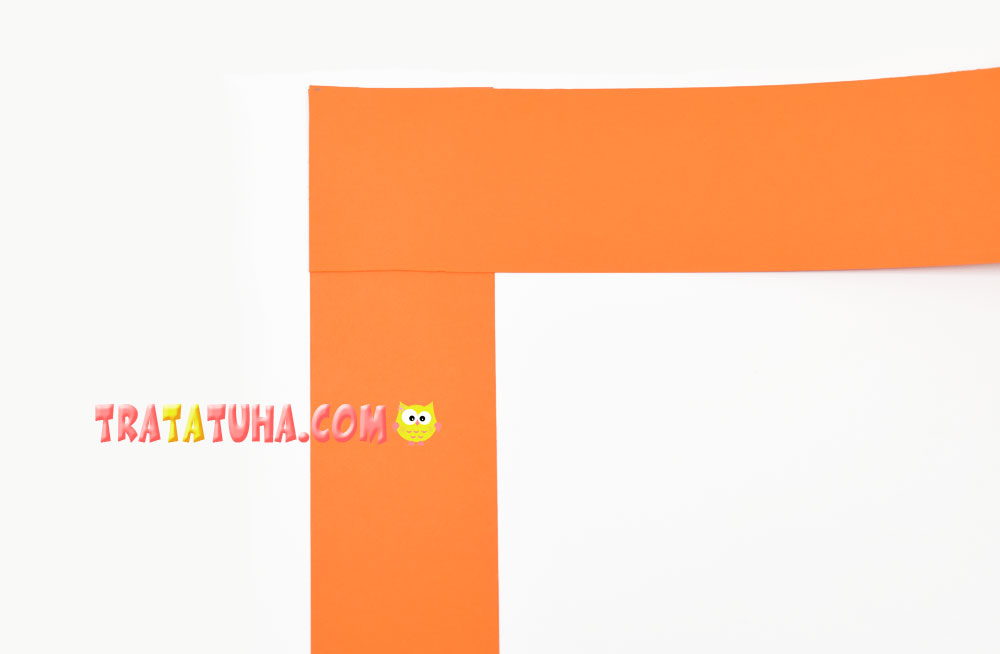
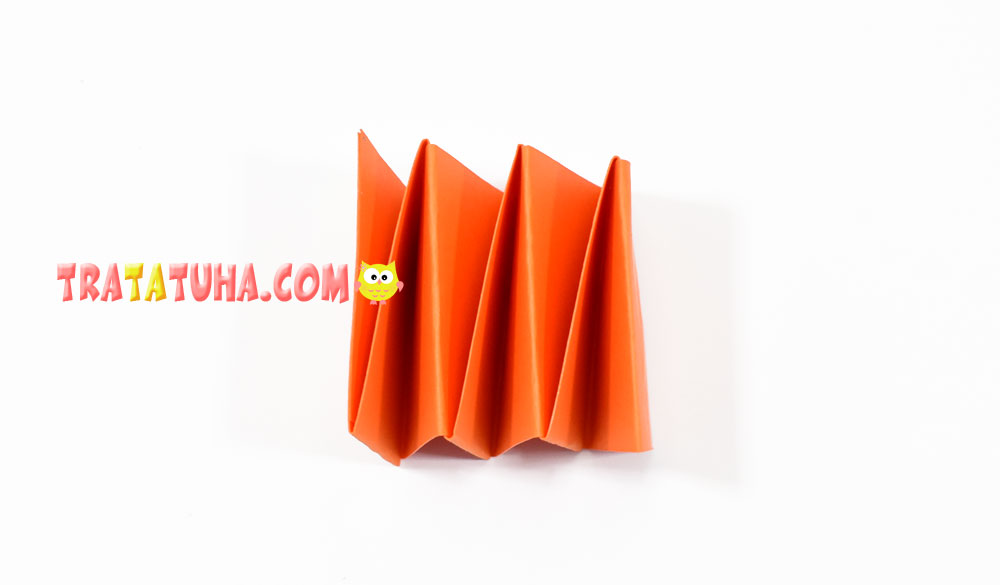
To make an accordion, you should bend the strips on top of each other, observing the order. First bend and throw up the bottom strip. Then fold the left strip to the right. Continue the action until you reach the very ends. Glue them together and trim off the excess.

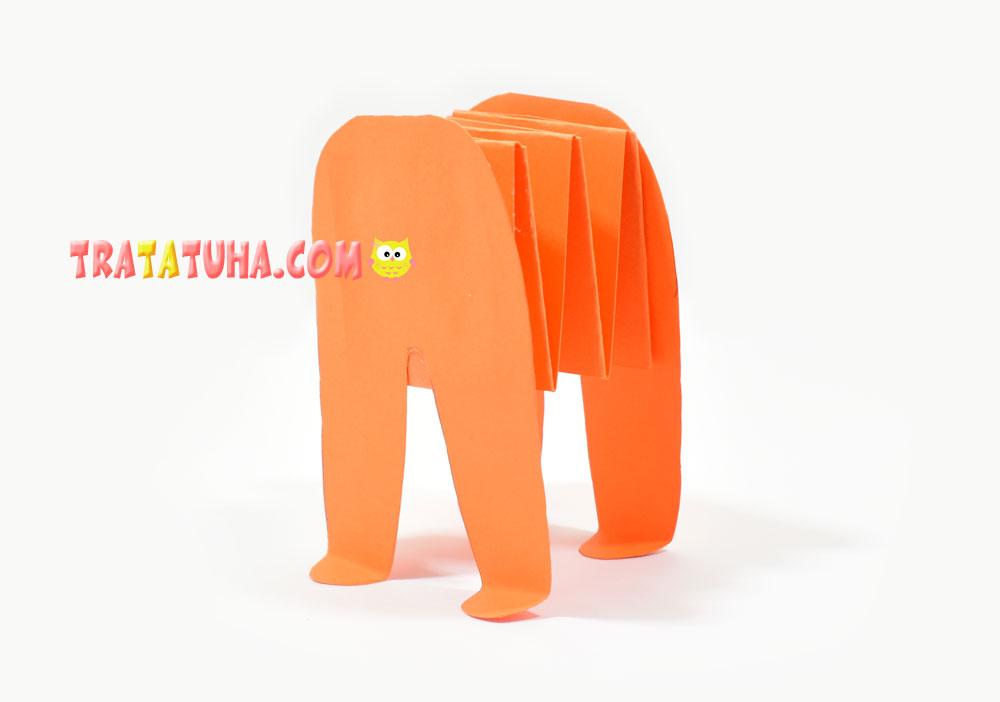
This is how the body turned out like an accordion.
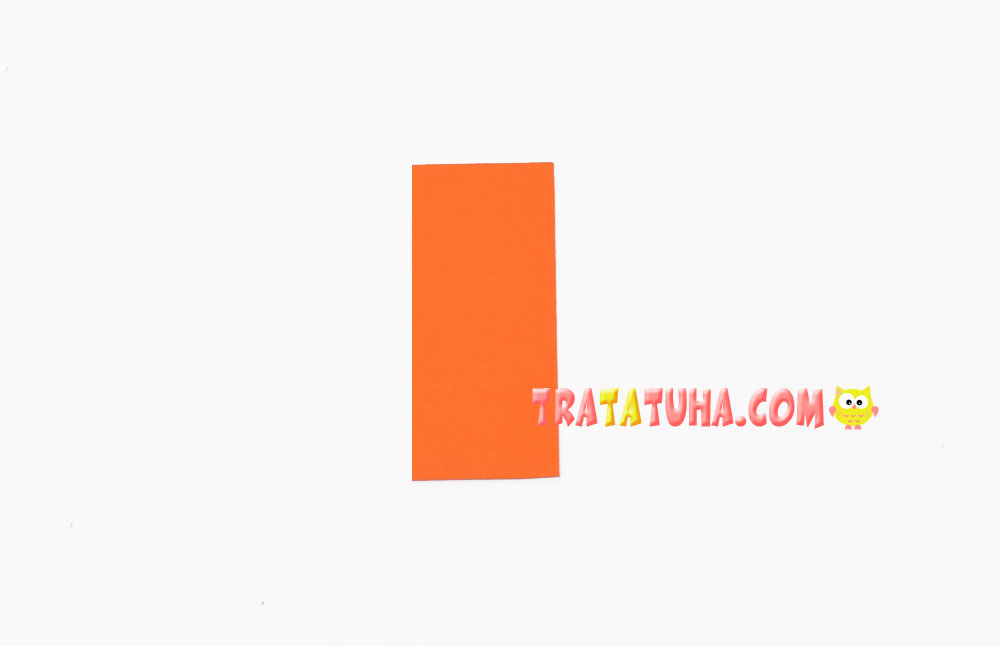
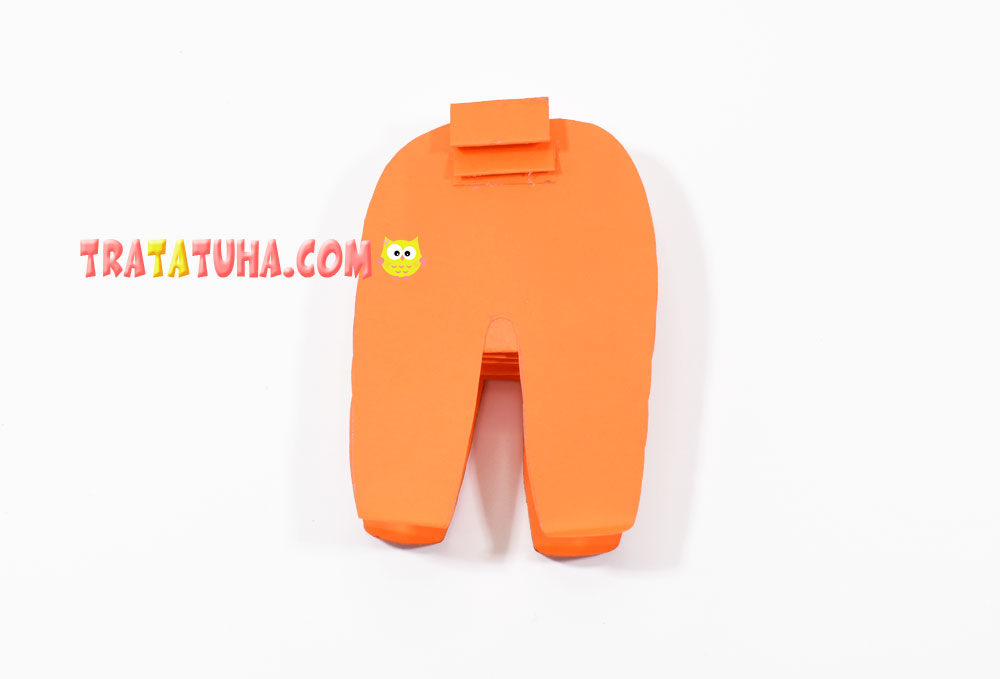
Make a neck for the tiger, to which we will later glue the head. Cut off a small strip of cardboard.
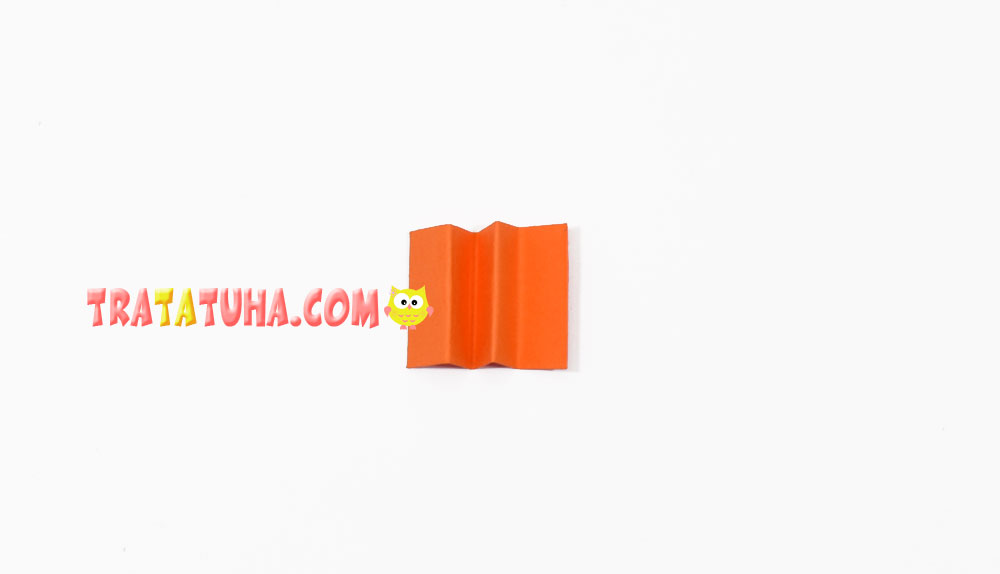
Fold it into a simple accordion.
Cut out paws from orange cardboard. The shape can be varied as you like, the main thing is to correlate the width with the accordion-body, and also determine the length.

Glue the paws to the accordion in front and behind, bend the tips.
Glue the neck.
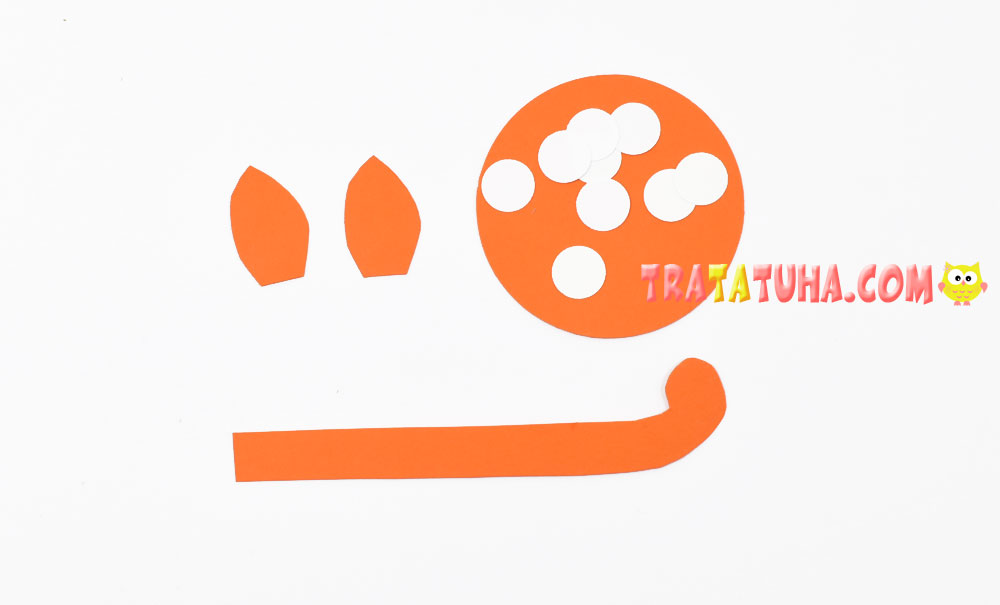
Prepare the following craft components:
- Cut out the ears;
- Round head;
- A long tail;
- Using a hole punch, prepare white circles.
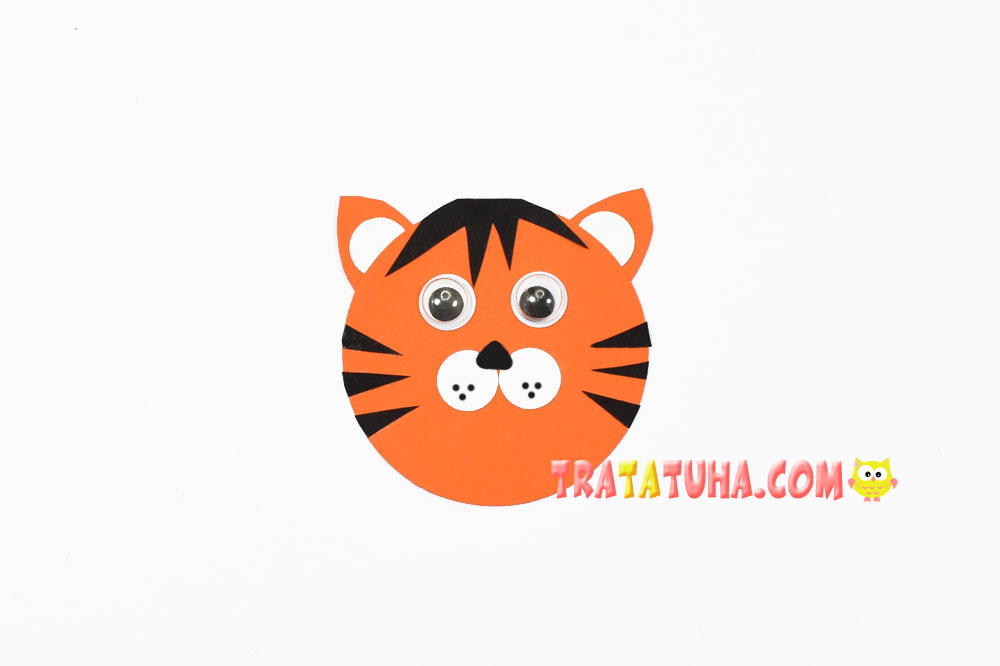
Complete the tiger’s head by gluing on the eyes and muzzle. Circles on the ears. Cut triangles out of black paper to make tiger stripes. Cut a lot of triangles to make enough for the body and tail, they can be of different shapes and lengths.
Glue the head to the neck, the tail behind. Finish off with black triangles. By the way, black stripes or triangles can be drawn with a marker. The accordion paper tiger is ready.
Many other ideas in the collection of Paper Animals Craft.
Crafts for Kids – learn how to make craft at home! Super cute crafts for all age groups!
