Bright pinecone Christmas tree step by step. Making it is not at all difficult, more effort was spent on decorating, since small beads are not as fun to stick on as pinecones.
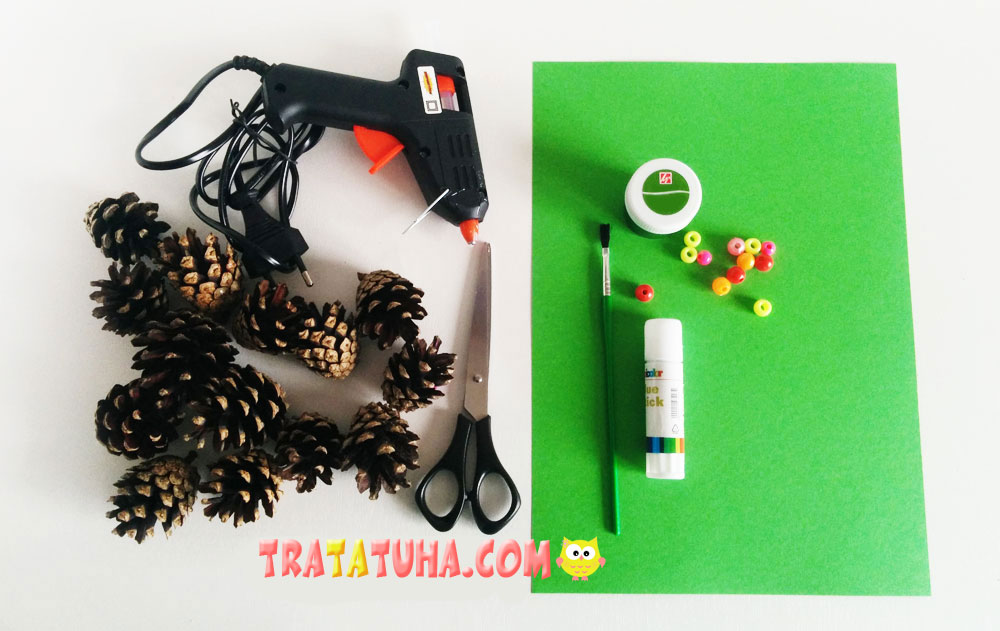
What will be needed for crafts?
- Pinecones;
- Thick cardboard;
- Glue gun;
- Ordinary glue;
- Scissors;
- Green gouache, brush;
- Christmas decorations.
Pinecone Christmas Tree Step by Step
If it was not difficult to decide on the base of the Christmas tree, I immediately decided that it would be a cardboard cone, but it didn’t work so easily with the color of the Christmas tree and its decor. I wanted everything at once: a Christmas tree with cones in their unchanged state with golden accents, a Christmas tree powdered with white gouache and decorated with mother-of-pearl white beads. But still she settled on the classics – a green Christmas tree with colorful toys and tinsel.
We make a cone
First you need to make a cone out of cardboard. It is desirable that the cardboard is dense, or glue two together. Since the Christmas tree will be green, it is also better to take green cardboard so that it is one with the cones.
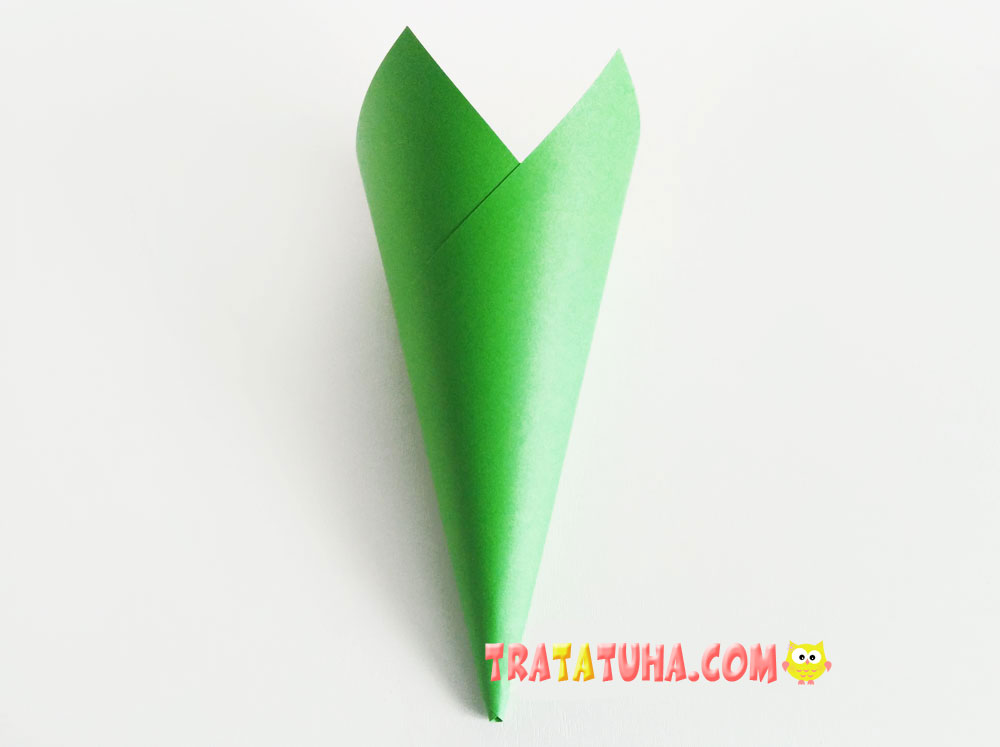
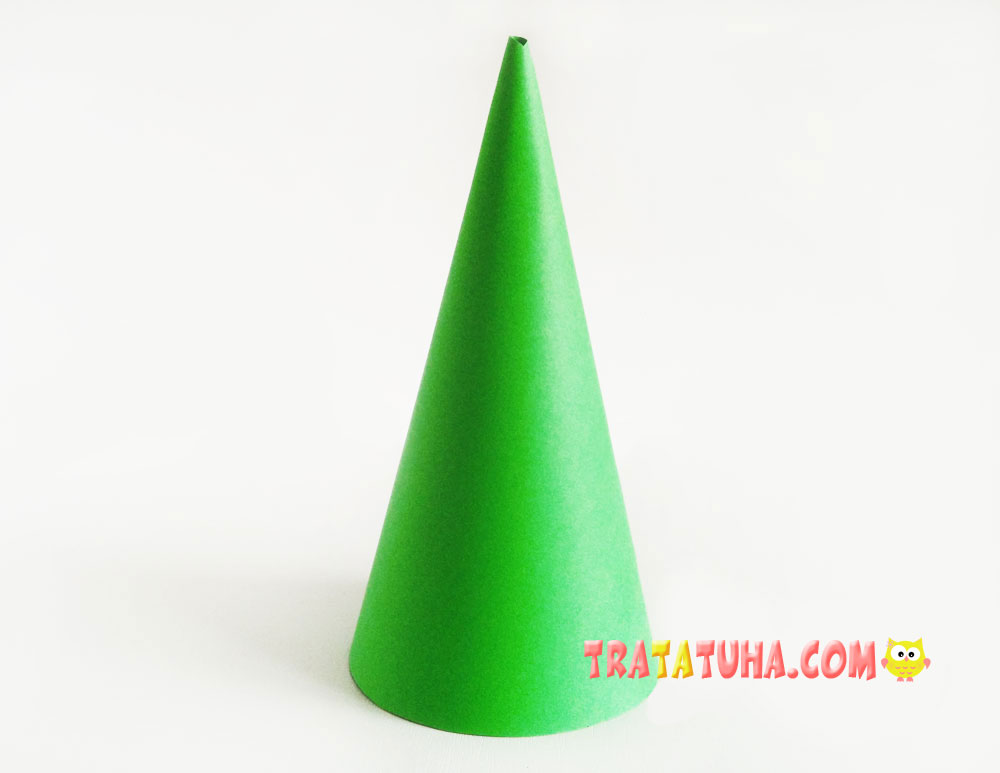
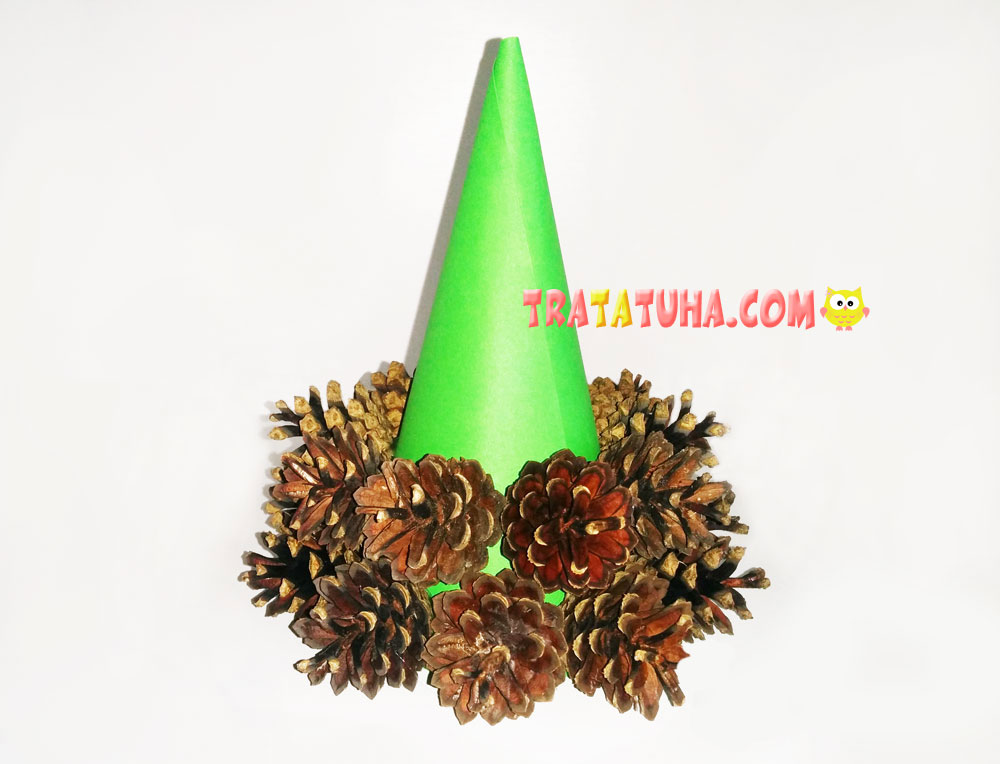
Make a bag out of cardboard, glue the edges. Trim the bottom to get an even cone. The base of the Christmas tree is ready, now it’s time to move on to gluing the cones.
Attaching pinecones
Warm up the glue gun for 5 minutes. During this time, pick up larger bumps on the first row. Place a pea of glue on the cone and immediately press it to the bottom of the cone. Glue the first row of buds, fitting them tightly so that there are as few gaps as possible. Thanks to the glue gun, the work progresses very quickly.
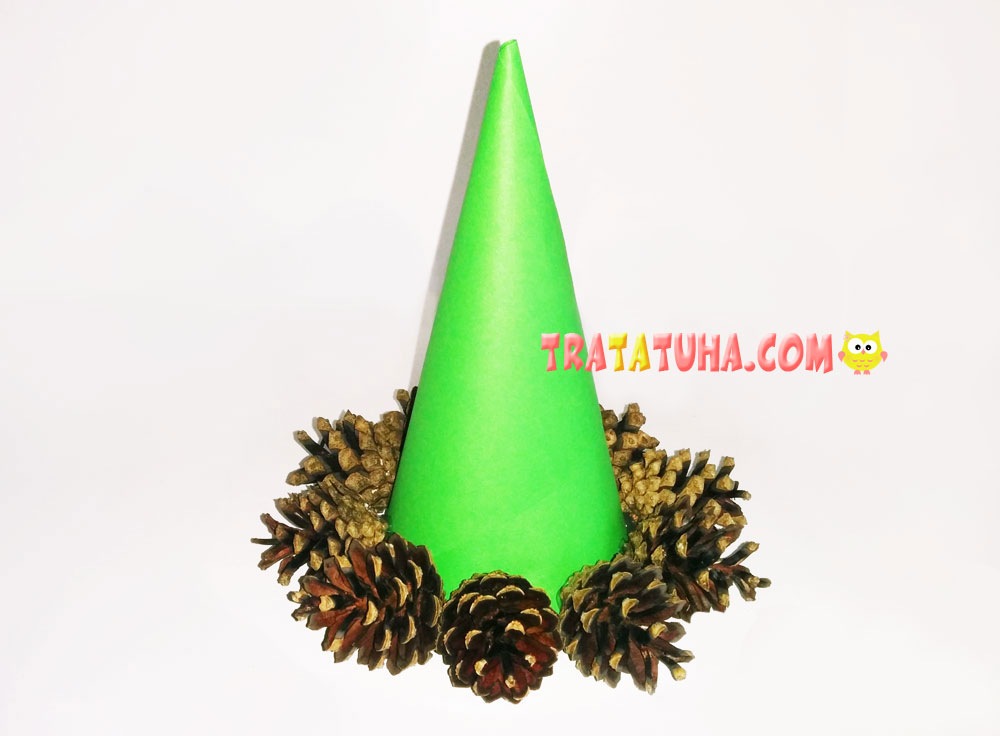
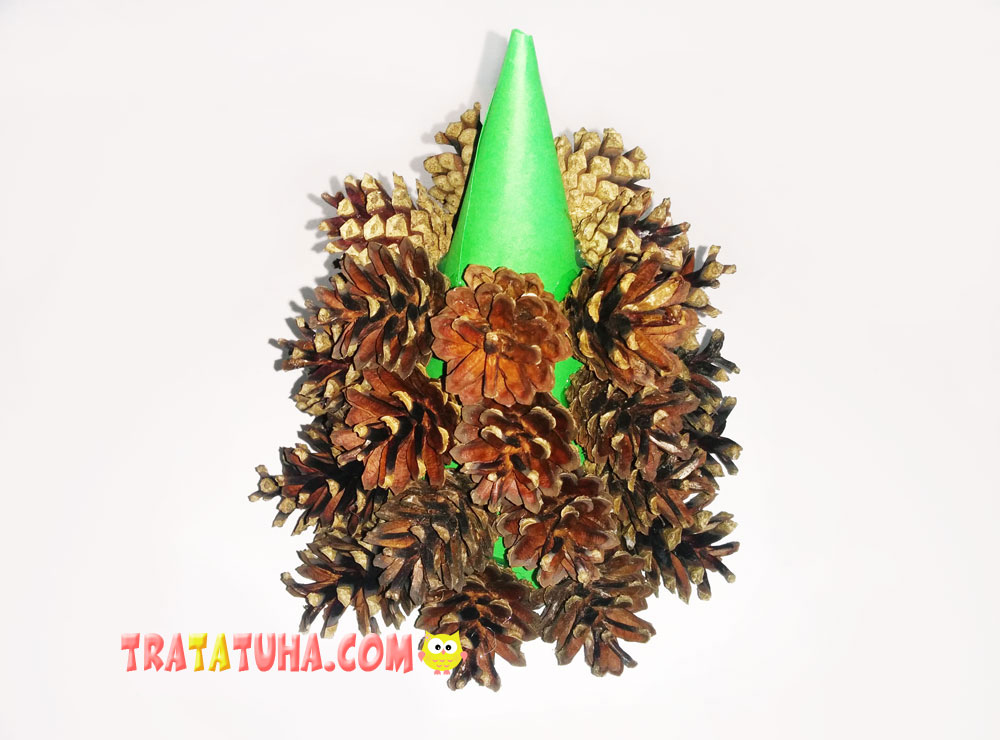
Glue the second row, trying to place the bump between the two from the first row. Of course, due to the different sizes of cones, this is not always possible, but it is worth a try.
We are moving more and more confidently to the top, the third and fourth rows are already ready. If possible, the top rows can be occupied by smaller buds. But somehow it didn’t work out for me, the bumps were almost all the same.
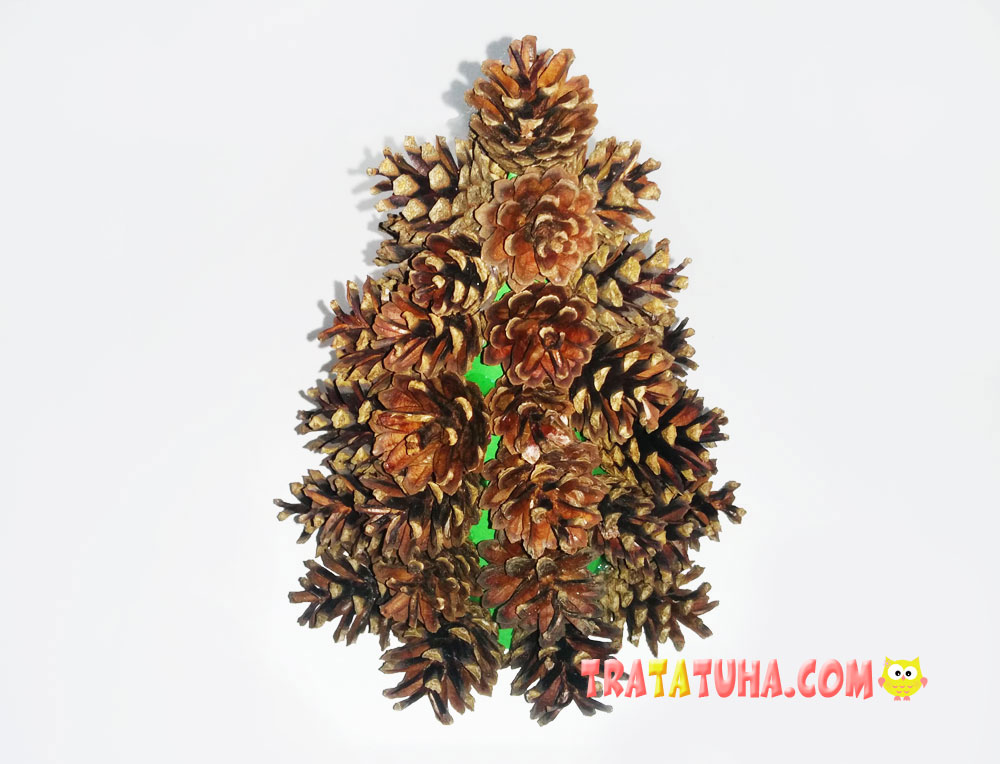
We glue the last row of cones and put one of them on top. But there are also several options here, for example, you can not glue a bump on the top, but immediately a star, a bow, or any other decoration.
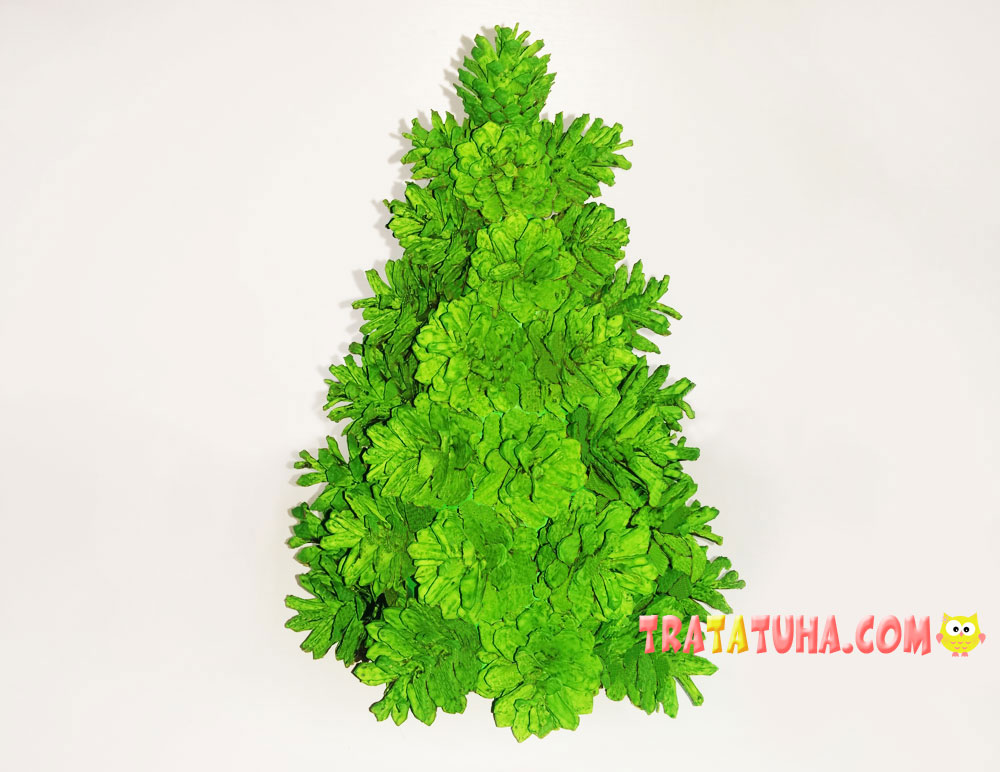
Since the choice fell on the green color of the Christmas tree, you need to paint all the cones in the desired color. I slightly diluted the green gouache with water and added yellow to make it a brighter color, and even as close as possible to the cone. My daughter and I painted all the cones on the Christmas tree with a brush, but the process is quite slow. For these purposes, the best choice is spray paint: faster and more efficient. Or, at least, paint the cones before sticking them to the cone. But in this case it is difficult to determine the quantity. But the deed is done, the tree is painted green.
Decorate Pinecone Christmas Tree
The decoration was done the next day, since gouache does not dry as quickly as we would like. As toys, her daughter’s beads, tormented by her for a long time, came in handy. I also glued the beads with a glue gun, but I had to tinker with this little thing. Cones are much easier to work with. I put a homemade yellow star on the Christmas tree.

Well, the finishing touch is not very fluffy yellow tinsel, twisted three times around the Christmas tree. This is how a pinecone Christmas tree turned out, cute and bright.
See more ideas about Pinecones Crafts.
Crafts for Kids – learn how to make craft at home! Super cute crafts for all age groups!
Related Post: