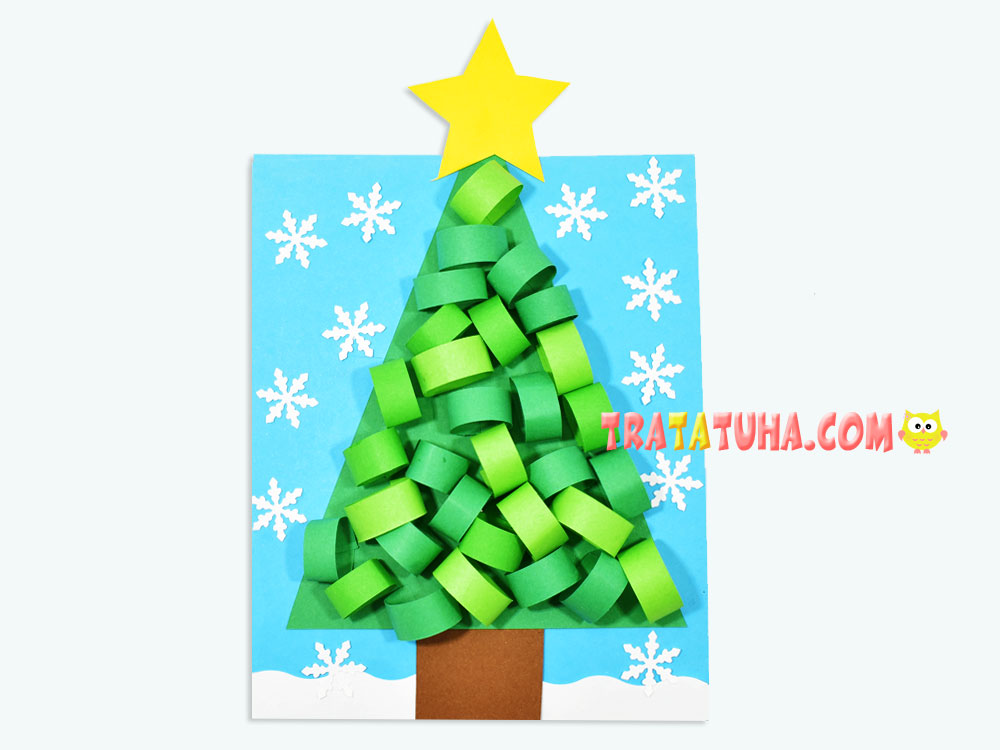
DIY 3D craft for kids from 4 years. A bright paper rolls Christmas tree is very simple, but thanks to the rolls, it turns out to be lush and original.
The details of the craft are easy to make, the only difficult element is the rolls, which will require not so much skill, but perseverance and patience. But, folding rolls is a useful activity for the development of fine motor skills in kids.
What you need to create an craft:
- Blue cardboard for the base on which the Christmas tree will be located;
- Paper of two or more shades of green;
- Green cardboard;
- Brown and yellow paper;
- White paper for snowflakes;
- Figured hole punch for snowflakes;
- Scissors, glue, simple pencil, ruler.
Paper Rolls Christmas Tree Step by Step
Prepare the cardboard base for the craft. Cut out a rectangle of the desired size.
Cut a white strip along the width of the cardboard, which will be snow under the Christmas tree. Make one side of the white stripe wavy.

Glue the snowball to the bottom of the blue cardboard.

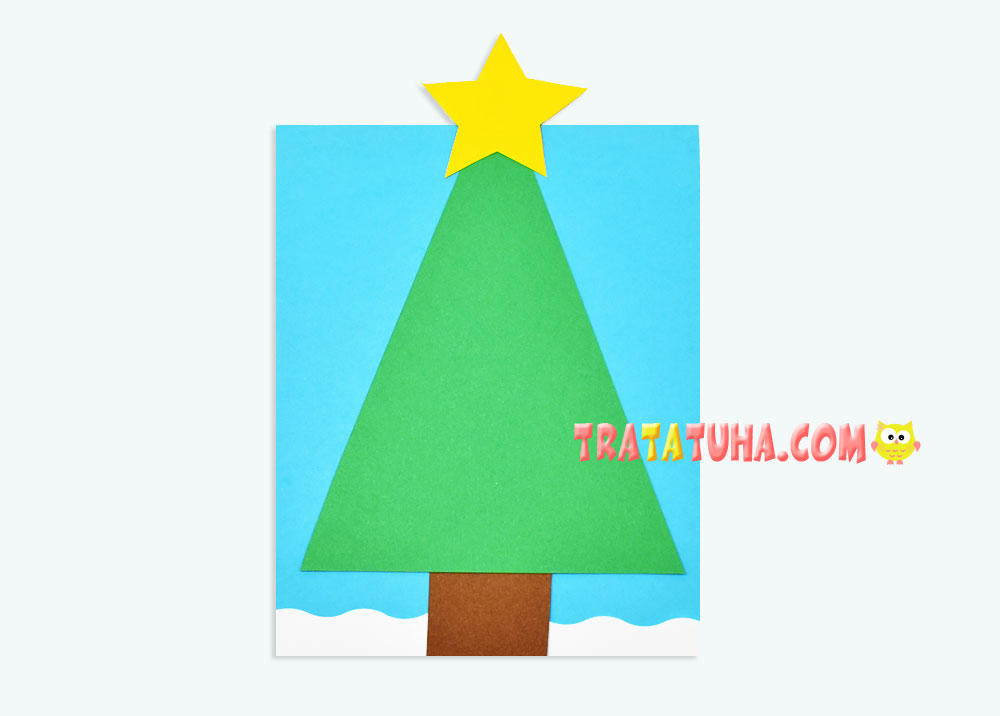
Cut out a triangle from green cardstock. It can be as high as a blue base, or slightly higher. Also prepare a brown trunk and a yellow star. You can draw it yourself, or use any template.
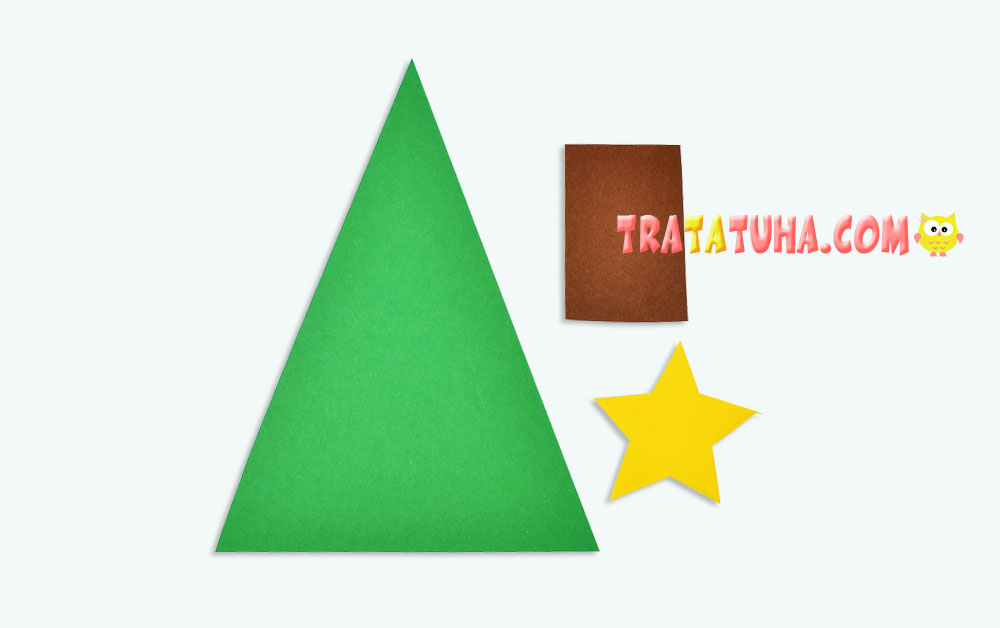
Glue the Christmas tree, trunk, and star onto blue cardboard.
Cut many small strips of green paper in different shades.

Apply glue to the tip of the strip and glue the edges, turning the strip into a rolls.

Glue all the rolls on the Christmas tree in random order, filling in the voids.
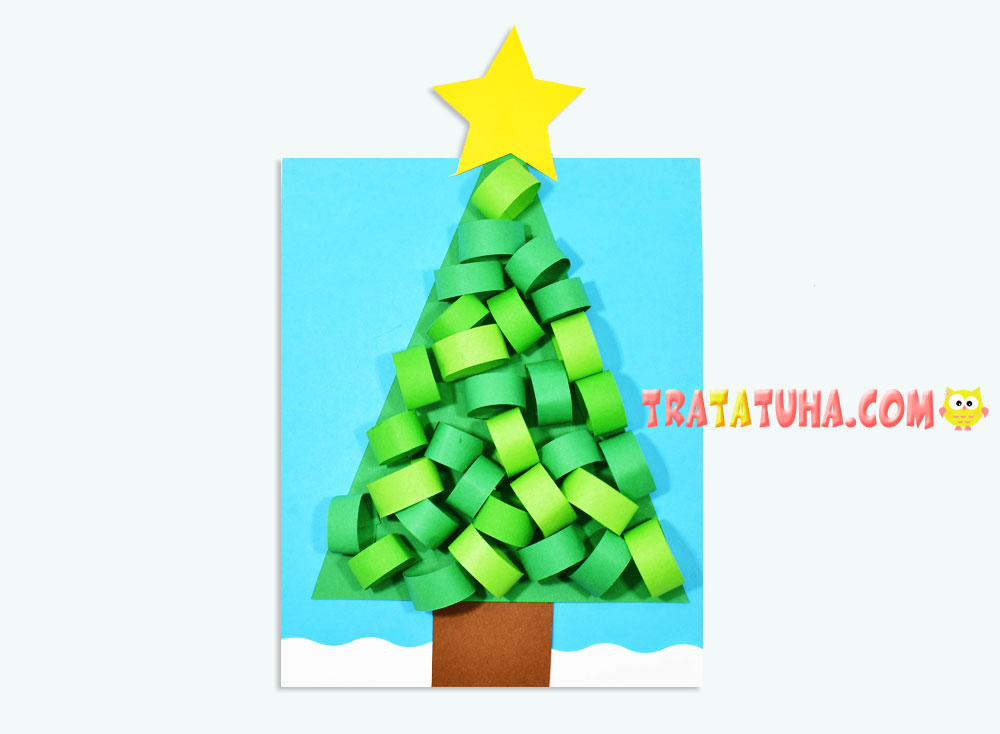
Decorate the work with white snowflakes. Paper rolls Christmas tree is ready.

