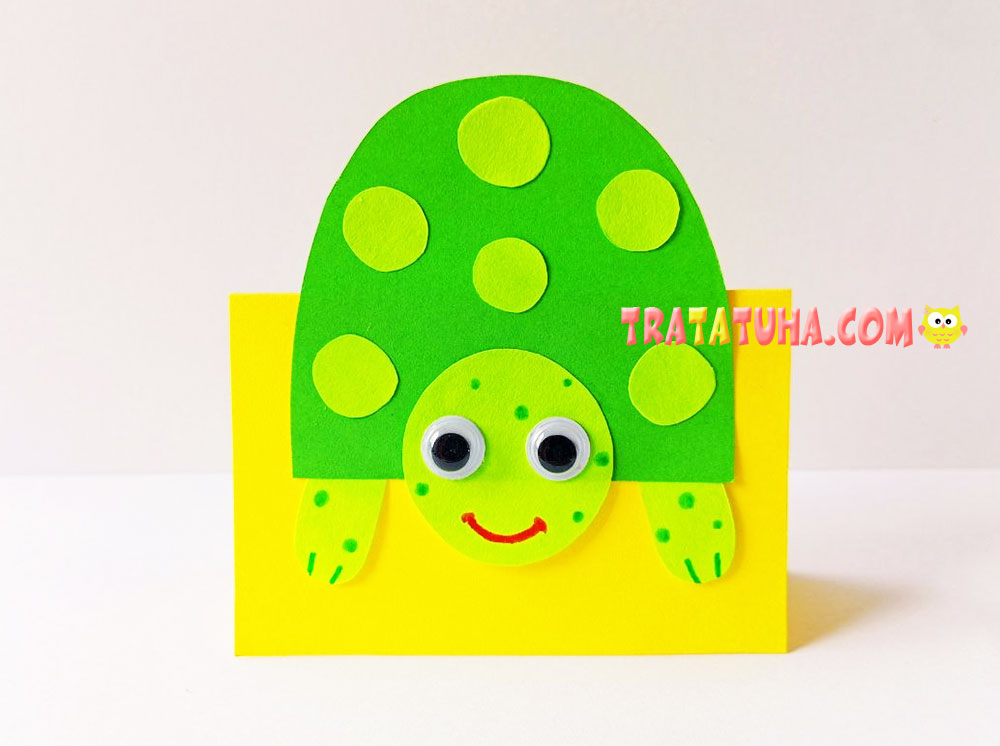
A simple and colorful paper turtle craft for kids that brings the feeling of summer and vacation fun. What makes this craft special is that it stands upright instead of lying flat on a table. The turtle is attached to a beach-themed stand made from a folded sheet of paper.
Materials Needed
- Two shades of green paper for the turtle;
- Yellow paper or cardstock for the beach stand;
- Googly eyes or paper eyes;
- A small piece of white paper and a black marker (if making paper eyes);
- A red marker or colored pencil for the smile (or any preferred color);
- A green marker or colored pencil for extra decorations (optional);
- A pencil for drawing the outlines;
- Scissors;
- Glue.
Turtle on the Beach Craft – Step-by-Step Instructions
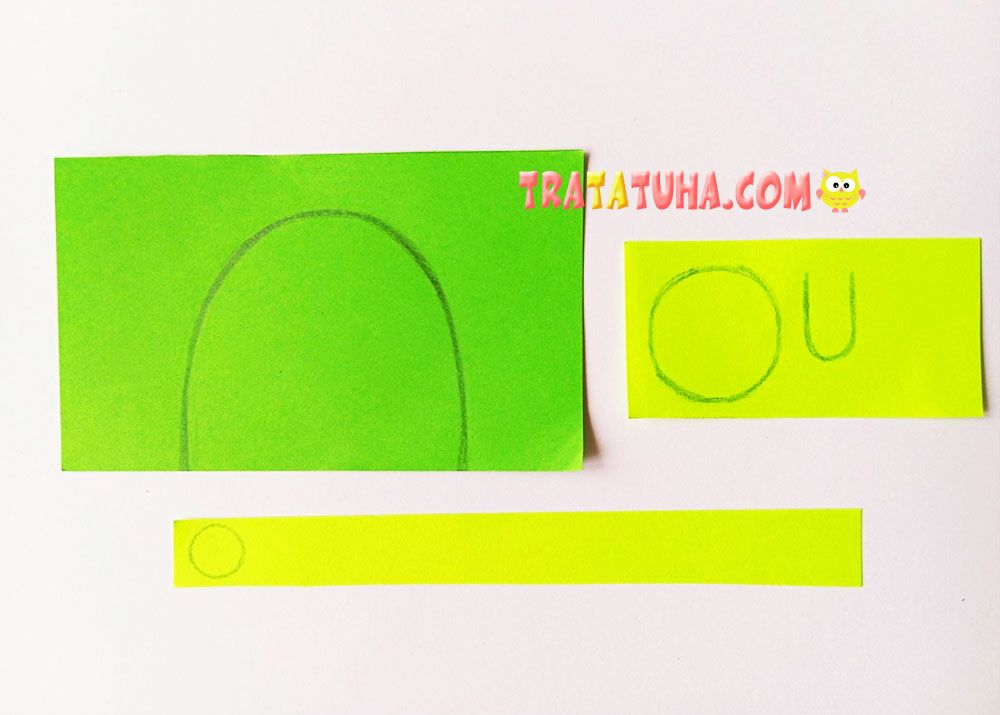
The turtle is made using two shades of green paper. In this example, we used a classic green and a light green shade.
Draw half of an oval on the darker green paper for the turtle’s shell. On the lighter green paper, draw a large circle-like shape for the head, a smaller circle for decorating the shell, and two flippers for the turtle.
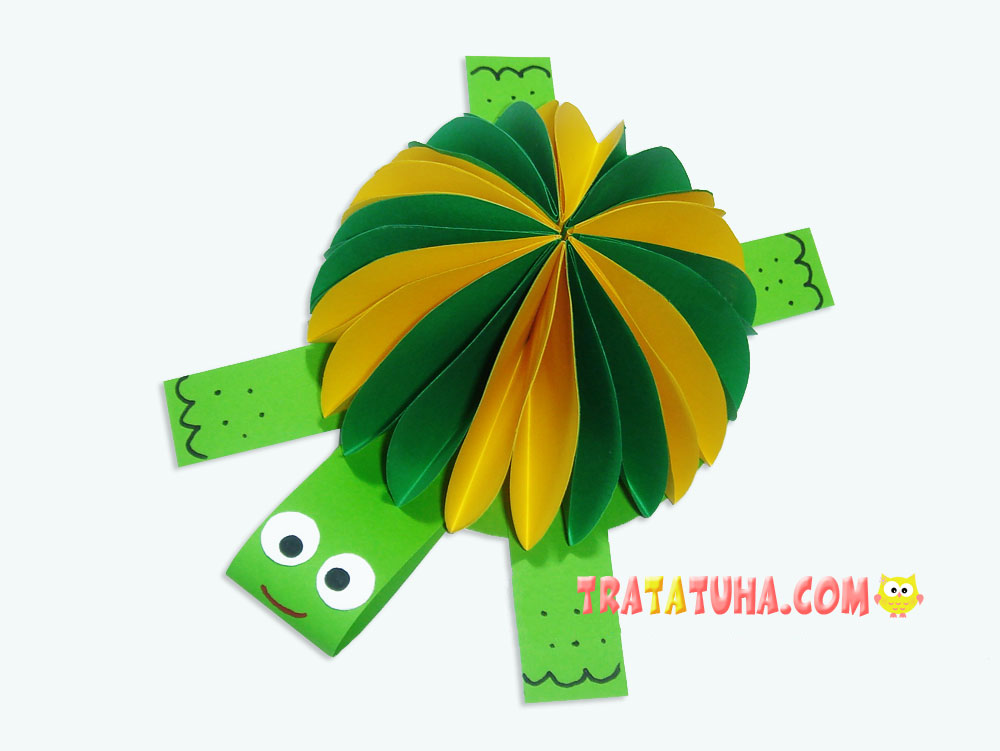
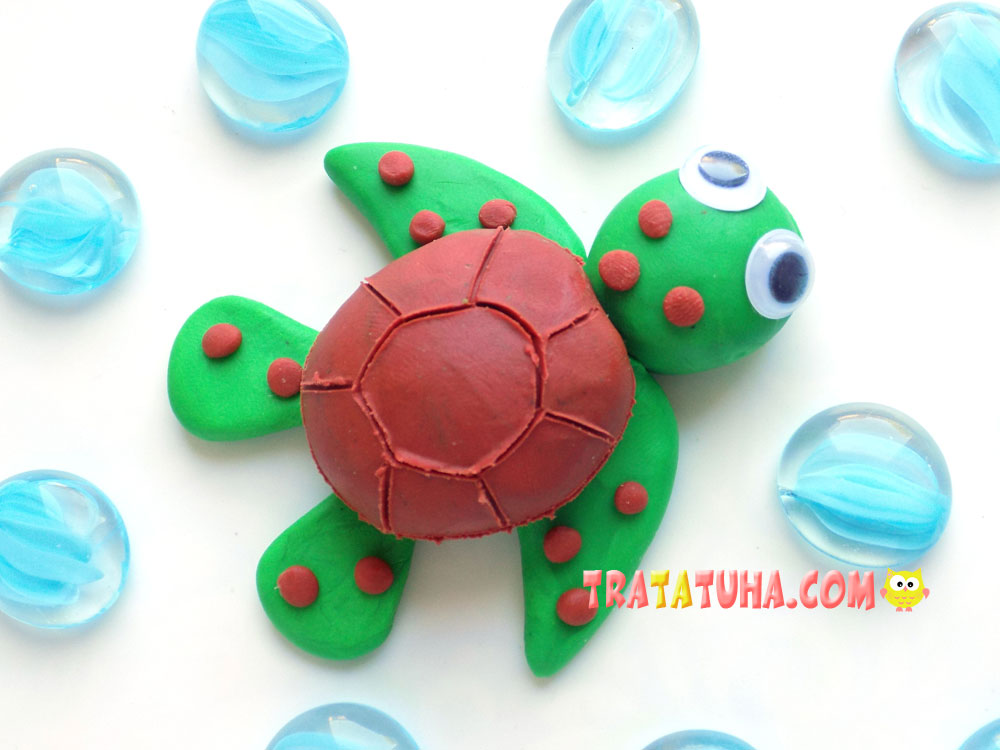
You can also make a beautiful paper turtle with a three-dimensional shell for an extra fun and realistic look.
If you are making paper eyes, draw a circle on white paper. You will need to cut out two eyes and draw pupils on them later.
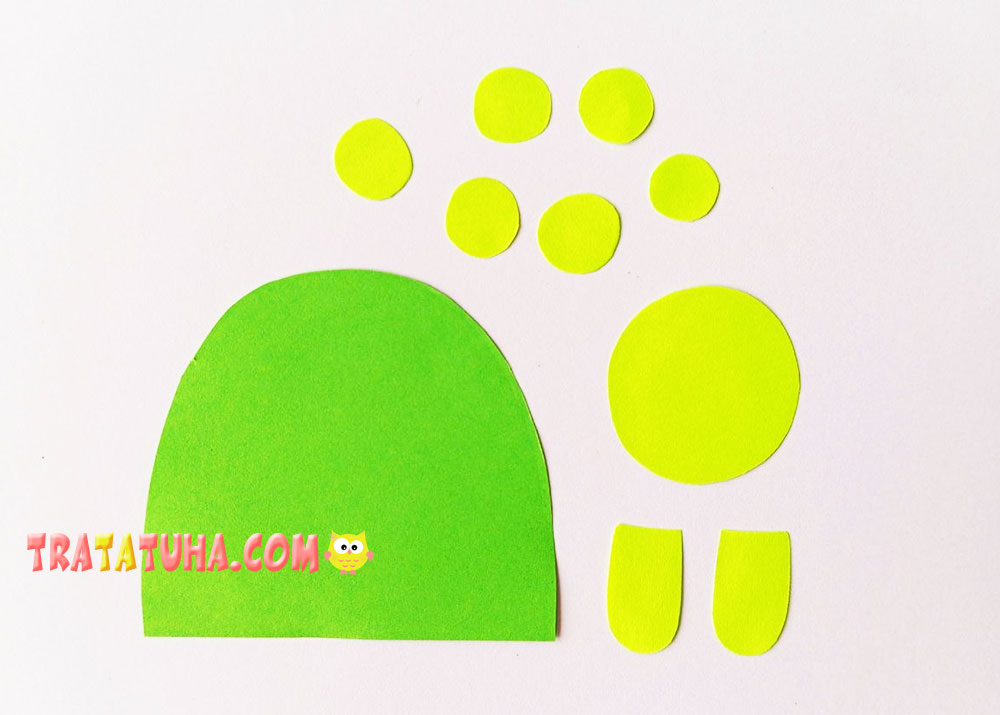
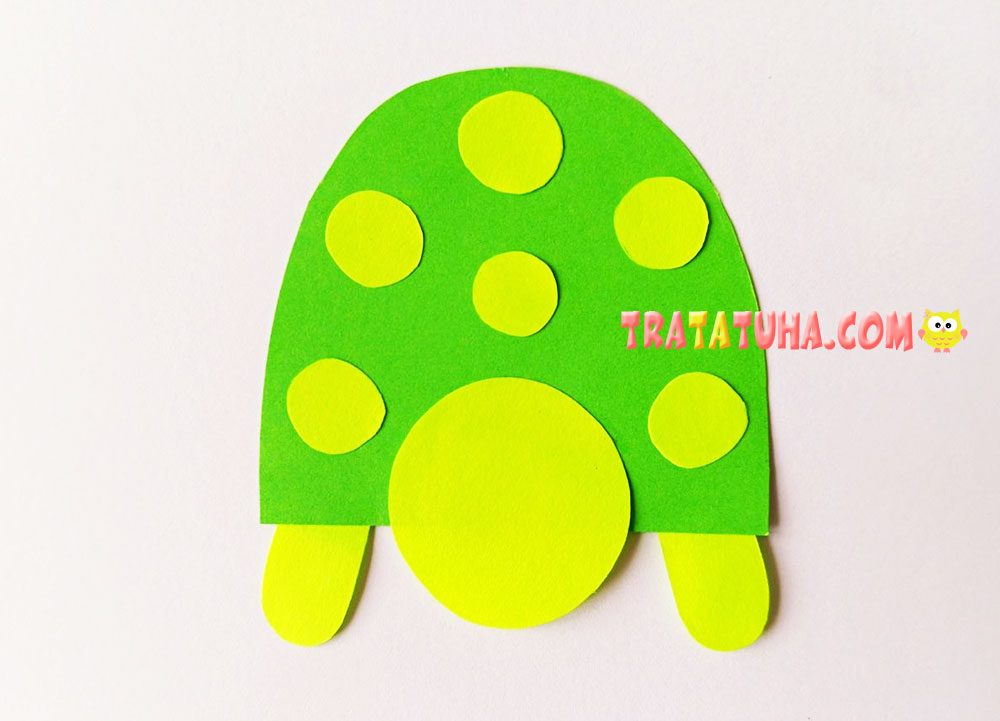
Cut out all the pieces. You will need two flippers and several small circles. Our example uses six circles, but you can use more or fewer depending on your preference.
To cut matching flippers quickly, fold the paper in half before cutting. When cutting the circles, fold the paper two or three times, depending on the sharpness of your scissors and the strength of your hands. More layers may be difficult to cut through.
The circles do not have to be perfectly round. Slight variations in shape will make the shell pattern look more natural and interesting.
Glue the pieces together. Attach the head and the small circles to the shell. Glue the flippers slightly underneath the shell so they appear to peek out from beneath it. Spread the circles evenly across the shell to create a decorative pattern.
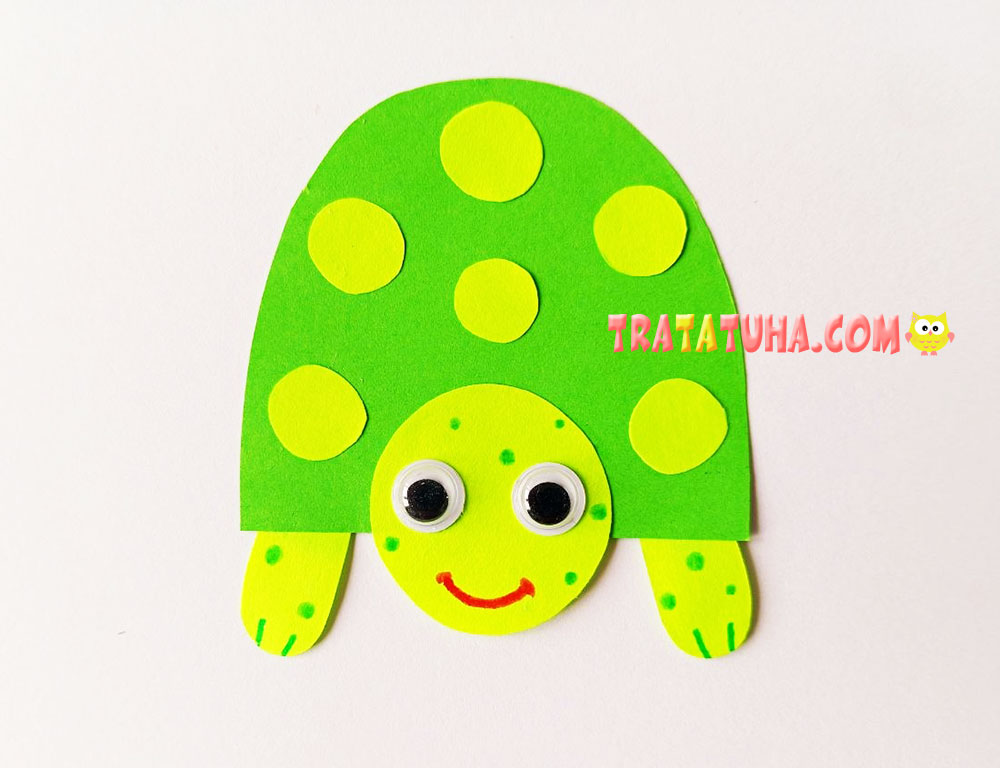
Attach the eyes, draw a smile, and add toes to the flippers. Use a green marker to draw small bumps or spots on the turtle’s body, similar to those found on many real turtle species.
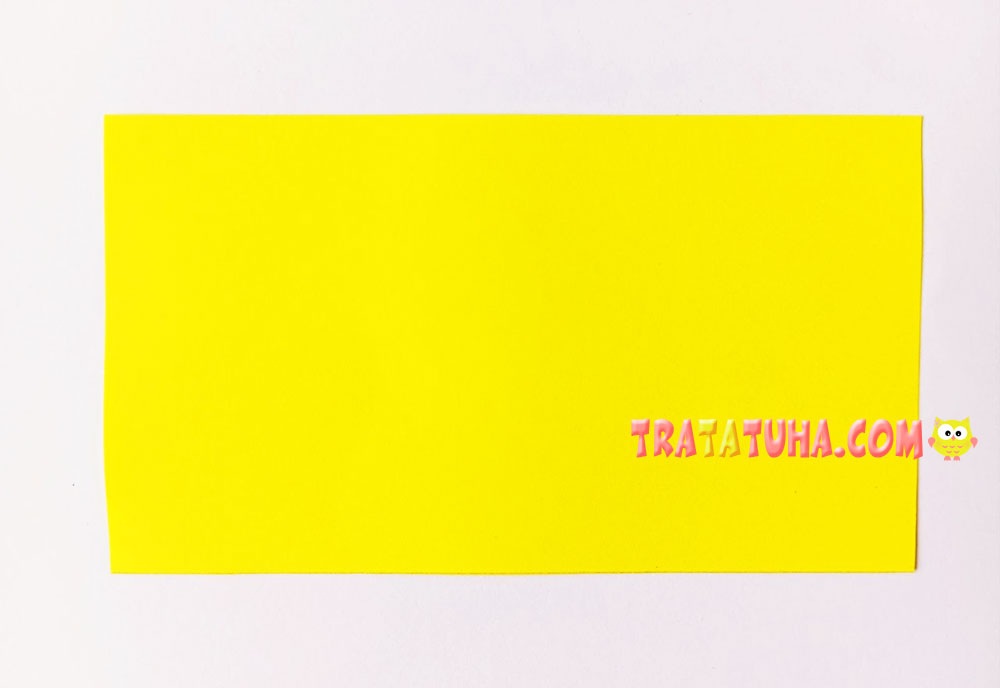
Take a sheet of yellow paper or cardstock. It should be slightly wider than the turtle so that the turtle fits comfortably on the beach stand.
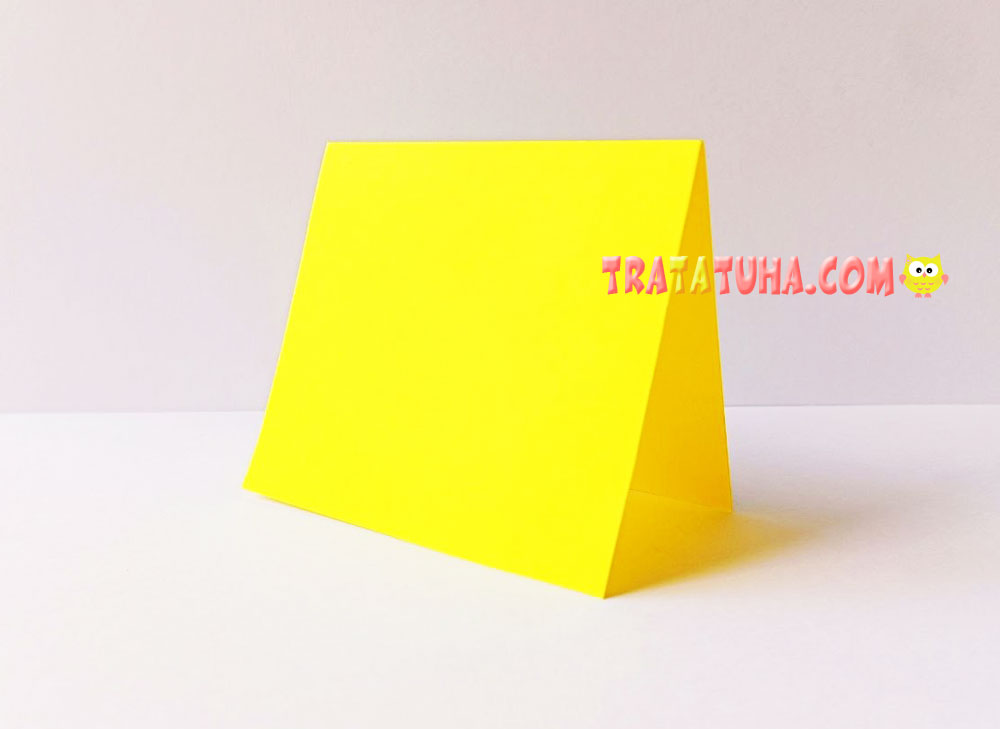
Fold the sheet in half so it can stand upright on its own.
Glue the turtle onto the beach stand. It is best to attach only the lower part of the shell, leaving the flippers free. This will give the craft a more three-dimensional appearance.
If the beach stand seems too large, trim the bottom edge carefully to reduce its size.
Your Turtle on the Beach Craft is now complete! This cheerful turtle is a wonderful reminder of summer, sunny days, and seaside adventures. It also makes a fun seasonal decoration for a child’s room.
Related Post: