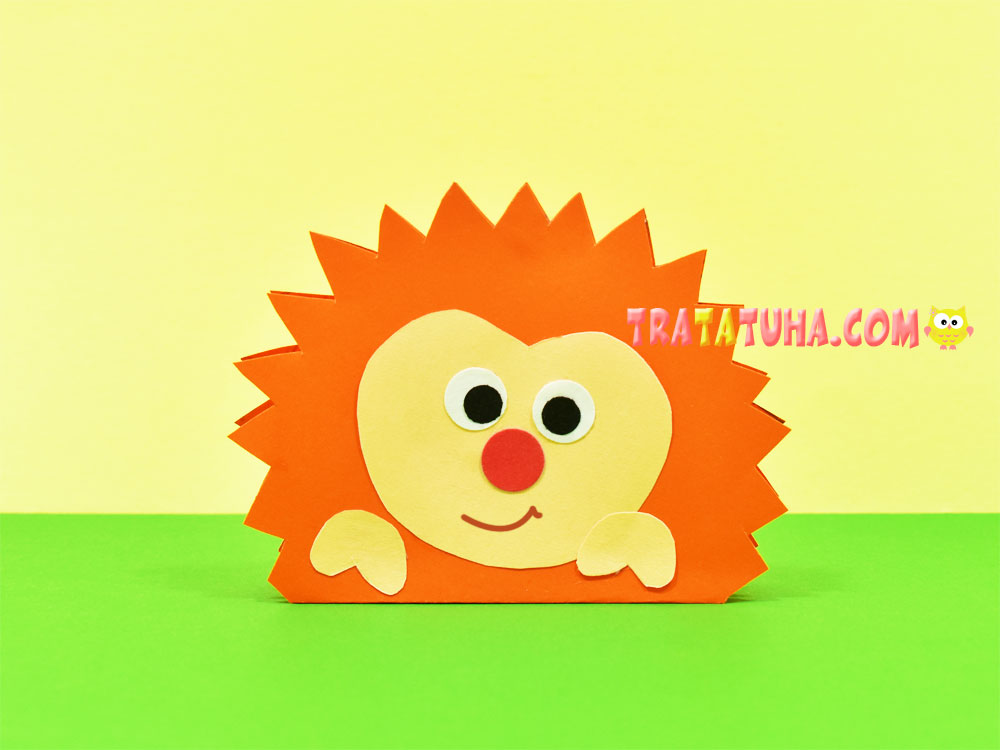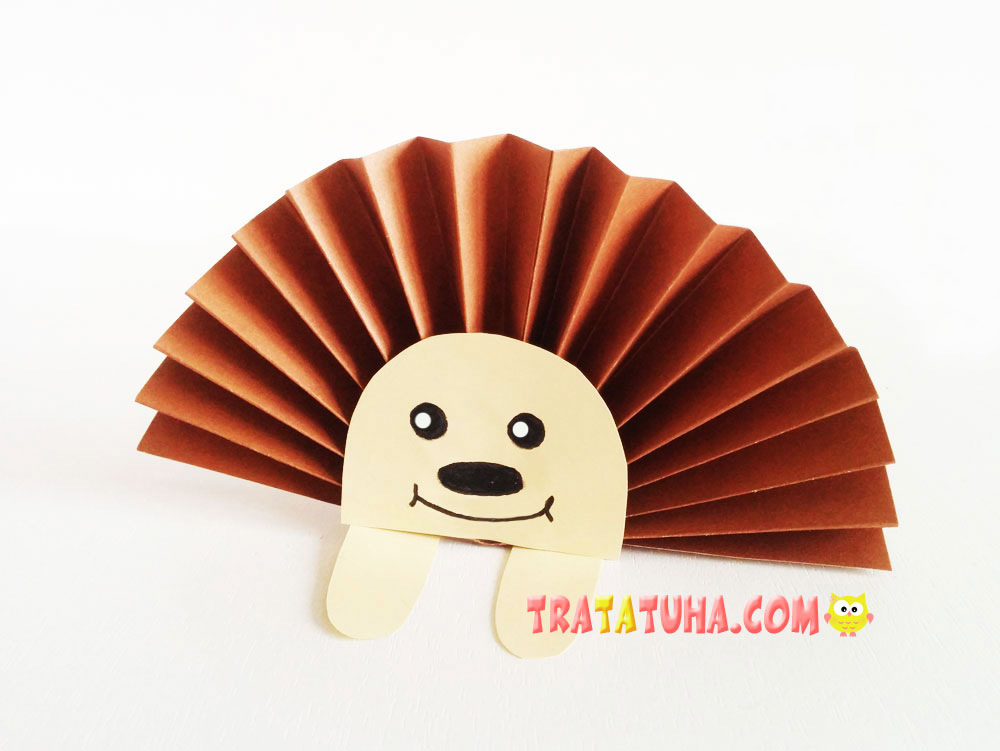
This tutorial shows how to make a fun little hedgehog using paper. The craft is made from simple shapes that are easy for children to cut out, while the fringed paper semicircle creates the look of lots of prickly spines.
Materials Needed
- Colored paper for the hedgehog’s spines;
- Beige paper for the body and legs (yellow paper can be used instead);
- A small piece of black paper for the nose;
- White paper for the eyes (or store-bought googly eyes);
- A black marker or felt-tip pen for the pupils and claws;
- Scissors;
- Glue.
Paper Hedgehog Craft for Kids Step by Step
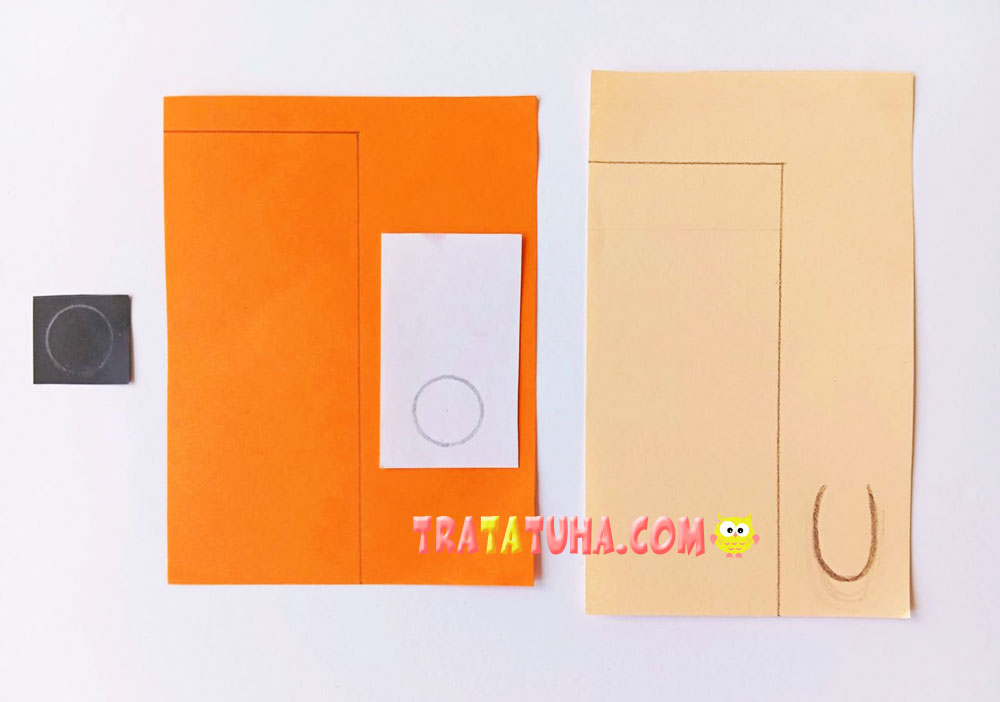
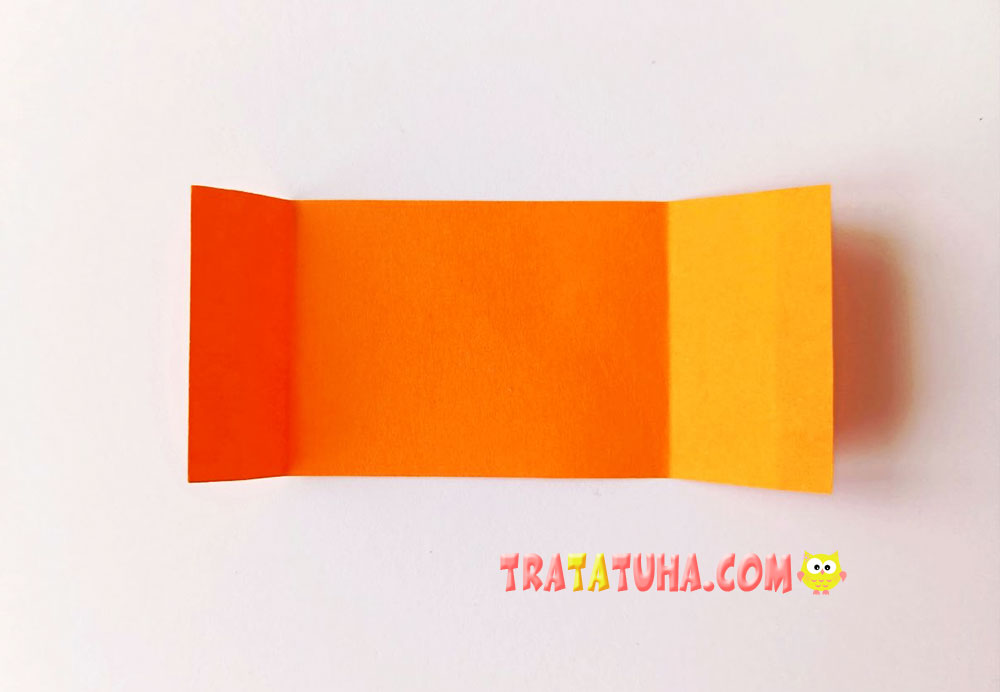
Start by drawing a long rectangle on a sheet of colored paper. This will become the hedgehog’s spines. You can choose any color you like. For a realistic look, use black, gray, or brown paper. For a brighter and more playful hedgehog, try pink, red, purple, or another vivid color. In this example, the spines are orange.
Draw another rectangle of the same width on the beige paper. If you do not have beige paper, yellow paper works just as well. On the same sheet, draw one hedgehog leg, leaving enough space to make three more later.
Draw circles of approximately the same size on the black and white paper. These will be the nose and the eye.
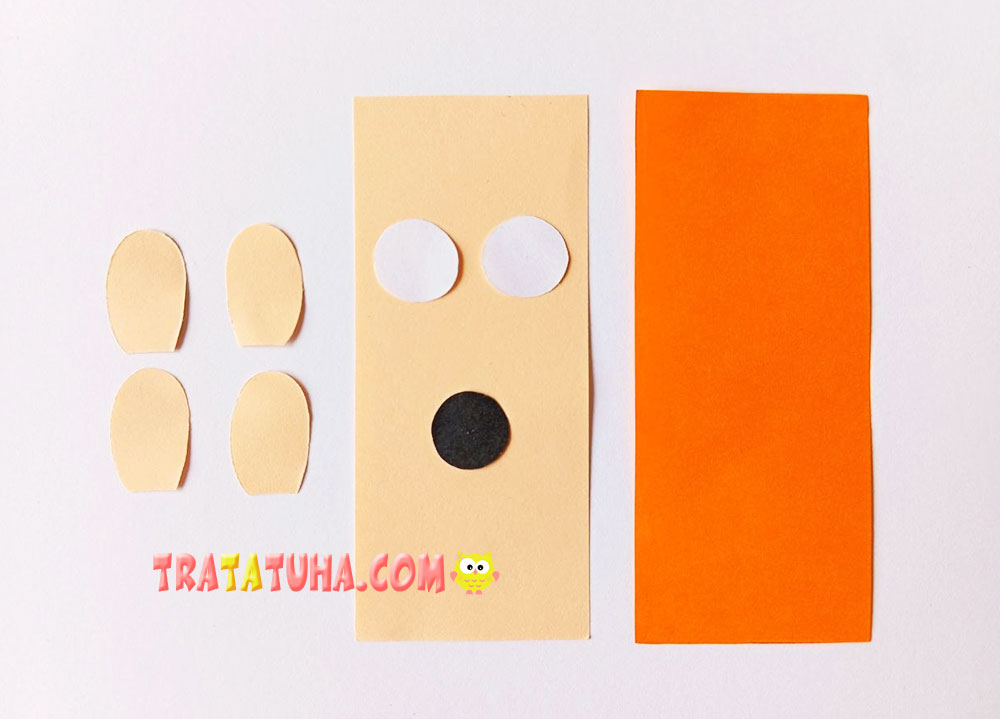
Cut out all the pieces for the hedgehog. You will need four legs and two eyes.
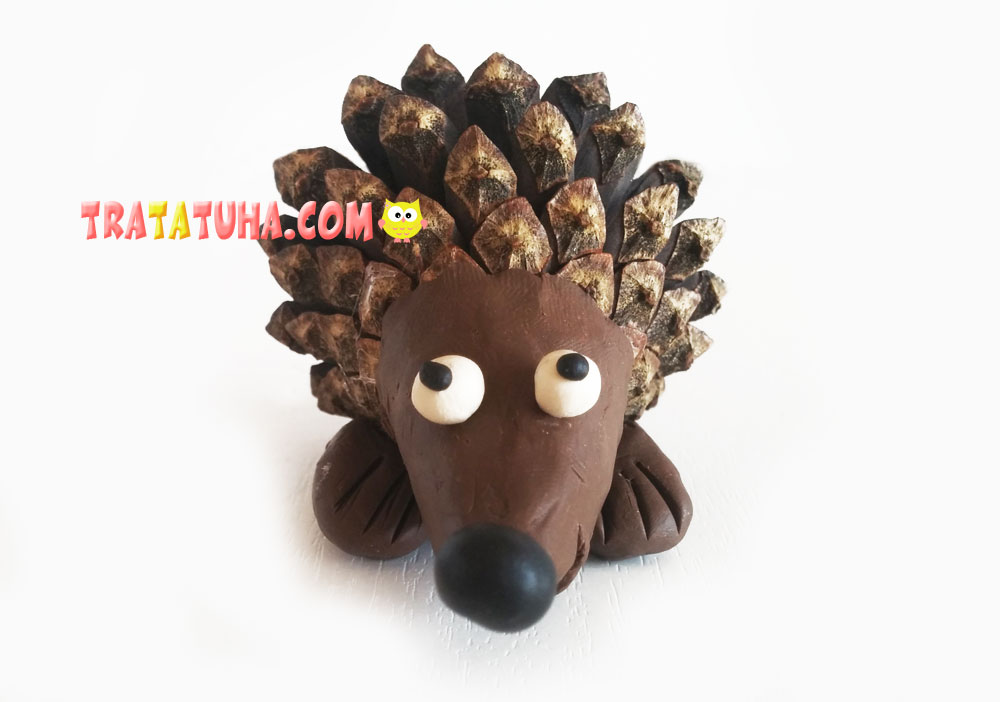
You can also make a hedgehog quite easily using cones for the body. See the full tutorial here: Paper Hedgehog Craft.
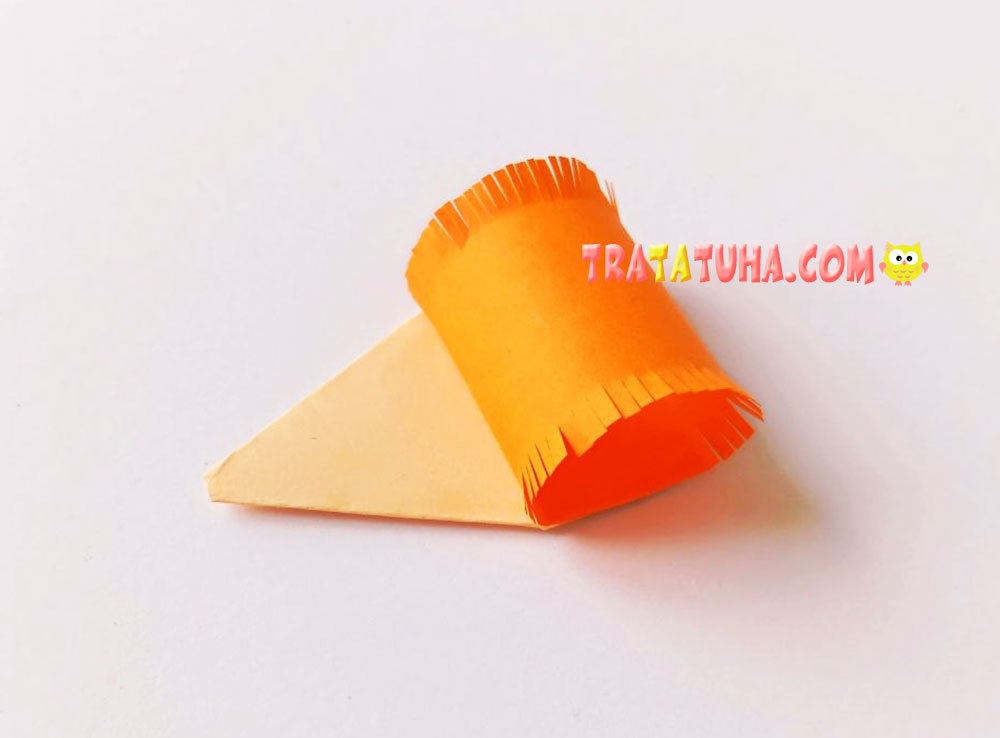
Fold the ends of the orange rectangle. You may find it helpful to bend it into a semicircle first to see where the folds should go.
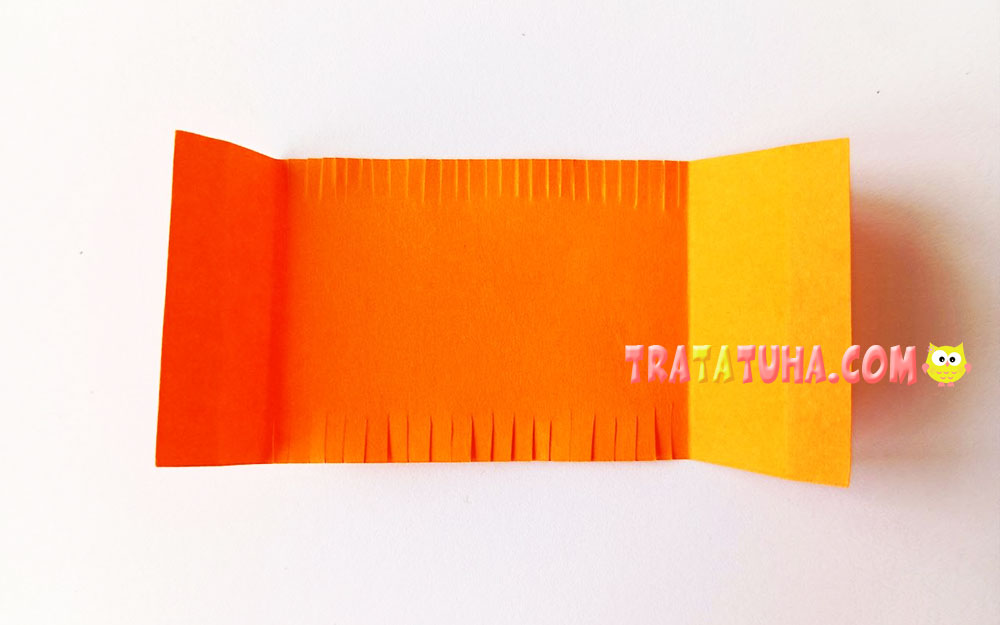
Cut fringes along the edges of the unfolded section. Make thin, evenly spaced cuts to create the hedgehog’s spines. Do not cut too deeply. Gently fluff the fringes to make the spines look fuller.
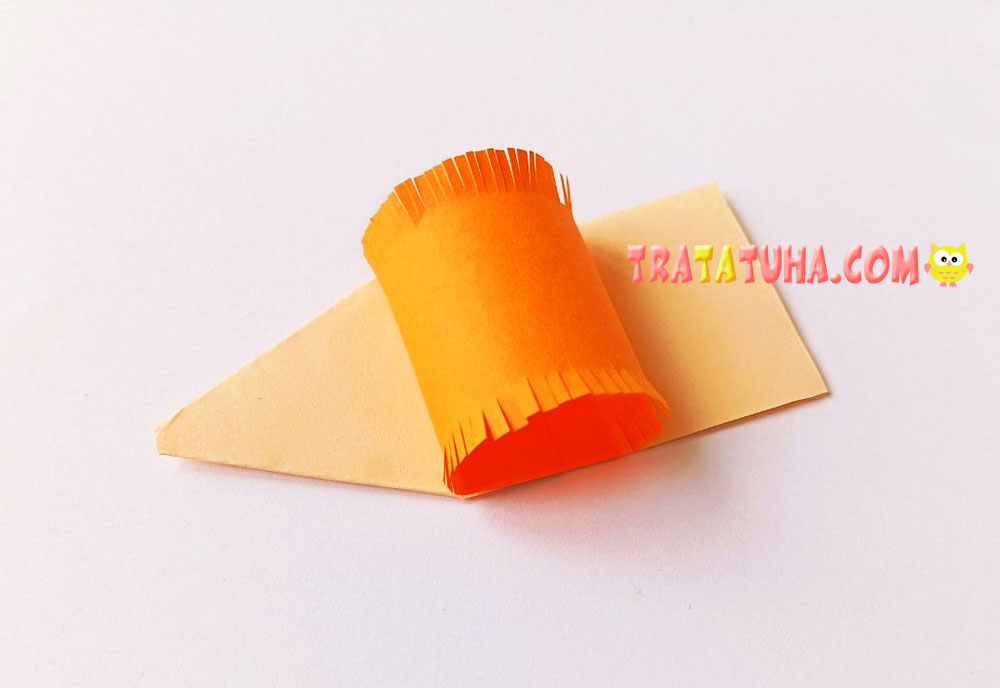
Glue the shape into a semicircle by overlapping and attaching the folded ends.

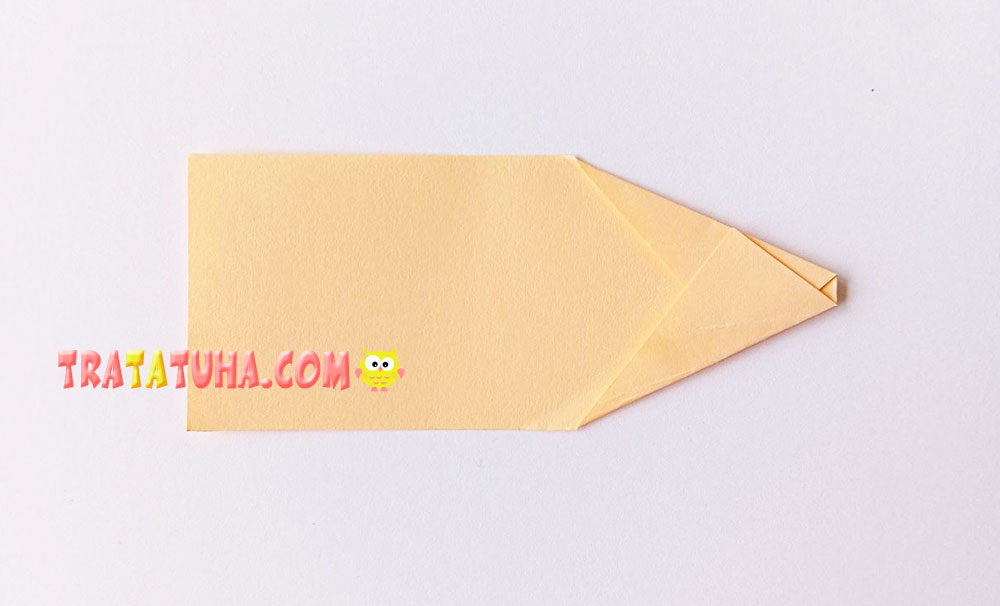
Now take the beige rectangle that will become the hedgehog’s body. Fold the sides inward to create a pointed shape similar to a triangle. The tip does not need to be perfectly sharp because it will later be covered by the nose. The important thing is to create a pointed snout.
Glue the spines onto the body.
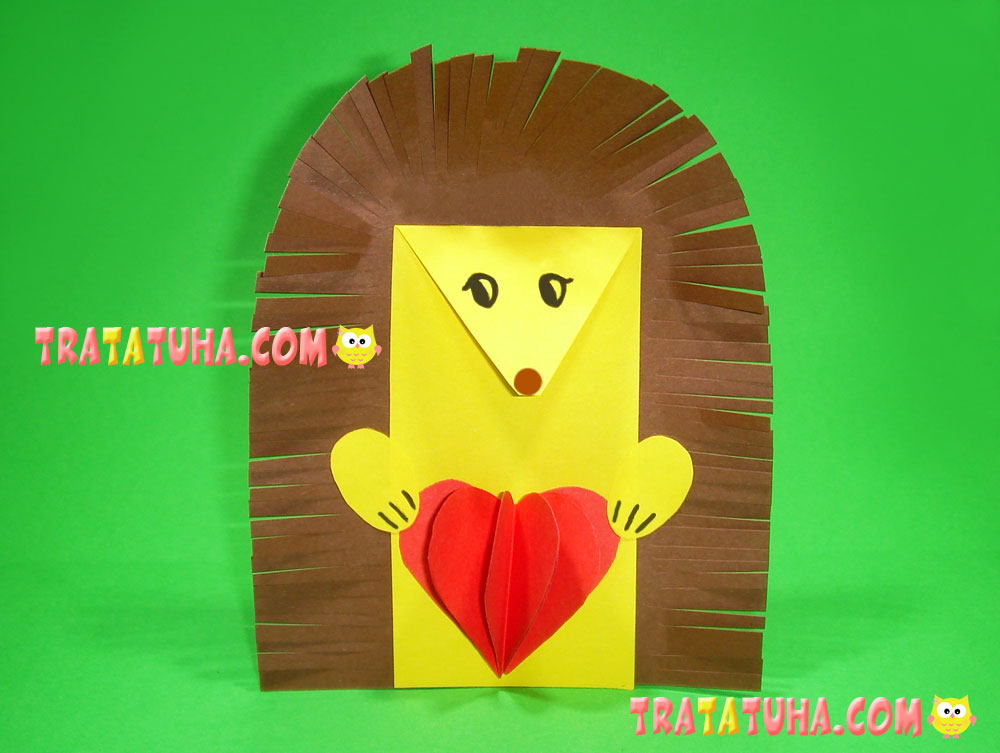
The paper hedgehog’s spines do not have to be made from a rolled paper strip. Check out this easy Accordion Paper Hedgehog Craft and see how simple it is to create a hedgehog using folded paper.
Trim away any excess paper from the back of the body so that nothing sticks out behind the spines.
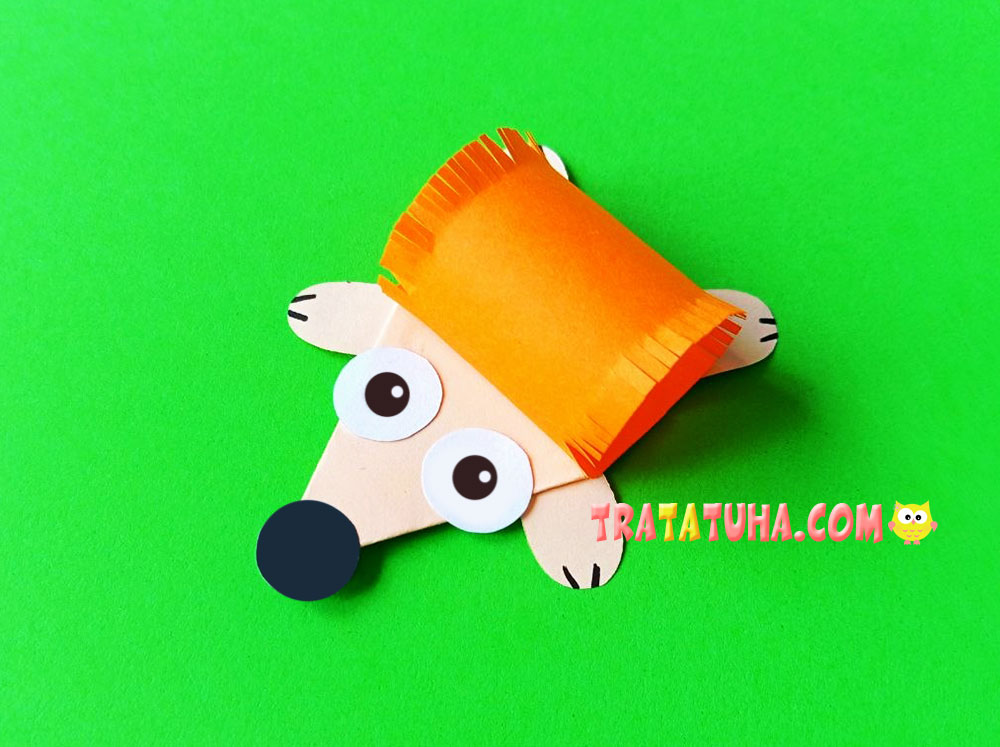
Attach the remaining pieces: the nose, eyes, and legs. Draw pupils on the eyes and claws on the legs with a black marker.
The back legs can point either forward or backward, depending on the pose you would like your hedgehog to have.
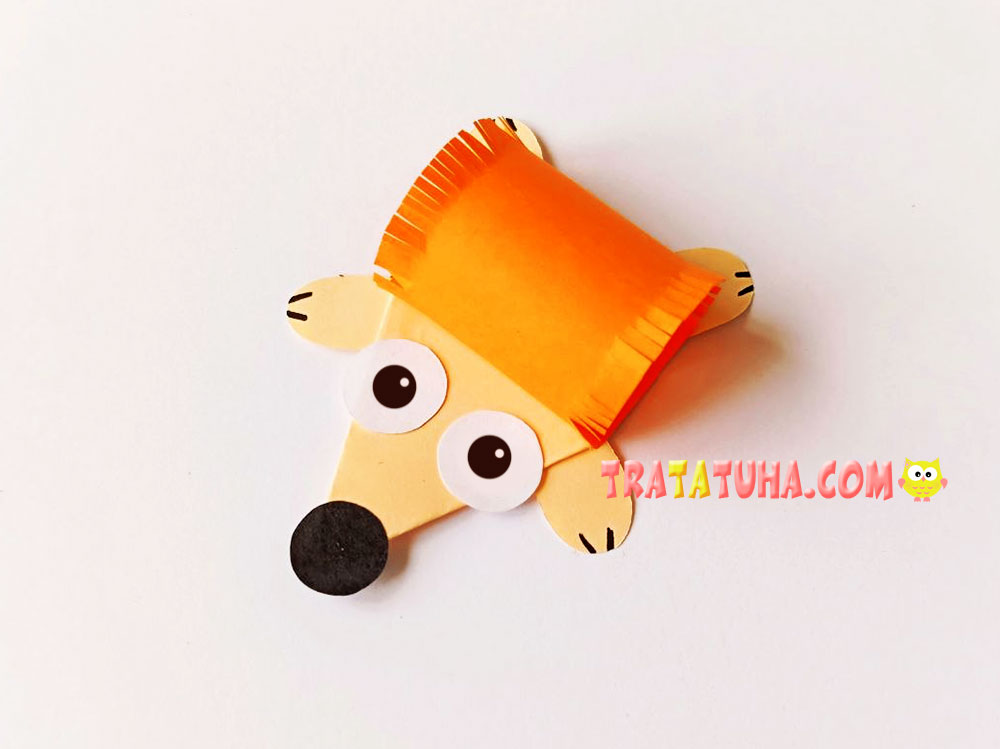
Despite its prickly appearance, this little forest animal turns out cute and friendly. This paper hedgehog craft for kids is perfect for children to make at any time of year, especially in the fall.
Related Post: