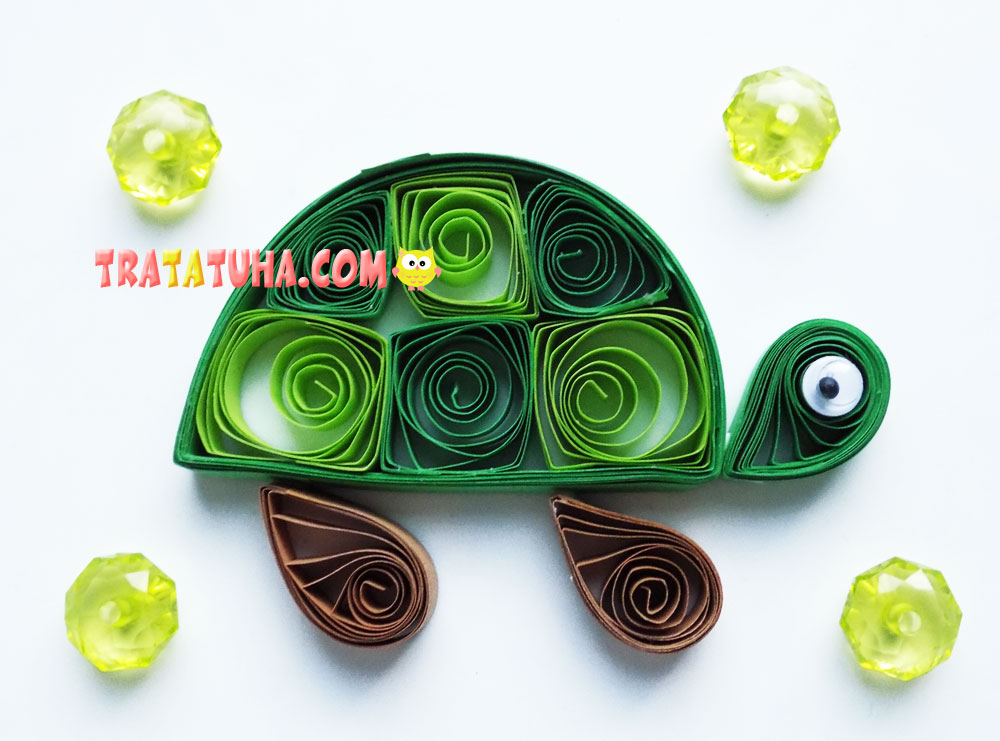
Today we will make a quilling turtle from paper strips. And this interesting technique and this master class will help in this.
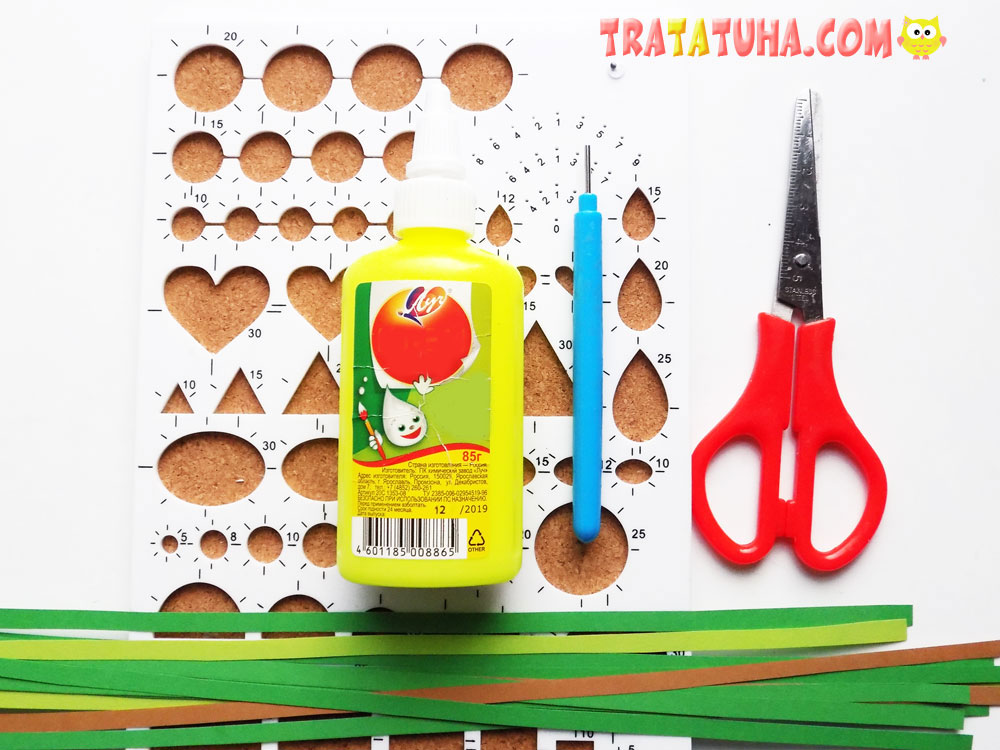
To create a turtle, we took:
- paper strips of light green, dark green and brown;
- quilling tool and template;
- plastic eye;
- white glue with scissors.
Quilling Turtle Step by Step
First, let’s make a shell for our turtle. To do this, we sequentially glue 4 strips of dark green color. Then we wind them on the glue package, at the very beginning we fix it with a drop of glue. Instead of glue, you can use any object of a suitable size.
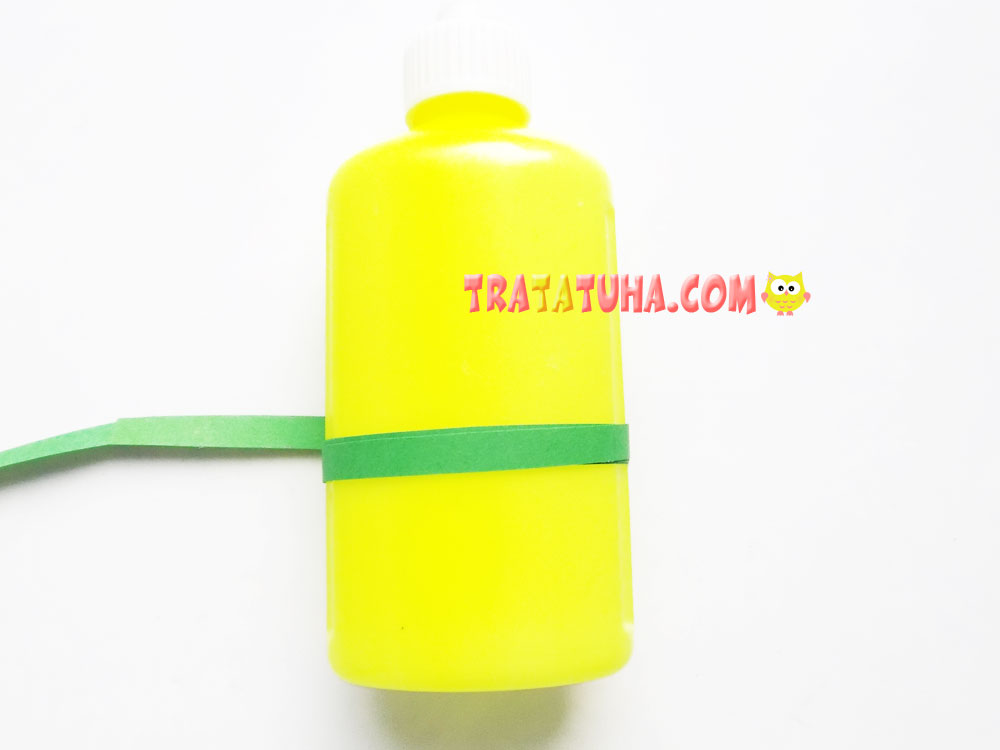
So we made a rounded blank, which will become the basis for the tortoise shell.
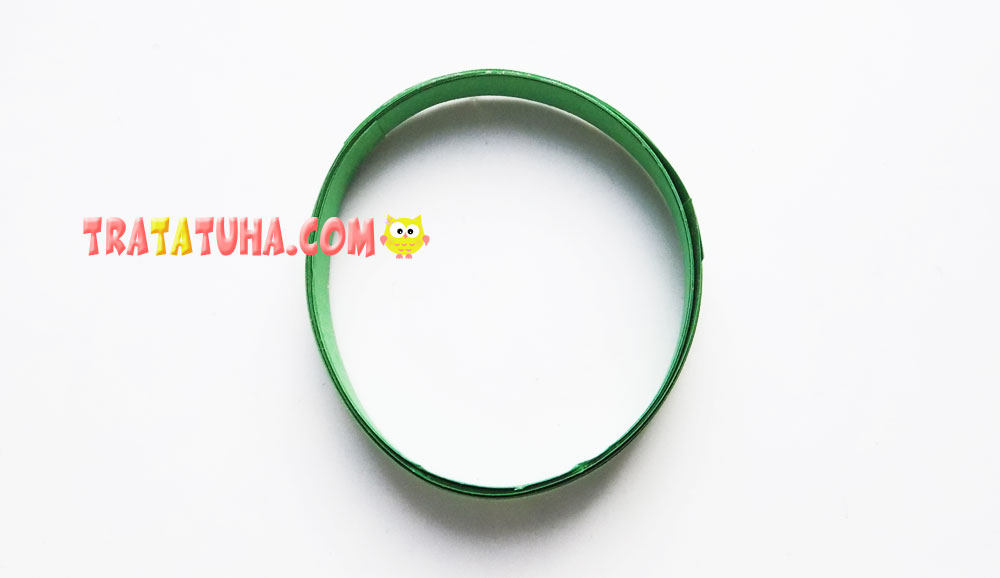
We give it the desired shape.
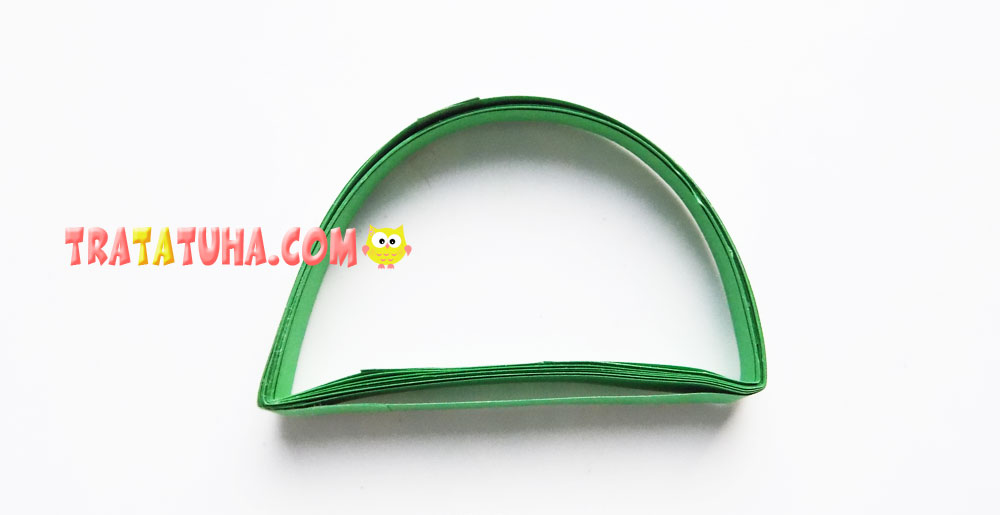
Now we will make several elements that will be located inside the shell. To do this, we twist a light green strip and put it in a template with a diameter of 20 mm.
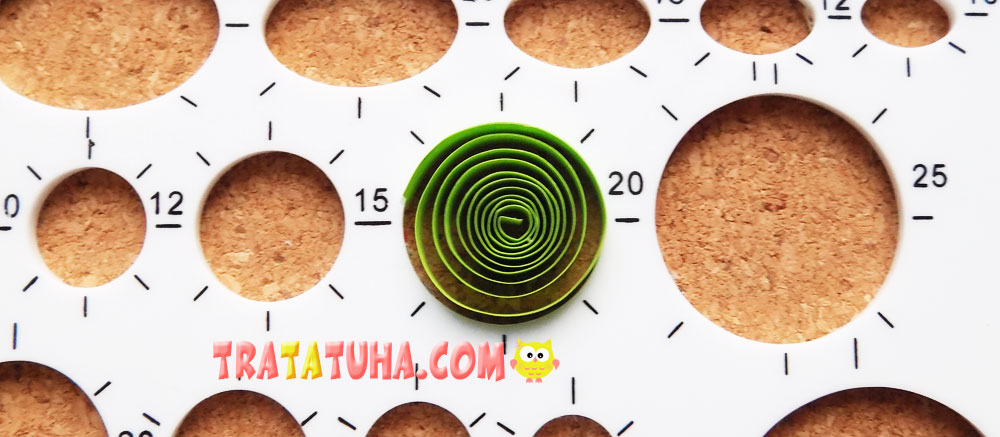
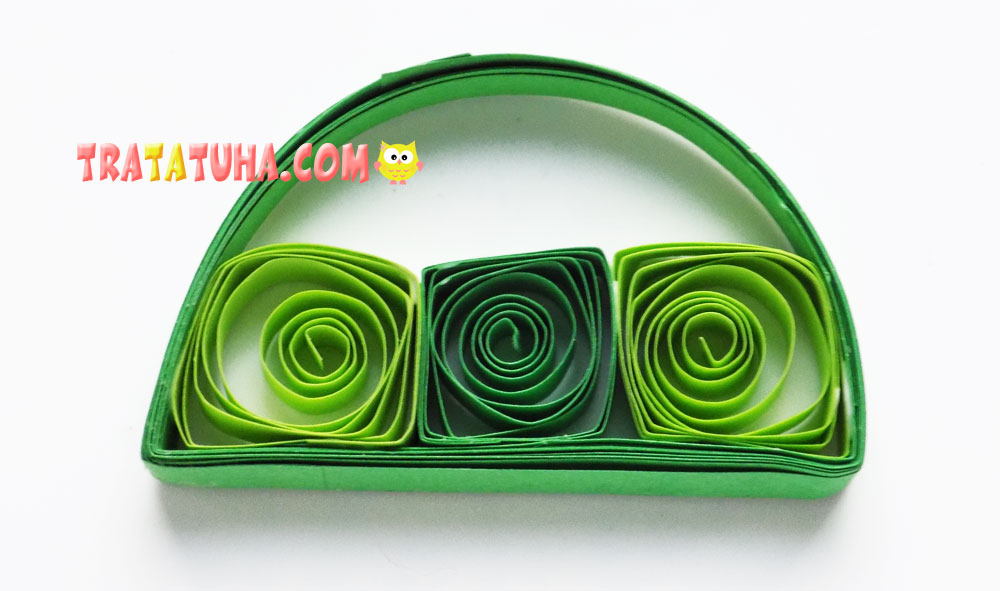
We take out the resulting circle from the template and fix its tip. We give this blank the shape of a square and glue it inside the shell.
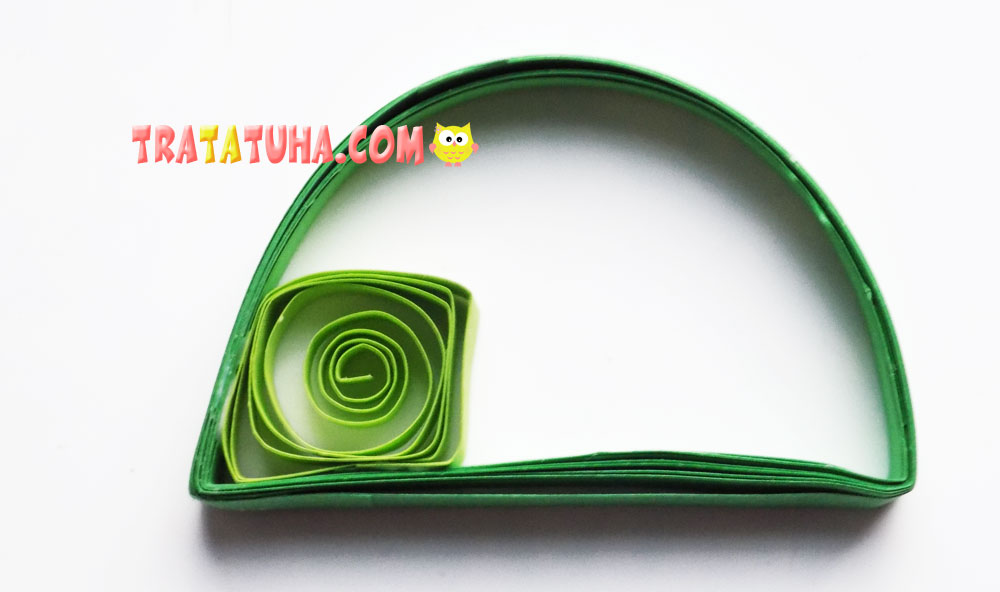
Then we make a couple more of these blanks, using strips of dark green and light green. So we filled the bottom row of the shell.
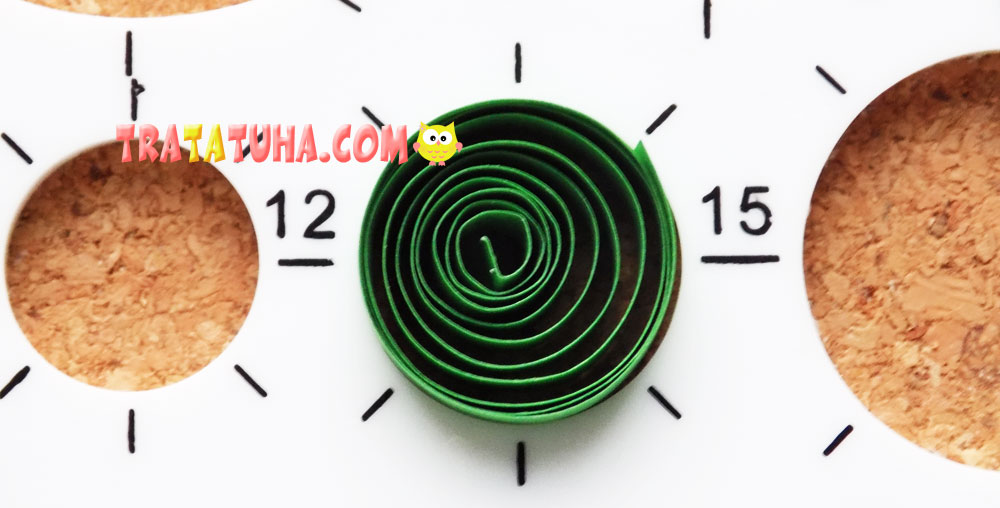
For the second row, we twist blanks with a diameter of 15 mm.
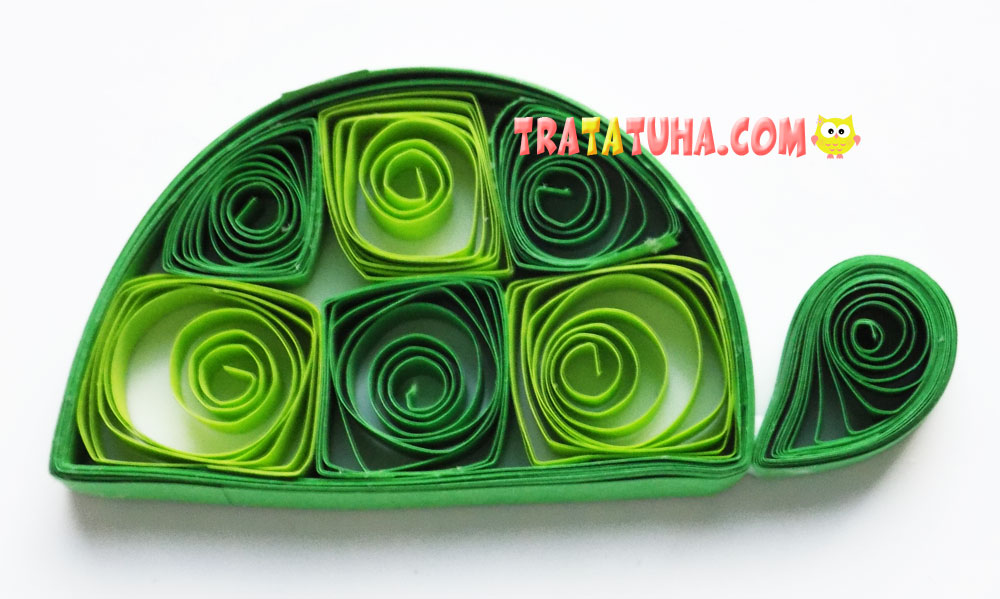
Then we form blanks of the desired shape from them and fill the shell. To create the head of a turtle, we glued 2 strips of dark green color, twisted a blank of 15 mm in size from them, gave the desired shape and glued it to the shell.
It remains to make paws for the turtle. We make them from strips of brown color, first forming circles with a diameter of 15 mm, and then squeeze and glue from the bottom of the shell. Add a plastic eye.
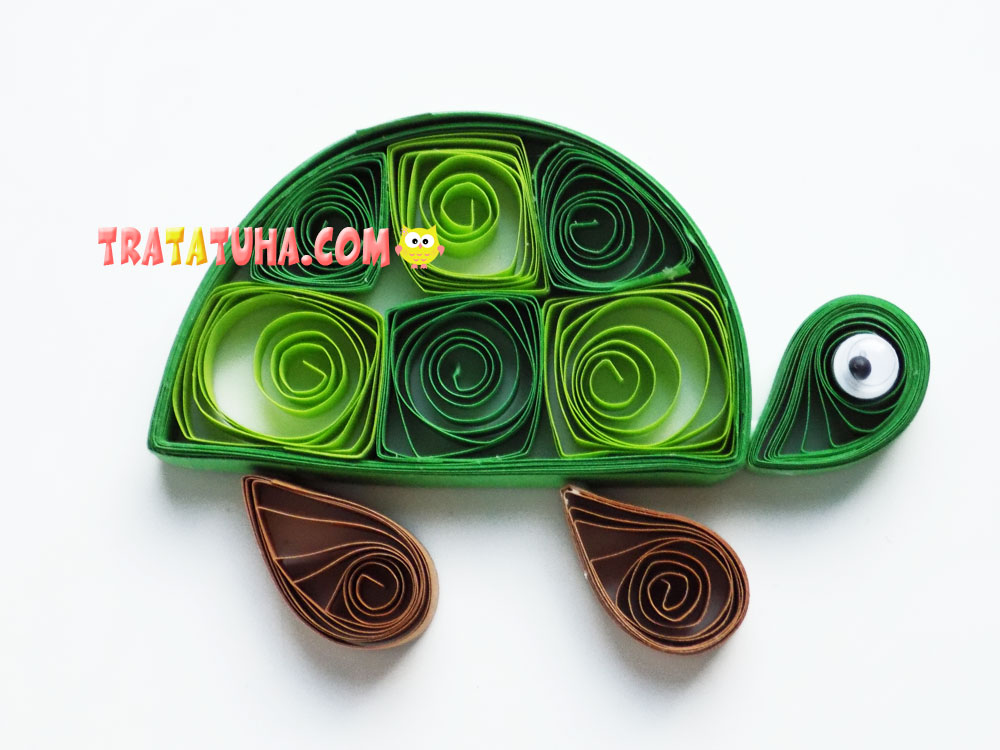
The quilling turtle is ready.
See more ideas about Easy Paper Quilling.
Many other ideas in the collection of Paper Animals Craft.
Crafts for Kids – learn how to make craft at home! Super cute crafts for all age groups!
