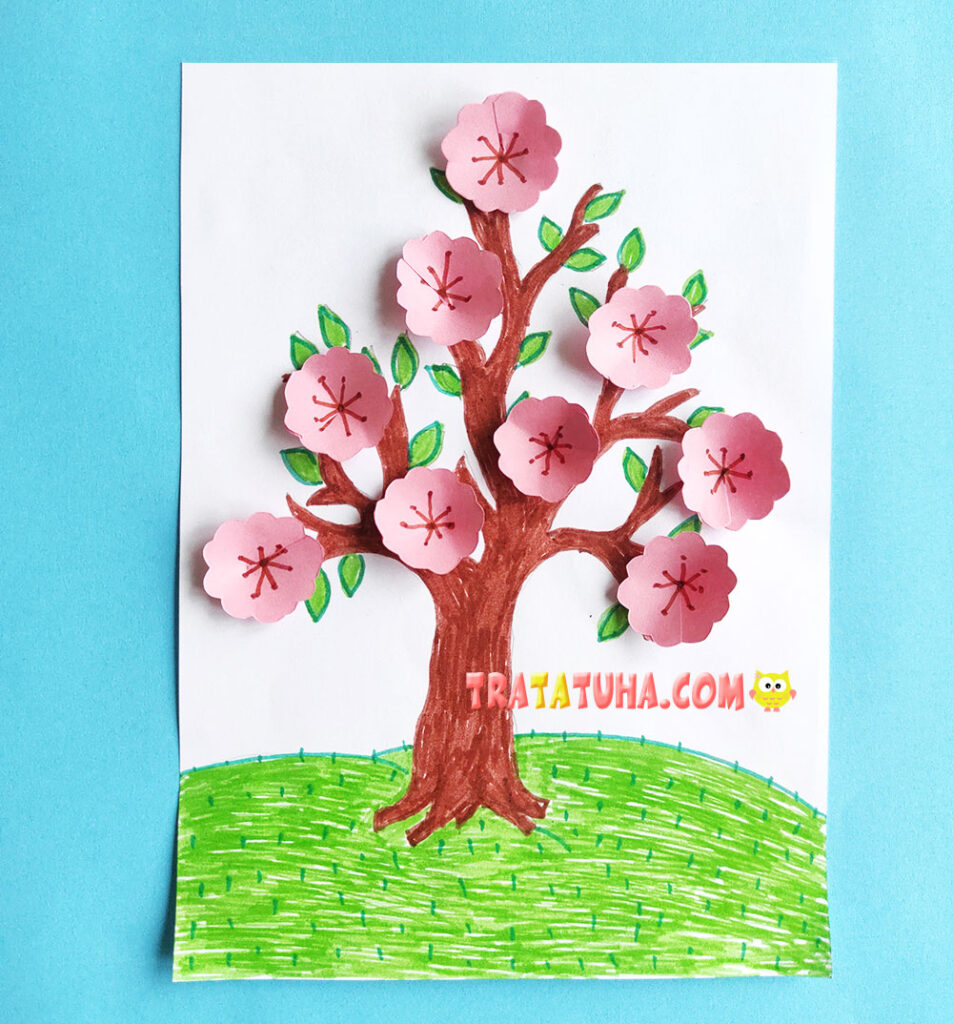
Blossom tree craft seems to glow with springtime tenderness. It’s a simple yet beautiful craft for children.
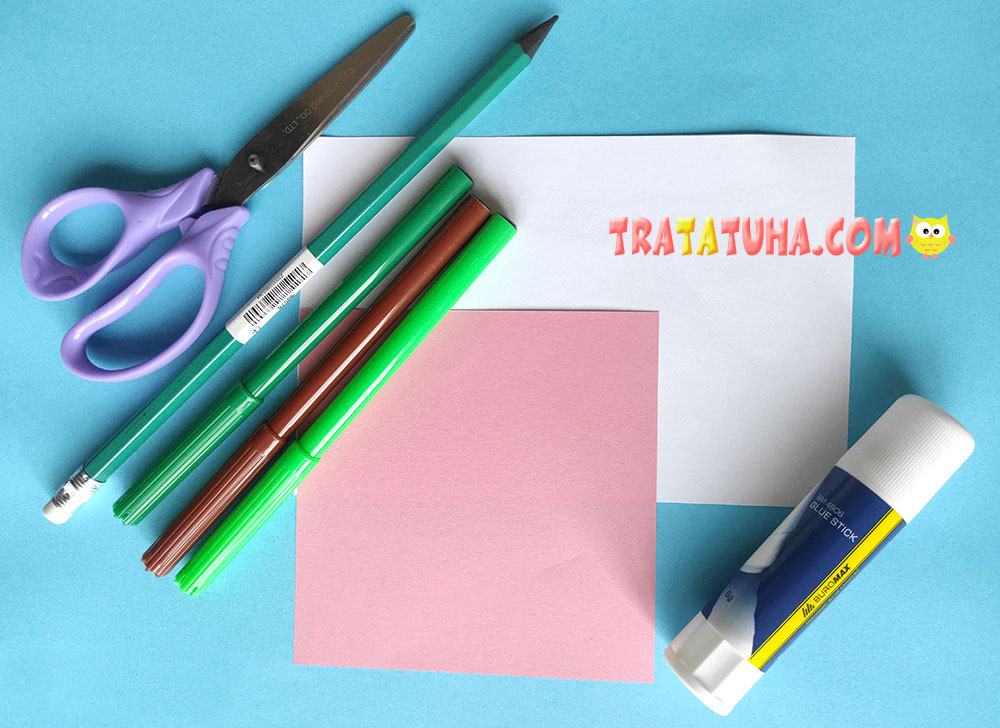
Materials needed:
- White paper (it’s better to use thicker paper so it doesn’t wrinkle from glue or markers, such as drawing or watercolor paper);
- Pink paper;
- Two green markers in different shades (optional—you can use just one);
- Brown marker;
- Pencil;
- Scissors;
- Glue.
Blossom Tree Craft Step by Step
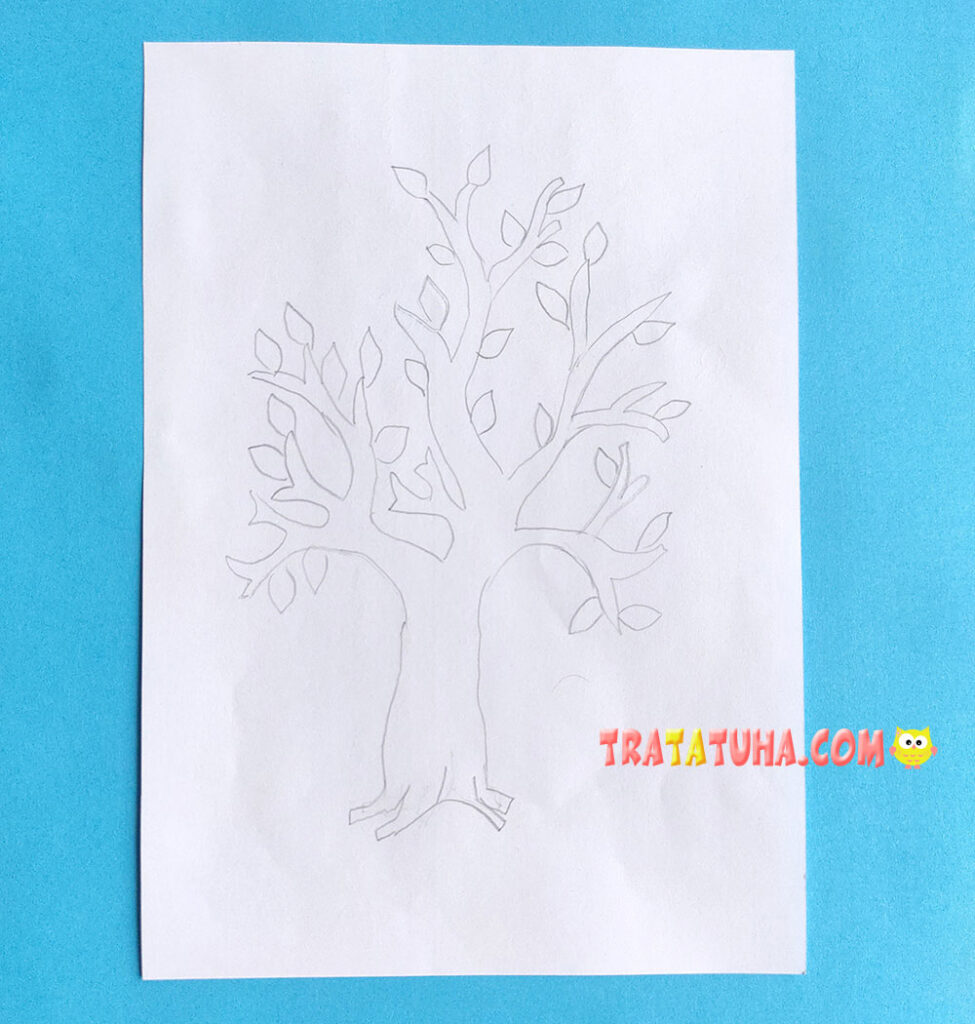
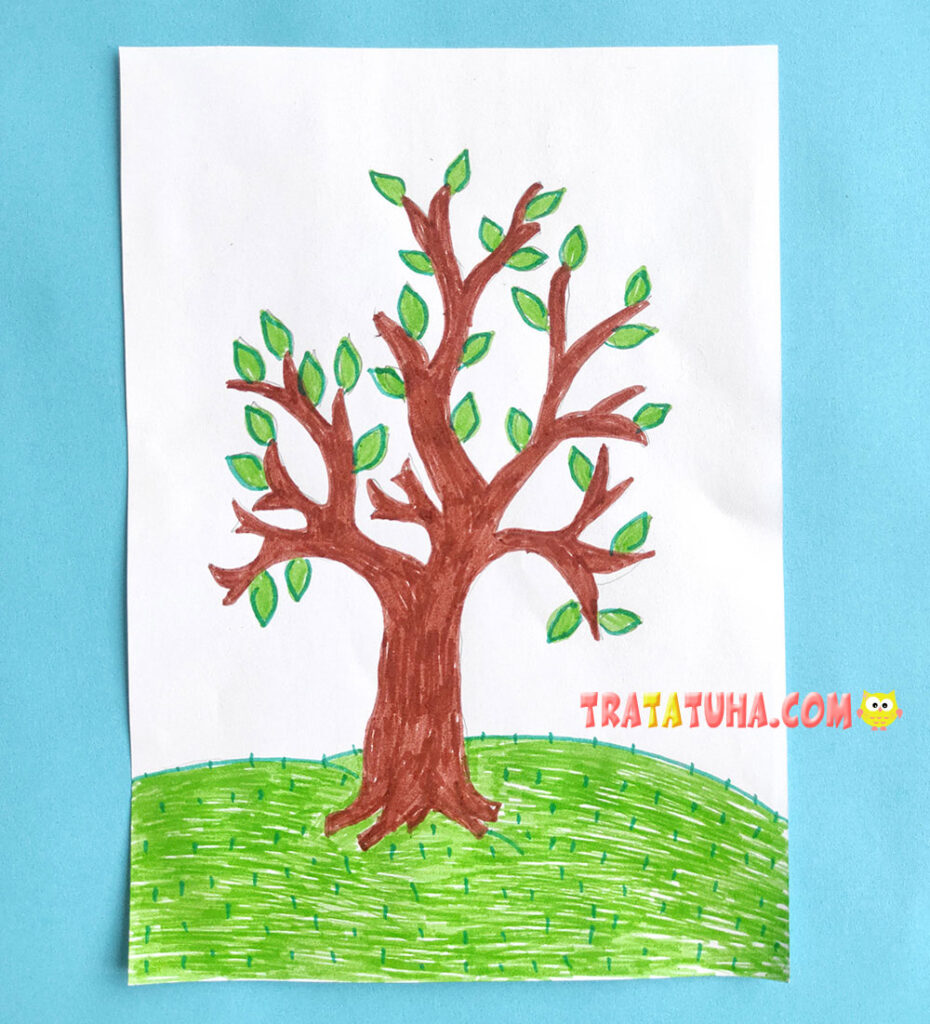
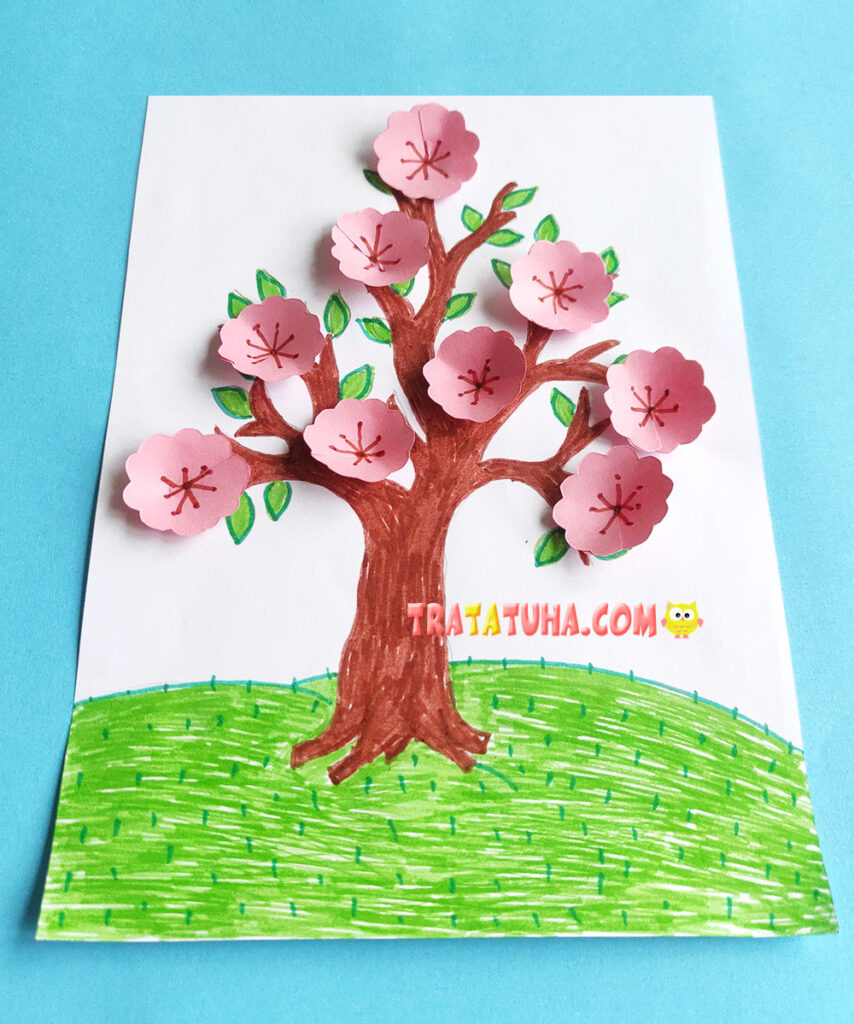
The base of our craft is a drawing of a tree: the trunk and the crown. You can sketch it by hand, letting your imagination run free, or use a ready-made template. Don’t aim for perfect symmetry—curved and whimsical branches will make it more interesting.

Draw the tree on a sheet of white paper. It’s best to make a light sketch with a pencil, but for a clear, bold outline you can use a marker.
Color the tree with markers, pencils, or paints. Markers and paints will give a bright, rich color, while pencils will create a soft and delicate effect.
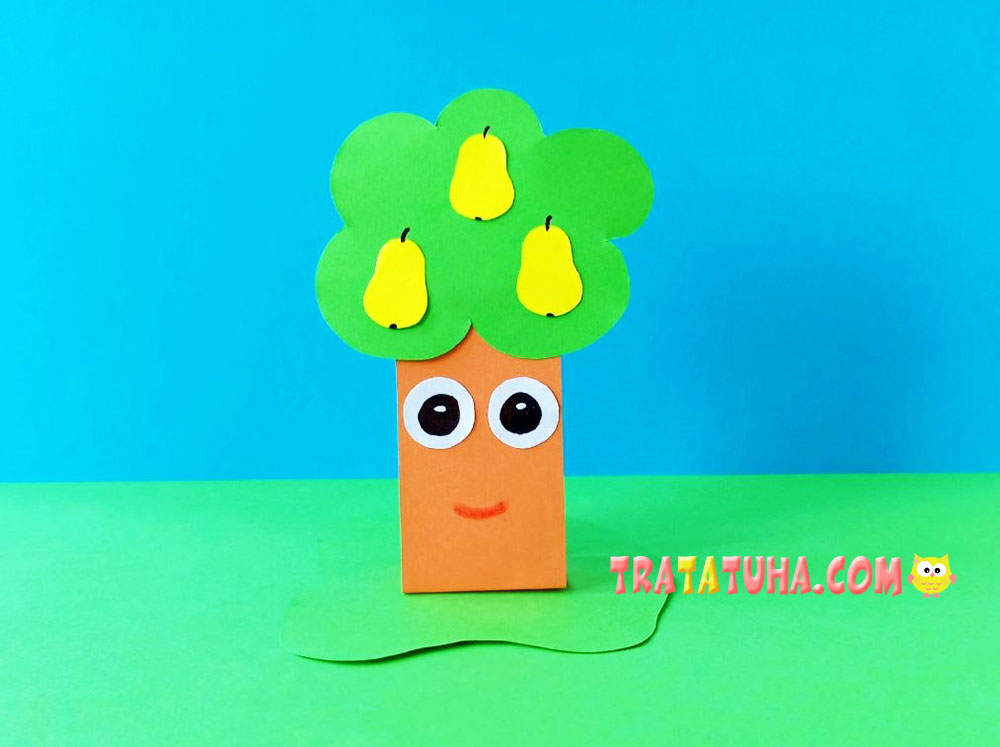
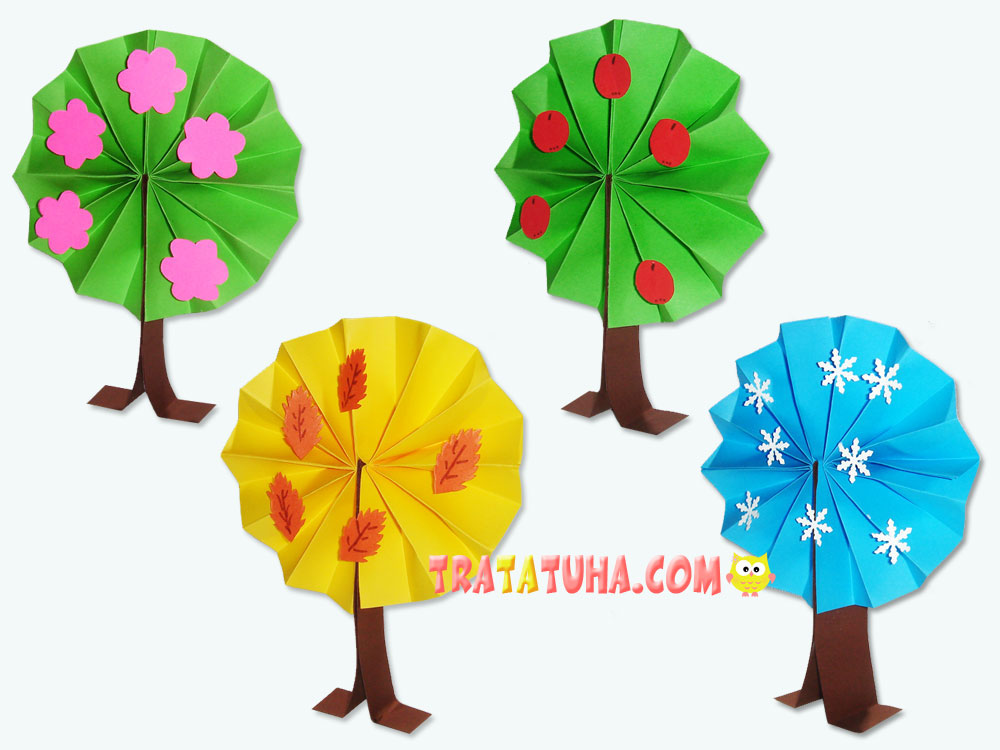
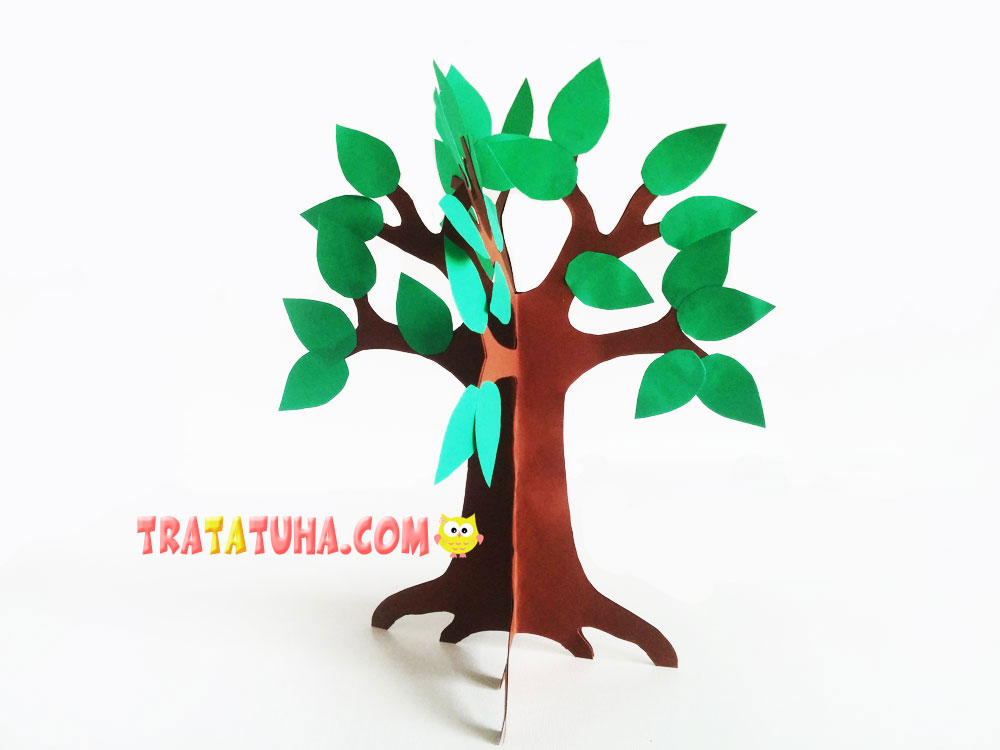
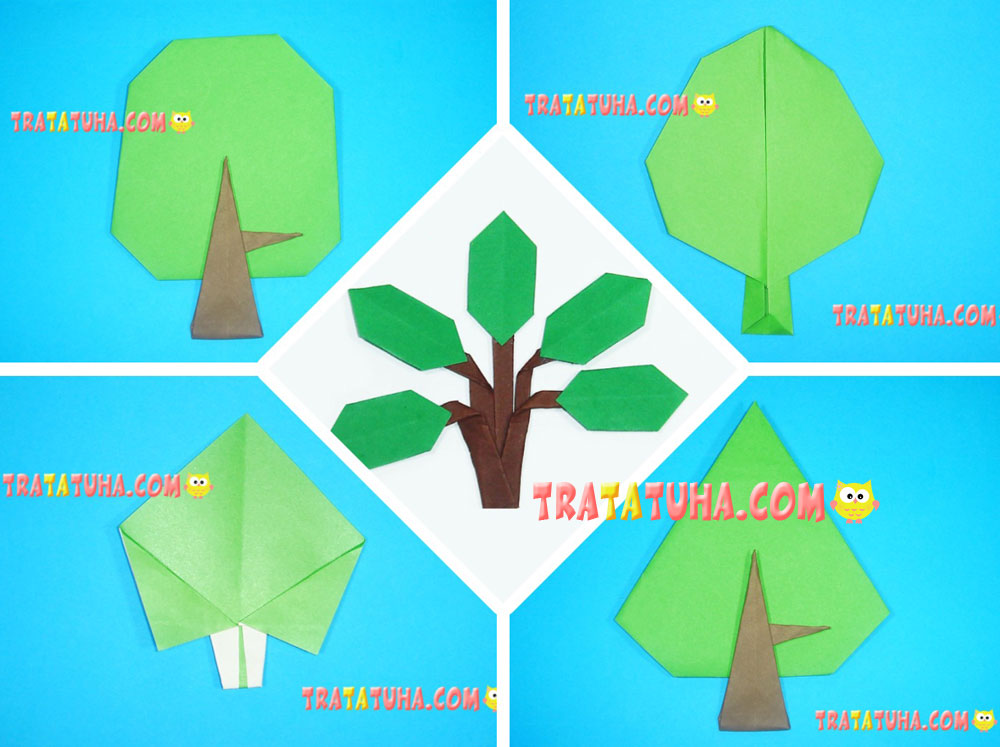
You can also check out an interesting idea for making a 3D paper tree craft.
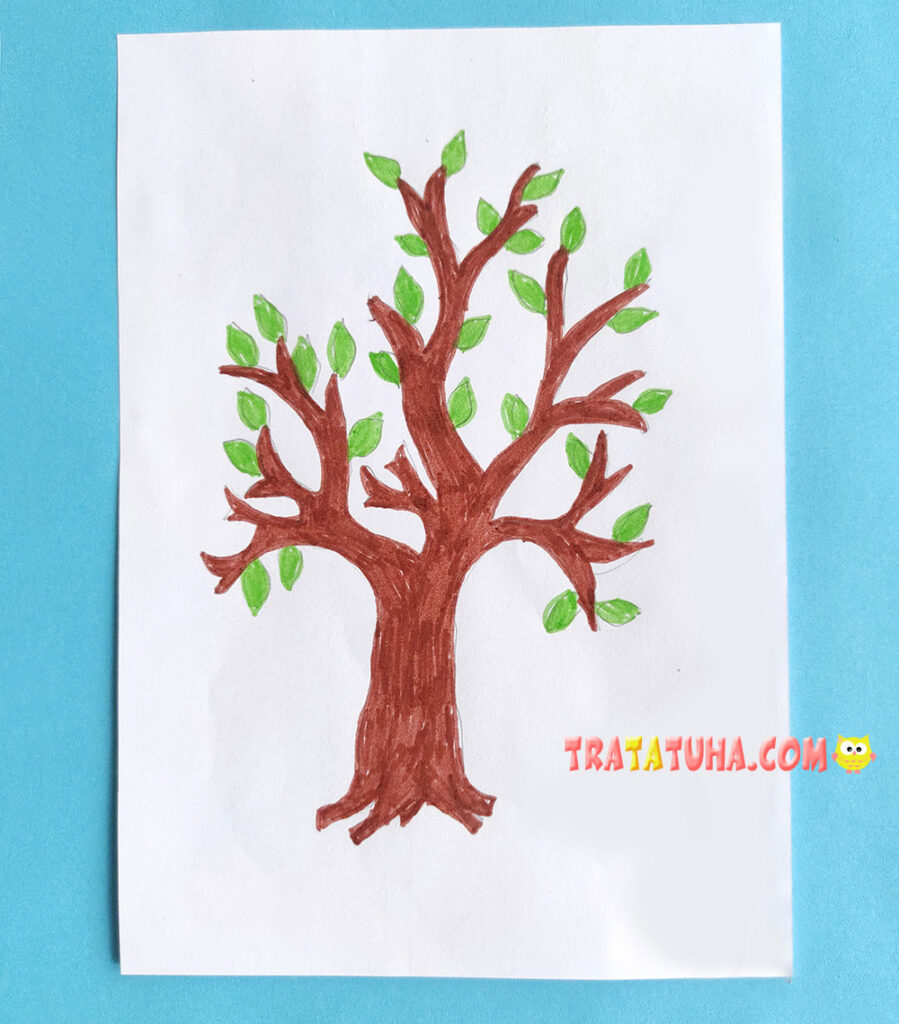
To make the artwork livelier, add some green grass and outline the leaves.
Now that the tree is ready, move on to creating the 3D flowers. Draw flower outlines on the pink paper. For convenience, make three sketches.
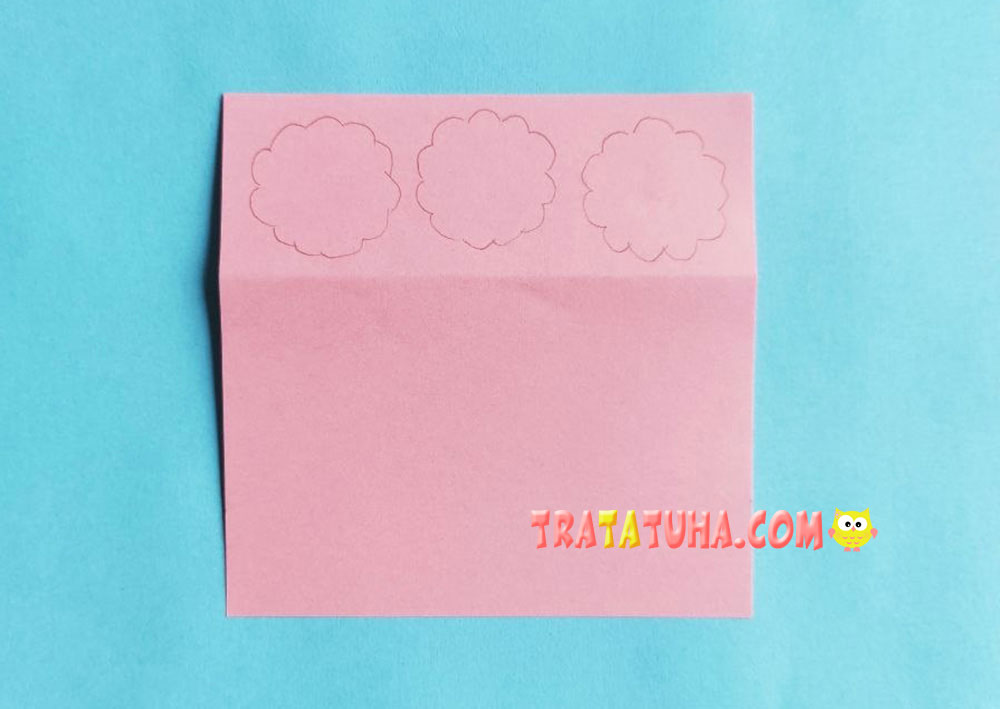
Fold the sheet into three parts and cut out the shapes all at once—this way you will get nine identical flowers.

Use a brown marker to draw the centers of the flowers. Then, using scissors, make neat cuts from the edges of the petals toward the center.
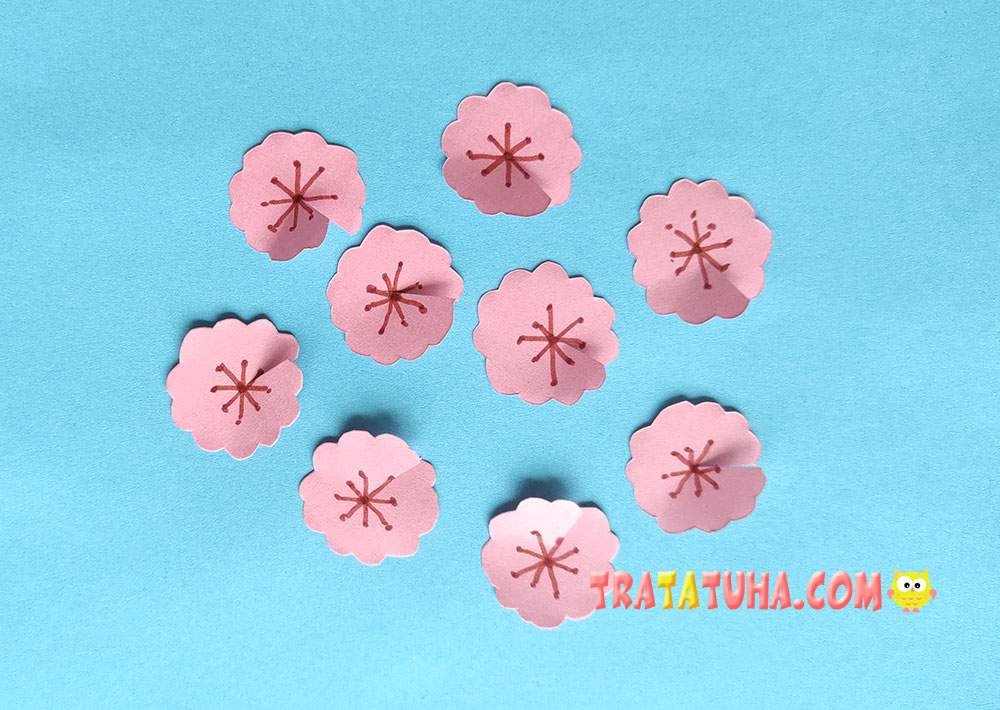
To give the flowers volume, overlap one side of each cut petal over the other and glue them together, forming a wide cone. Repeat this with all nine flowers.

Arrange the flowers on the tree crown and carefully glue them in place.
That’s it! The bright blossom tree craft—like a symbol of spring—is ready.
If you enjoy working with modeling clay, you might also like an original craft idea: a clay apple tree craft.
Related Post: