Simple versions of making a paper tree. A simple origami tree for kids of any age step by step.
For the craft, the following materials were used:
- Colored paper (origami paper), cardboard. In some version, the paper is single-sided;
- Scissors, a glue stick.
Origami Tree for Kids
1 Version of Origami Tree
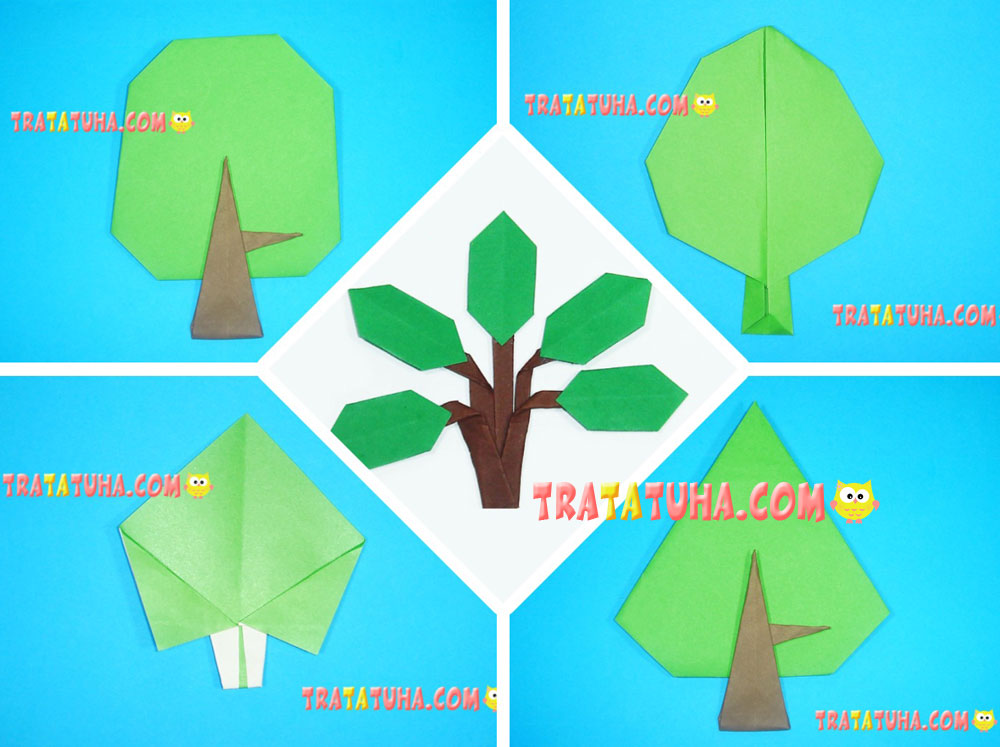
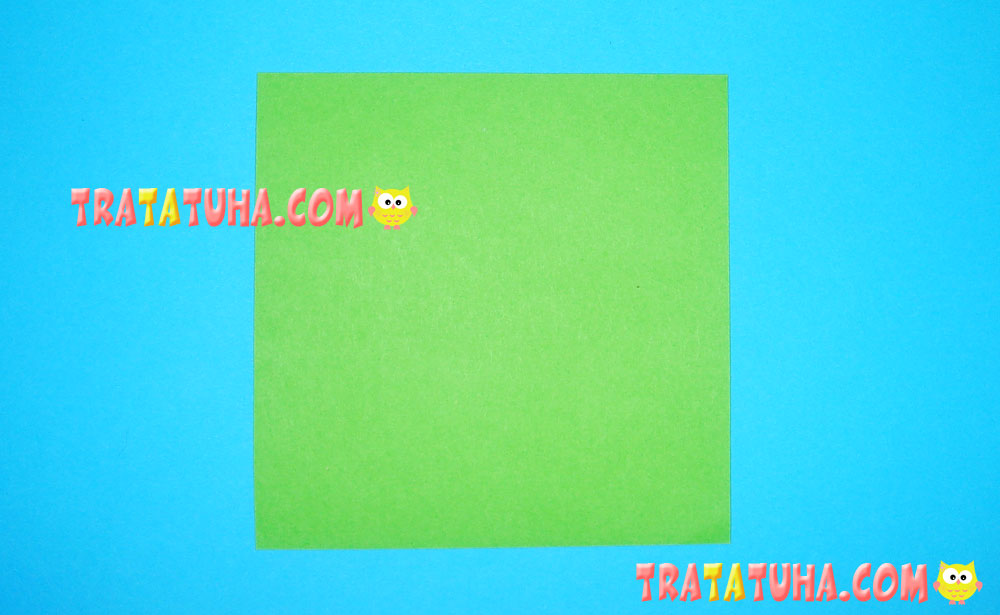
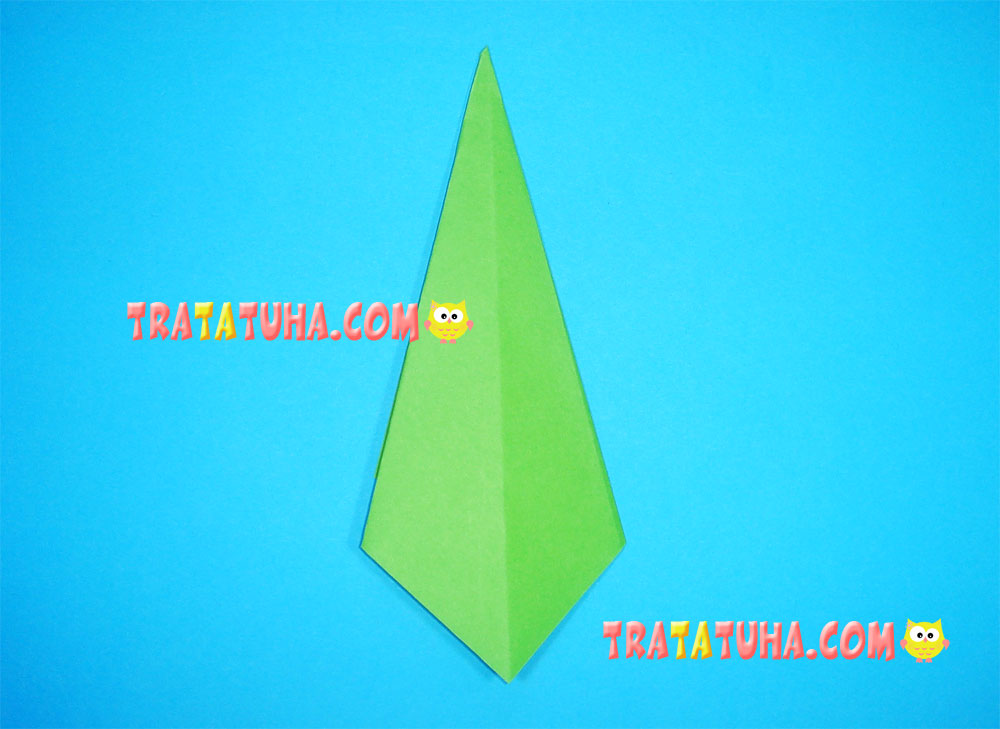
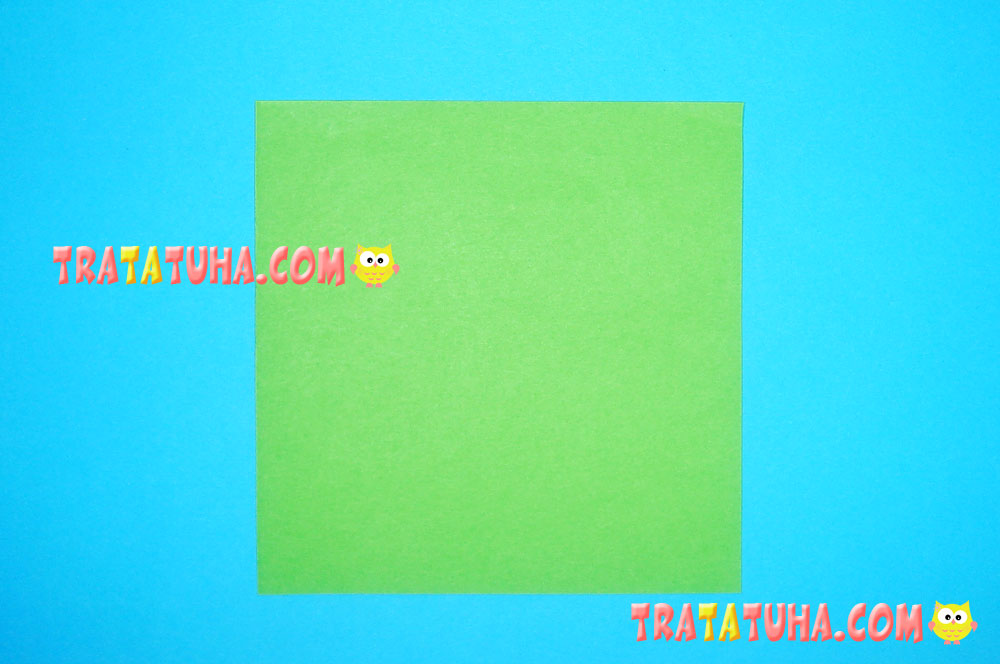
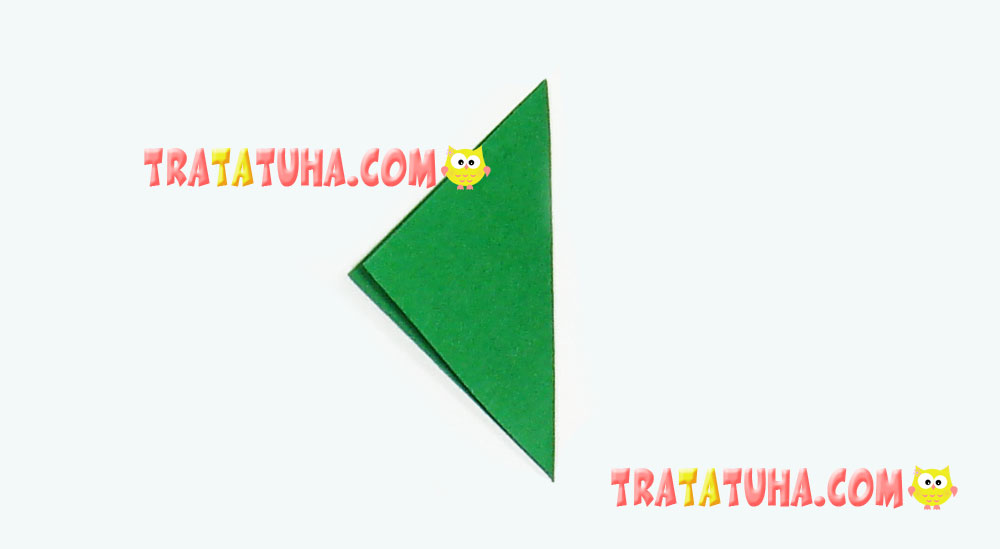
The pattern is very simple. You will need green square paper of any size.

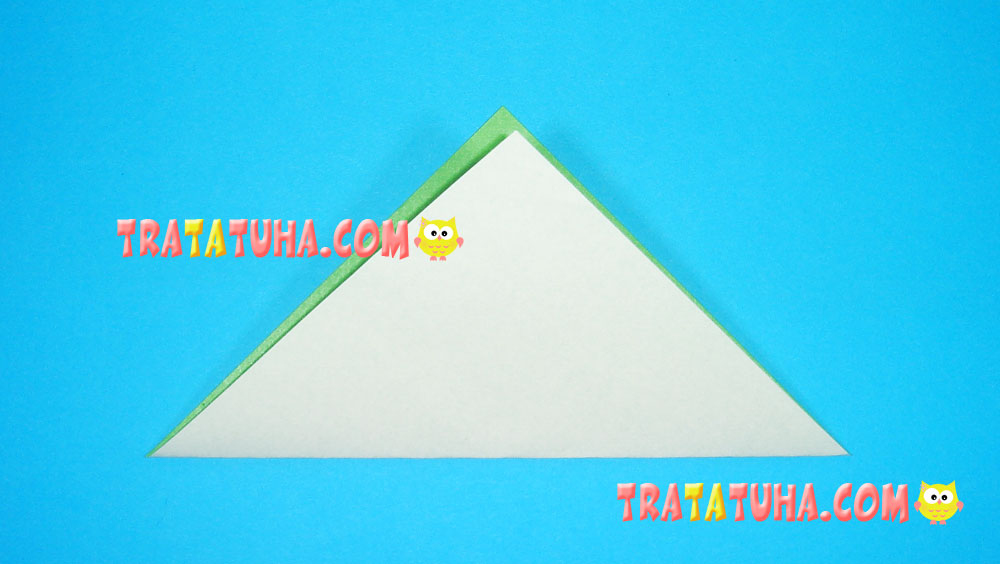
Fold the square in half to form a triangle. The outer side should be white. By doing it, you will determine the middle.
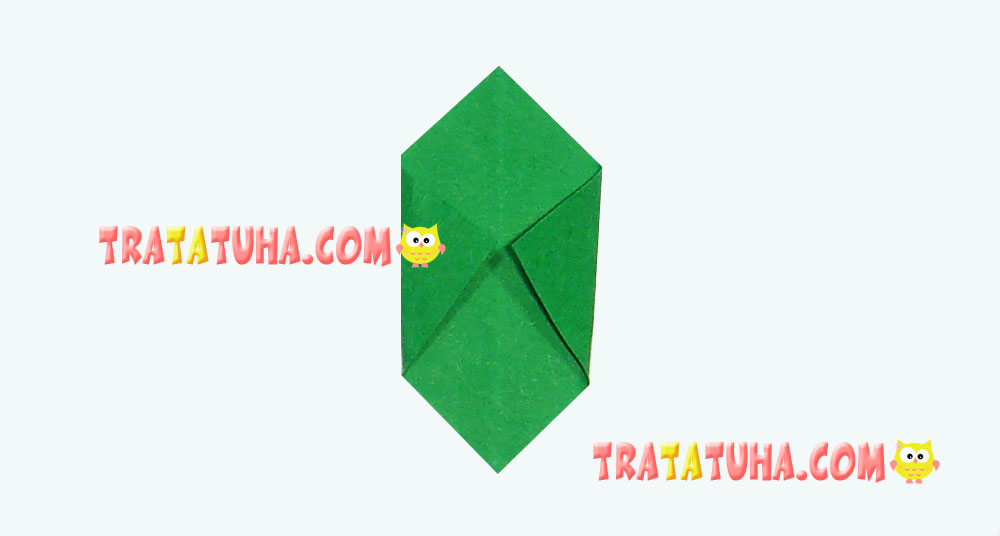
Fold the right side towards the middle.
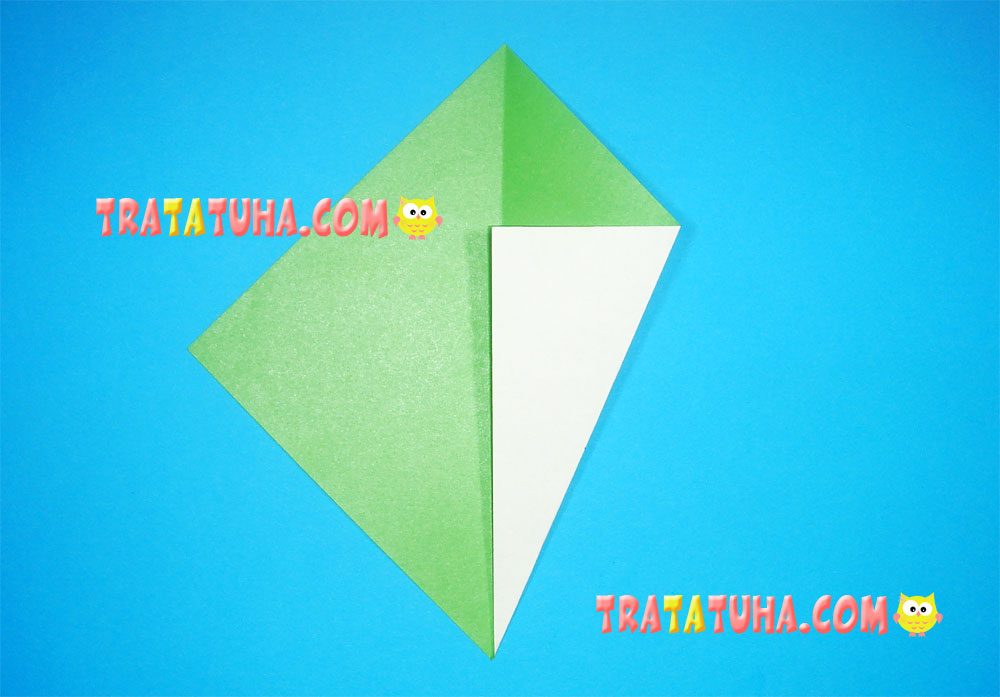
Then, repeat with the left one.

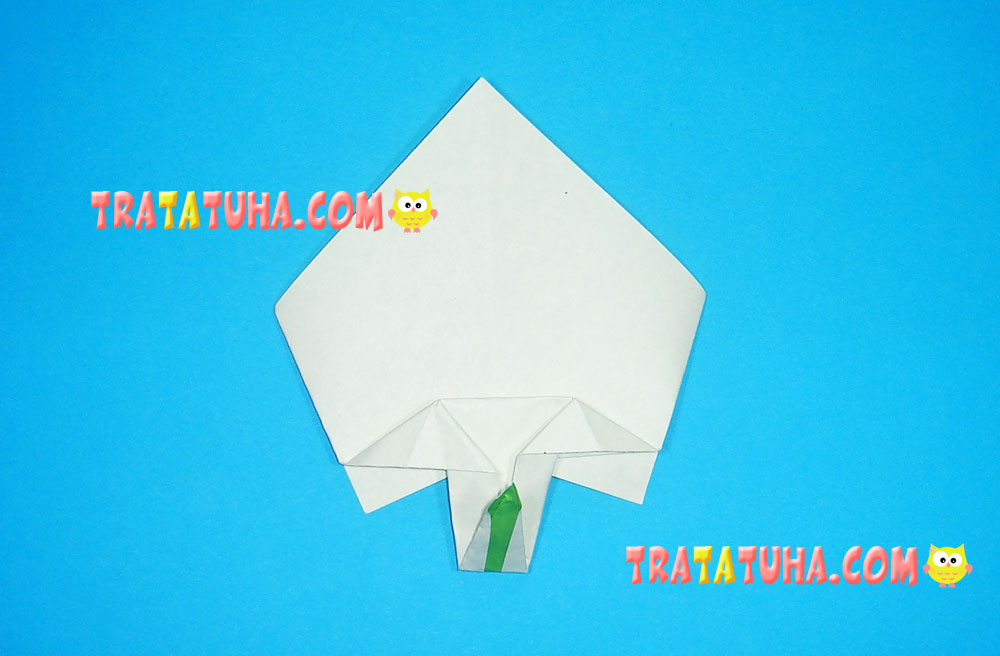
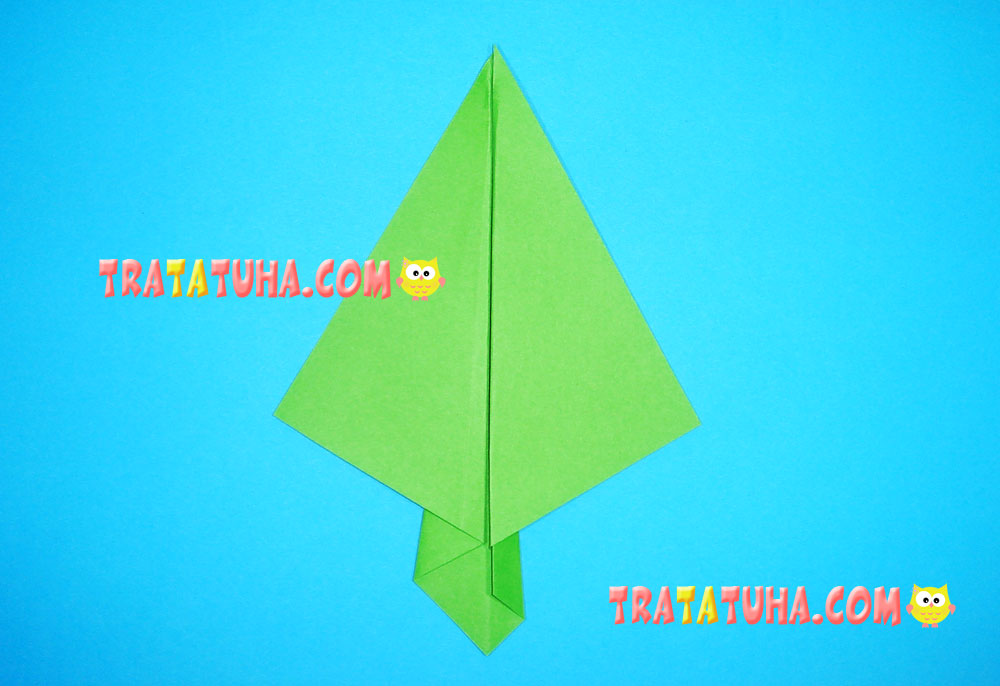
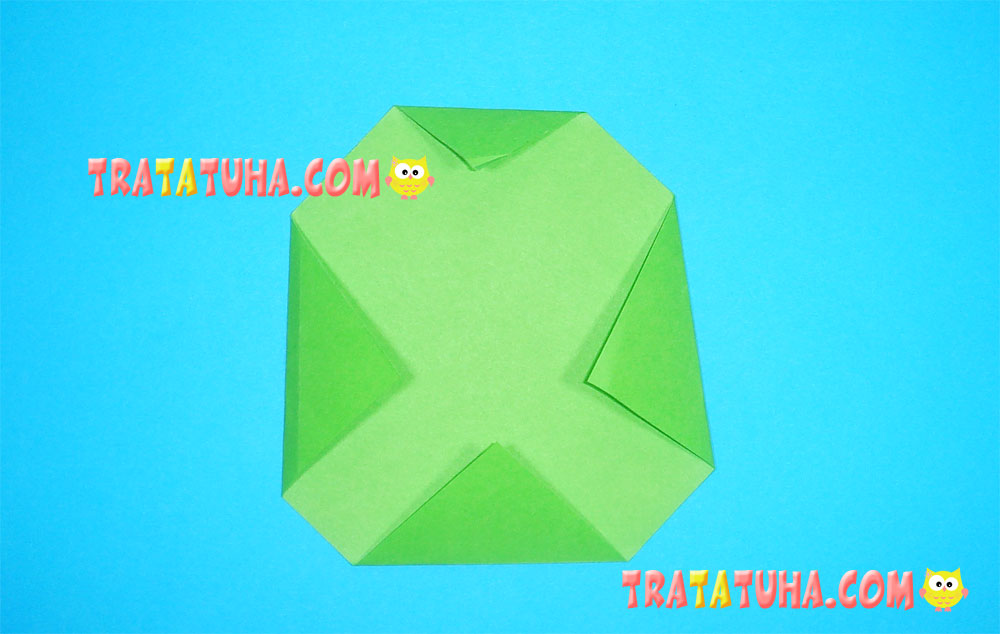
Fold the upper corners of the same sides, aligning along the part edges.
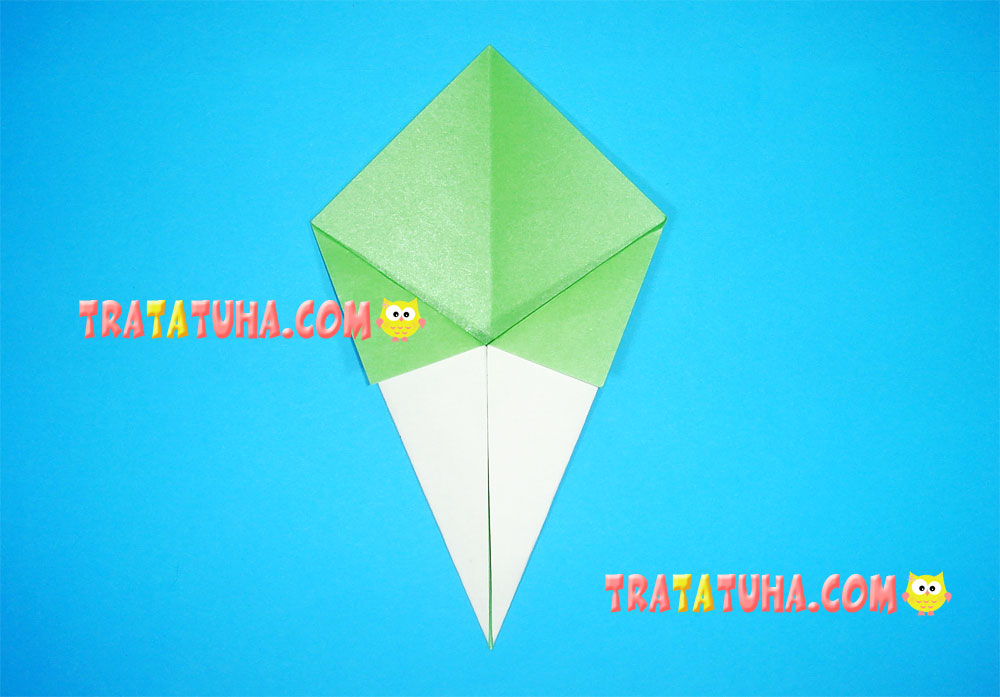
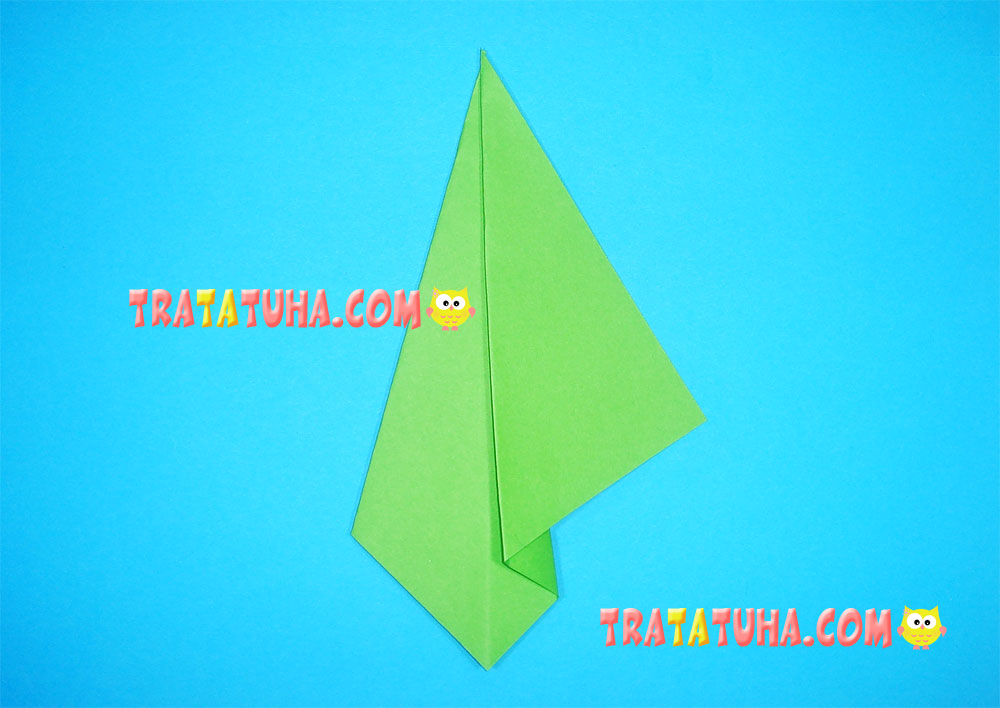
Turn it over.

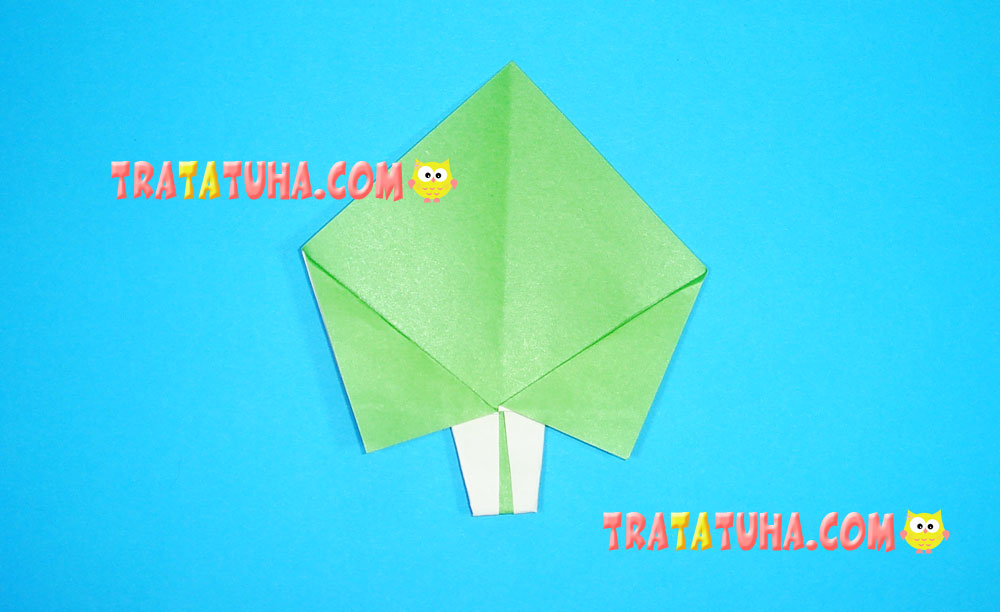
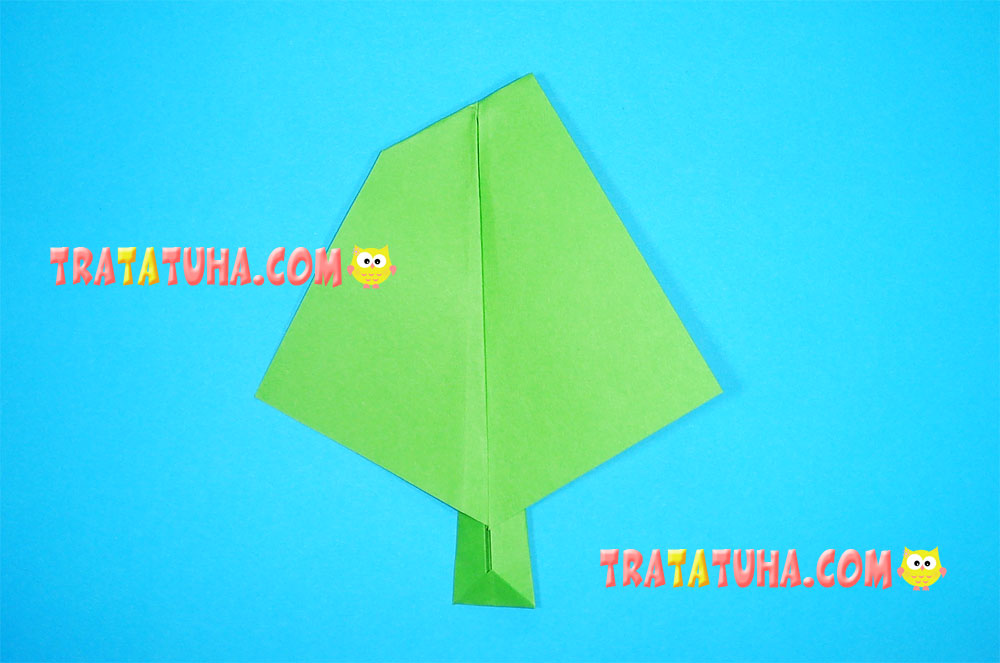
Connect the bottom corner with the upper one.
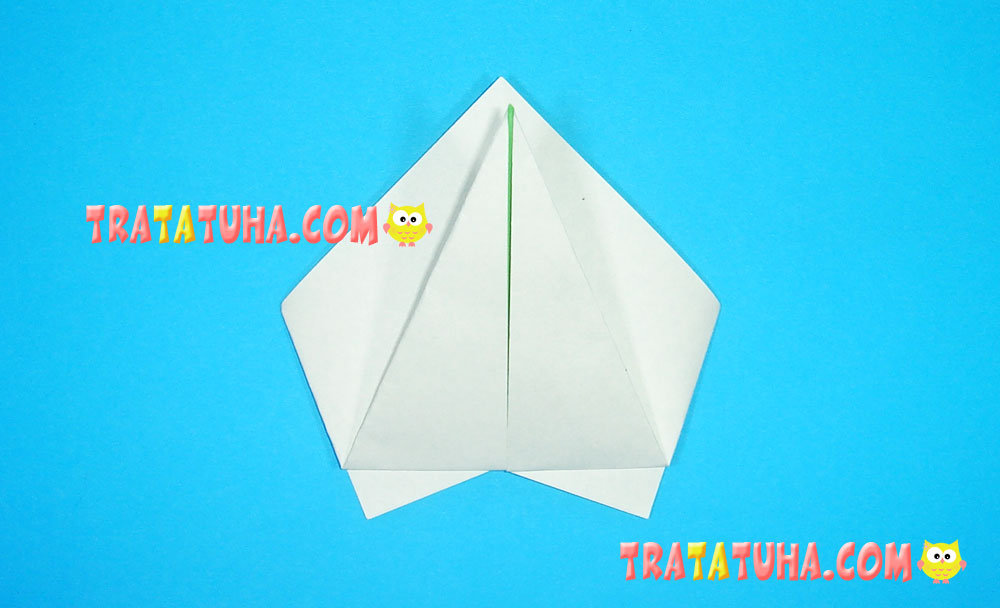
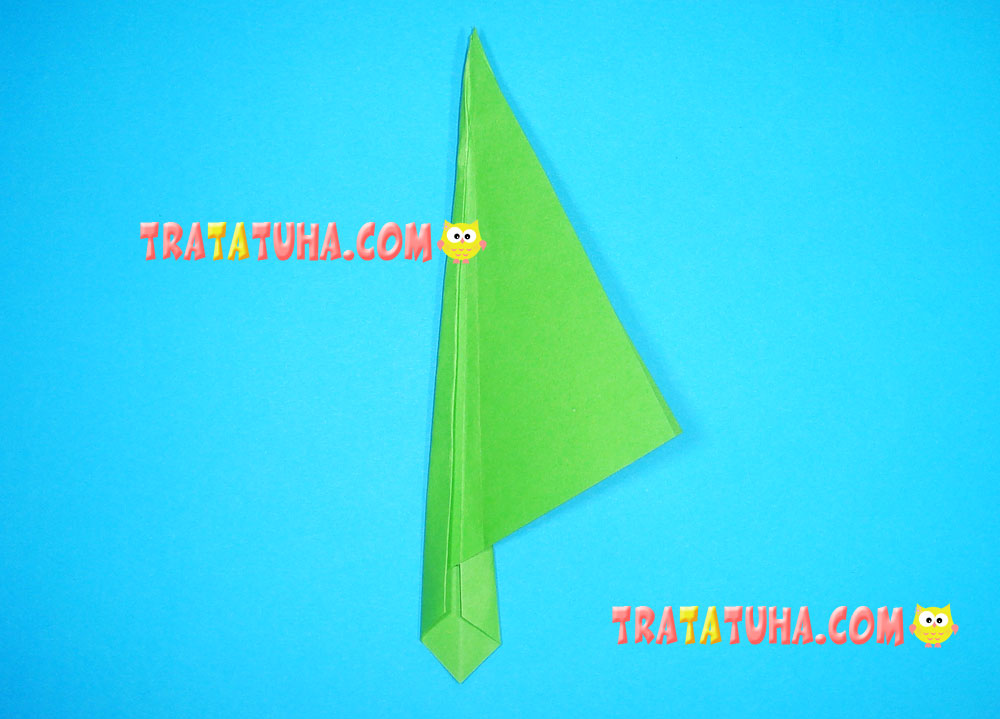
Then, direct the same corner downward, making a small fold beforehand.

Within the fold borders bend down two small corners on its edges.

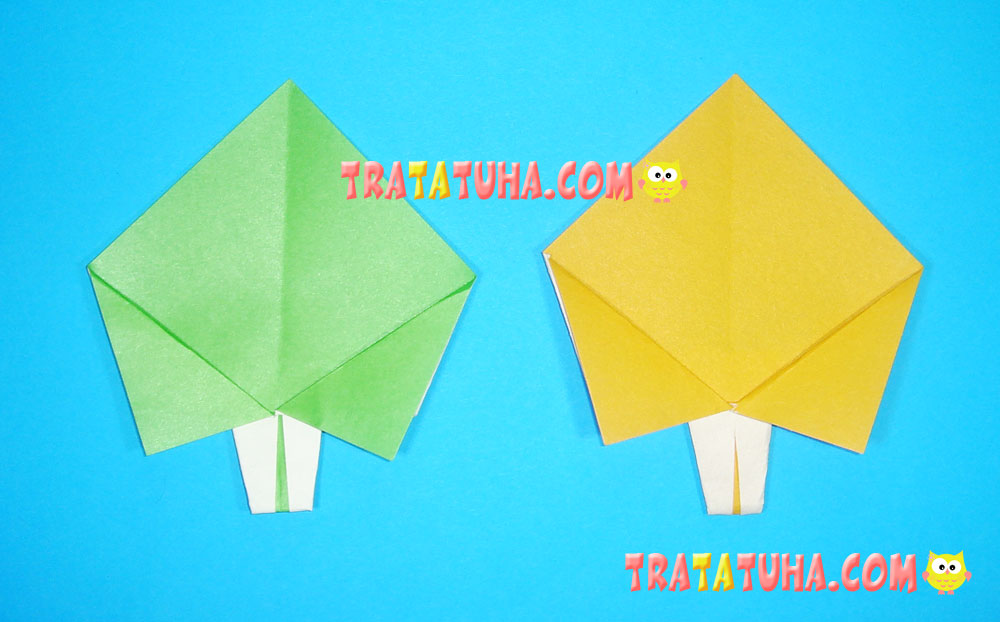
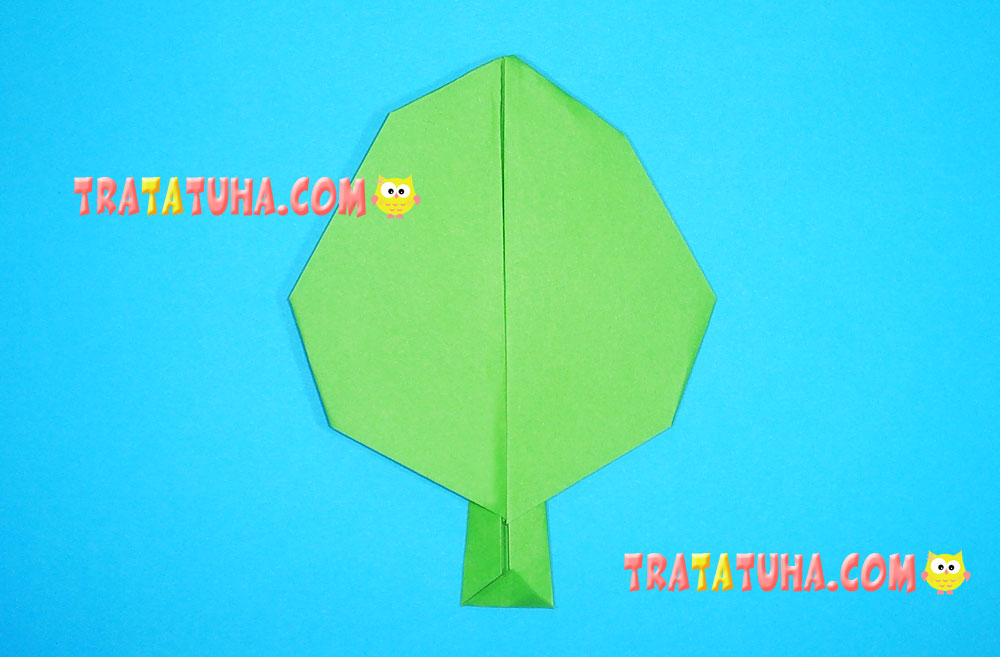
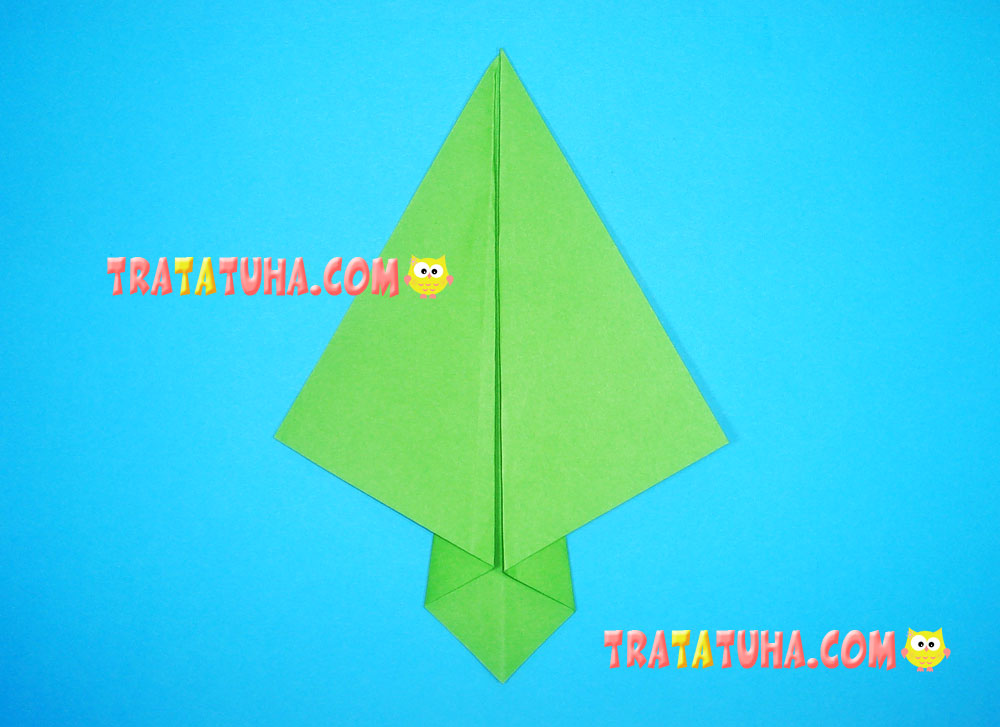
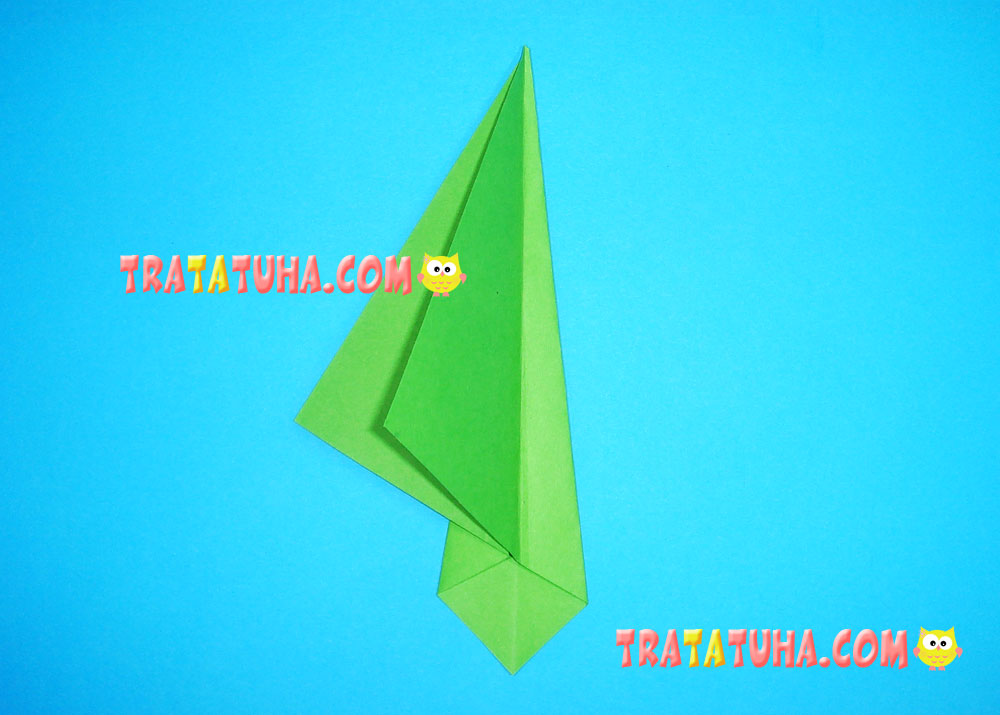
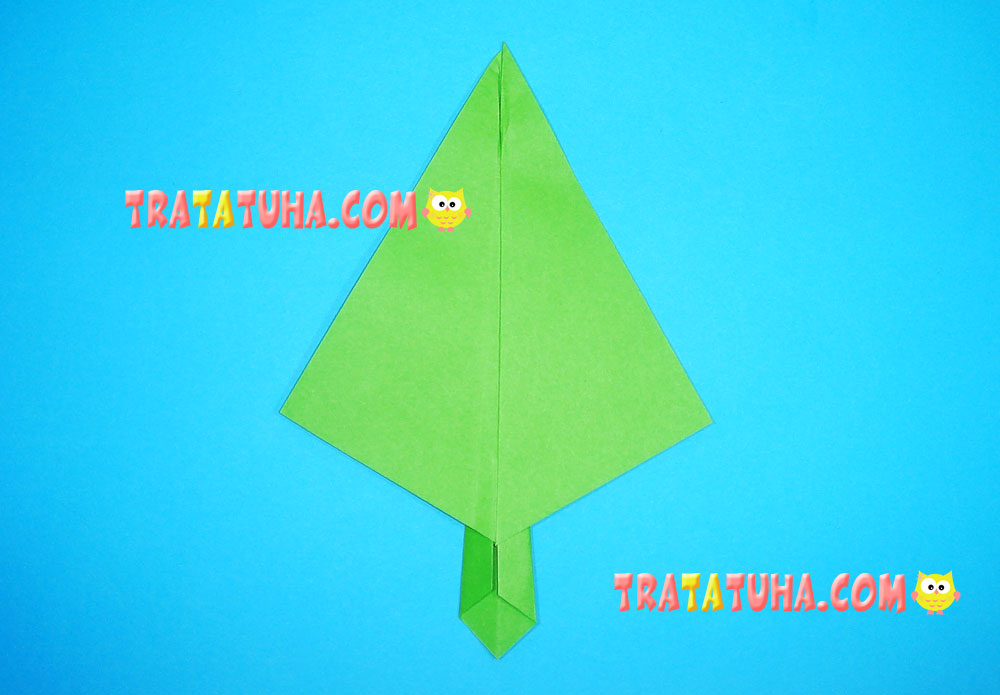
Now, fold the right side of the detail bottom part so that the corner can become smooth and form a triangle.

Then, fold the left side.
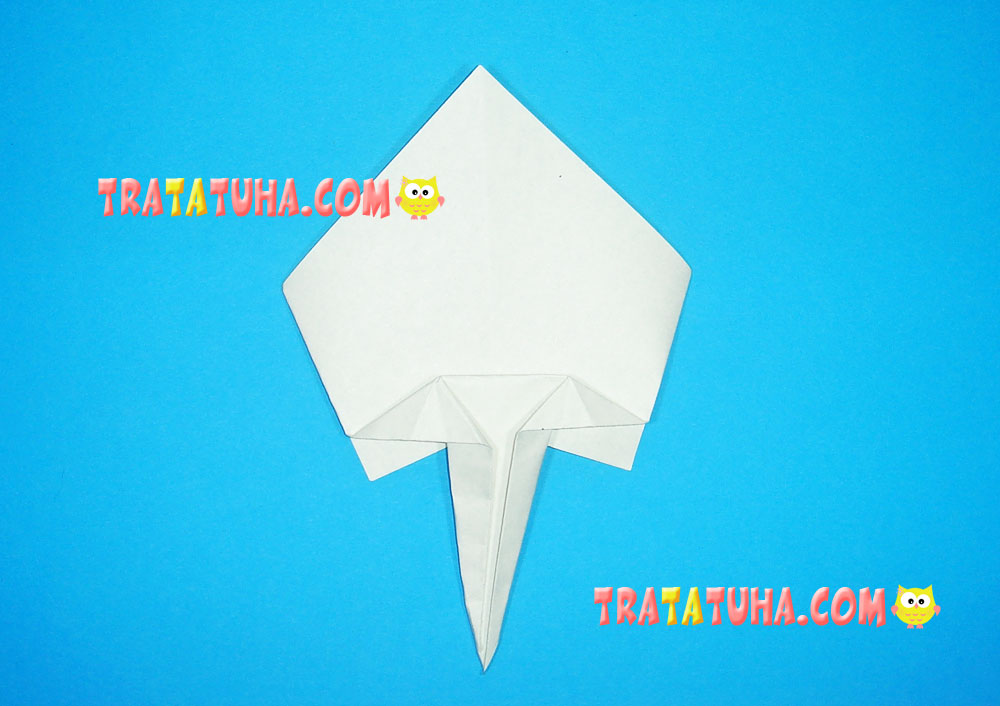
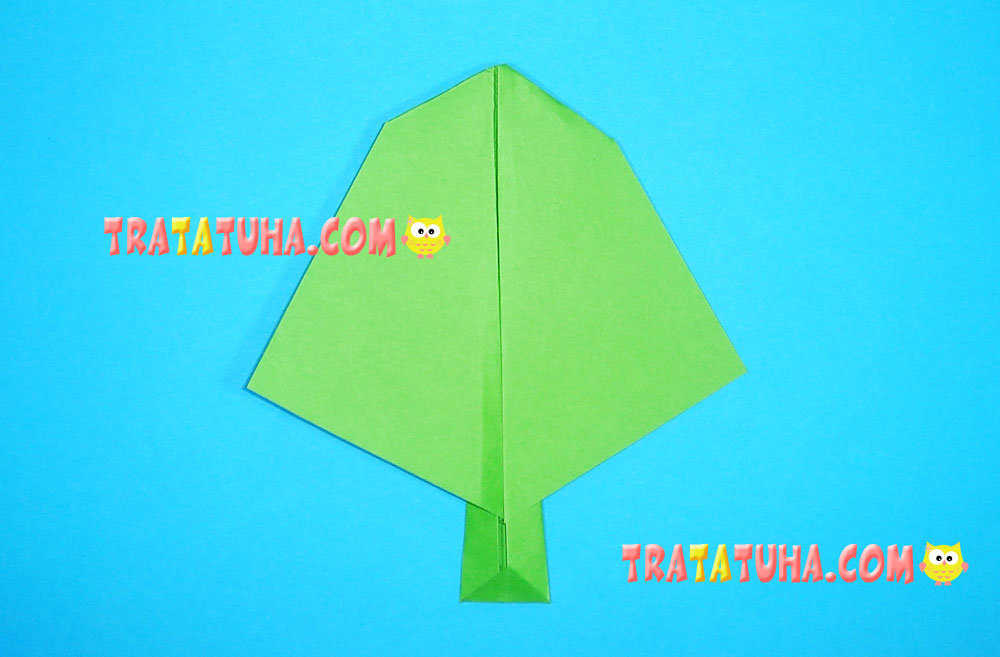
Fold the bottom part tip.
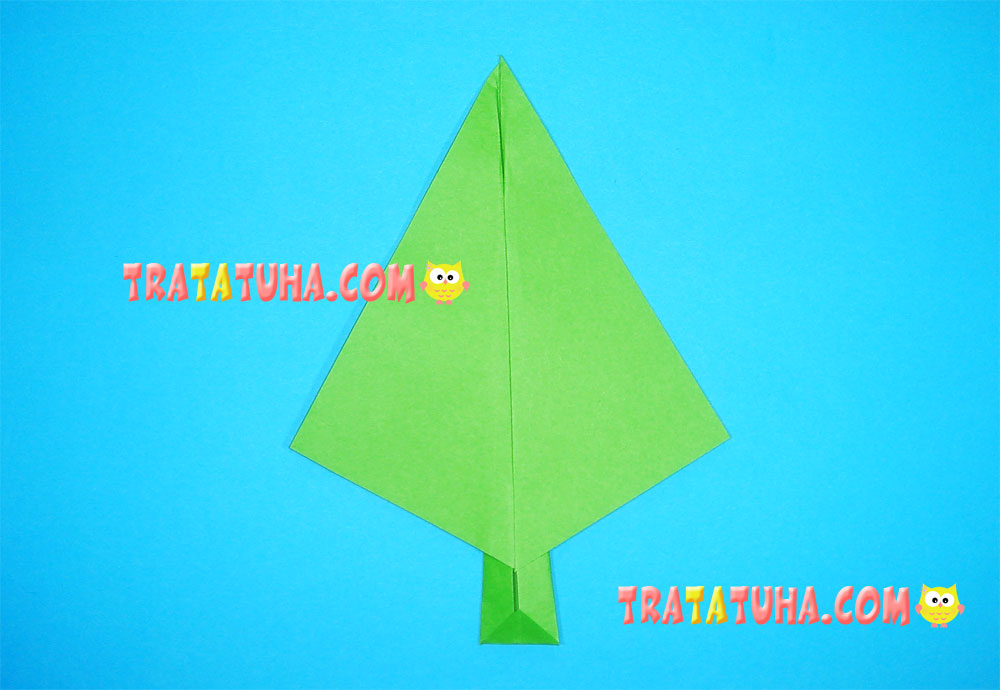
Turn it over, the origami tree is complete. You can make a yellow or an orange tree in the autumn version as well.
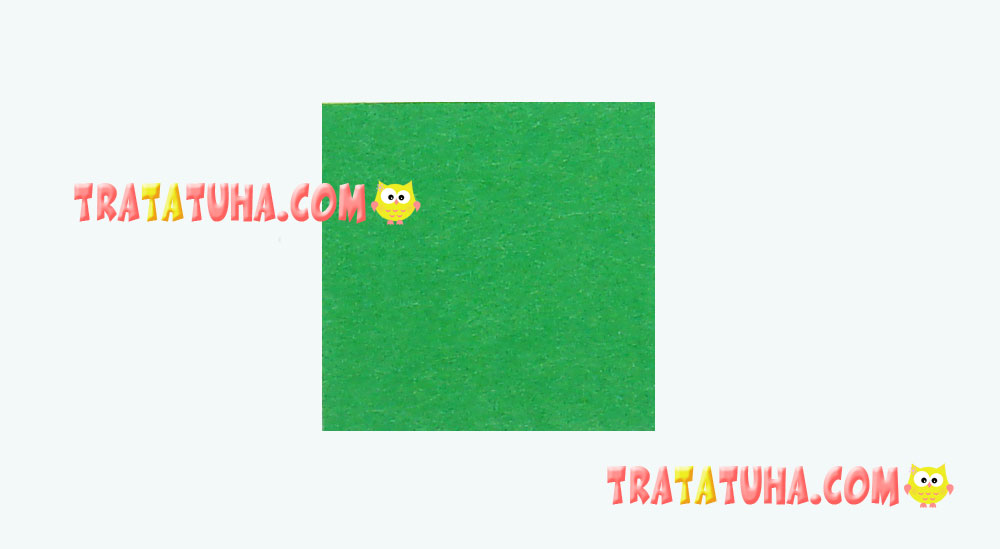
2 Version Origami Paper Tree
Double-sided square green paper is used.
Fold the square in half to mark the middle.

Fold the right side to the left, going slightly beyond the center fold borders.

Then the left one, aligning it along the right edge.

Turn it over.
Unfold the right side and align the fold along the center.
Do the same with the left side.
Now, direct the right corner to the left and bend the fold, aligning it along the middle.

Return the corner or the right wing of the part back.
Now, direct the left wing to the right.

And bend the fold toward the center.
Place the side back.
Fold a small corner in the bottom part of the tree trunk upwards.
Turn it over – you can see the tree trunk in the crown center.

Turn the paper over again. Make folds in the upper part to form the crown. The left fold.
The right one.
On either side, fold sharp corners inside. At this stage, you can form the crown shape – make it round by folding the corners or oval or square.
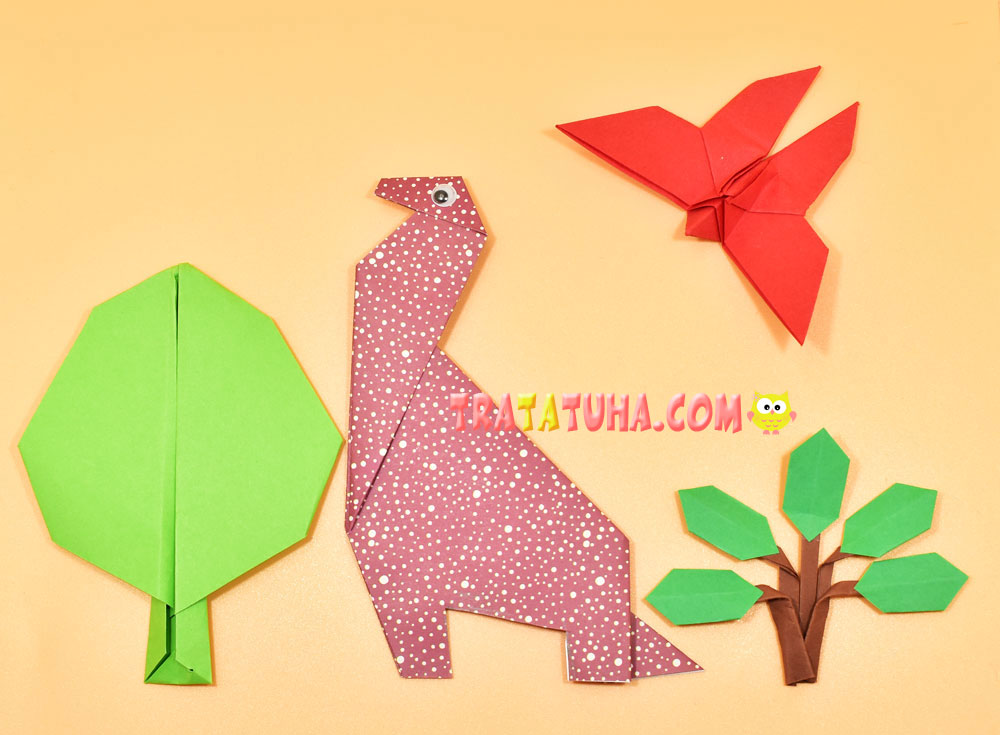
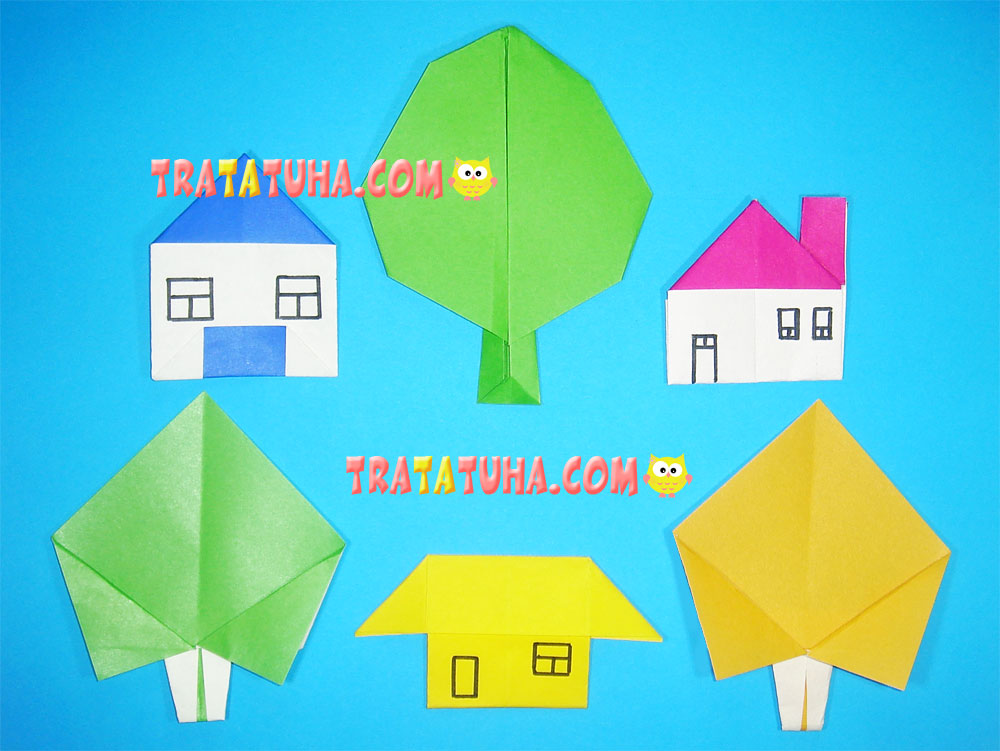
These are the simple origami trees that kids can make. And house an origami hedgehog in this paper forest.
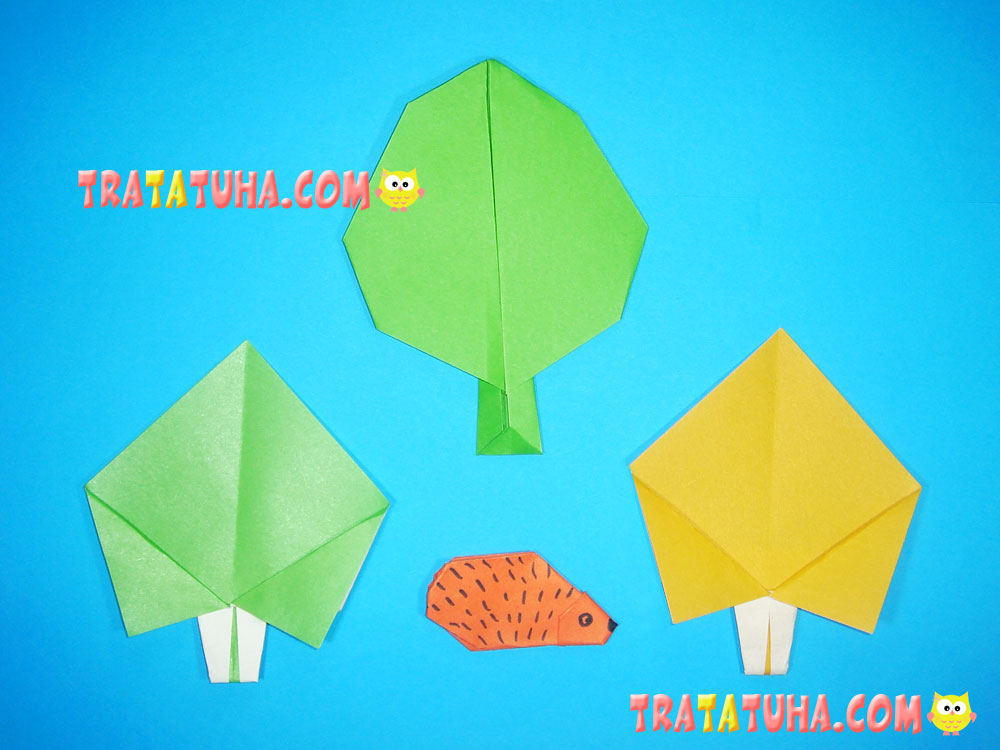
An origami applique work depicting a village is really nice. Trees look good with origami houses.
3 Version of Origami Tree
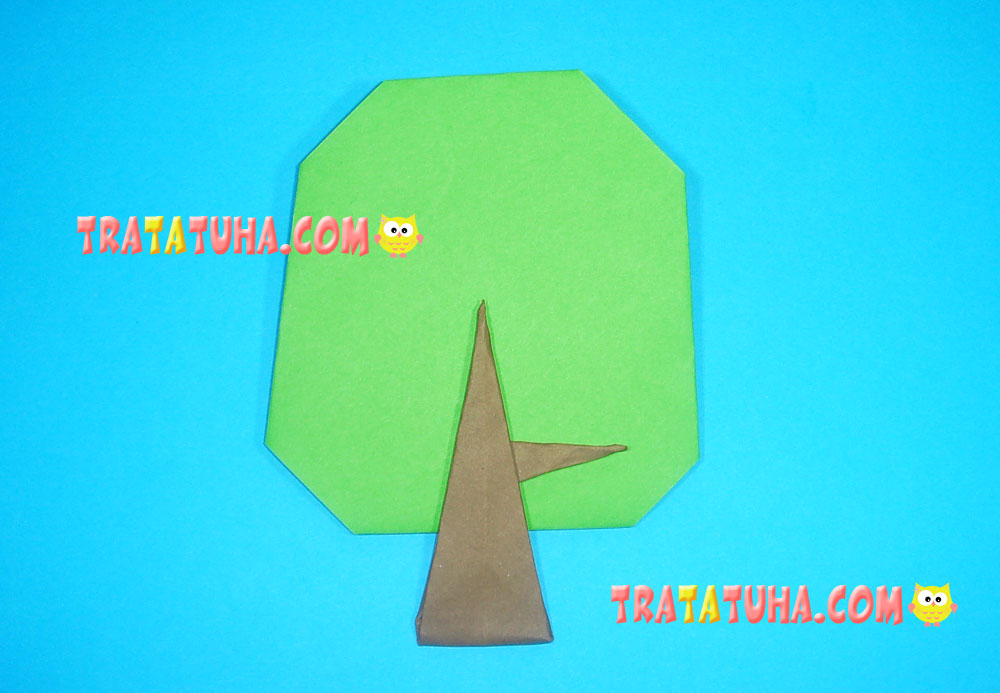
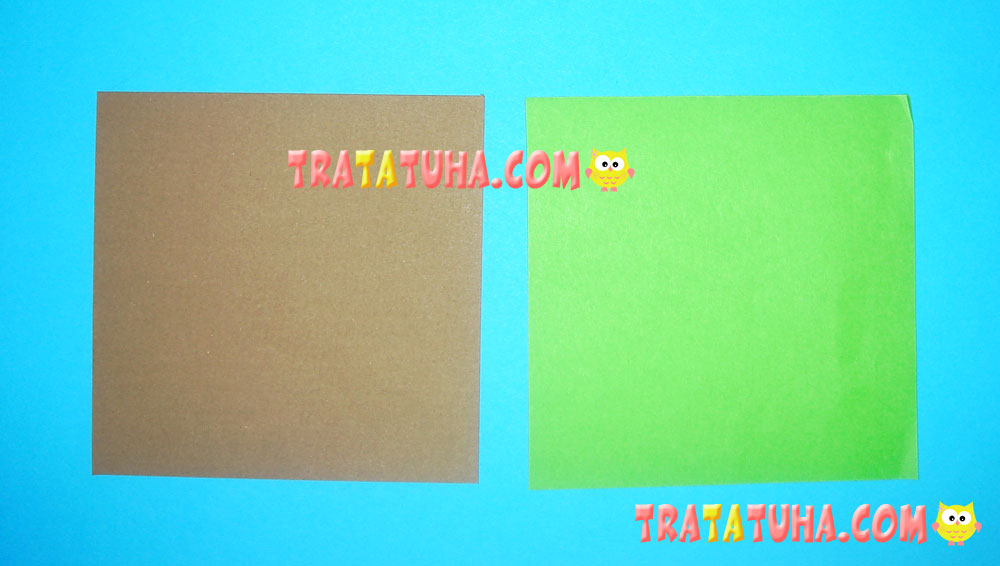
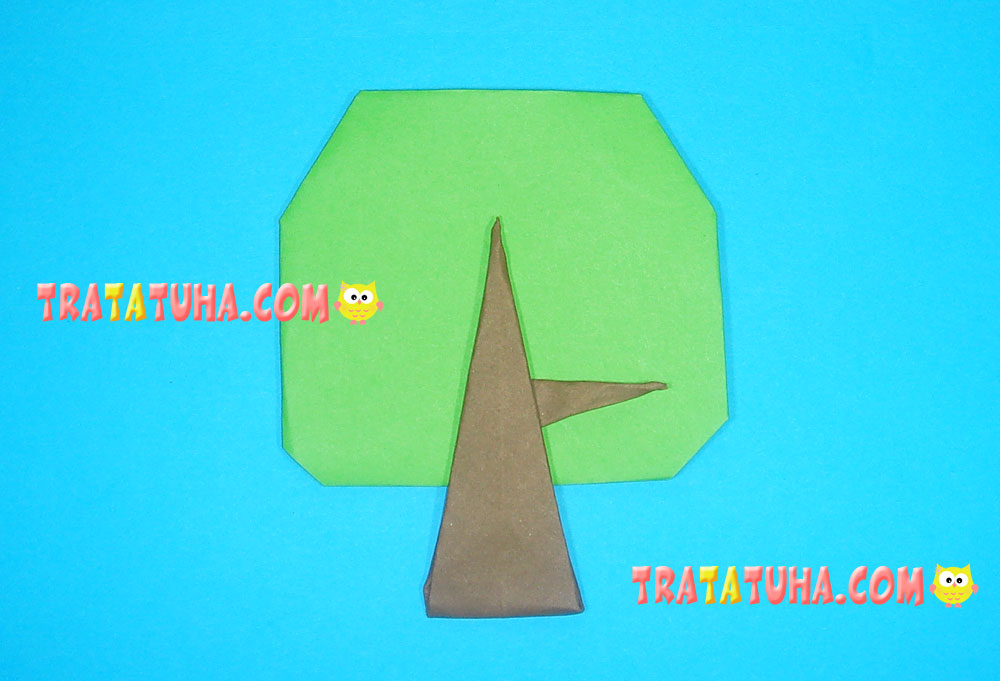
The crown is extremely simple, the trunk is a bit more complicated. To make the craft, you will need two square pieces of green and one of brown paper.
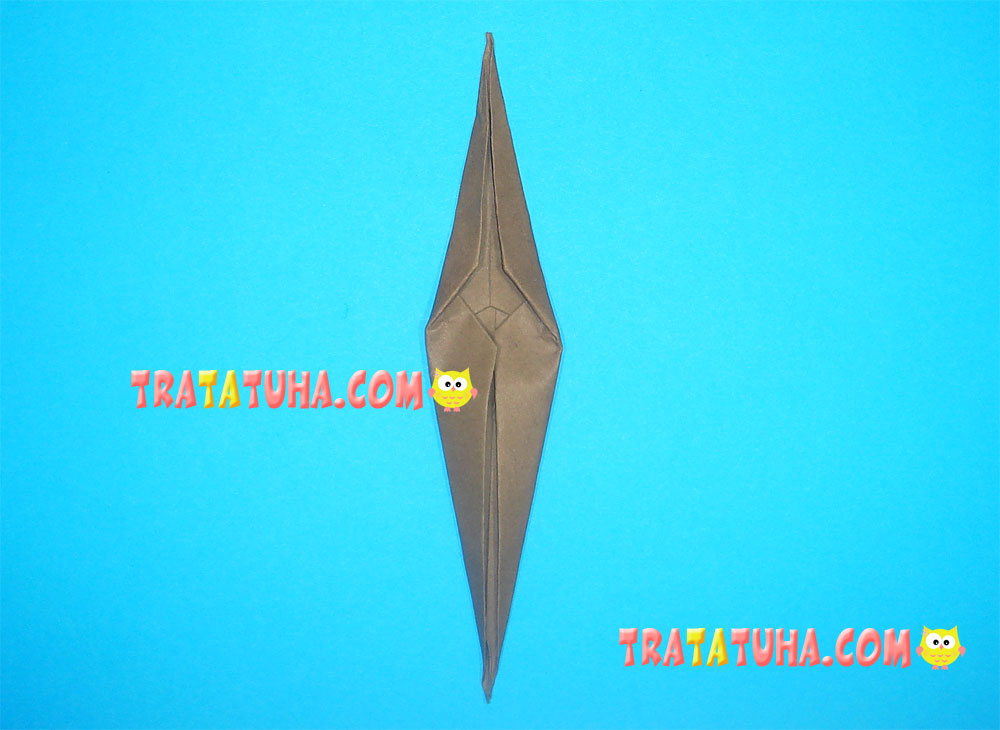
Let’s start with the trunk.
Origami tree trunk
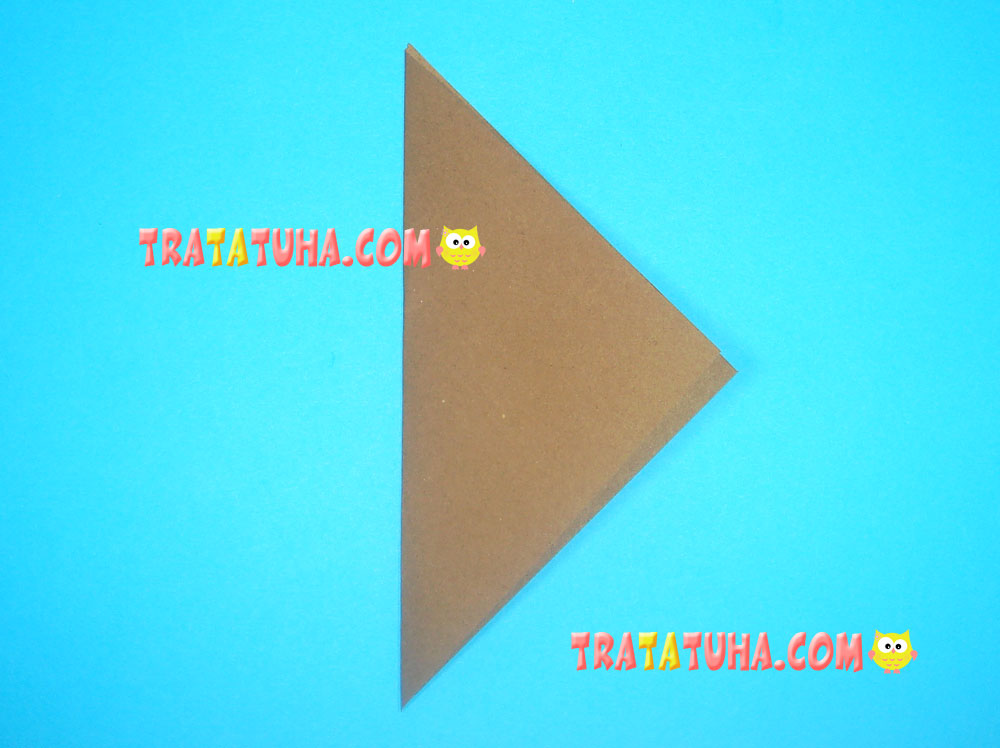
Fold the square in half.
Unfold it and connect the side corners in the center.
In the same way, align the upper sides with the corners in the middle.
Fold the right side bottom to the middle again.
Then, the left one.
And again, fold the upper sides. Paper is getting narrower and thicker, it is harder and harder to work with it. But if the initial sizes aren’t too small, you will have no special problems in doing it.
Fold the sharp upper corner aside.
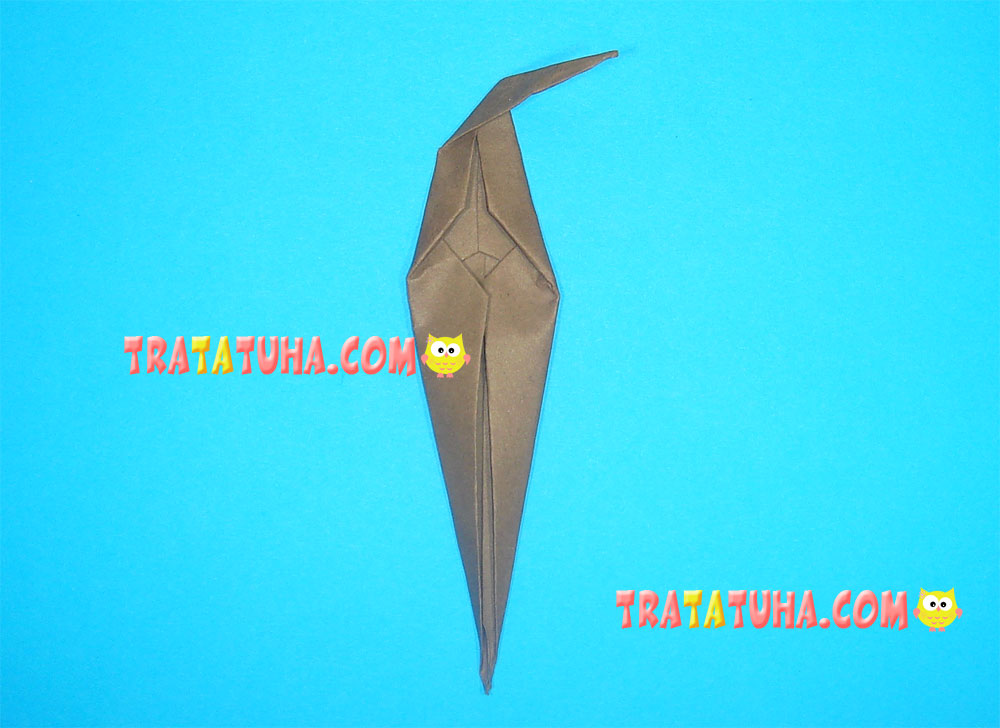
Direct the bottom corner upwards, folding the part almost in half.
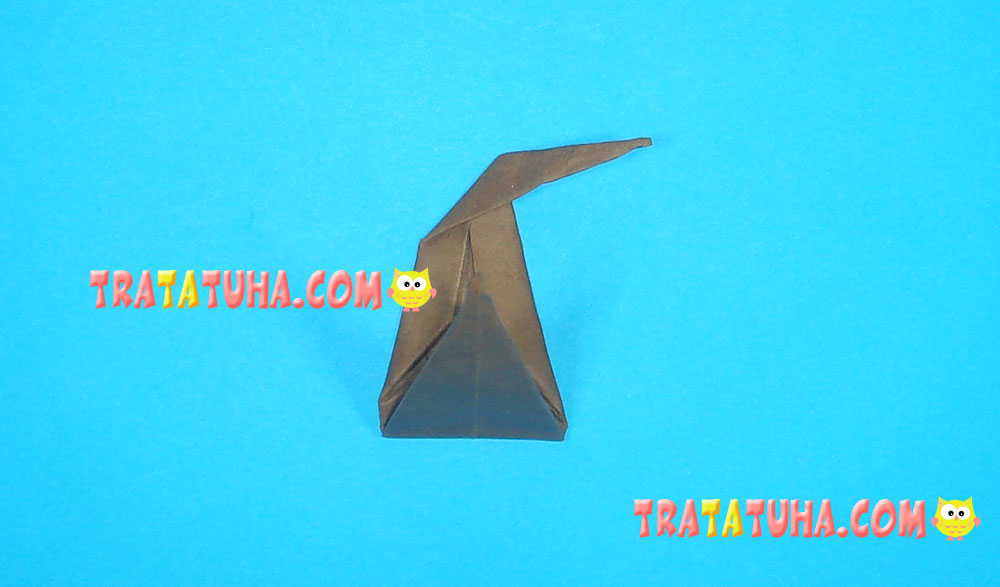
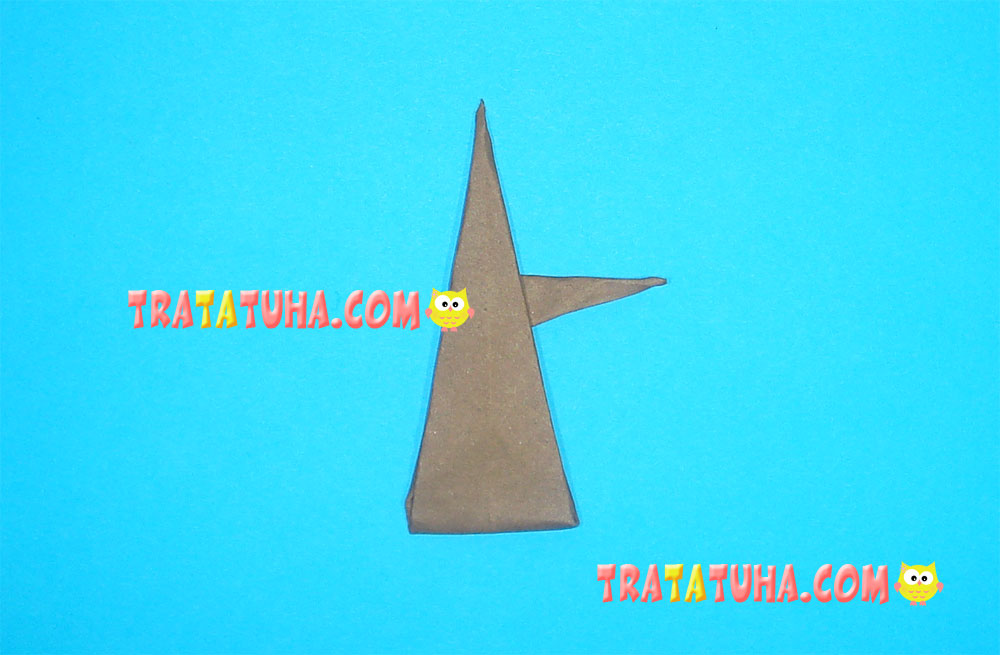
You will get this kind of origami trunk. It can be combined with any crown shape.
Tree crown options
Here, everything is simple. You should form any shape you like of a paper square.
To do this, fold the paper corners. If you make a tiny fold at the top and larger ones on the sides, you will get a slightly rectangular crown. Turn it over and stick the trunk onto it.
Fold the corners symmetrically on all the sides – you will get a square tree crown.
Slightly fold the sides and the bottom corner – the tree will look like a fir.


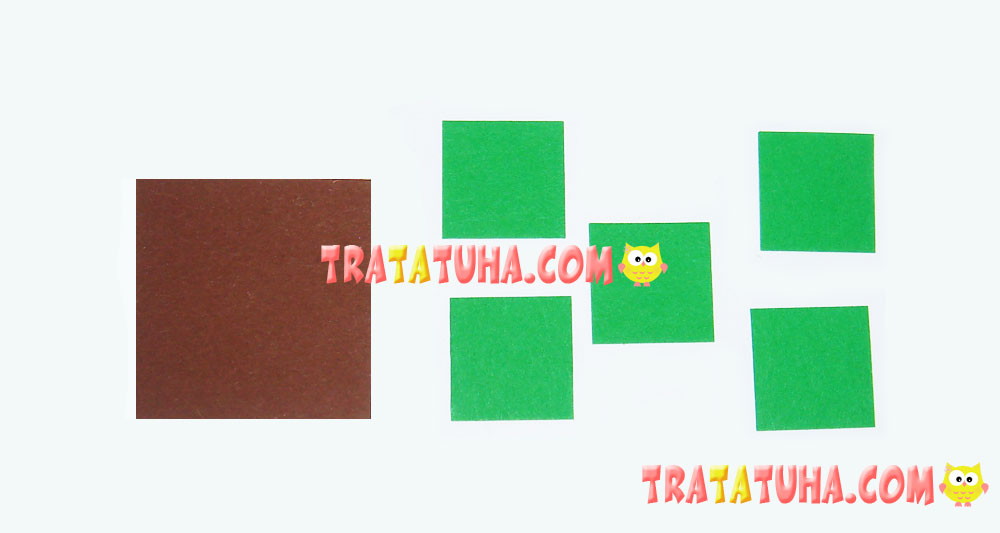
4 Version. A Branched Origami Tree of Separate Parts
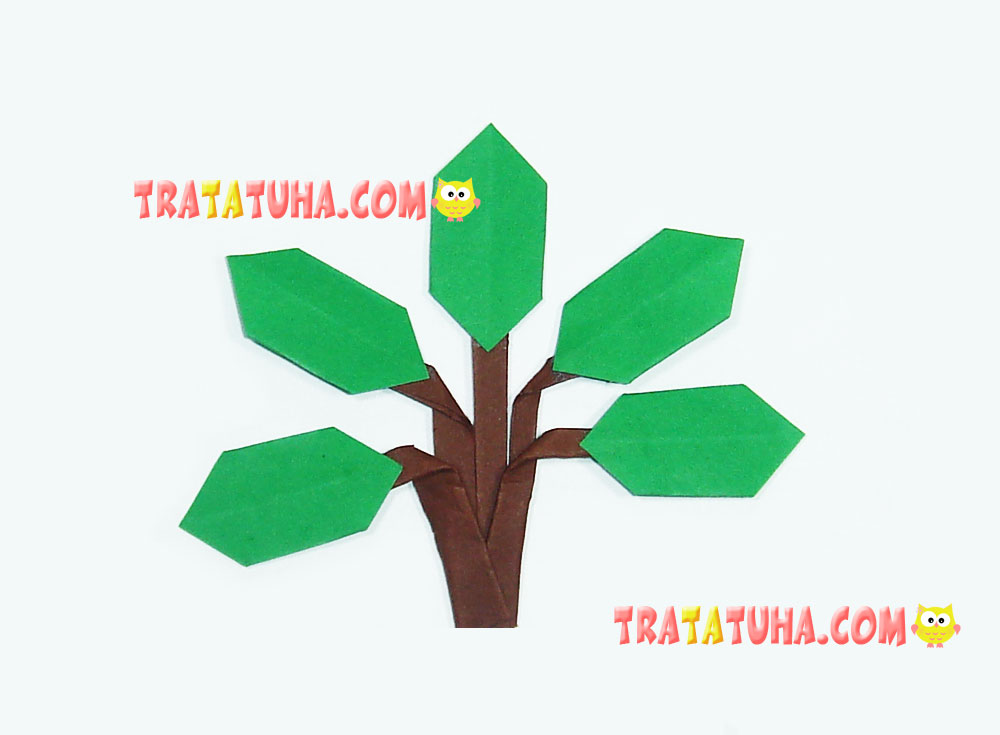
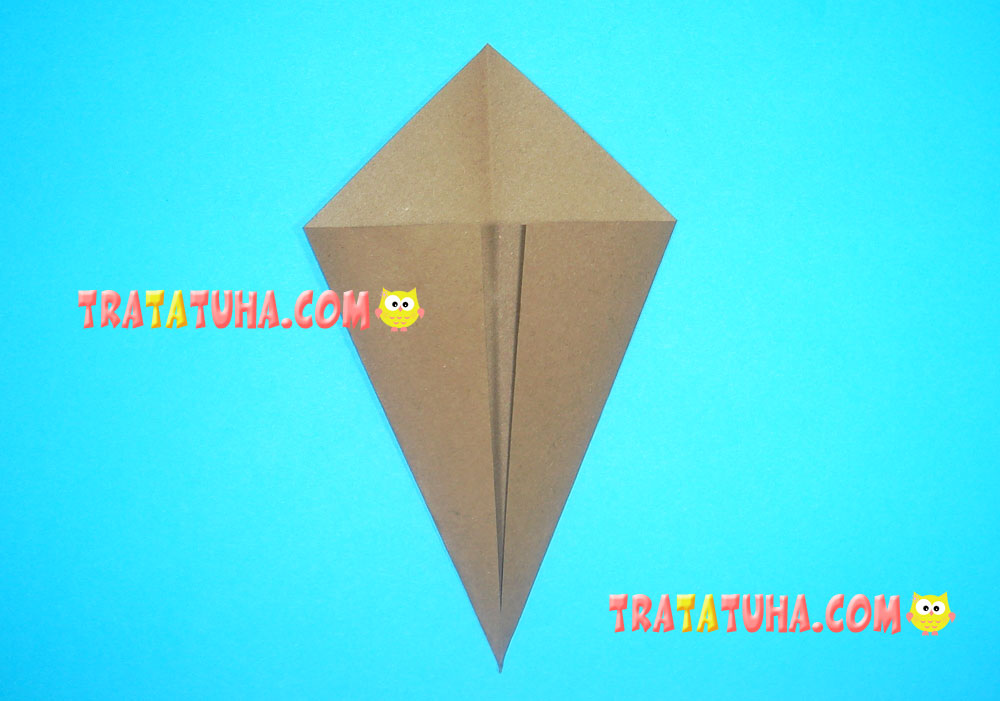
Prepare one brown square piece of cardboard and 5 green paper squares, half the size.
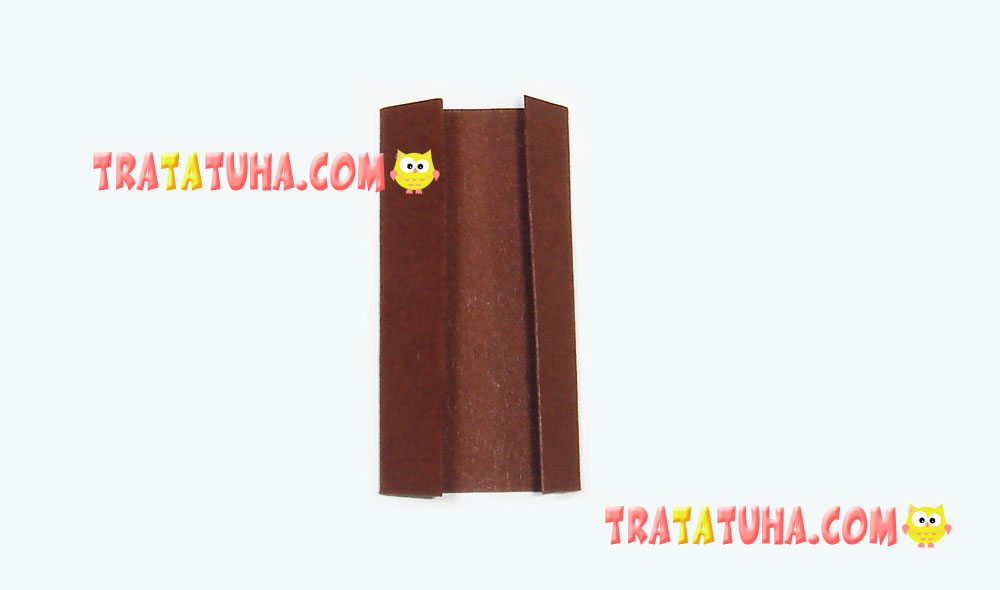
Tree trunk
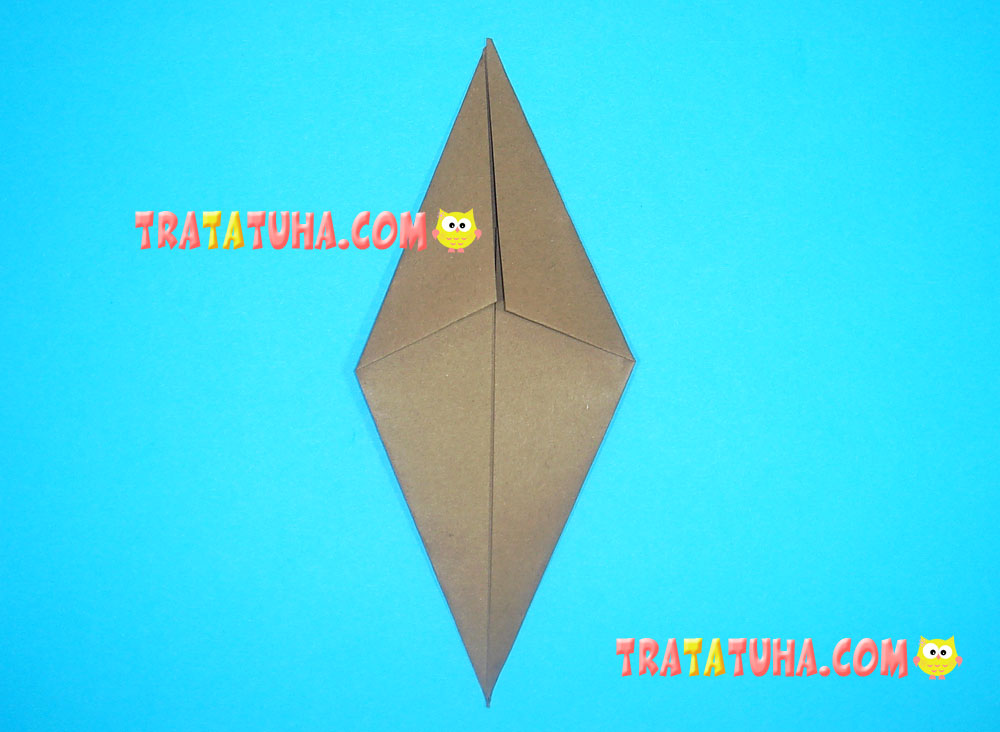
Fold the square cardboard so that its sides can meet in the center.
Turn it over and make 5 cuts.
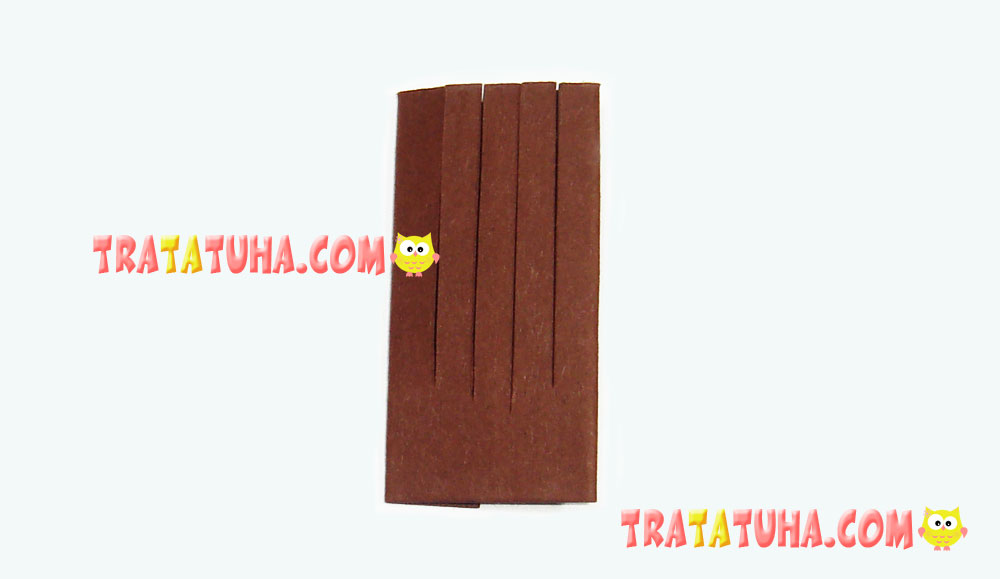
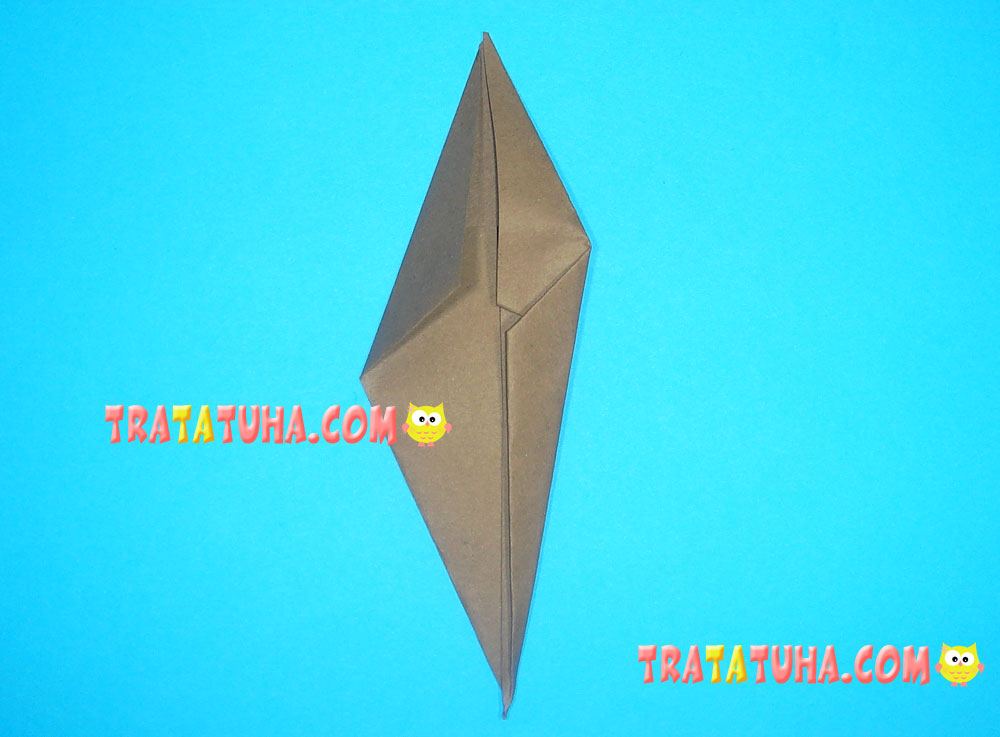
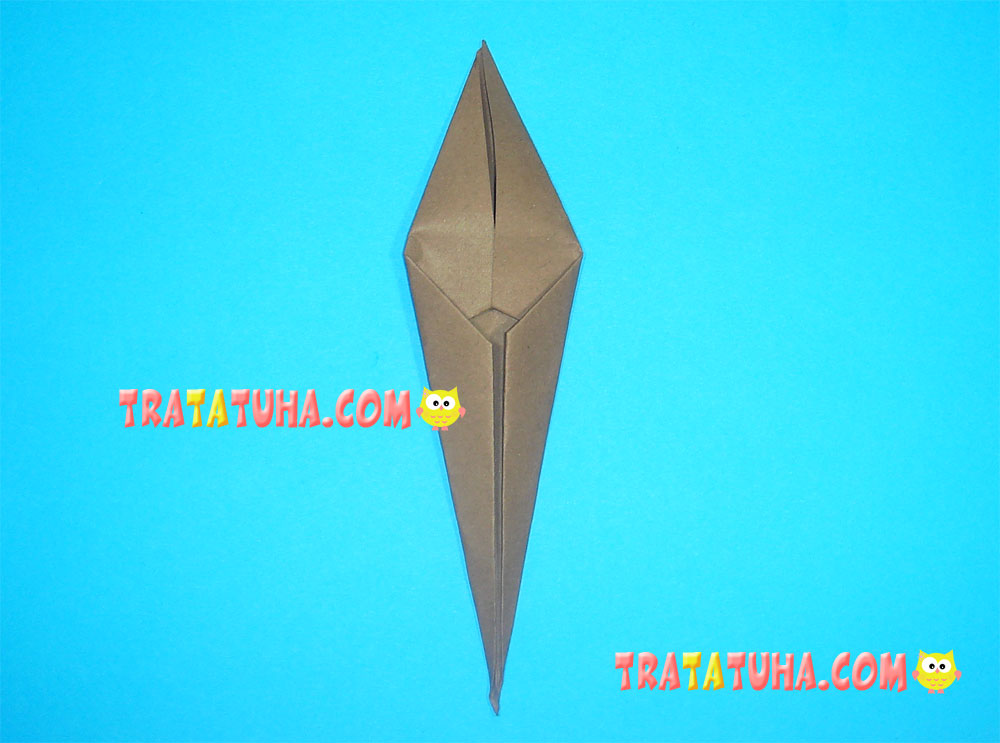
Fold the part sides at the bottom and slightly on either side.
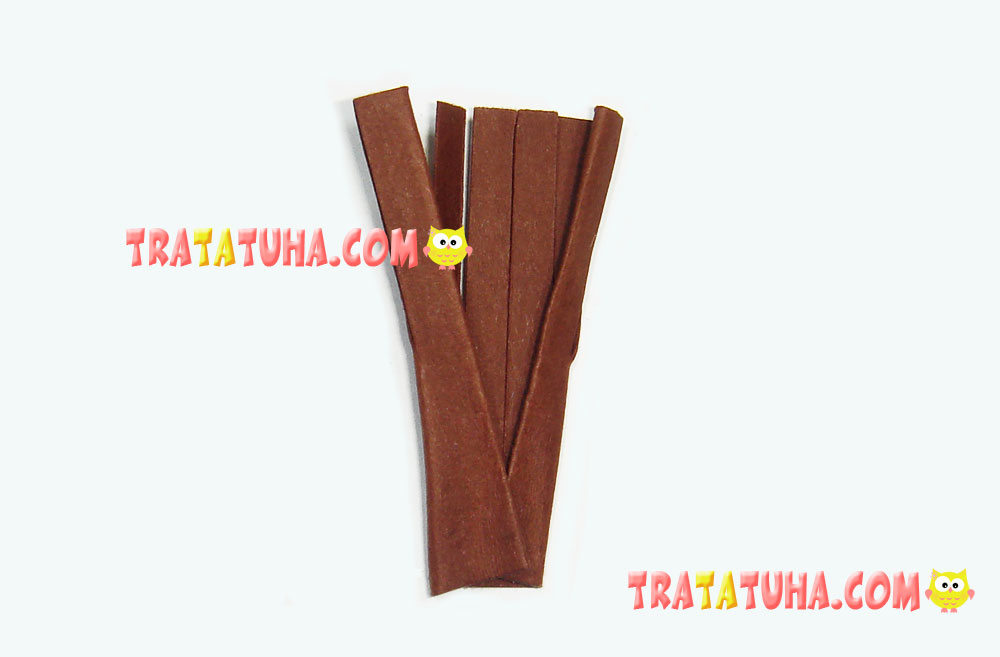
Bend the cut strips so that they can form the tree branches.
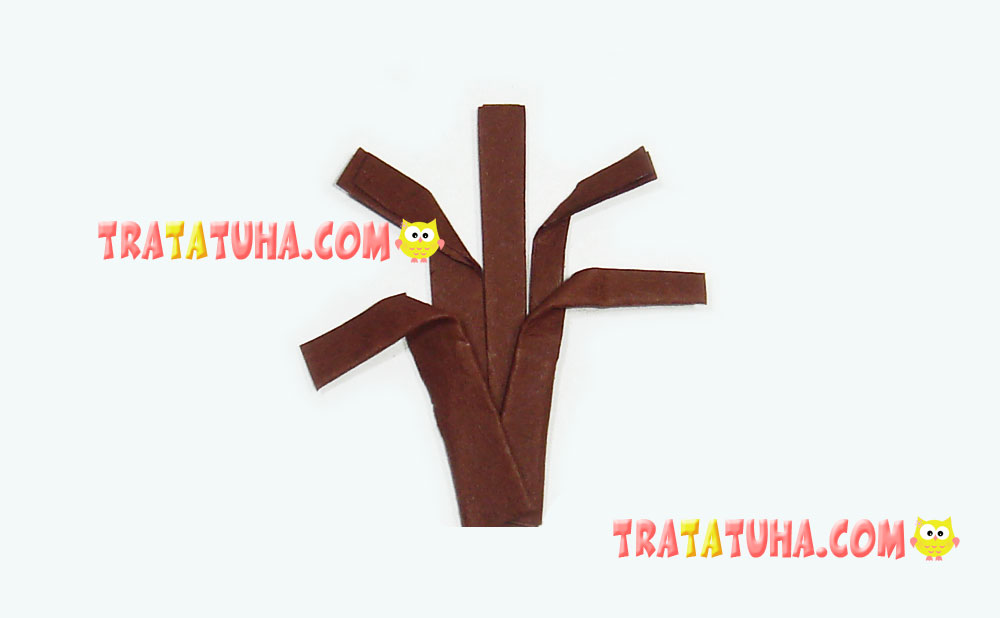
For an applique work, you can use paper instead of brown cardboard.
Origami tree leaves
Fold the square in half to mark the middle.
Unfold paper and connect the side corners in the center.
Turn it over. Make 5 parts of this kind. Glue them to the branches tips.
Crafts for Kids – learn how to make craft at home! Super cute crafts for all age groups!
Related Post: