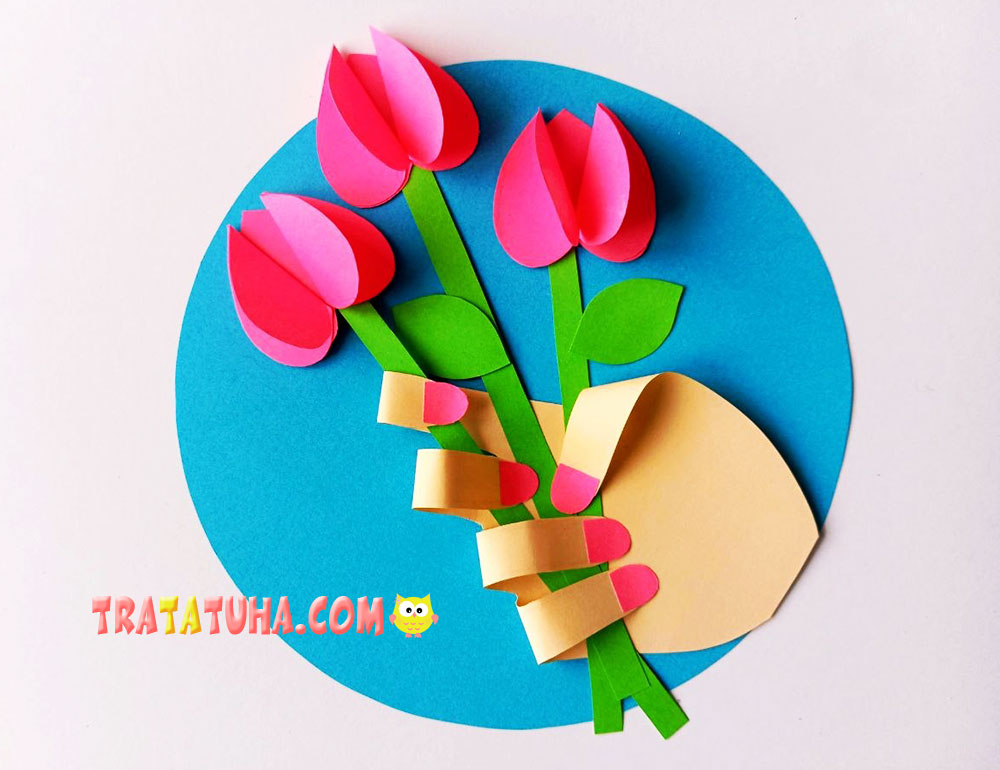
This tulips in a hand craft makes a thoughtful handmade gift for Mom, a preschool teacher, or a school teacher. The base is an unusual circular shape, and the hand can be traced from the child’s own palm, making every craft unique.
Materials:
- Colored paper for the tulip petals and fingernails (pink or red works best);
- Green paper for the stems and leaves;
- Colored paper in a skin tone for the hand (such as beige, light pink, or brown);
- Colored cardstock or paper for the circular background (blue or light blue is recommended);
- Scissors;
- Glue.
Tulips in a Hand Craft – Step-by-Step
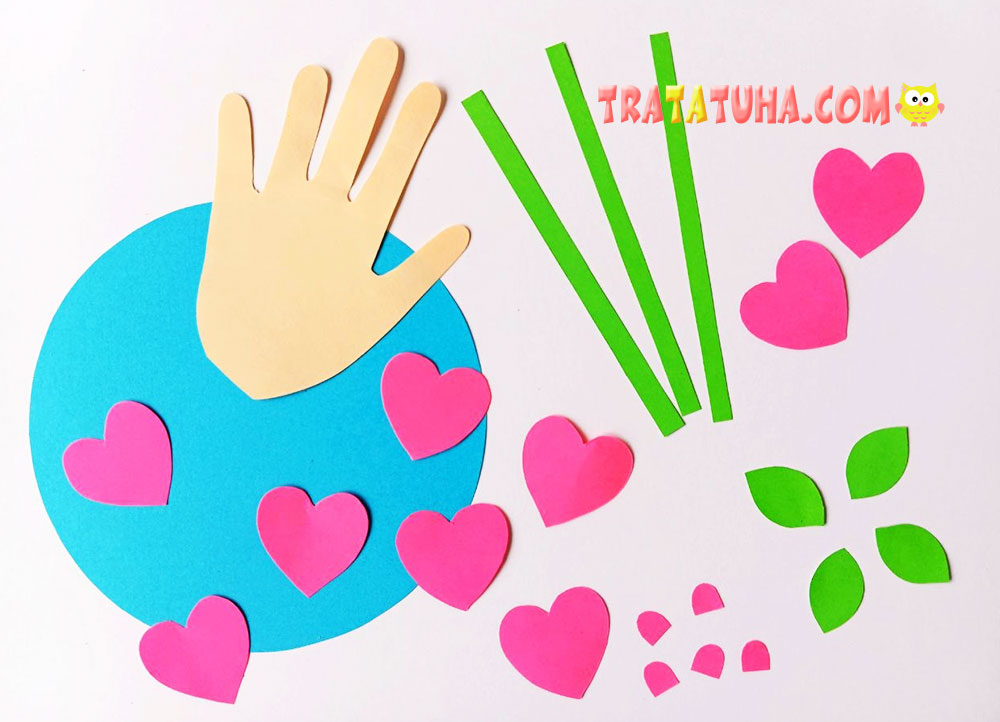
Start by preparing all the craft pieces.
First, make the hand. Place the child’s hand on the skin-colored paper, trace around it with a pencil, and carefully cut it out.
Next, make the tulip petals. Each petal is shaped like a heart. Cut out nine hearts of the same size and shape.
The petals can be any color, as tulips come in many beautiful shades, but bright pink or red creates the most eye-catching result. These colors stand out beautifully against a blue background.
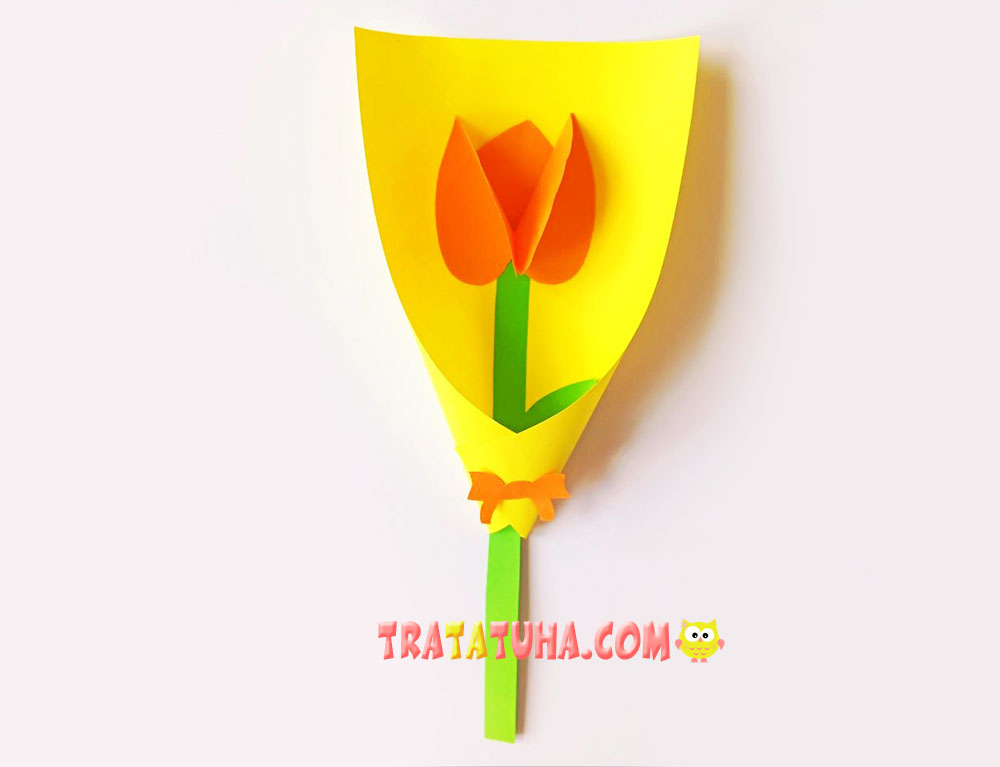
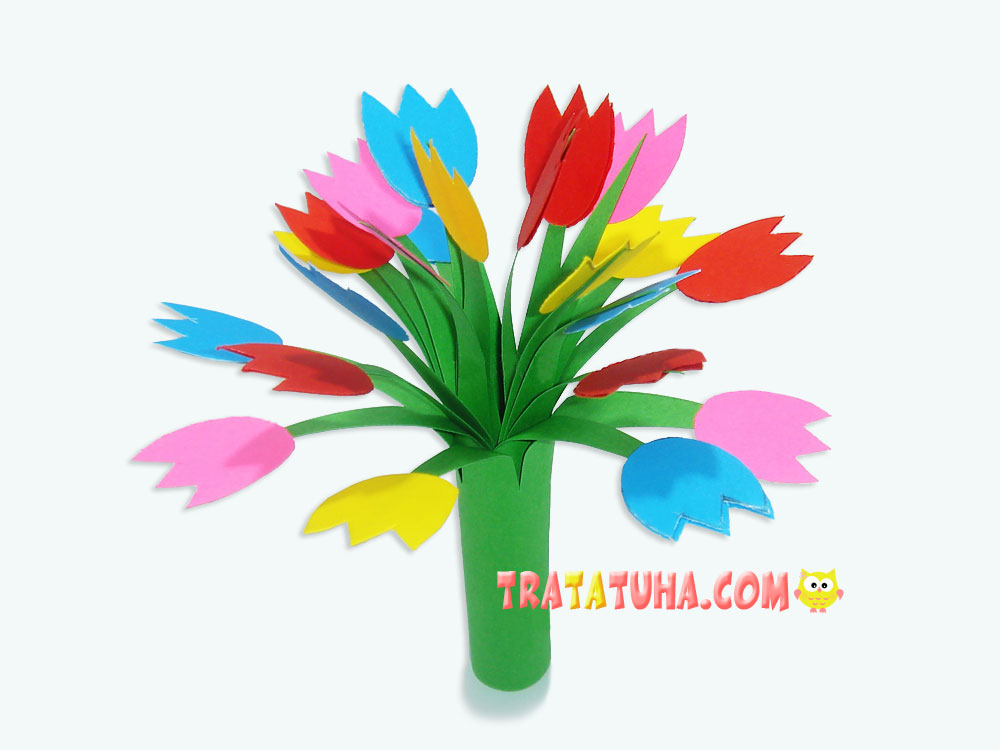
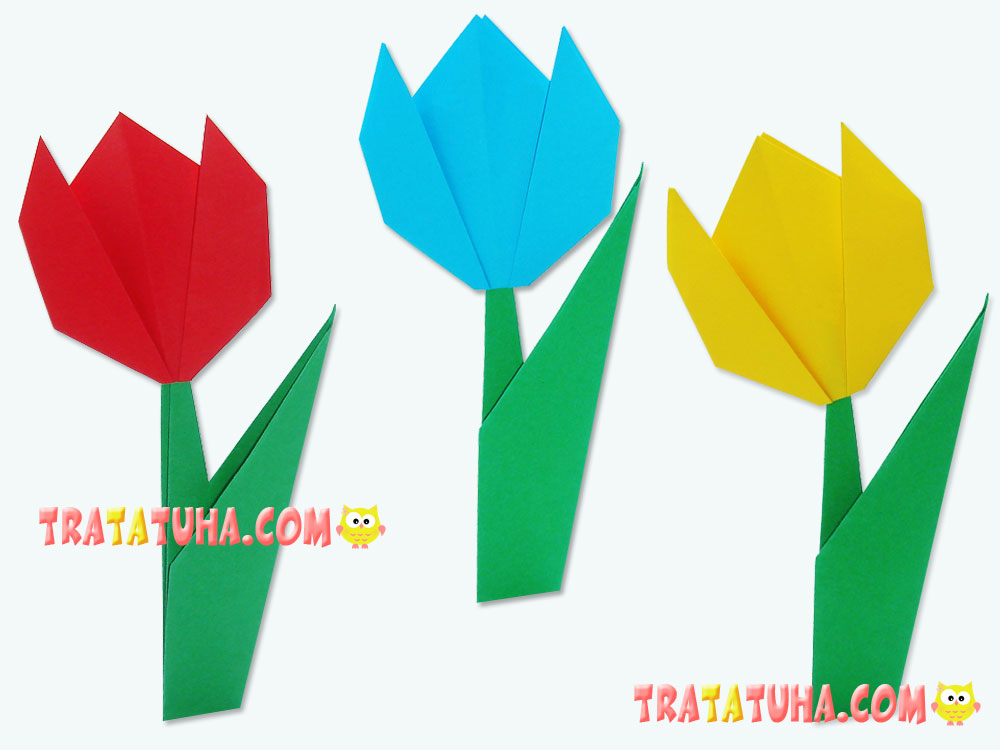
A slightly simpler version featuring a similar tulip can be found in our article, color paper tulip bouquet.
Using the same paper, cut out five small half-oval shapes for the fingernails.
Now switch to the green paper. Cut out three thin stems and a handful of leaves.
Don’t forget the background! Cut a large circle from colored cardstock or paper. It should be large enough to hold both the hand and the tulips. While any background color will work, blue or light blue creates a lovely contrast with the bright pink or red flowers, making the craft look even more vibrant.
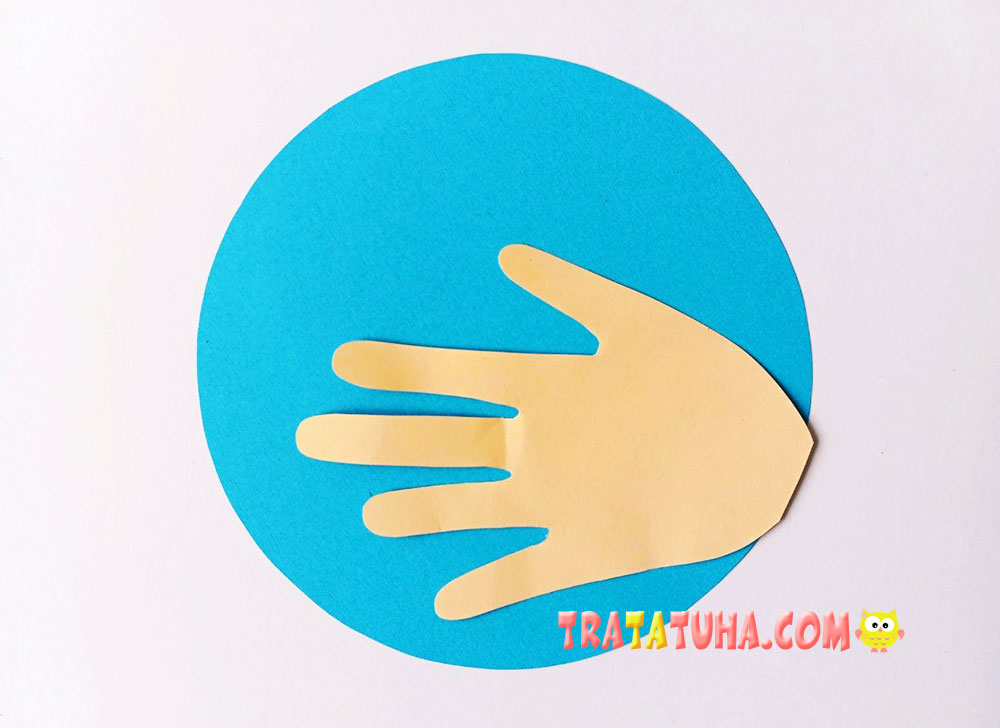
Now it’s time to assemble the craft. Glue the hand onto the circular background. If part of the hand extends beyond the edge of the circle, carefully trim off the excess.
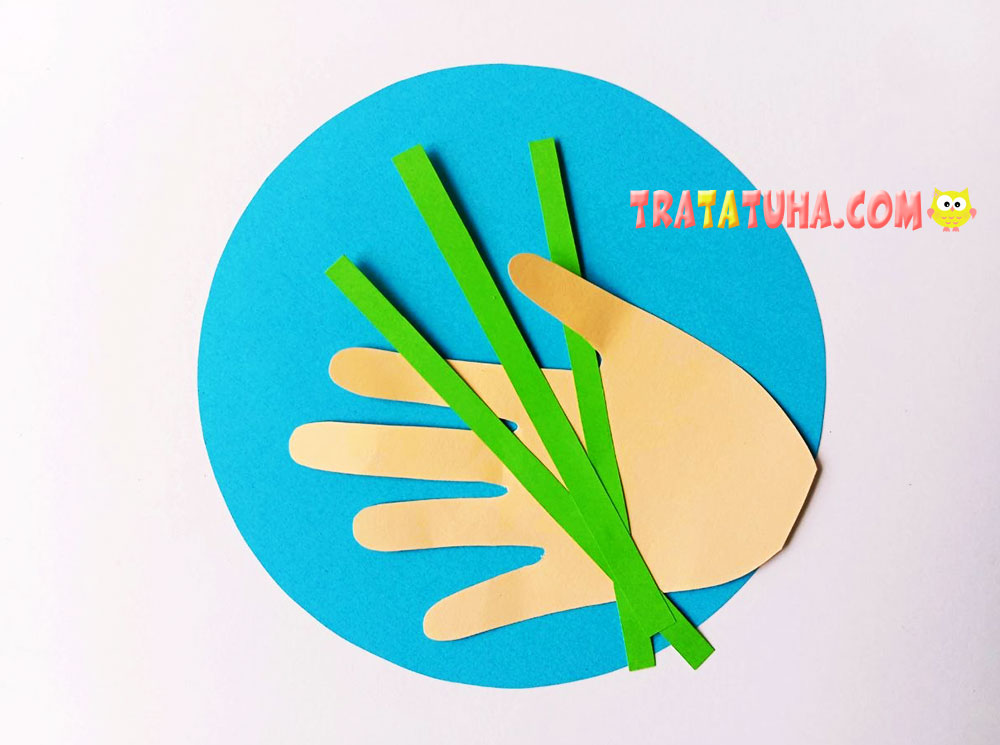
Next, place the stems into the hand and glue them in place. Position the middle tulip slightly higher than the other two so the flowers don’t line up evenly.
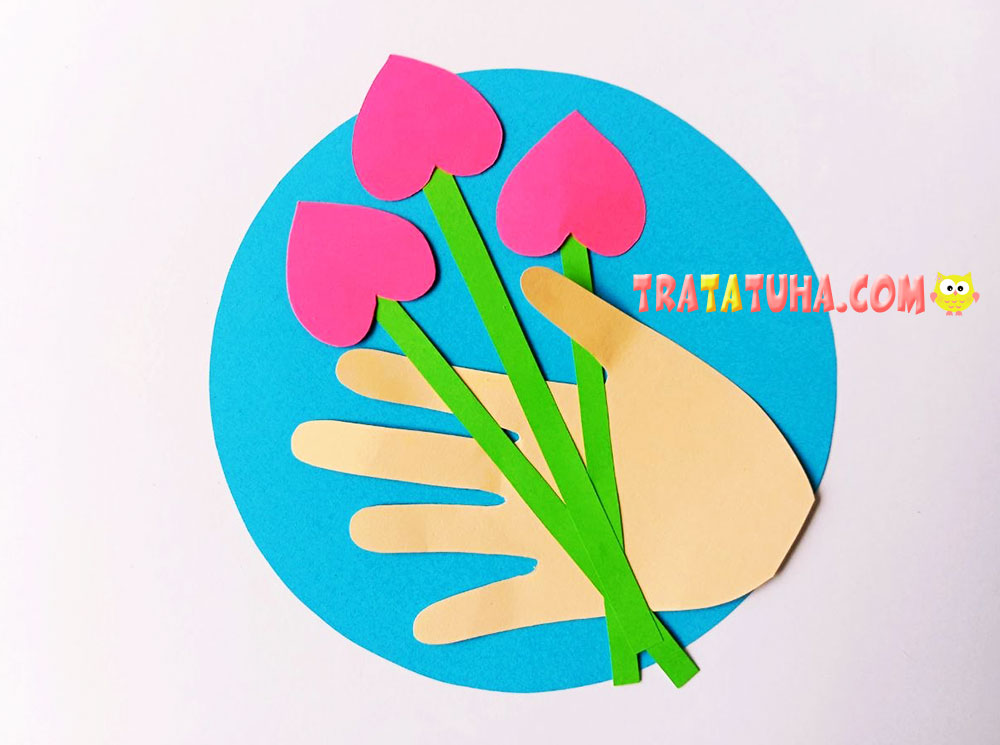
Glue the first layer of petals onto the stems. Turn the heart shapes upside down before attaching them.
Now prepare the remaining petals by folding each of the leftover hearts in half.
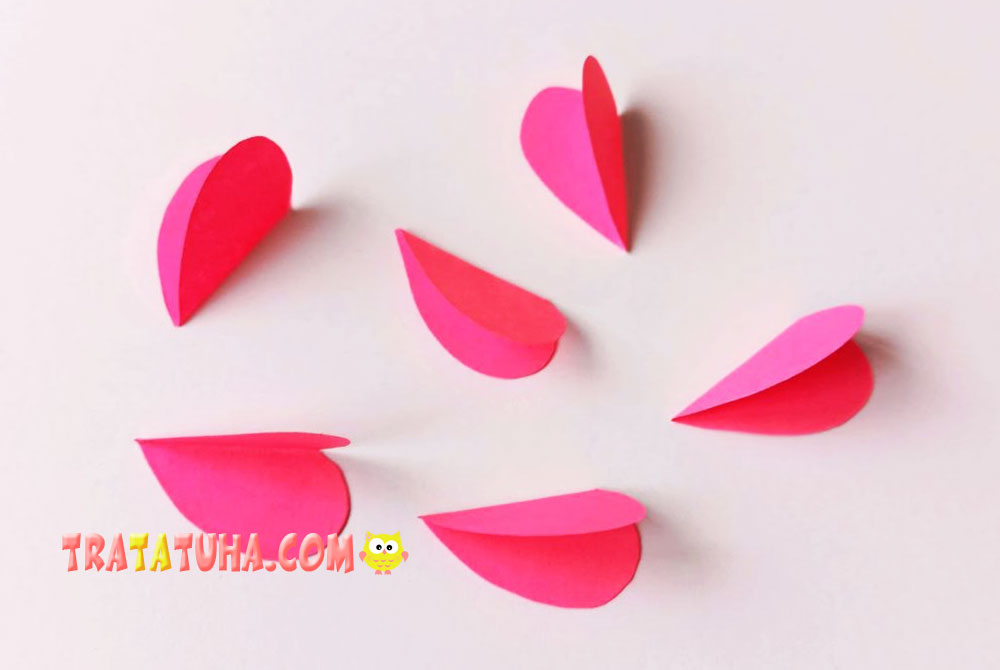
Attach the folded petals to the flowers.
Apply glue to one half of a folded heart and stick it onto the first petal, allowing the folded edge to lift slightly away from the flower. Repeat this with the remaining petals until you have three beautiful tulips with dimensional blossoms.
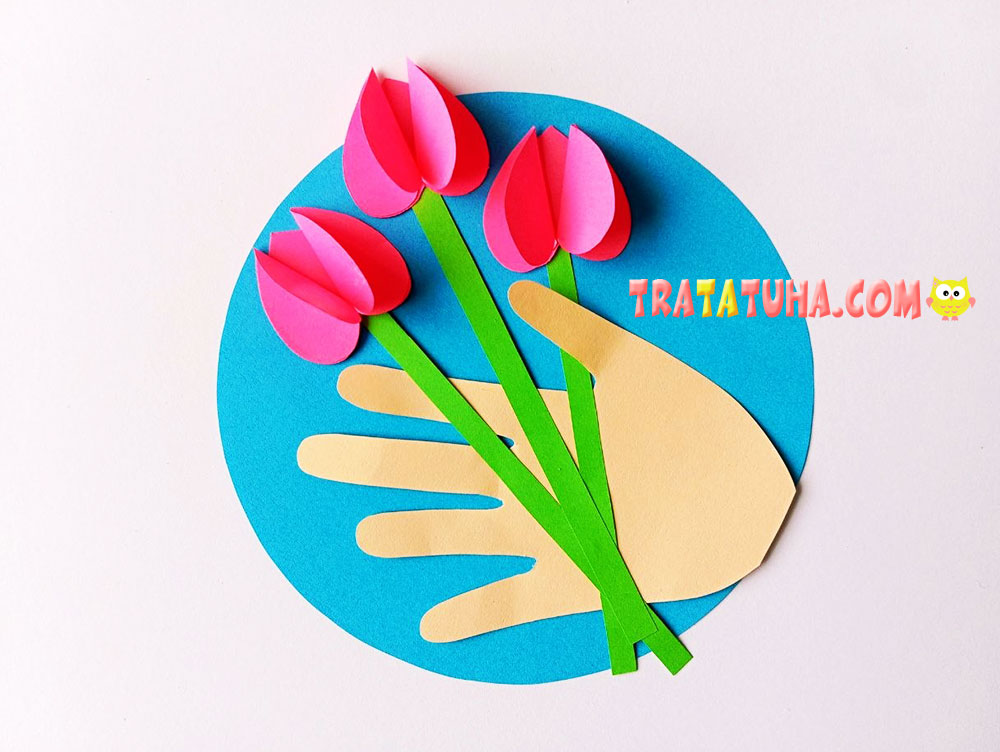
Next, shape the hand. Gently bend the fingers so they appear to wrap around the tulip stems. Make smooth, gradual folds rather than sharp creases.
Apply a little glue to the fingertips so they stay in their curved position.
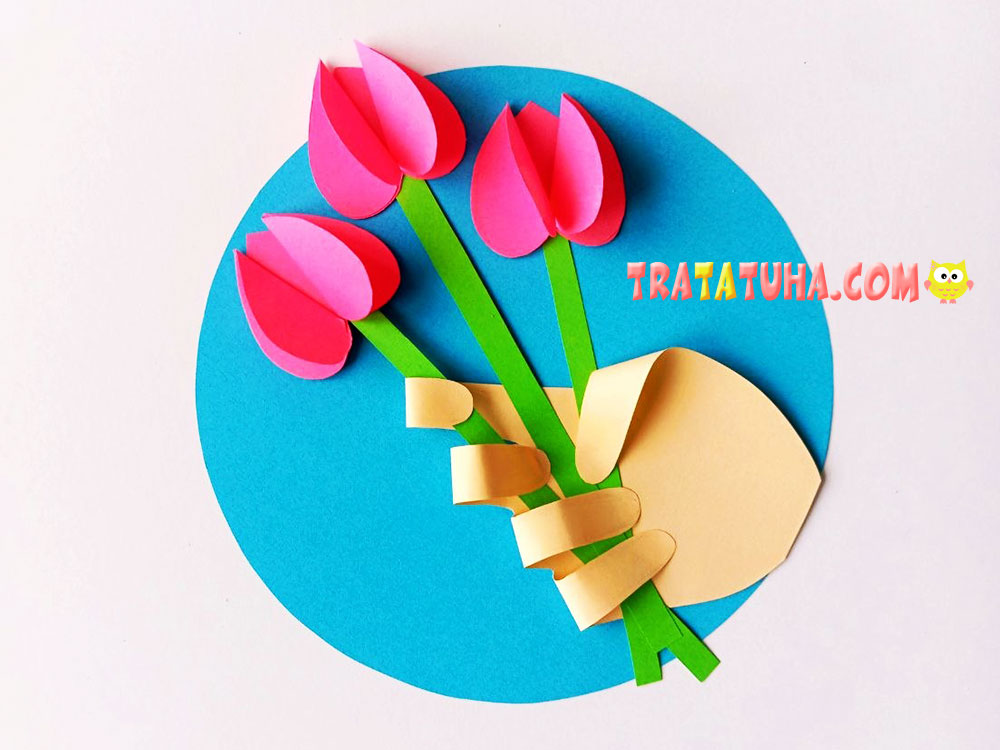
Now glue the fingernails onto the fingers. This step is optional, but it gives the hand a more fun and finished look.
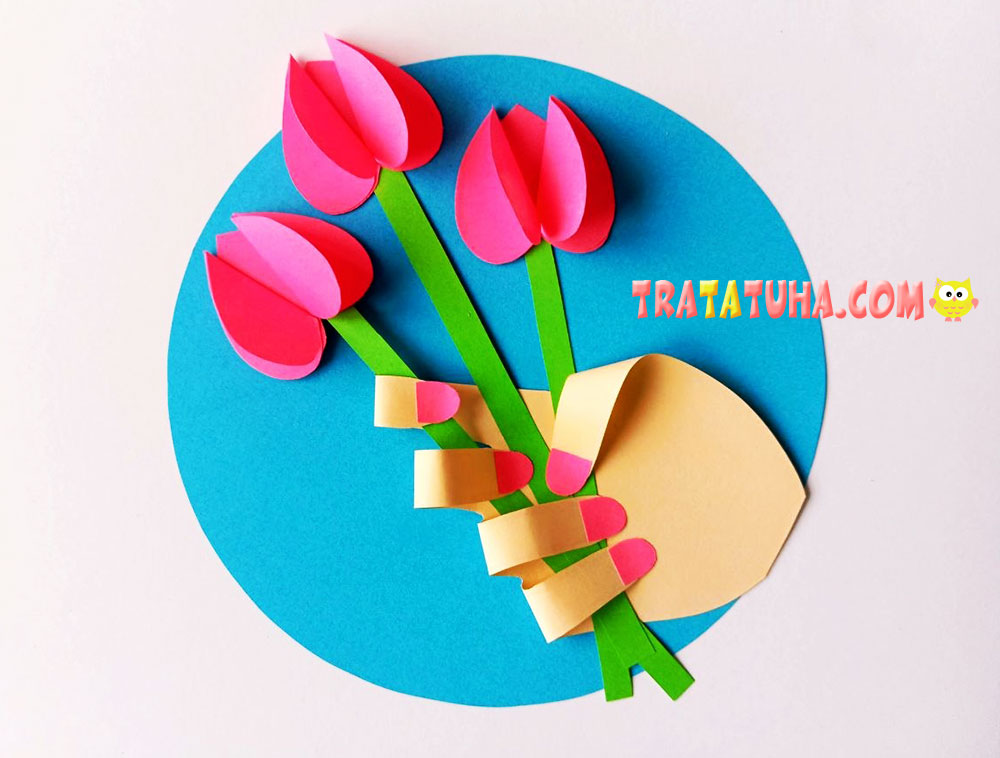
Finally, glue the leaves onto the stems. They complete the bouquet and make the craft look full and polished.
Every mom, preschool teacher, or school teacher is sure to appreciate such a heartfelt handmade gift! This tulips in a hand craft is easy to make, uses simple shapes, and comes together quickly, making it a wonderful project for children.
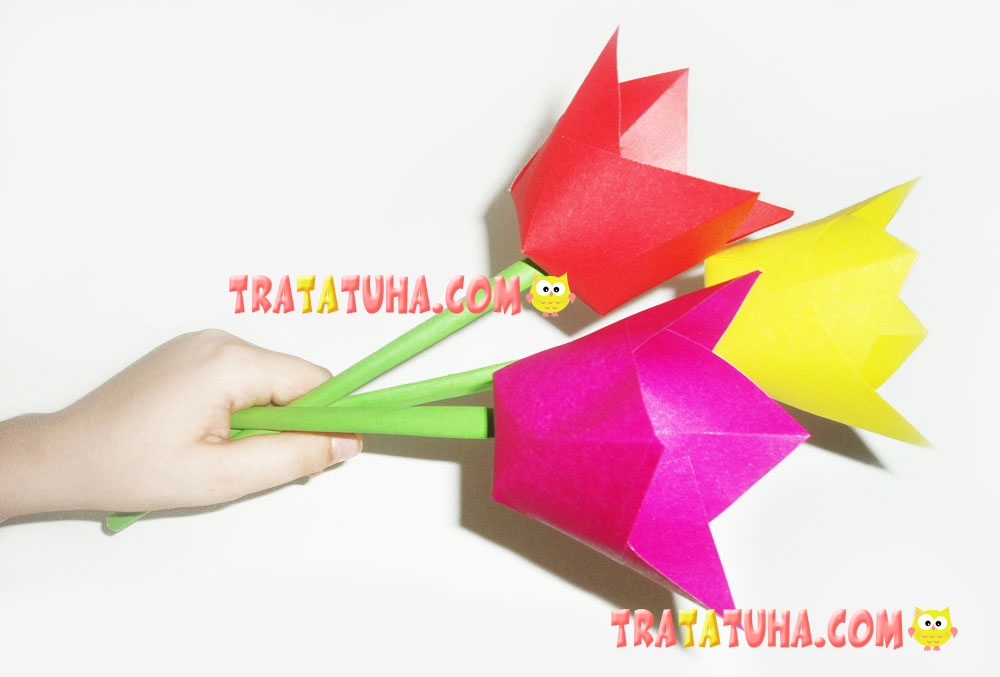
You’ll find even more inspiring ideas in our collection of flower crafts for kids.
If you enjoy handprint crafts, be sure to explore our collection of handprint crafts for kids.
Related Post: