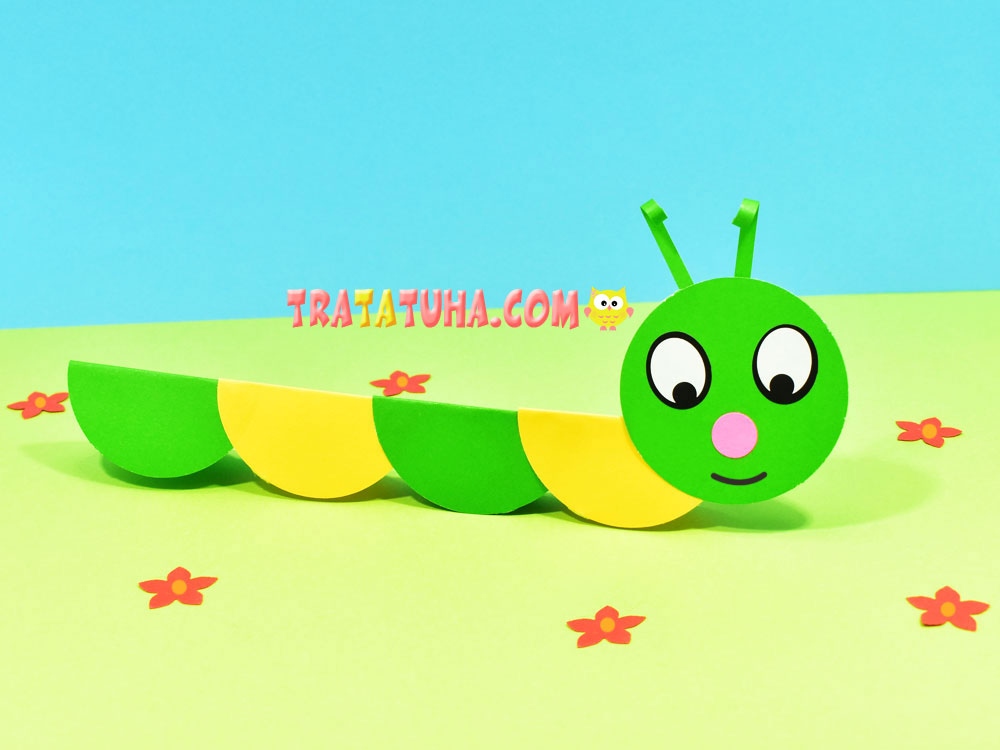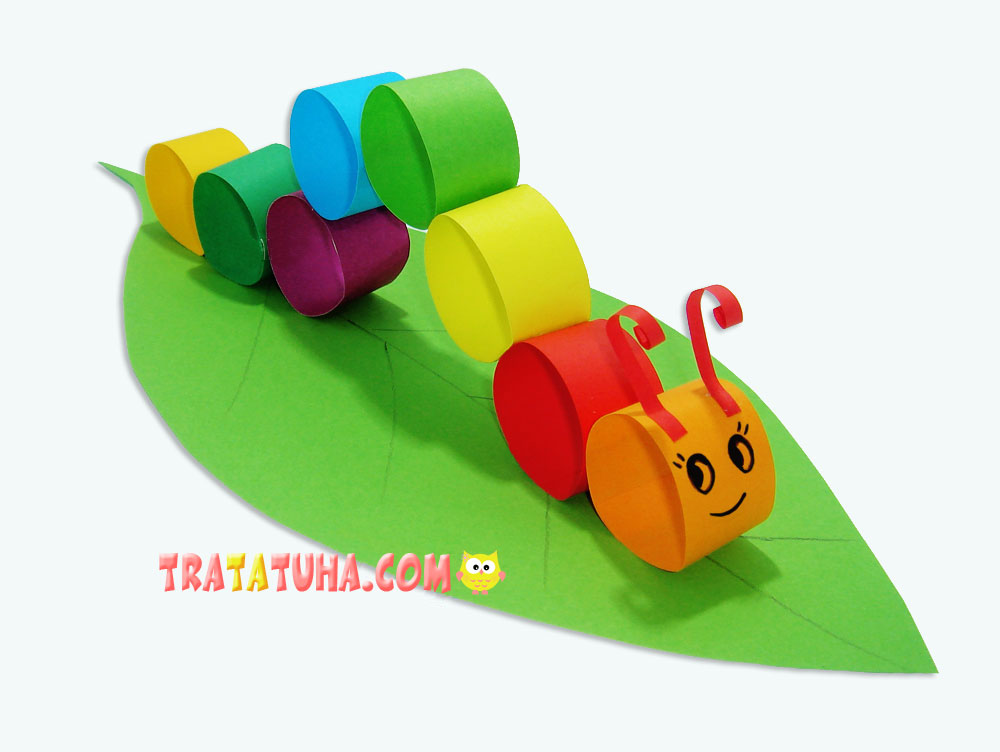
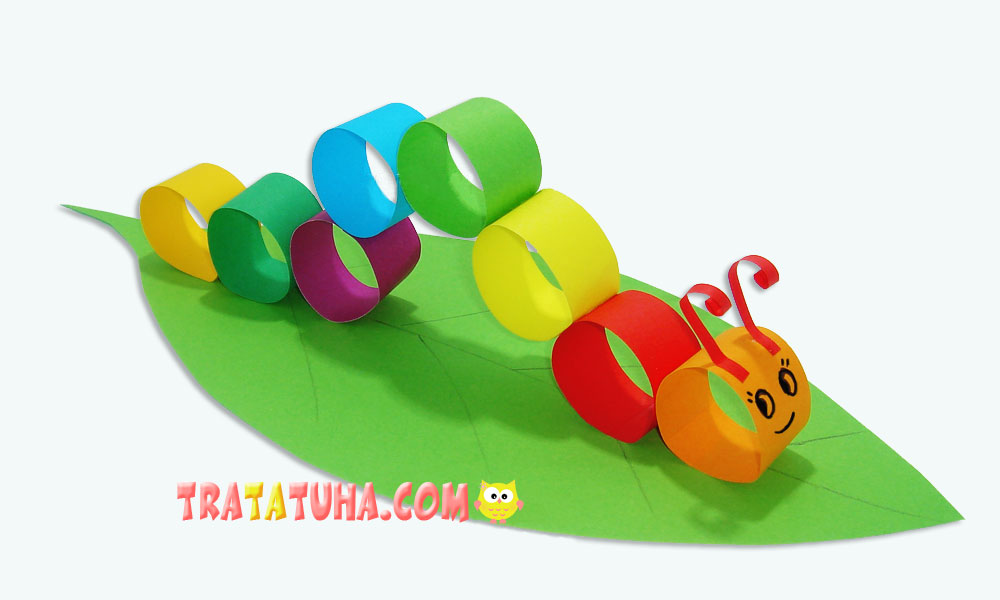
Paper roll caterpillar craft is an easy craft for the little ones. But, despite the simplicity, here you can show imagination in the placement of rings, their color, size.
For work you will need:
- Colored paper of various colors;
- Green cardboard;
- A simple pencil, black marker, scissors, ruler, glue stick.
Caterpillar Craft Step by Step
Since the caterpillar consists of strips of paper rolled into rings, in the first step, cut these strips from colored paper. It is better to choose colors brighter, the caterpillar will be catchy and beautiful. Although you can take only one color, for example, yellow or green, which will also make an equally interesting character. Cut into 8-10 strips. Sizes can be any, depending on the desired size of the caterpillar. Based on the size of the sheet on which the insect sits, and the sheet is almost equal in length to standard A4 paper, strips 10 cm long and 2 cm wide were used.
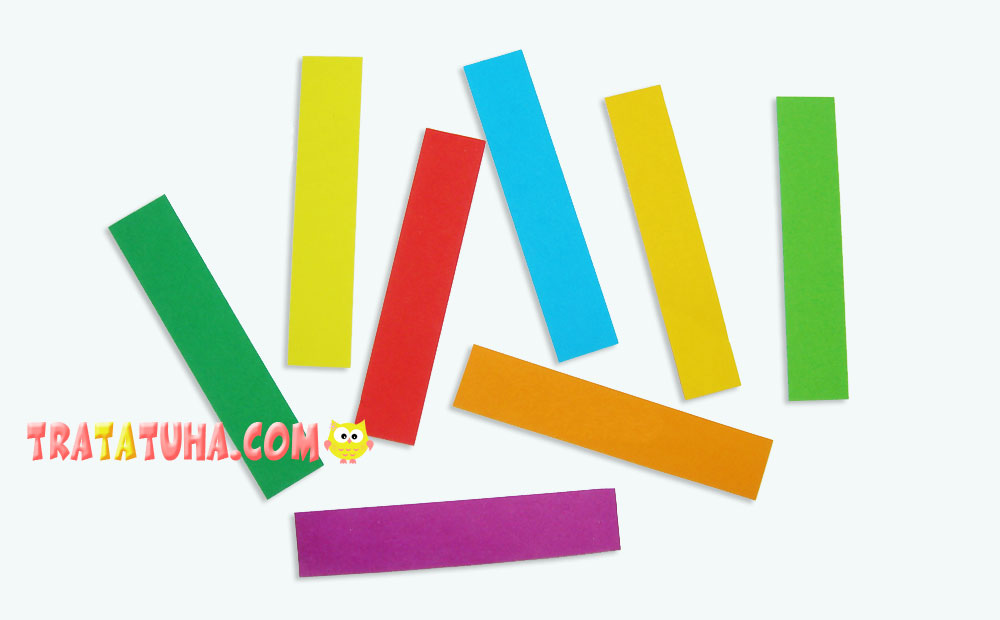
Wrap each strip in a ring and glue the ends.
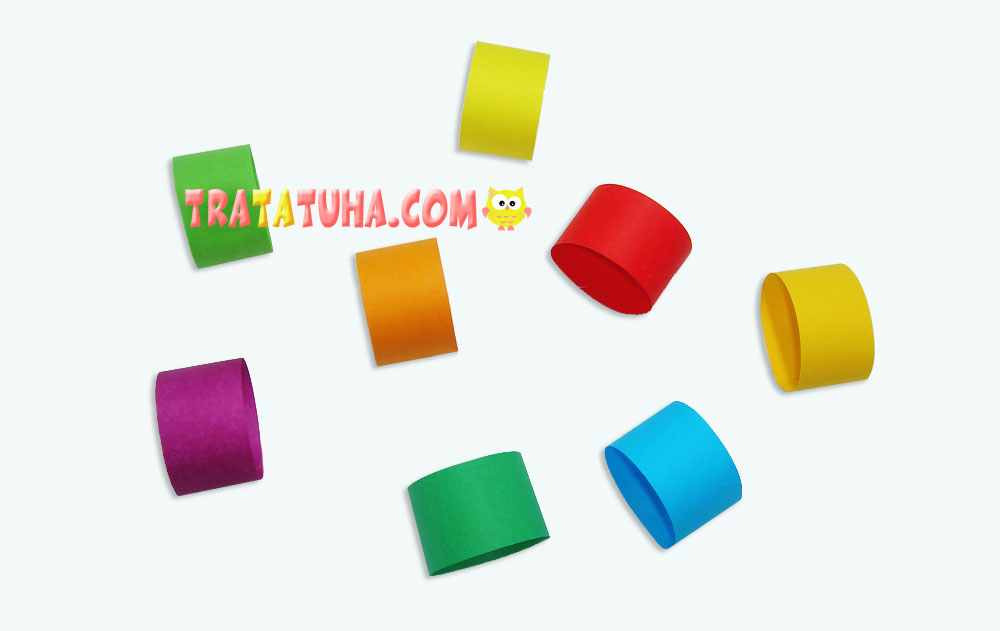
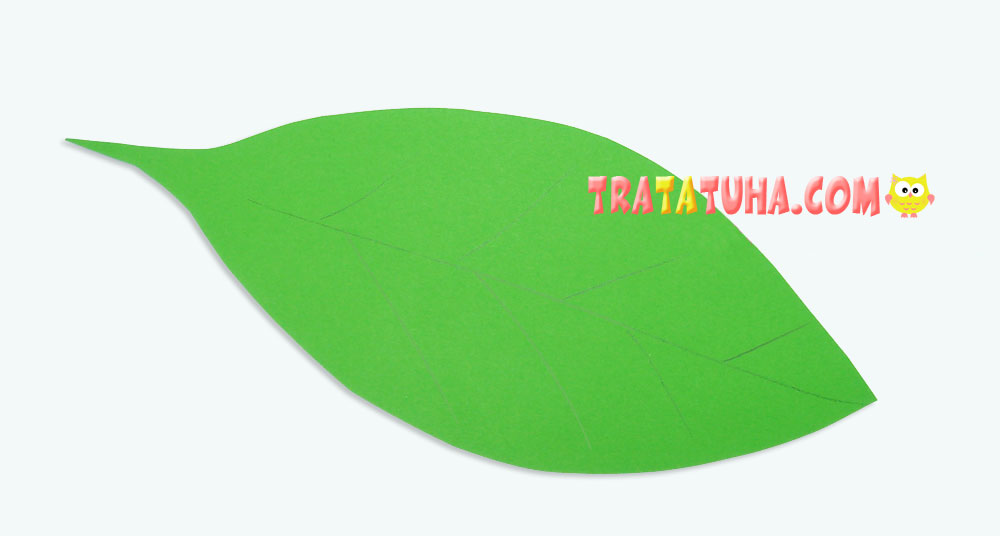
Lay out all the rings in front of you as they will subsequently be positioned and cut out a simple sheet of green cardboard, taking into account the length occupied by the rings. If the dimensions of the strips are 10 by 2 cm, then you can safely draw a leaf on the entire area of the paper sheet. If desired, veins can be drawn on the leaf: one in the center and branching from it.
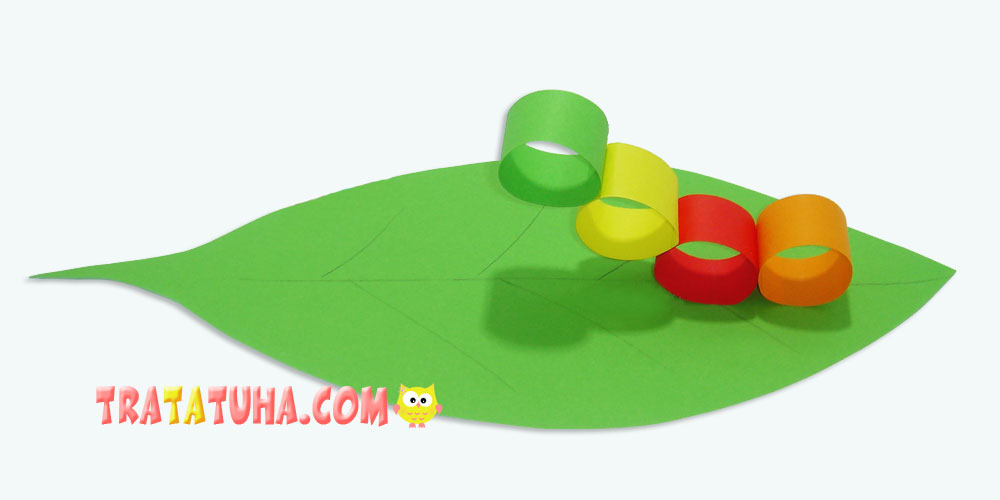
Spread the ring with glue, preferably in the area where it is glued, glue it to the beginning of the sheet. Glue the rest in the desired position.
You can slightly raise the rings in the center, imitating the arching back of an insect, raise half of the body with it, or simply stick it on the sheet in one row.
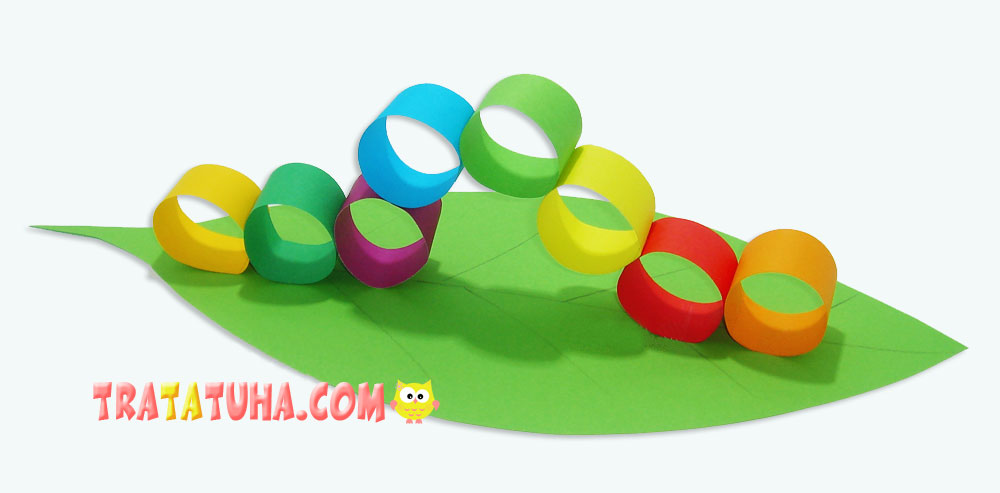
The caterpillar craft is almost ready, glue two thin strips twisted at the ends onto its head to show the antennae. And also draw eyes and a smile with markers.
Many other Insects Crafts for kids.
Crafts for Kids – learn how to make craft at home! Super cute crafts for all age groups!
