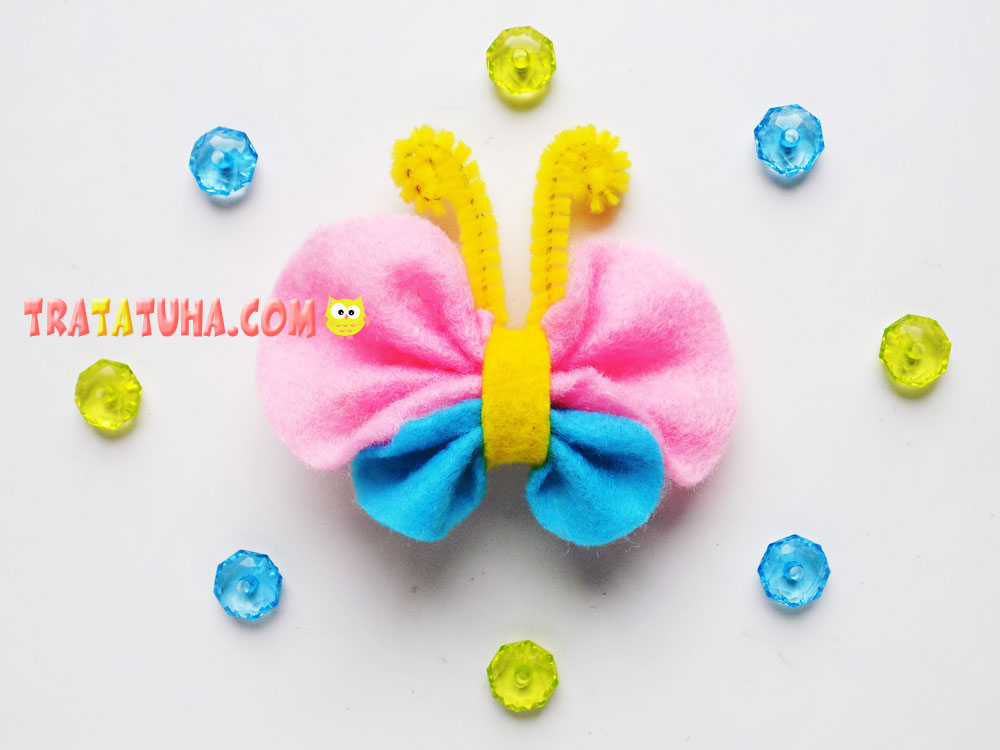
Many jewelry for a young fashionista can be made by hand. For example, it can be a beautiful felt butterfly in the form of a hairpin. All steps for creating jewelry are given in this tutorial.
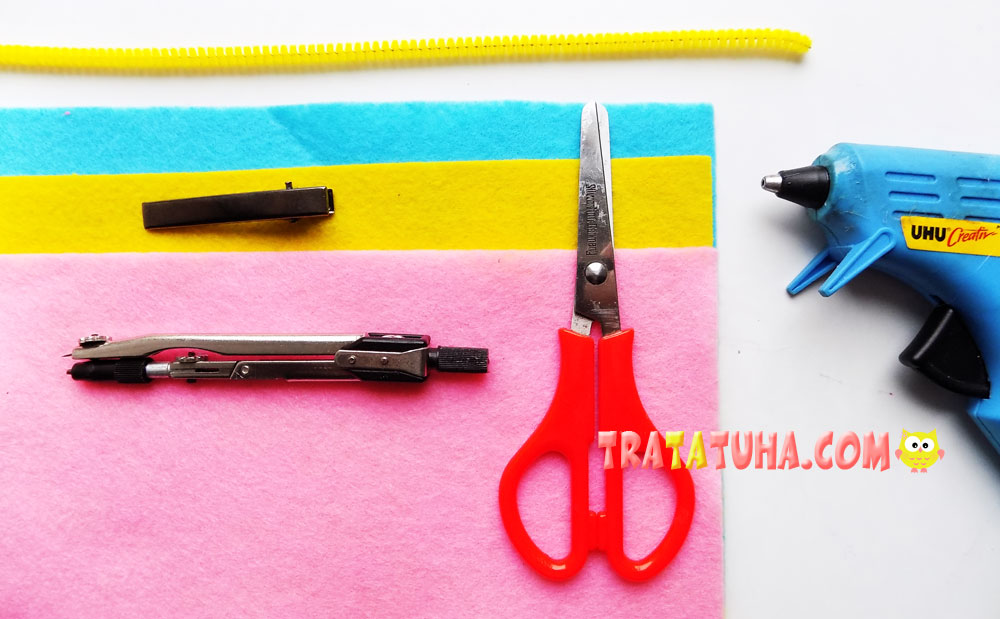
To make such a hairpin you will need:
- felt of different colors;
- scissors with a compass;
- pipe cleaner;
- metal base for hairpins;
- glue gun.
Felt Butterfly Step by Step
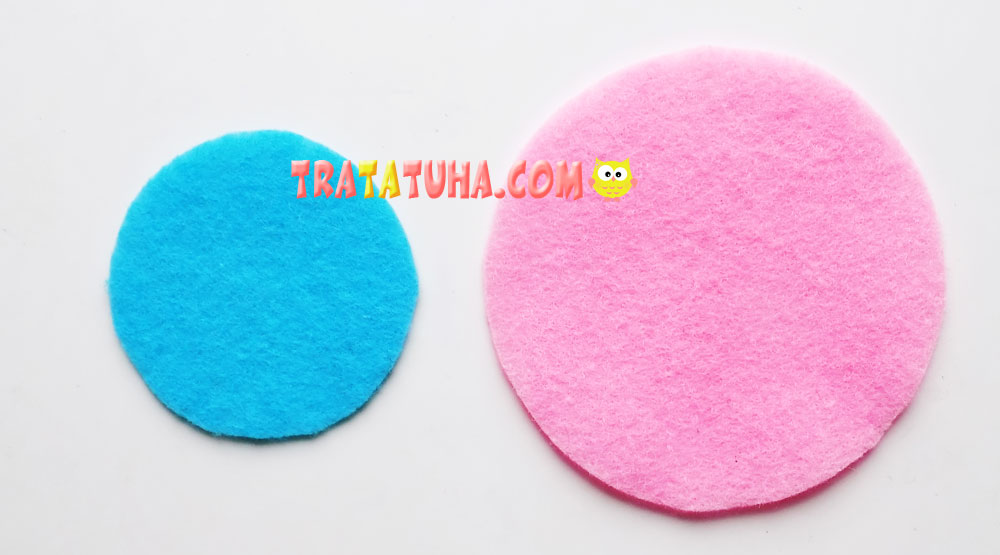
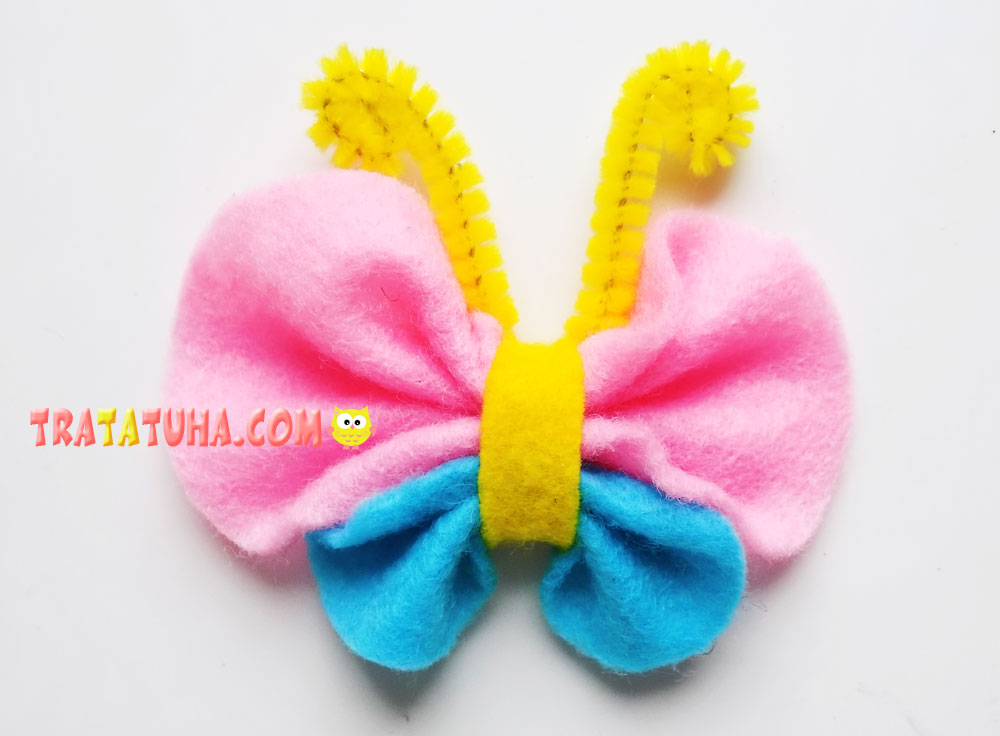
For butterfly wings, we need to cut out a couple of round blanks from felt. The upper wings will be pink, so we cut out a circle with a diameter of 7 cm from the corresponding felt. We will make the lower wings blue, they will need a round blank with a diameter of 4.5 cm.
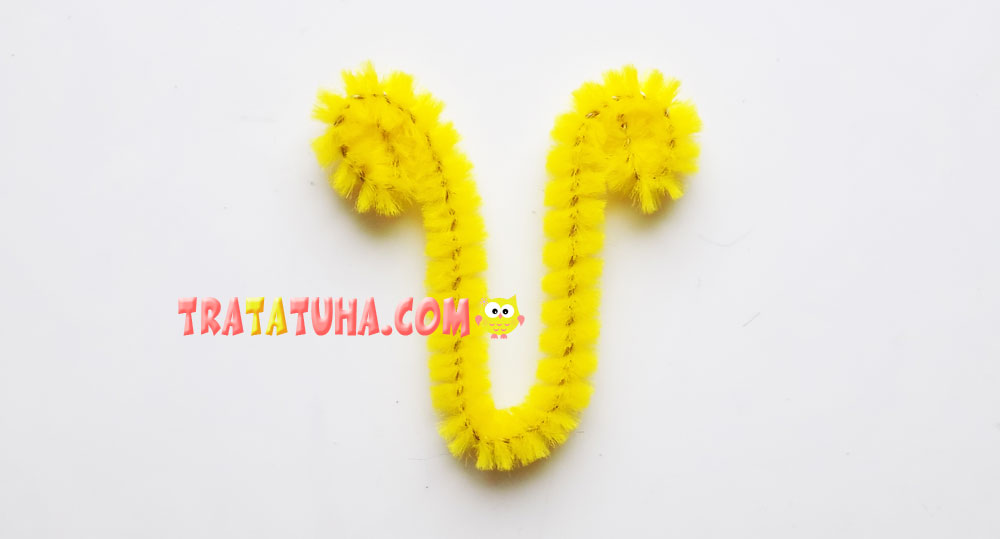
The antennae of the butterfly will be made from a piece of yellow pipe cleaner. We take a small piece of this material, fold it in half, and twist the ends a little.
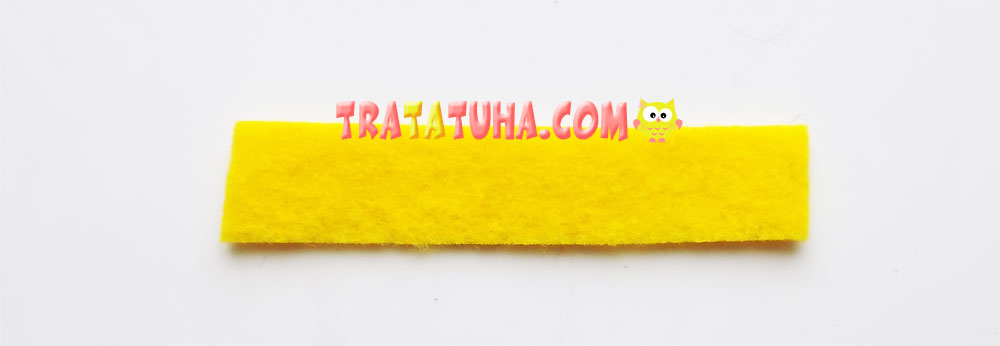
For the middle, we need a strip of felt of any color. We decided to make the body of the butterfly yellow, so from this felt we cut out a blank 5 cm long and about 1 cm wide.
Further work on making the butterfly is not difficult. To make wings, it is enough to make small assemblies in the middle of the circle. We first made them on the pink circle.
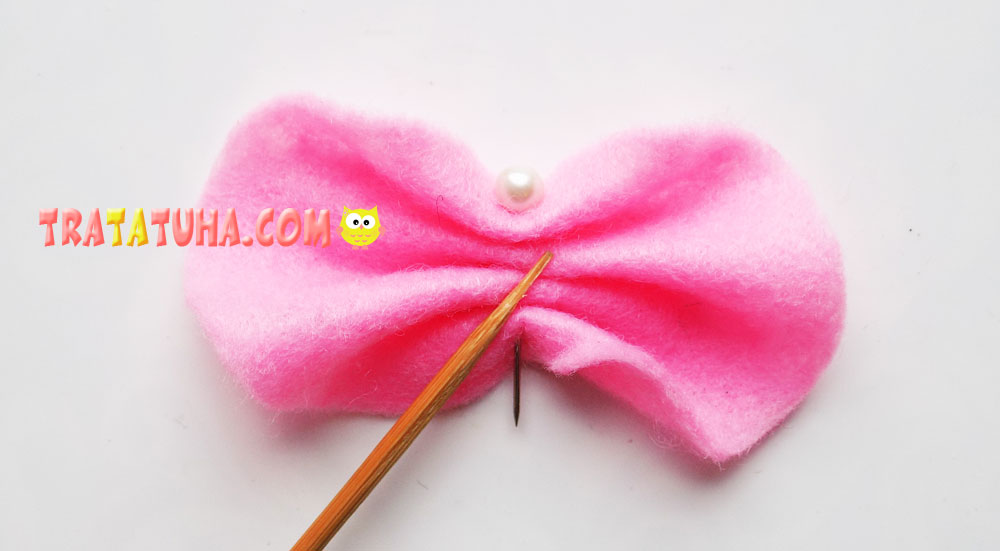
In the same way, we make folds on a blue circle cut out of felt. It remains to connect these wings with a yellow strip, not forgetting to fix the antennae, which we made from pipe cleaner. We connect the ends of the yellow strip on the back side with a glue gun.
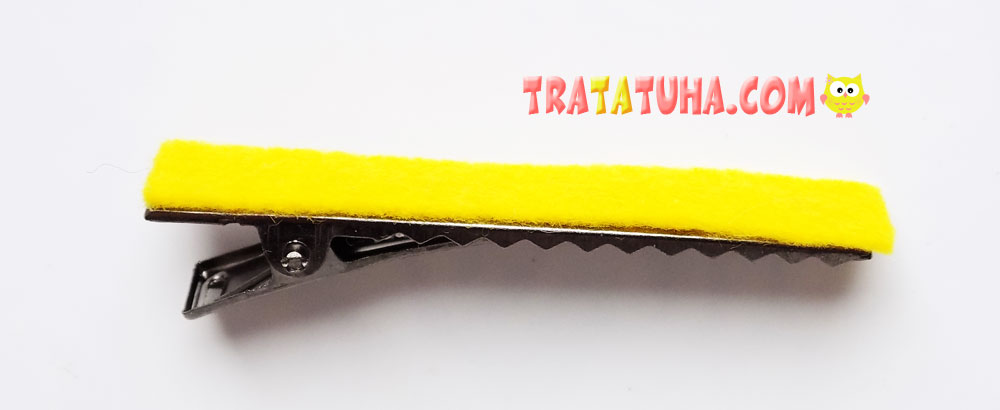
Let’s prepare the base of the hairpin. Glue a yellow strip of the appropriate size onto the metal base.
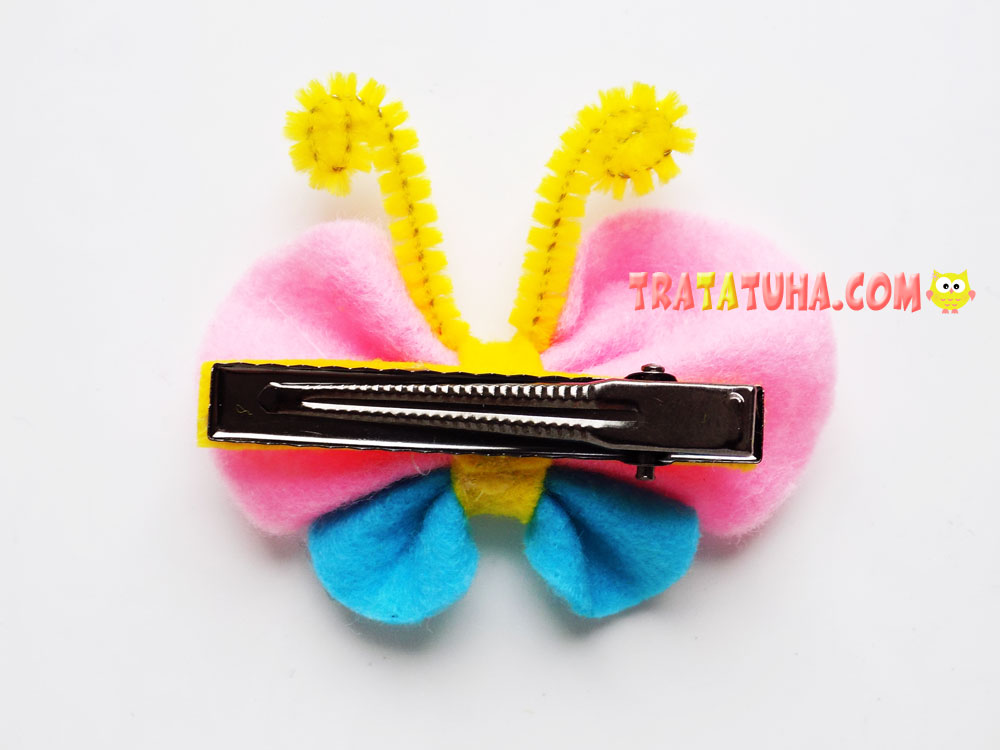
On the reverse side of the butterfly, glue the metal base. To do this, we will use hot glue again.
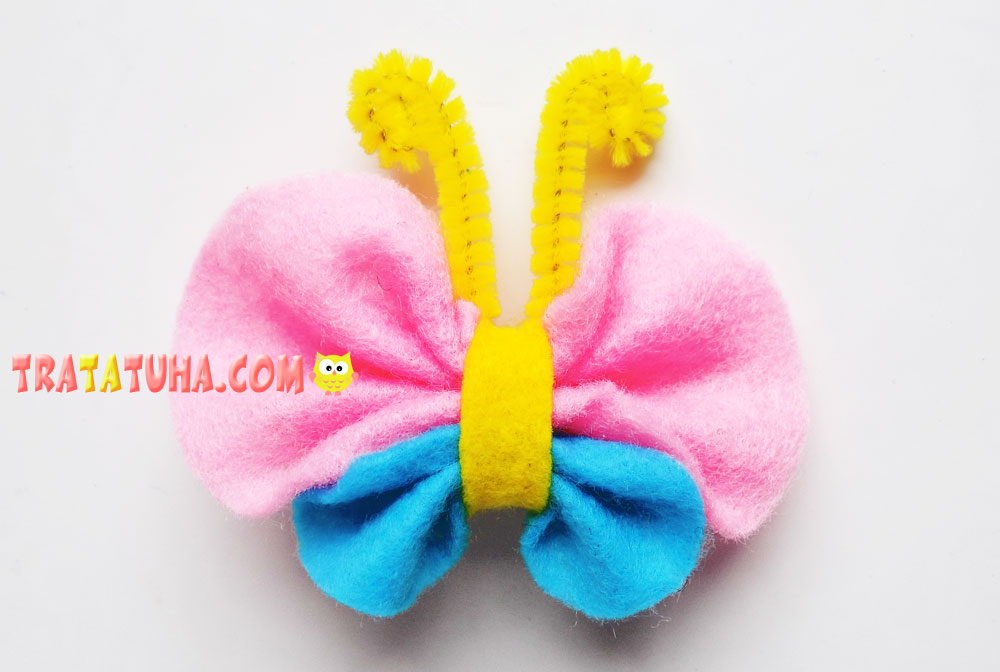
The felt butterfly is ready.
See more ideas about felt crafts.
Many other Insects Crafts for kids.
Crafts for Kids – learn how to make craft at home! Super cute crafts for all age groups!
