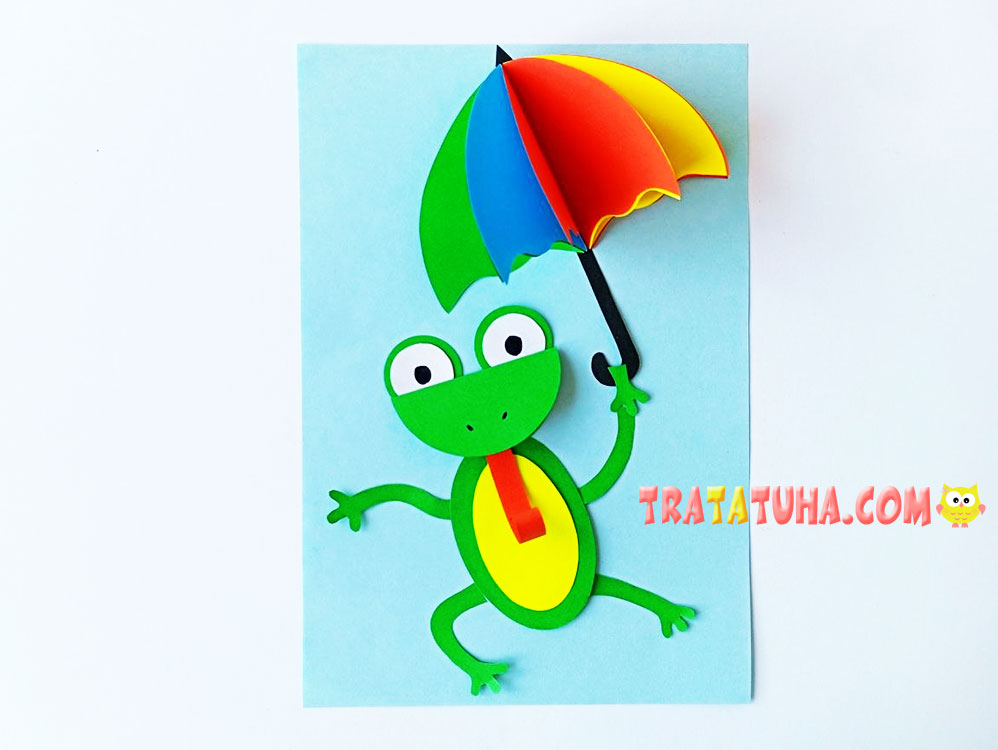
The frog with an umbrella craft is made up of many pieces, one of which is three-dimensional. This craft is not particularly easy, but it is not too difficult either, making it a great choice for a child who enjoys a challenge!
You will need:
- Green, yellow, and red paper for the frog;
- A small amount of white paper for the frog’s eyes;
- Colored paper in four or five different colors for the umbrella;
- A small amount of black paper for the umbrella handle;
- A black marker for the pupils and nostrils;
- Colored paper or cardstock for the background sheet;
- A compass (optional);
- Scissors;
- Glue.
Frog with an Umbrella Craft Step-by-Step
Preparing the Pieces
First, prepare all the necessary pieces.
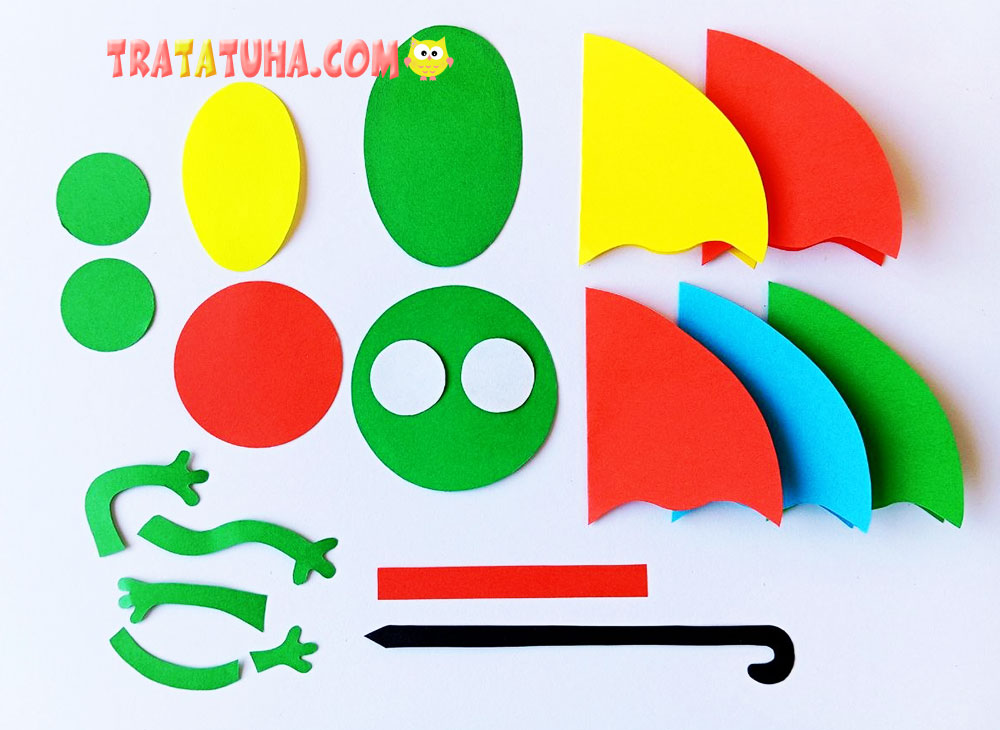
- From green paper, cut out a circle for the head of the little swamp dweller. You will also need an oval for the frog’s body, four limbs, and two identical small circles.
- Divide one of the arms into two pieces: the arm from the shoulder to the wrist and the hand itself. The body oval should be slightly narrower and longer than the head.
- From yellow paper, cut out an oval that is smaller than the green one. This will be the frog’s belly.
- From red paper, cut out a circle smaller than the green one. This will be the frog’s mouth. Also cut out a long strip from the same paper to make the frog’s tongue.
- From white paper, cut out two circles smaller than the green ones. These will be the frog’s eyes.
- From black paper, cut out the long handle of the umbrella. One end should be pointed, while the other should be curved into a hook.
Next, choose four or five colors for the top part of the umbrella. Bright, eye-catching shades work especially well. We used yellow, red, light blue, and green.
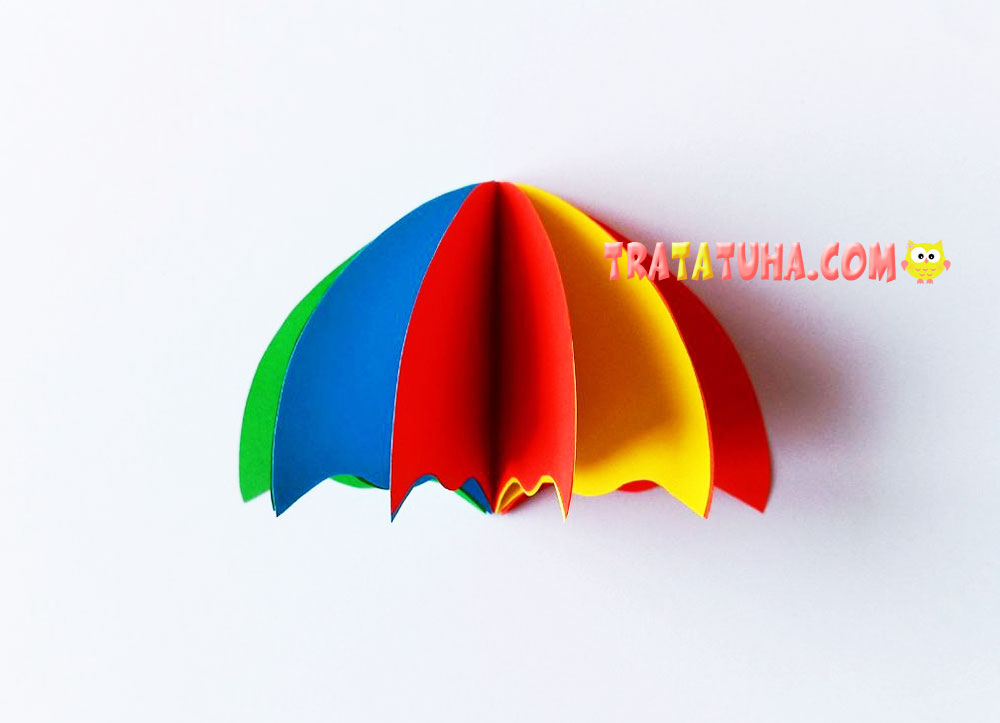
- From the colored paper you have chosen, cut out five identical umbrella canopy sections. They should be different colors, although one color can be used twice. These pieces should look like a quarter of a circle with a decorative curved edge along the bottom.
The canopy sections should be double-layered, so that they open like greeting cards. To make them, fold the paper in half, draw the outline of the piece along the fold, and cut it out.
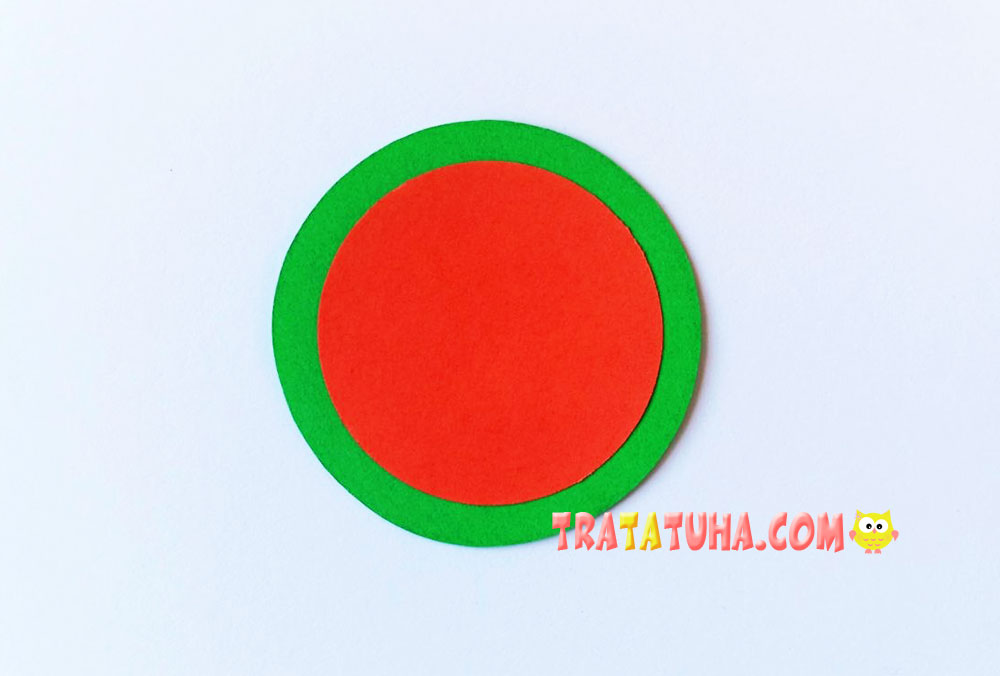
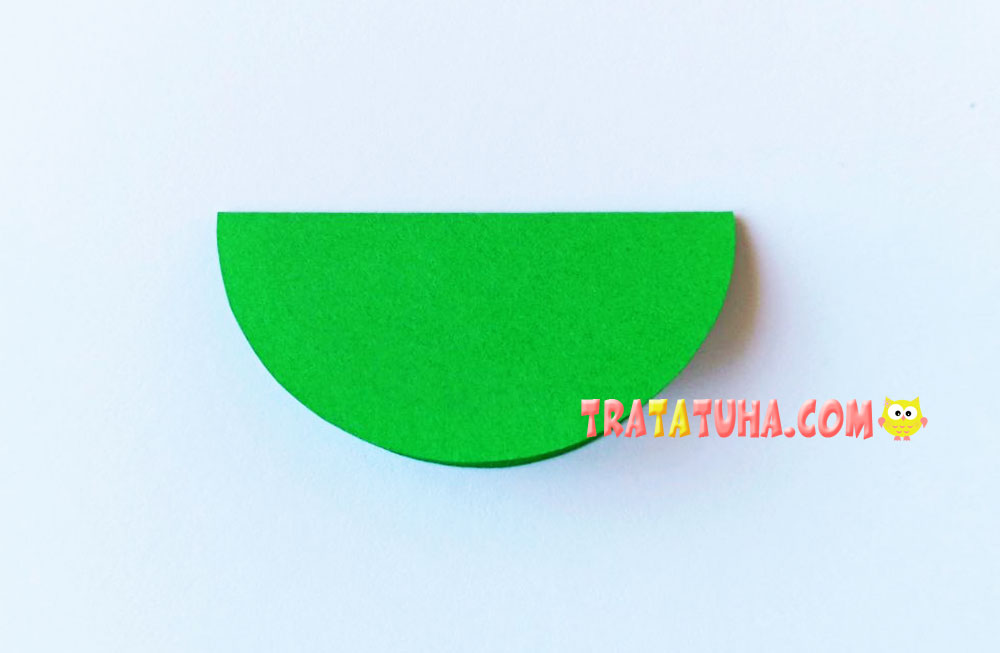
Next, prepare the pieces for assembling the craft. Glue the red circle in the center of the green one.
Then fold the circle in half to form a semicircle. The red part should be on the inside, with the green part on the outside.
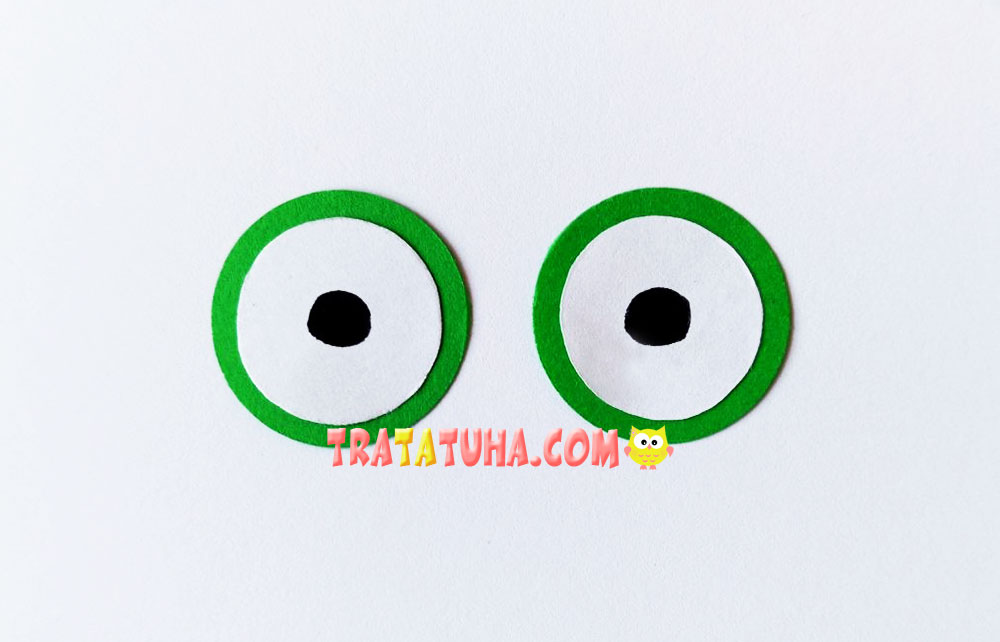
Next, work on the eyes. Glue the white circles onto the small green circles. Use a black marker to draw the pupils.
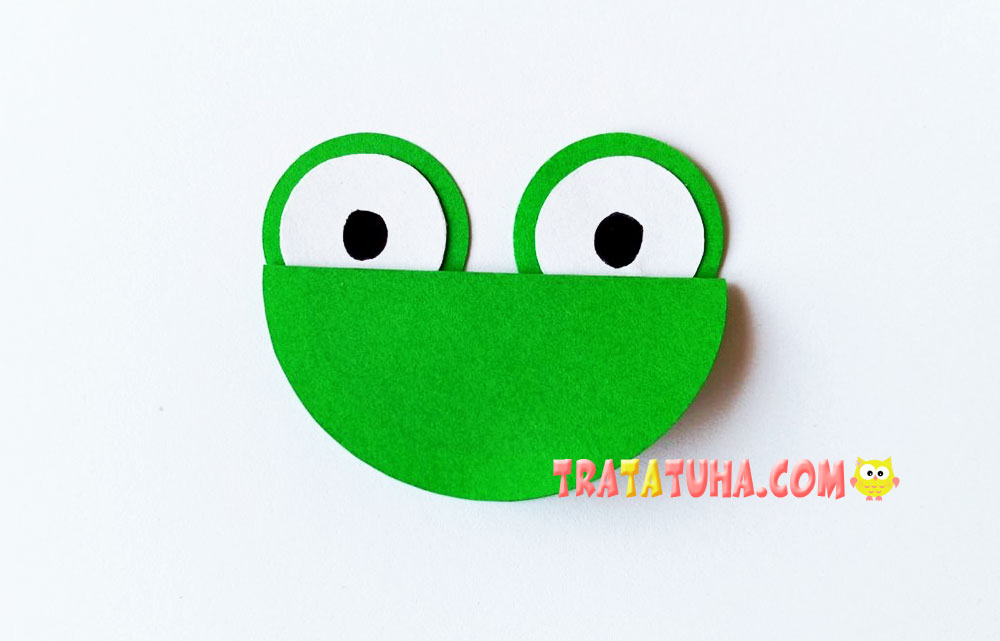
Then attach the eyes to the head. Glue the eyes to the straight edge of the semicircle you made earlier. Do not place the eyes too close together; leave a small gap between them.
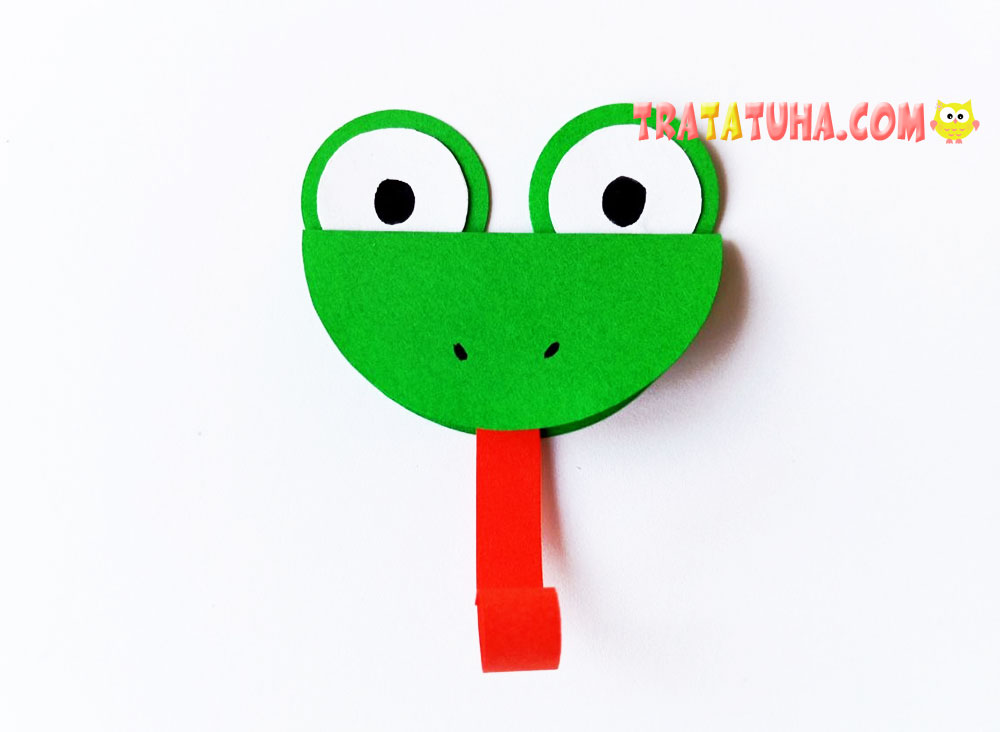
Now finish the head: glue the tongue inside the mouth and draw the nostrils. Curl the tongue slightly so that it does not hang down as a straight, lifeless line.
Set the head aside and start working on the umbrella. Glue one canopy section to another. This will create a small three-dimensional piece.
See also how to make an autumn umbrella craft with leaves.
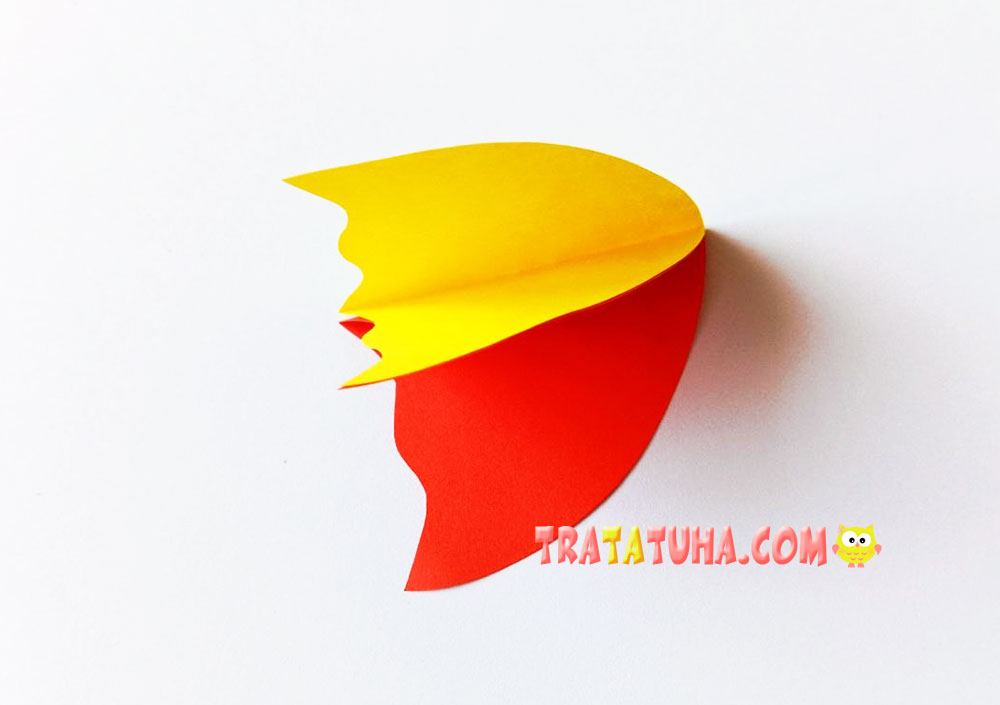
In the same way, attach the remaining colorful sections. You will end up with a fairly large piece resembling a semicircle. This is the completed umbrella canopy.
Assembling the Craft
First, decide what you would like to use as the background.
Any shade will work, but pastel colors are best. The frog and the umbrella are both quite bright and eye-catching, so a bright background could be too much. We chose a pastel blue.
Cardstock is best for the background, although regular paper will work too.
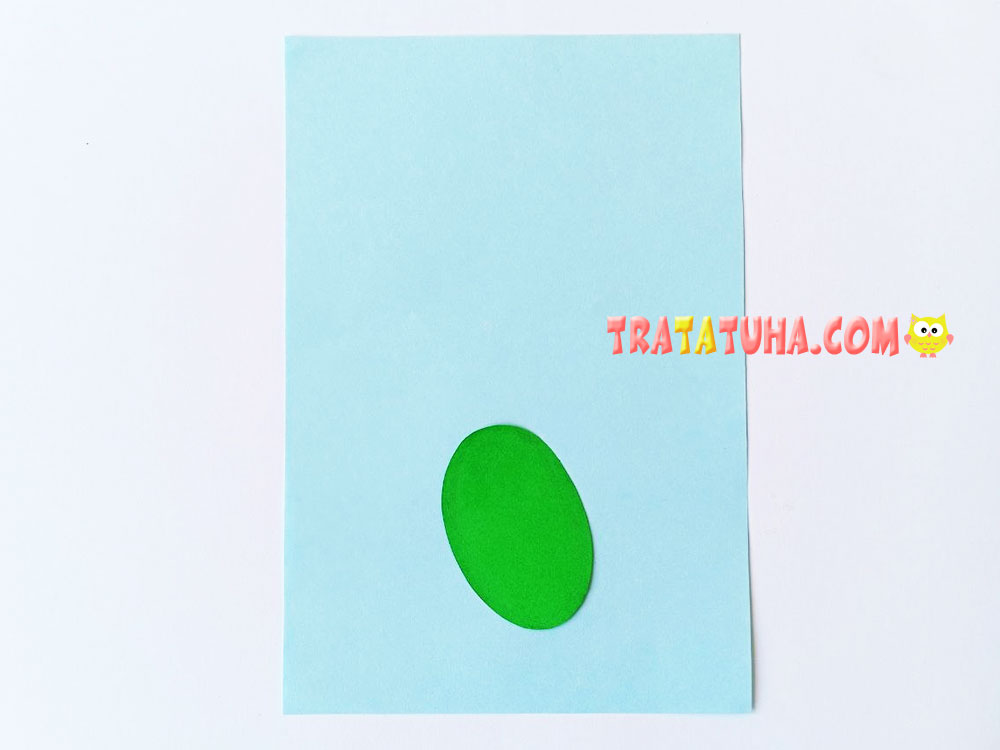
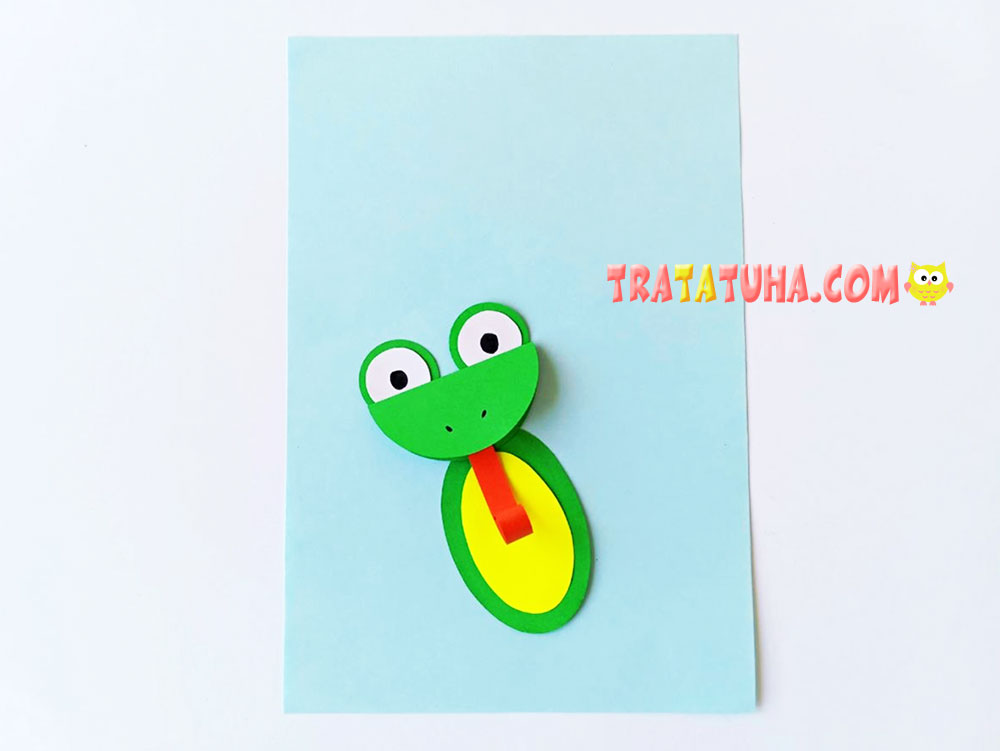
Next, glue the green oval—the frog’s body—onto the background. Do not place the oval straight; tilt it slightly to the left.
Position the oval toward the bottom of the background, approximately in the center, without shifting it noticeably to either side. Leave some space between the bottom edge of the sheet and the body.
Apply glue only to the center of the oval, leaving the edges unglued so that the other pieces can be tucked underneath them.
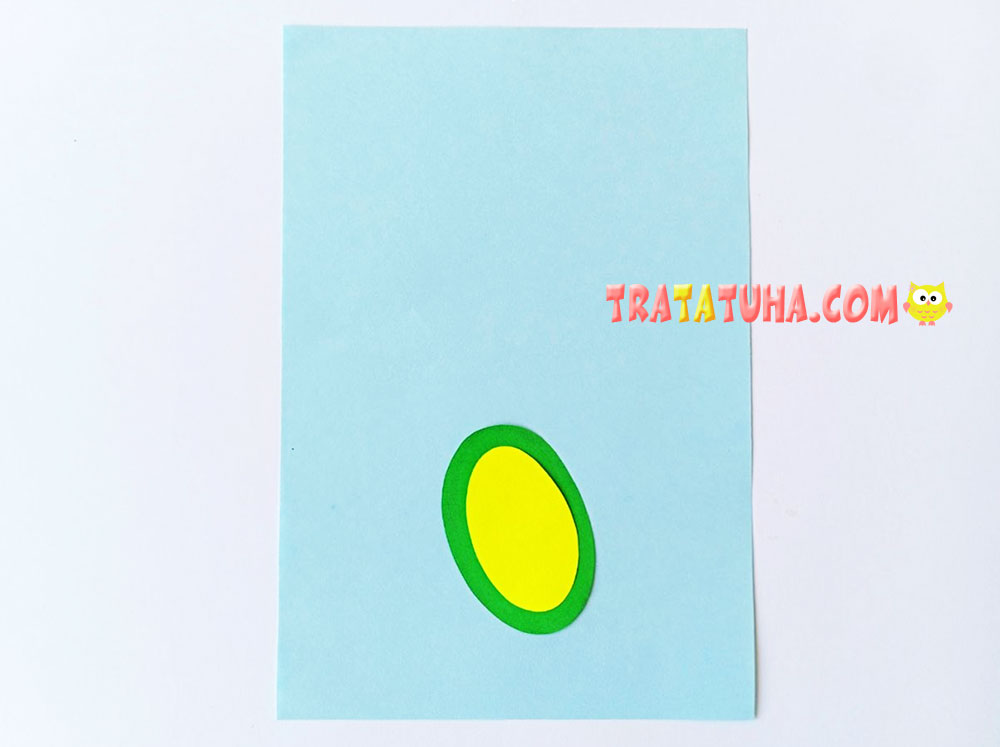
Next, glue the frog’s belly onto its body: the smaller yellow oval.
Then glue the frog’s head above the body. It should touch the oval and follow the same angle.
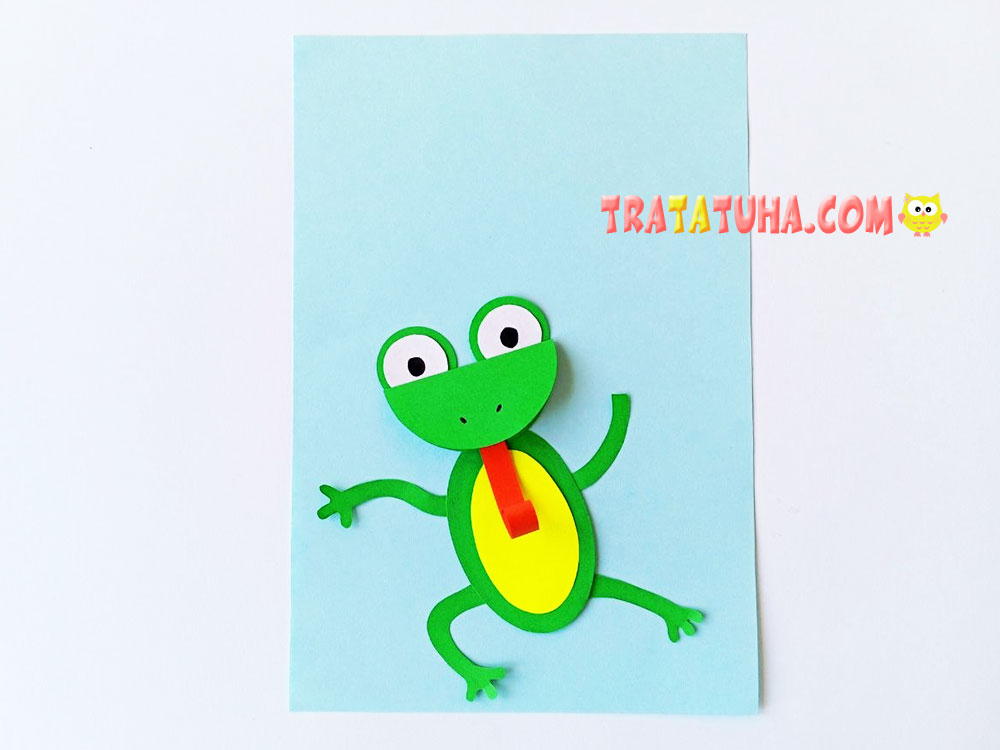
Next, attach the limbs.
Tuck the ends underneath the body oval so that the joins are hidden.
Glue the divided arm on the right side. Do not glue its hand down yet.
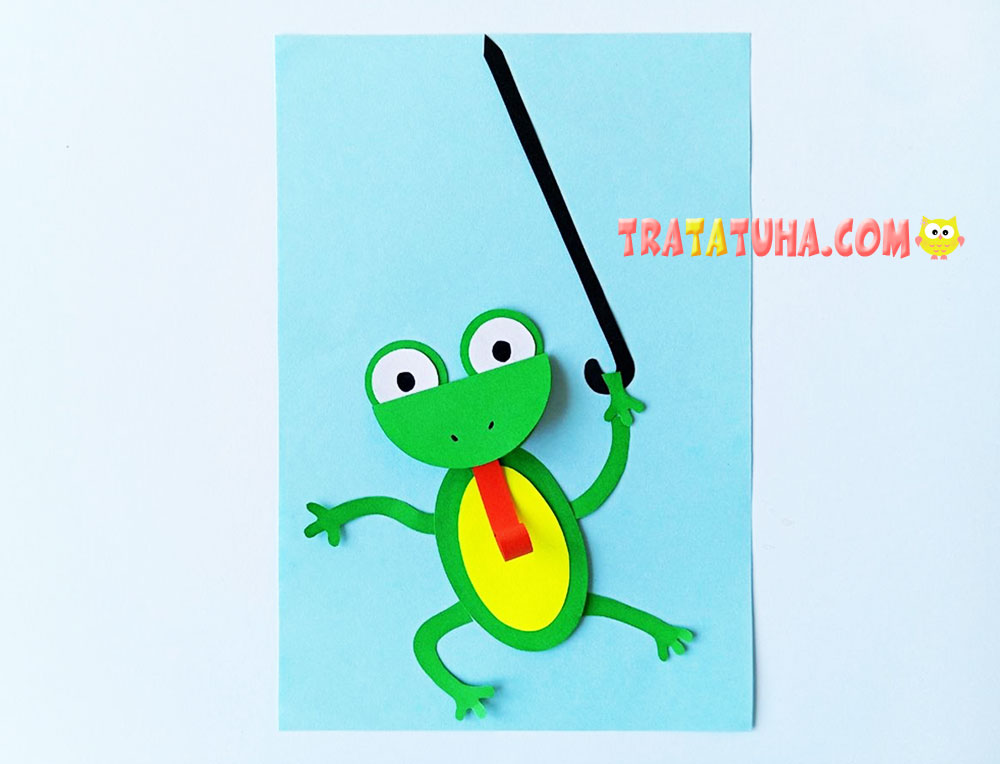
After that, glue on the umbrella handle. Tilt it slightly to the left.
Glue the hand on top of it. It should overlap part of the handle, since the frog is holding the umbrella.
Finally, glue on the top part of the umbrella. The tip of the handle should stick out above the canopy. Be sure to leave it visible.
And here is the frog with an umbrella craft we made! It turned out bright, eye-catching, and memorable.
Help your child while making it: this is a great way to spend time together, and it will also make it easier for the young artist to understand all the assembly steps.
Related Post: