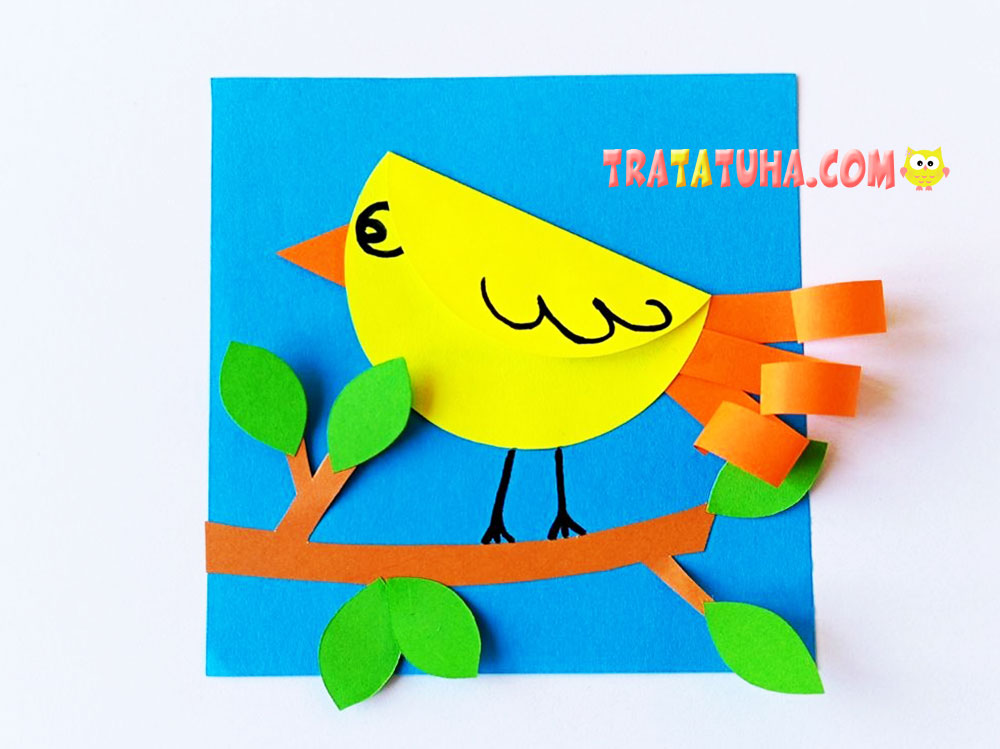
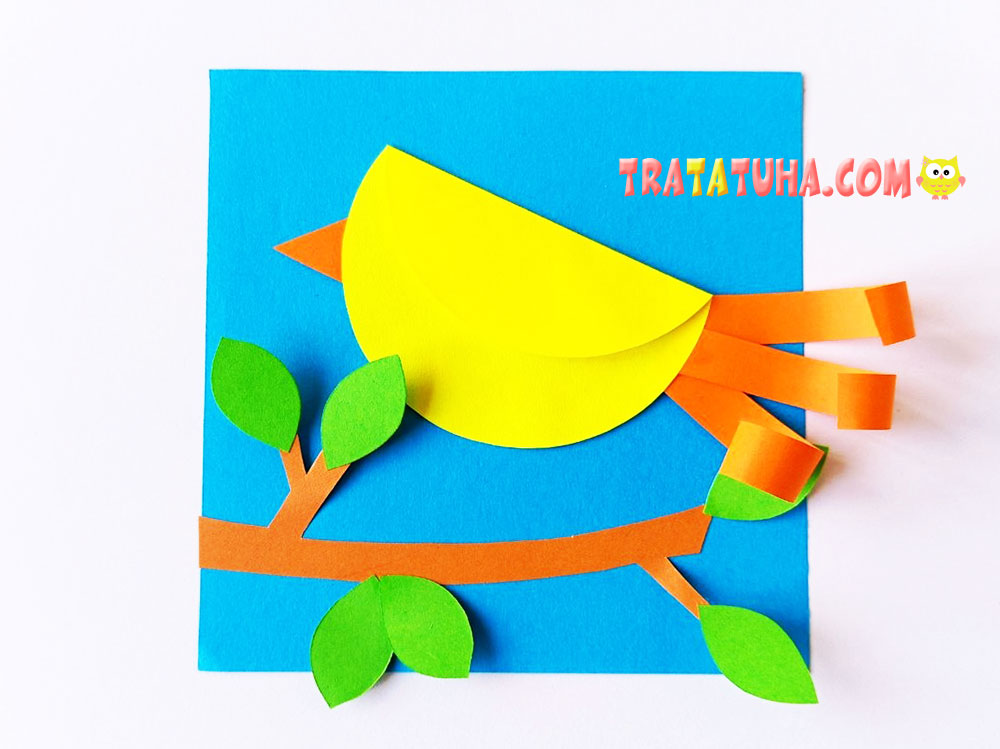
This simple bird craft is quick and easy to make, yet it looks interesting and unusual. Its main element is a circle, but you will also need a few other simple shapes, such as strips and leaves.
Materials
- Yellow, orange, green, and brown paper for the craft;
- Blue paper for the background;
- A black felt-tip pen, marker, or pencil;
- A compass (optional);
- Scissors;
- Glue.
Simple Bird Craft: Step-by-Step
First, cut out the pieces for the craft.
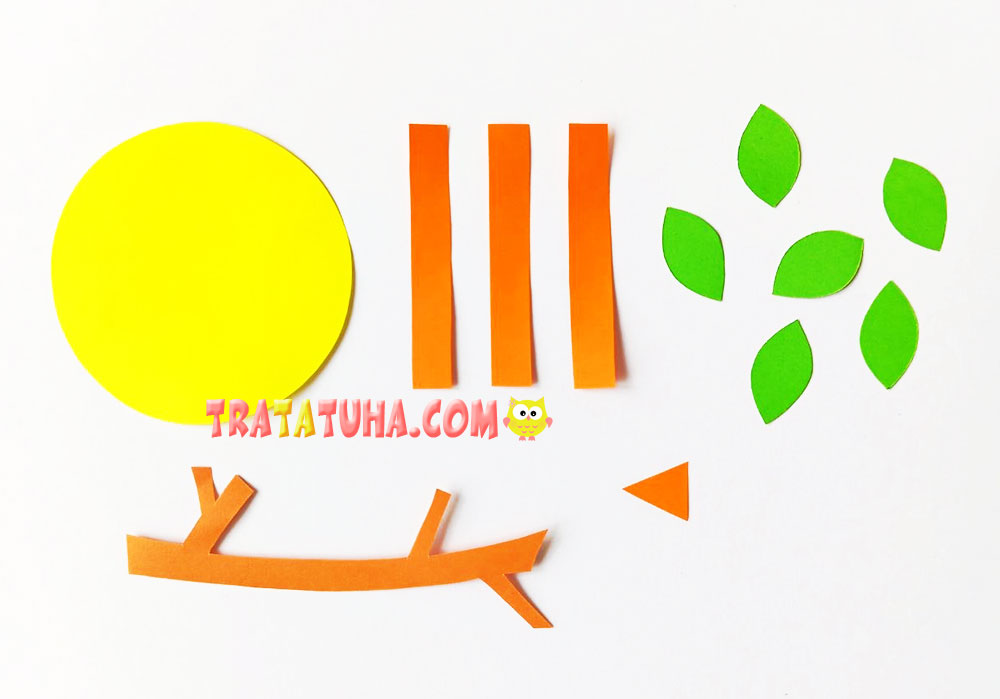
- From the yellow paper, cut out a circle. Use a compass to draw the outline so that the circle is nice and even. This will be the bird’s body.
- From the orange paper, cut out three strips for the bird’s tail. Their length should be roughly comparable to the diameter of the circle. From the same paper, cut out a small triangle for the beak.
- From the green paper, cut out about half a dozen identical leaves. We used exactly six, but you can make more or fewer. Fold the paper several times to cut out identical pieces more quickly.
- From the brown paper, cut out a branch: a winding strip with smaller branches. Ours is curved into a small arch, with several shoots extending from it where we will glue the leaves.
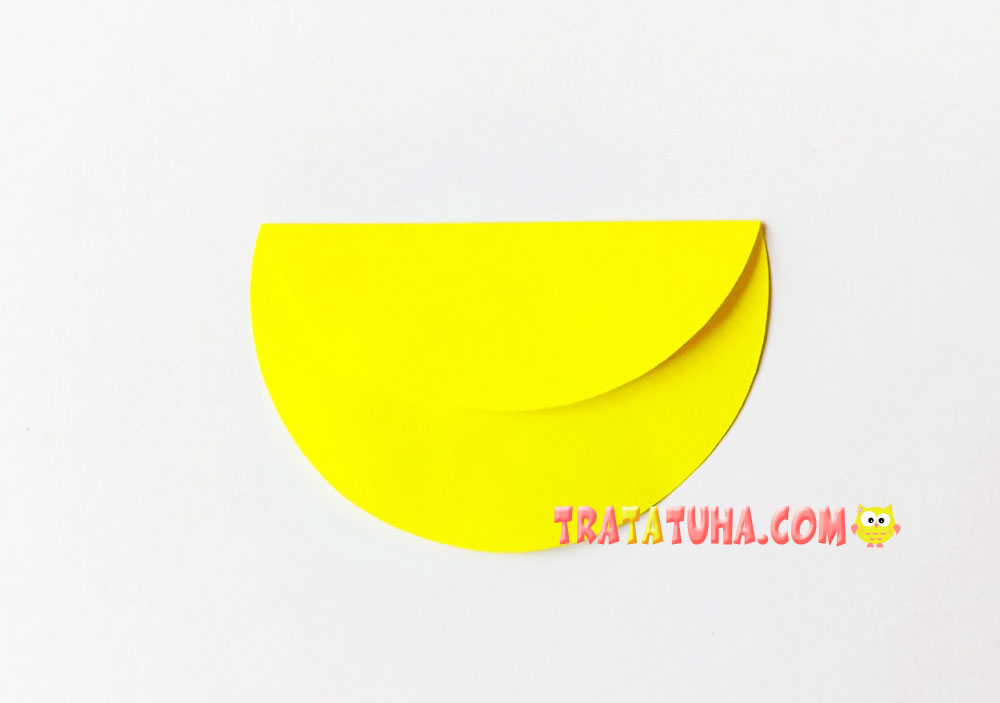
Next, take the yellow circle and fold one side inward so that the fold extends past the center but does not reach the opposite edge. This will create the bird’s body and wing.
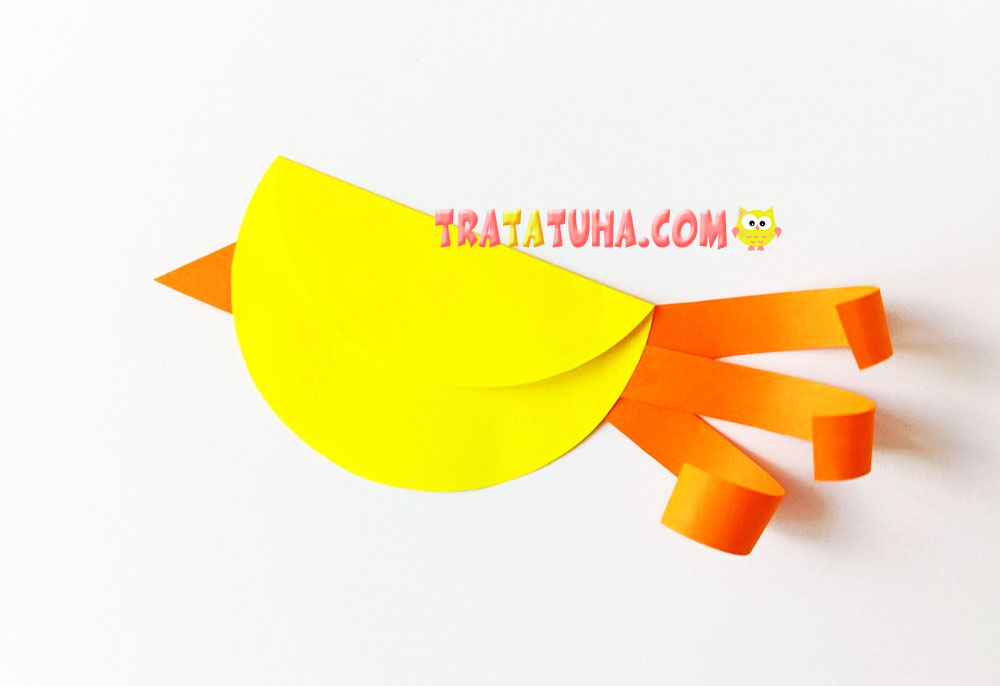
Next, glue on the orange pieces of the craft: the beak and tail.
Wrap the tail strips around a pencil or pen so that they become slightly curled rather than perfectly straight.
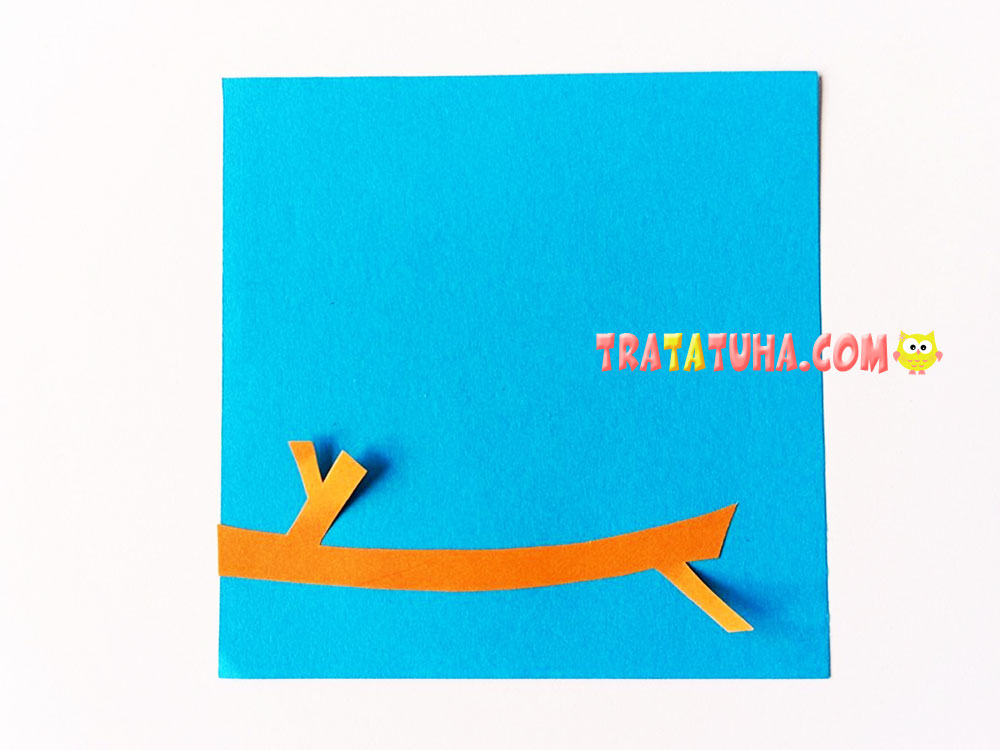
Then glue the branch onto the blue background paper. Place it along the lower part of the background, right next to the left edge of the sheet.
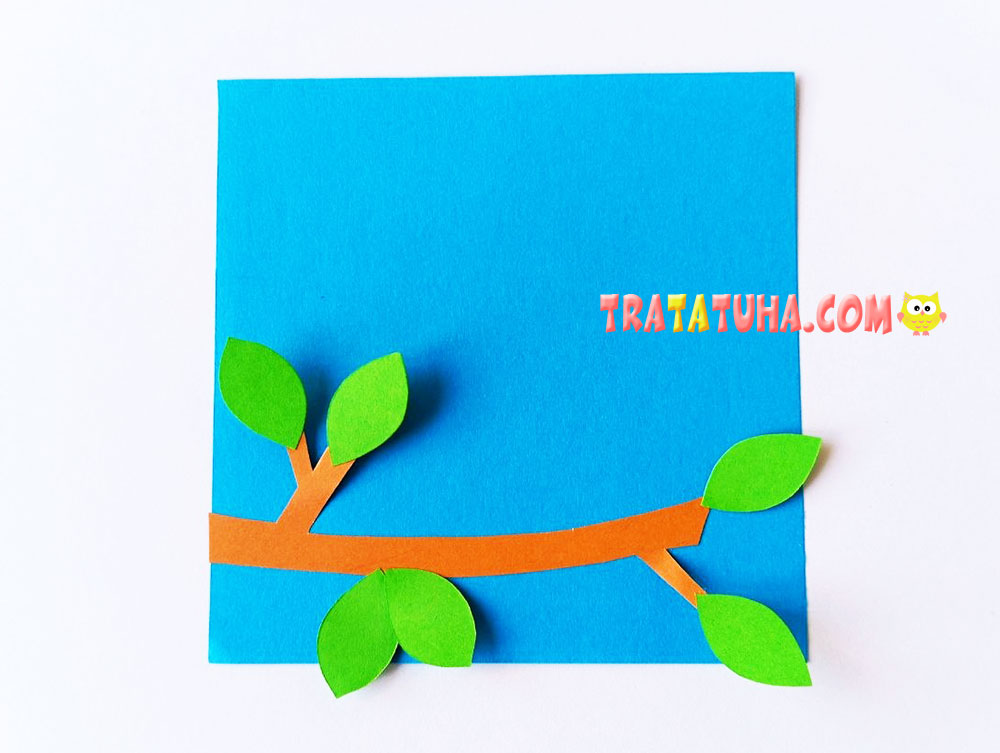
Next, decorate the branch with leaves. You can glue them onto the smaller side shoots or directly onto the main branch—arrange them however you like.
After that, glue the bird onto the background paper—more precisely, the piece consisting of its body, beak, and tail. Do not glue it directly against the branch; leave some space between them so that there will be room for the bird’s legs.
Finally, add the finishing touches. Use a black felt-tip pen, marker, or pencil to draw the bird’s eye, legs, and feathers on its wing. Part of the eye may be covered by the wing, and that’s perfectly fine.
And that’s it—the simple bird craft is finished! As promised, it is extremely easy to make, and children of almost any age can create it.
Here are many more fun ideas for making a paper bird.
Related Post: