A simple origami umbrella. A step by step guide on how to make an umbrella and origami raindrops.
Materials:
- Colored paper or special origami paper. In this case, it is double-sided, which makes it possible to make the umbrella bright and colorful;
- Blue paper for rain;
- Scissors, glue.
Origami Umbrella Step by Step
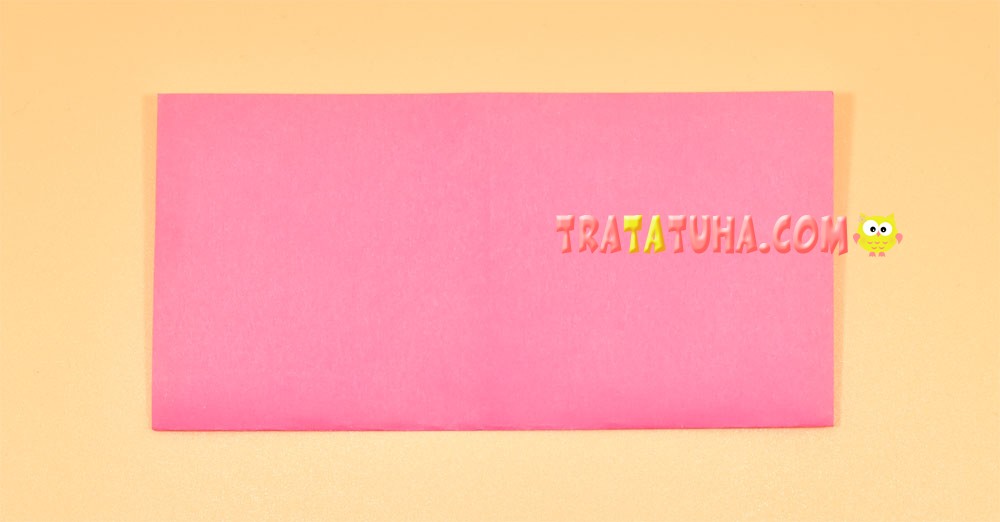
We put up an umbrella. Prepare the paper in the shape of a square.

Fold in half to make a rectangle.

Straighten and fold in half again, but already touching the other two sides. Thus, we got two cross folds.

Fold the top two corners, focusing on the folds and connecting the corners in the center of the paper square.

Open the left corner and bend again to the fold.

Bend over again.

Fold the paper in half with the bottom side toward the top corner.
Then bend the right corner down.

Align the left with the right as well.

Lift the right side and fold it to the fold.

Fold the side over again.

Pull the corner from the top and lower the top layer of the triangle down.

Raise the left side.

Fold in half, bringing the bottom corner to the top.

Drop the left side.

Origami umbrella is almost ready. It remains to make a pen. For the handle, cut a long rectangle and fold it several times into a narrow strip. Can be fixed with glue. Bend twice at the bottom.

Glue the handle to the umbrella.
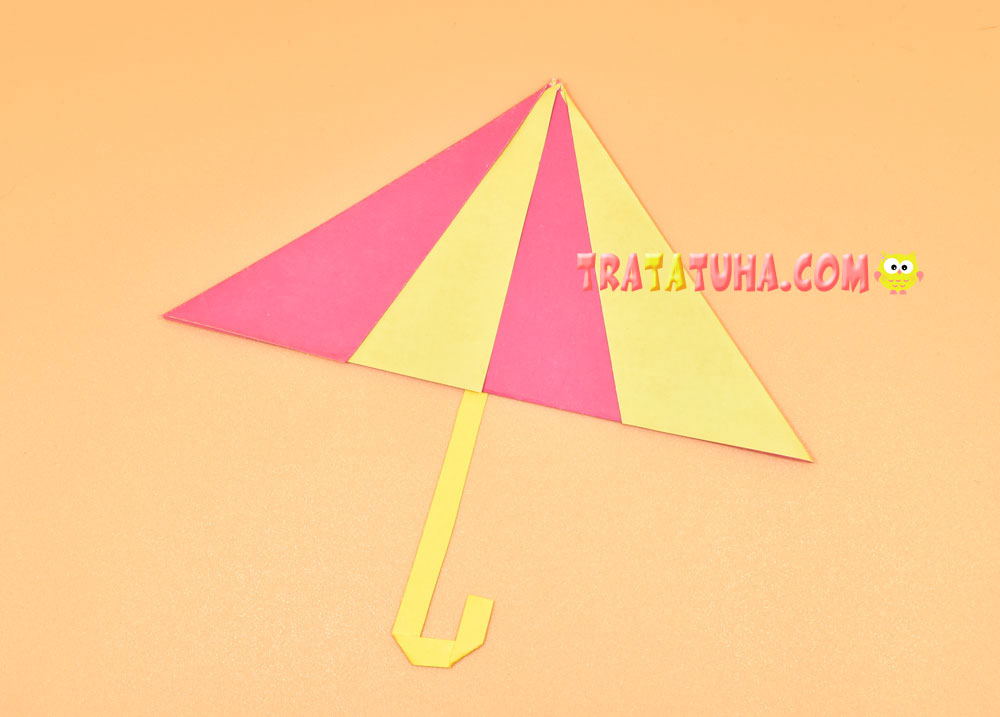
If desired, the umbrella can be supplemented with a knob cut out of paper, as well as a wavy strip glued along the bottom of the umbrella.

Origami Rain (or droplets)
Prepare small square (5cm or 7cm each) of light blue or blue.

Fold into a triangle.

Open and align the sides along the fold line.

Bend small corners at the bottom and sides.

Turn over to the other side, the droplet is ready.

Make several of them. Droplets combined with an origami umbrella can create a great spring-themed collages. This is how an origami umbrella with rain turned out.


