Step by step guide on how to fold an origami dress. There are different options, one of which is presented in a phased tutorial.
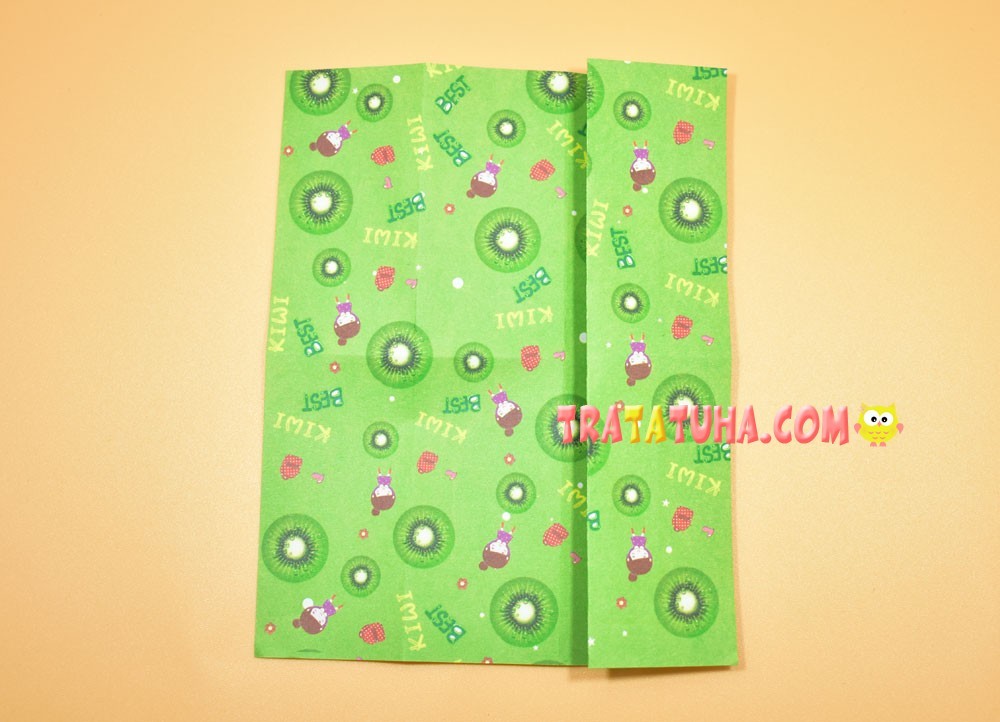
Prepare colored paper or any decorative square shape. The optimal size is 15:15 cm or 20:20 cm.
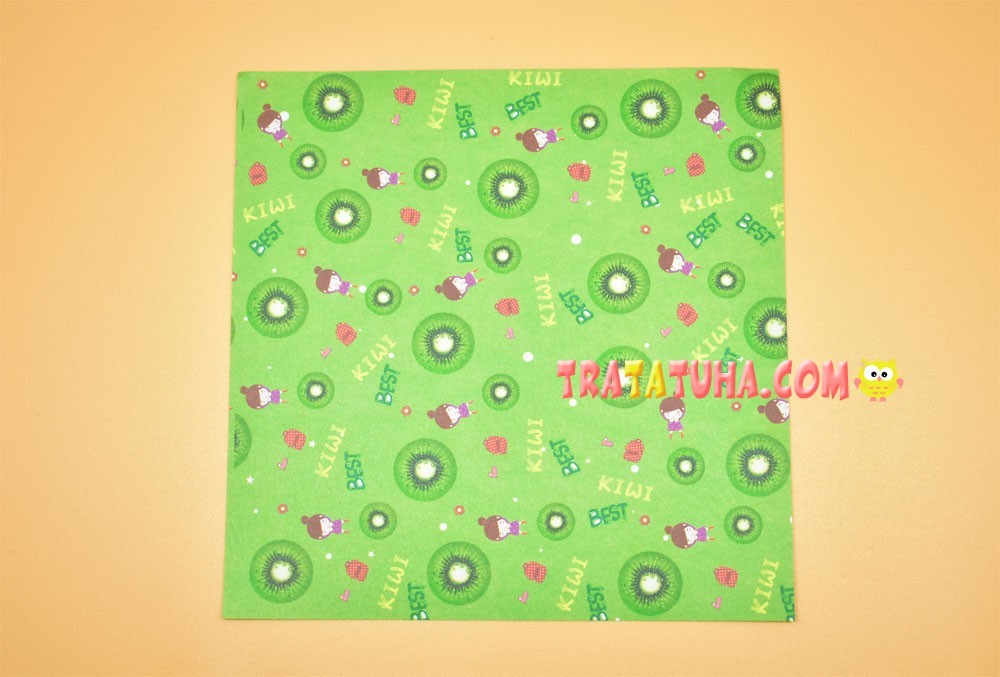
Origami Dress Step by Step
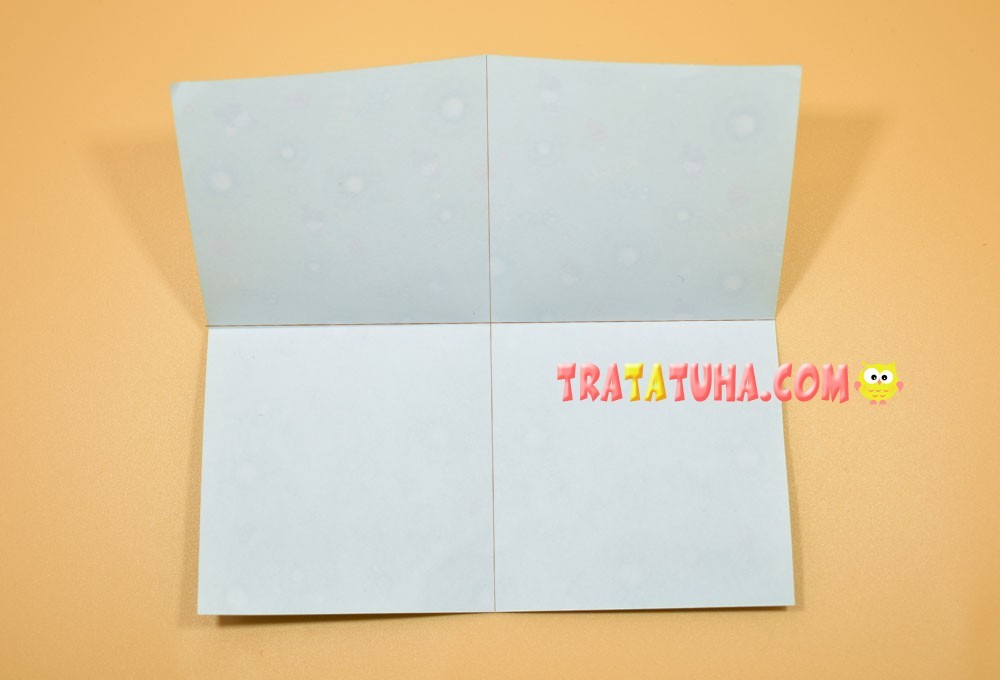
Fold in half, side to side.
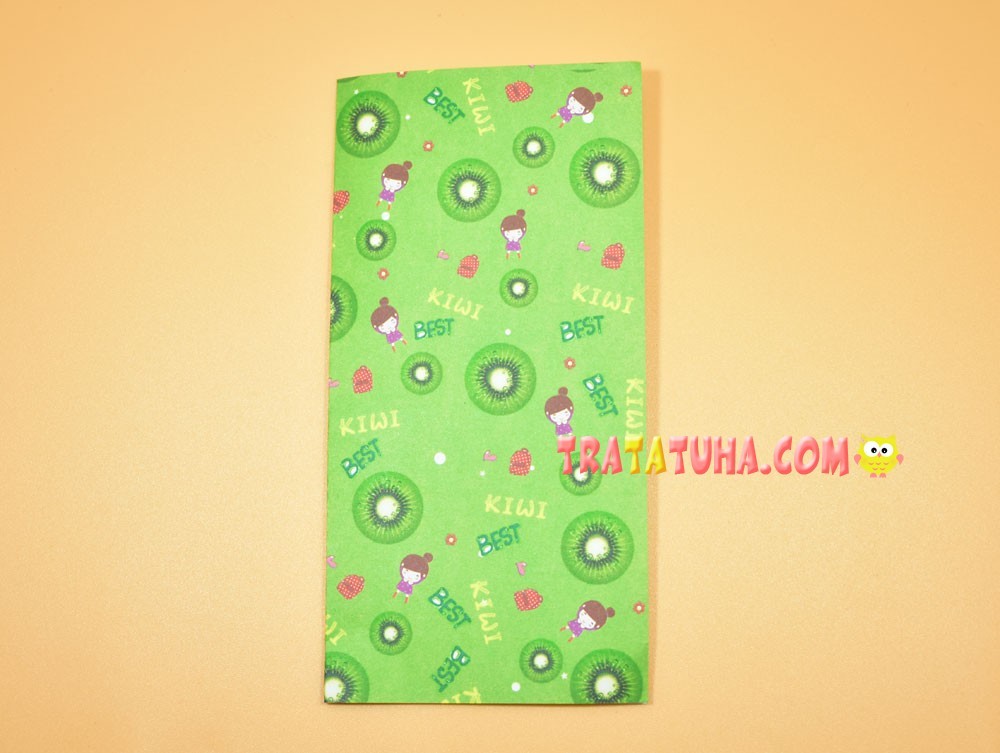
Then fold the other two sides so that cross folds appear on the area of the paper.
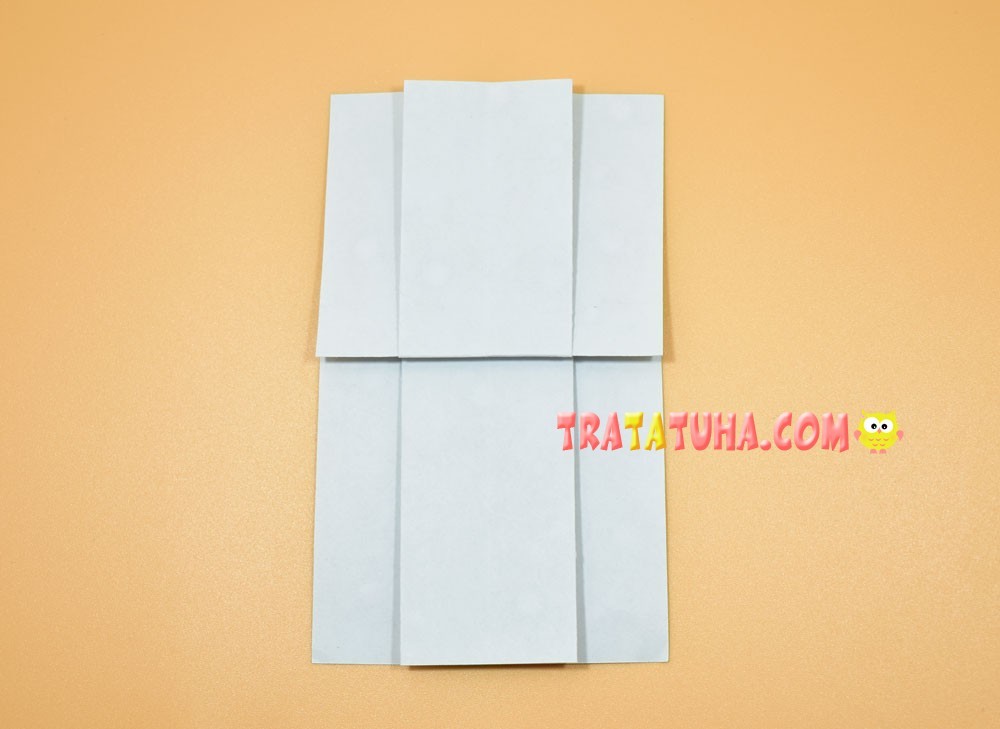
Fold the right side up, aligning it with the center crease.
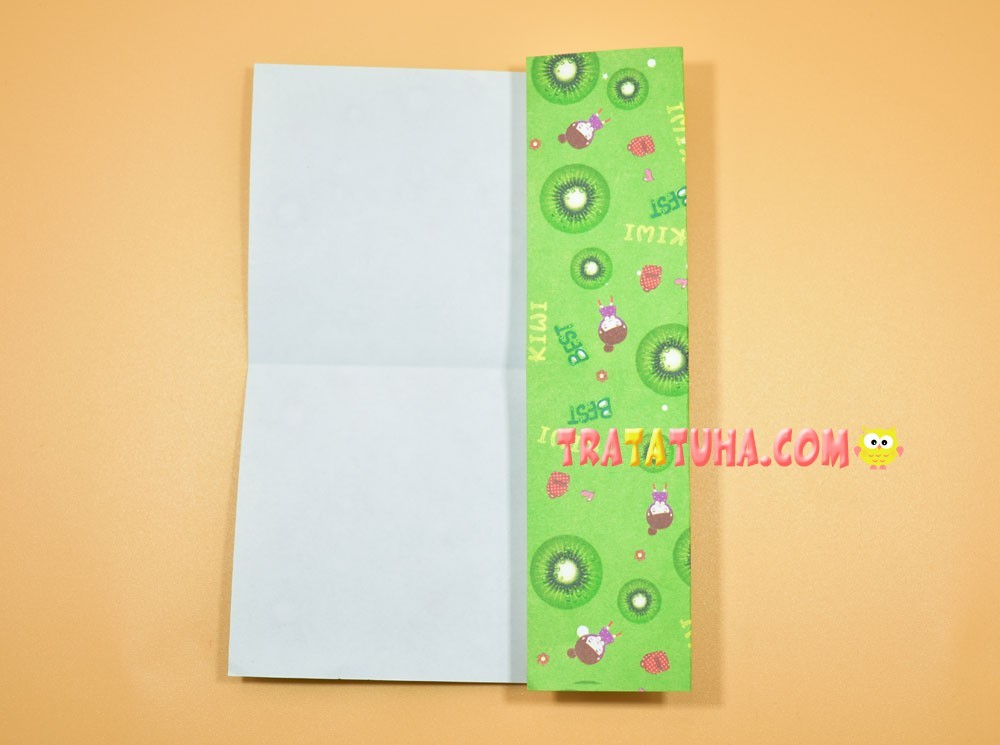
Then left.

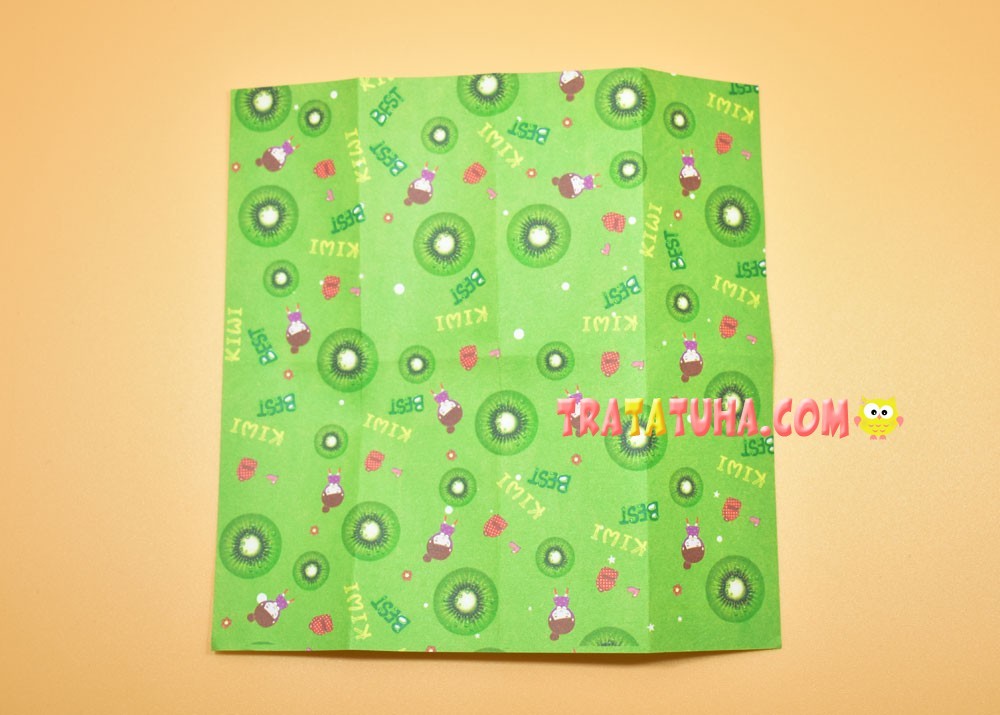
Straighten the paper, on which symmetrical folds will now be clearly visible.
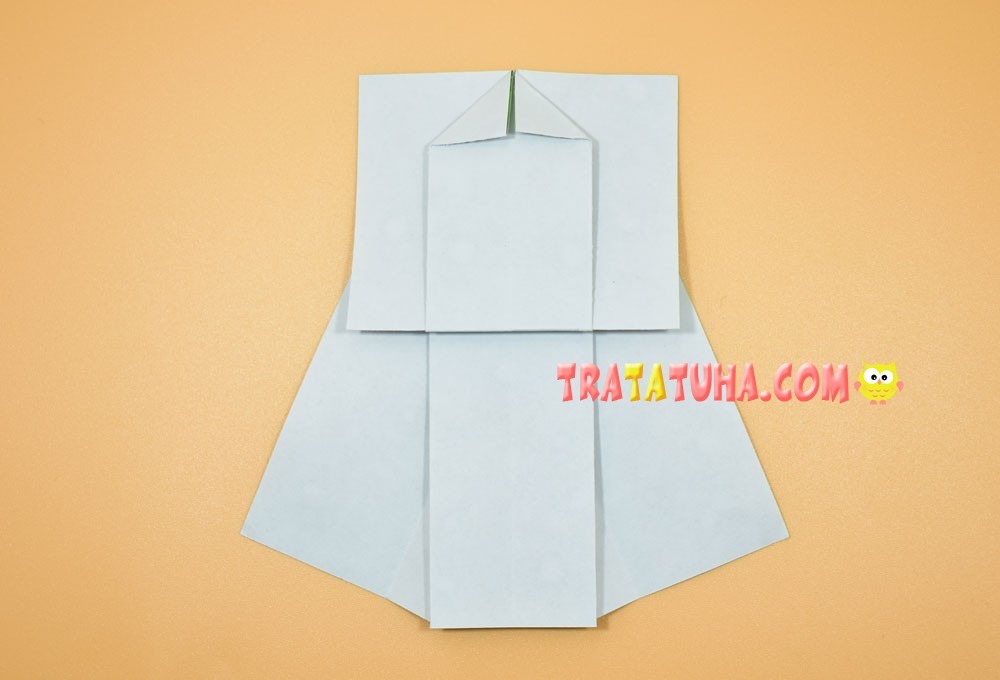
Bring the second fold inward, making a crease.
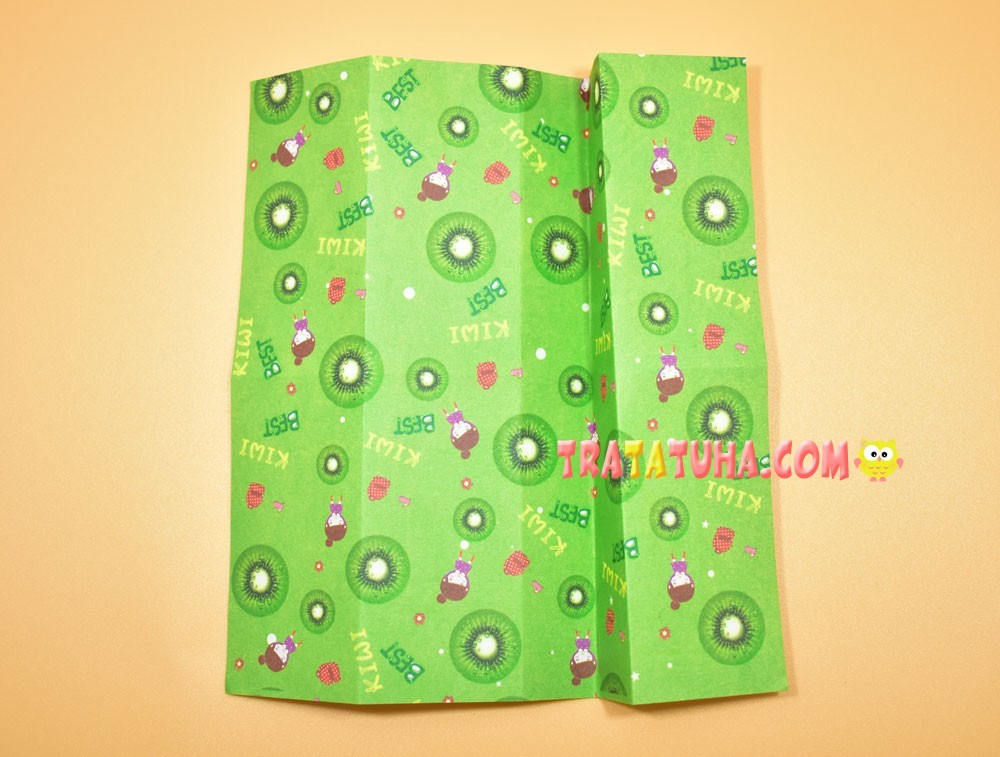
Press down on the paper.
Fold the left side of the paper in the same way.

Fold in half.

And then step back a few centimeters and make a crease.

This will be the view from the back.
Pull the lower right part of the future dress to the side.

Similarly, pull the left side, trying to make them symmetrical.

Flip over to the other side. Fold over two small corners.
Straighten them back.

Open up the middle.
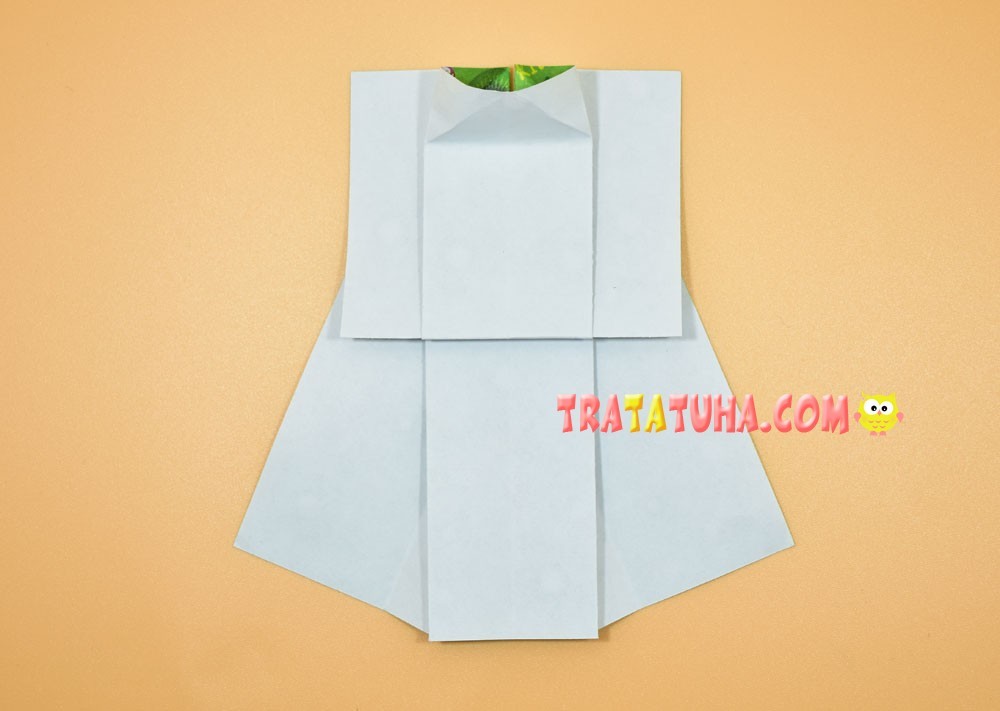
Press the sides.

Flatten to make small contiguous triangles.

We continue to work in the same area. Fold the corner down. For example, right.

Then the left. With these actions, we will outline the collar of the origami dress.

Guided by the photo, fold the left side of the dress inward. Starting at the top, continuing down.
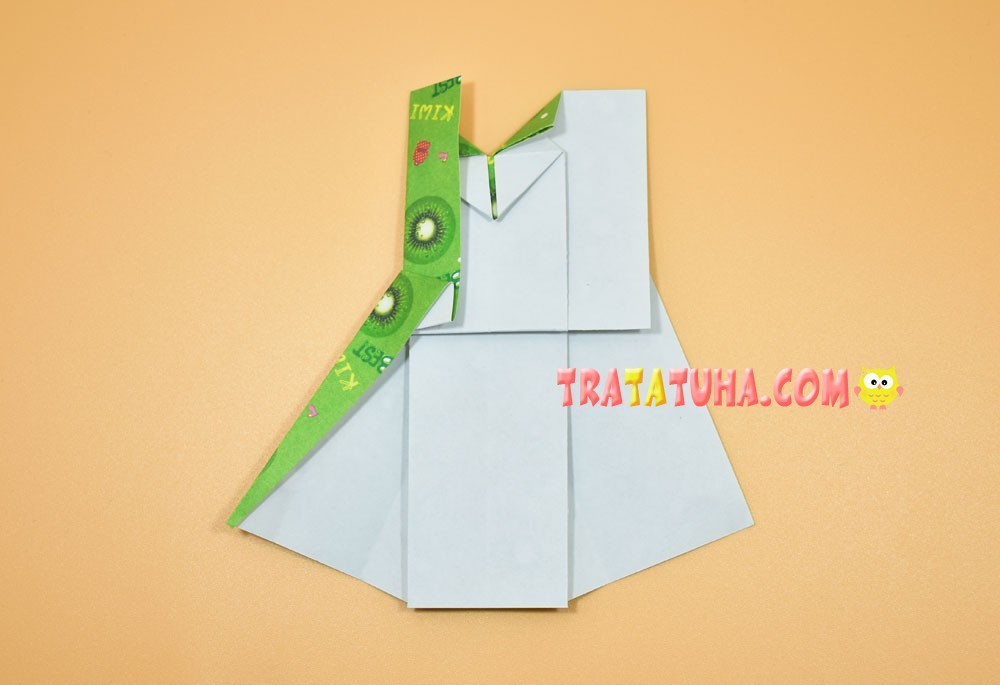
Fold the right side of the dress in the same way, here the work process is indicated in more detail.

It will turn out such a form of the future paper dress.
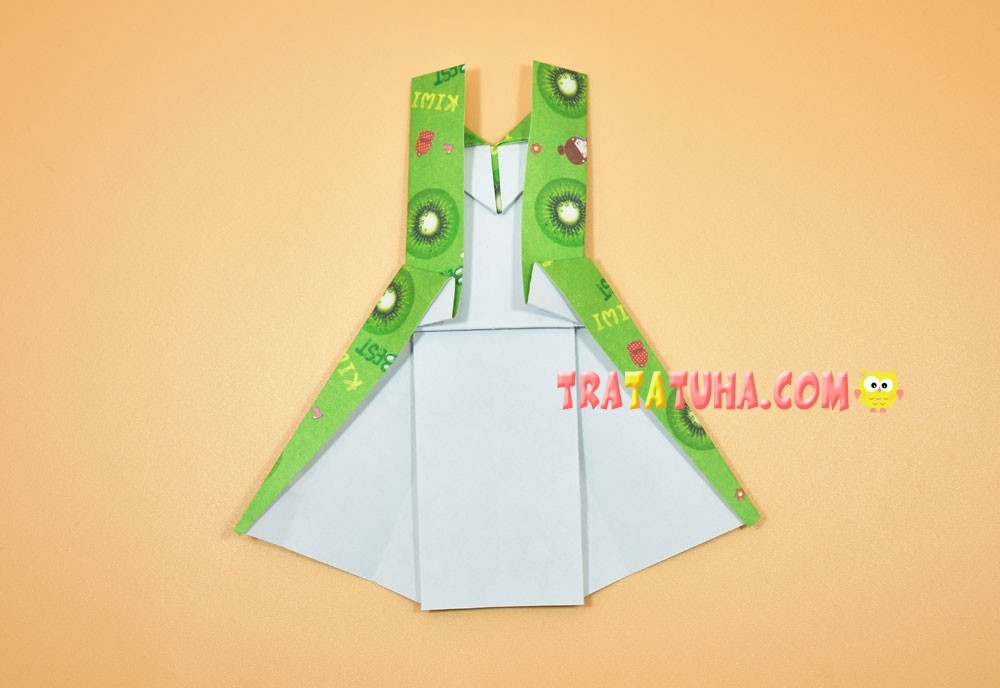
Bend the top two corners to the sides.
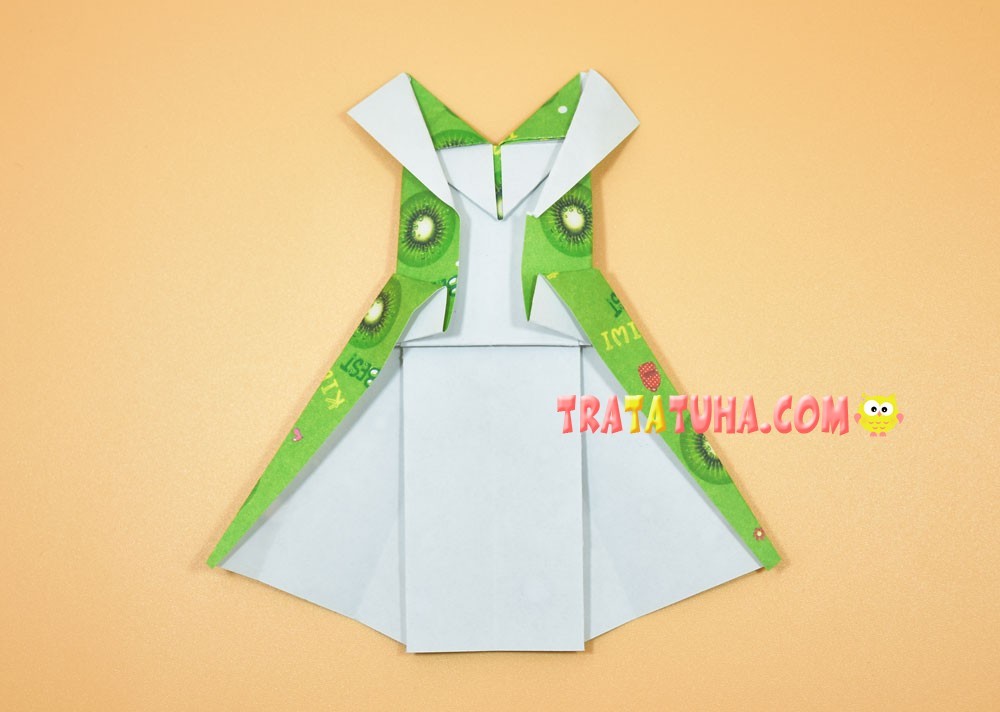
Flip over to the other side. Origami dress is ready.
Related Post: