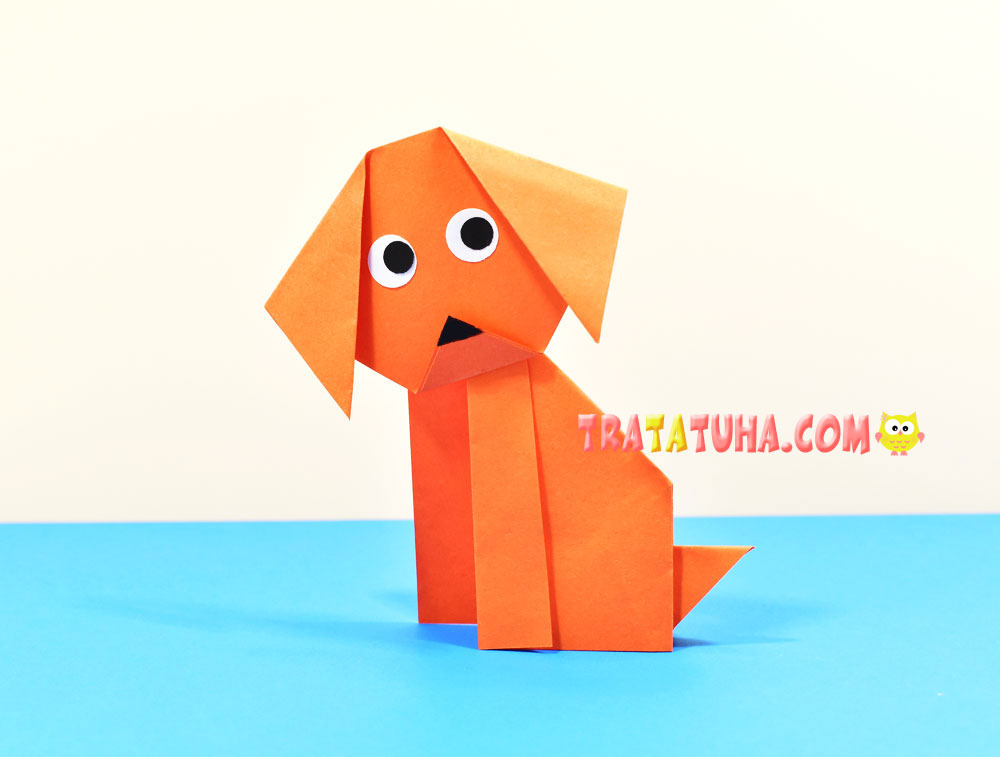
How to make an origami dog? An easy way for you. Consists of two light parts — head and body. The parts are folded separately from two square pieces of paper.
Materials for this origami:
- orange paper;
- paper eyes;
- black felt-tip pen, glue.
How to Make an Origami Dog — Work Steps
Prepare two square pieces of paper. For the body, you can take more paper.
Head
Prepare paper.
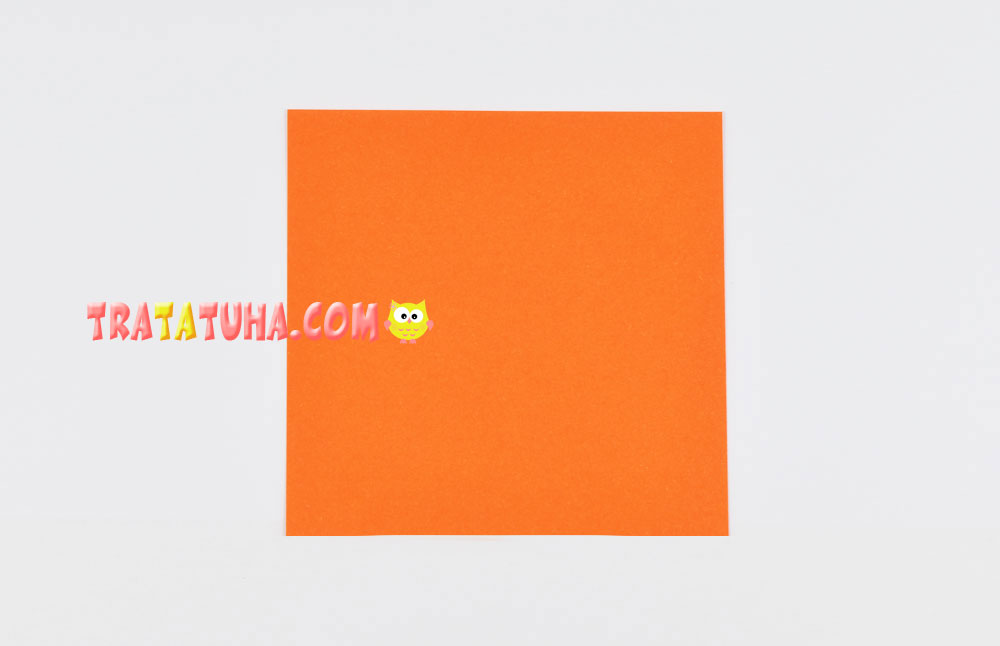
Fold the square into a triangle.
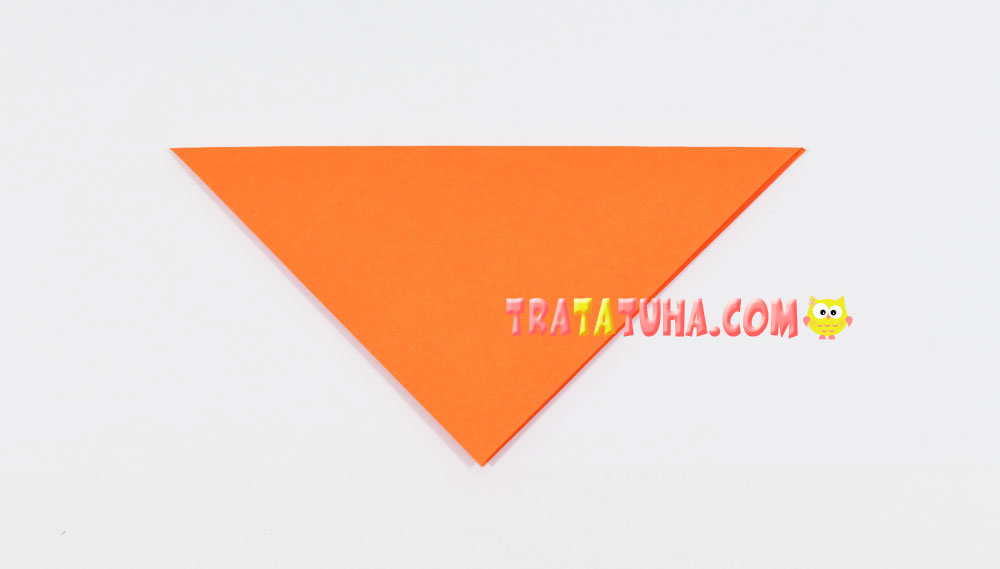
Bend the side corners down, leaving a small gap at the top.
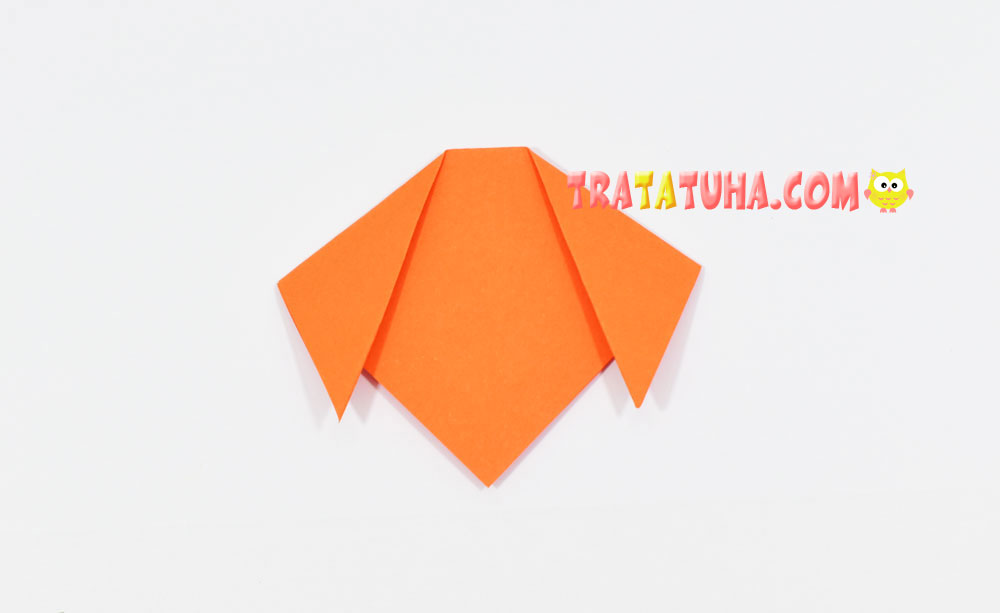
Bend the bottom corner up, this will be the nose of the animal. The head is ready.
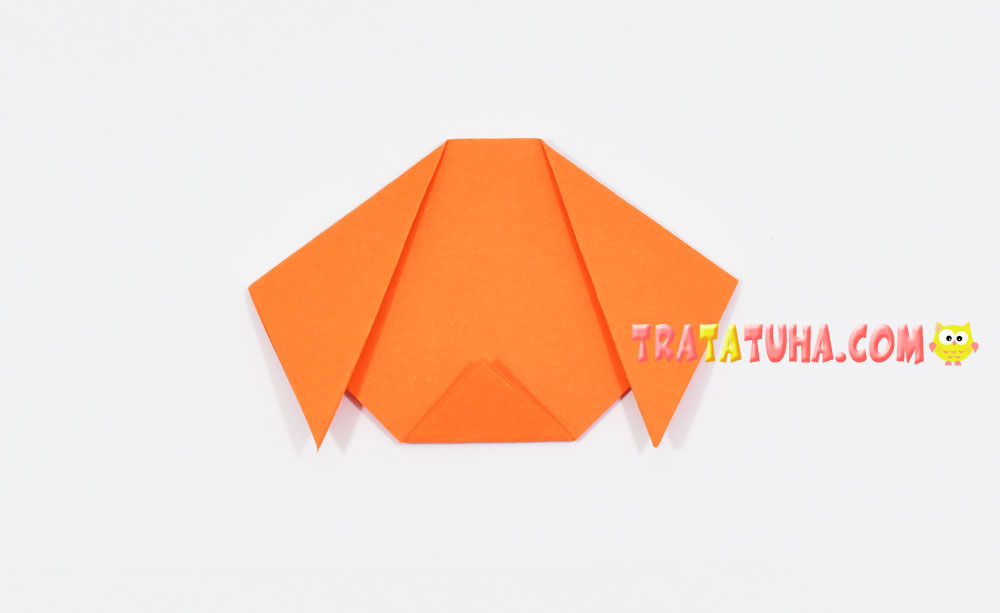
Body
For him, you will need a larger square of paper, in comparison with the head.

Fold into a triangle, connecting the upper right corner with the lower left.
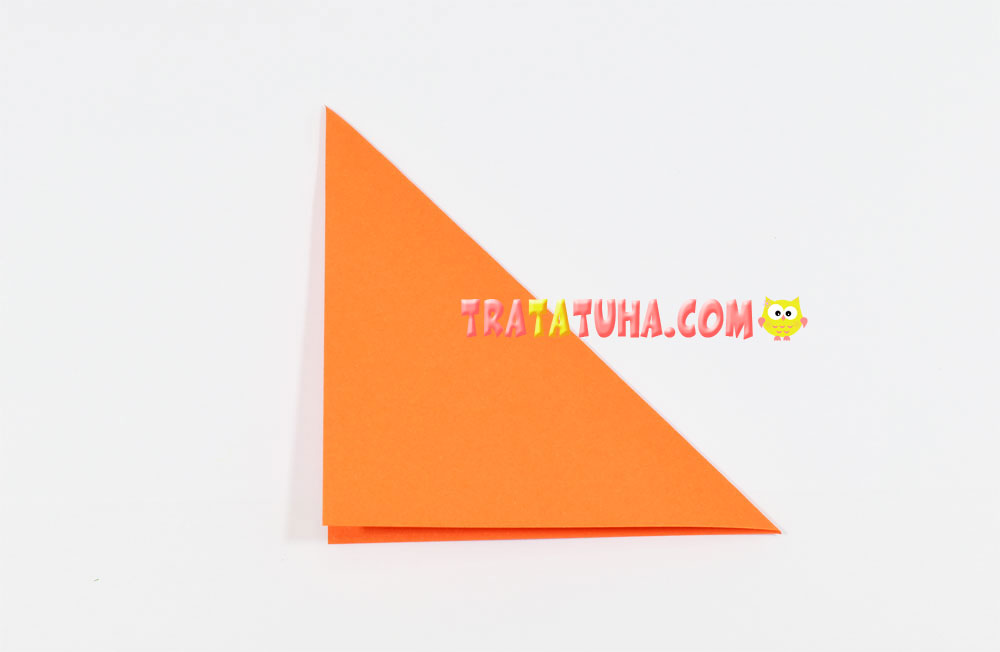
Fold the top corner to the right to mark the fold.
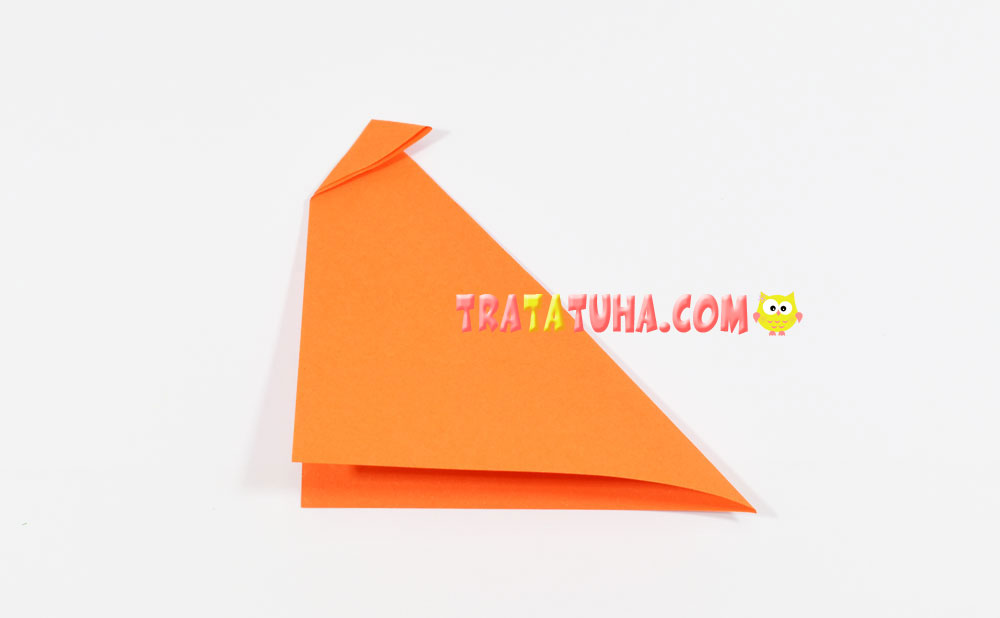
Bend the strip, revealing the corner. It is desirable to make the resulting visual stripes of the same width. These will be the dog’s paws.
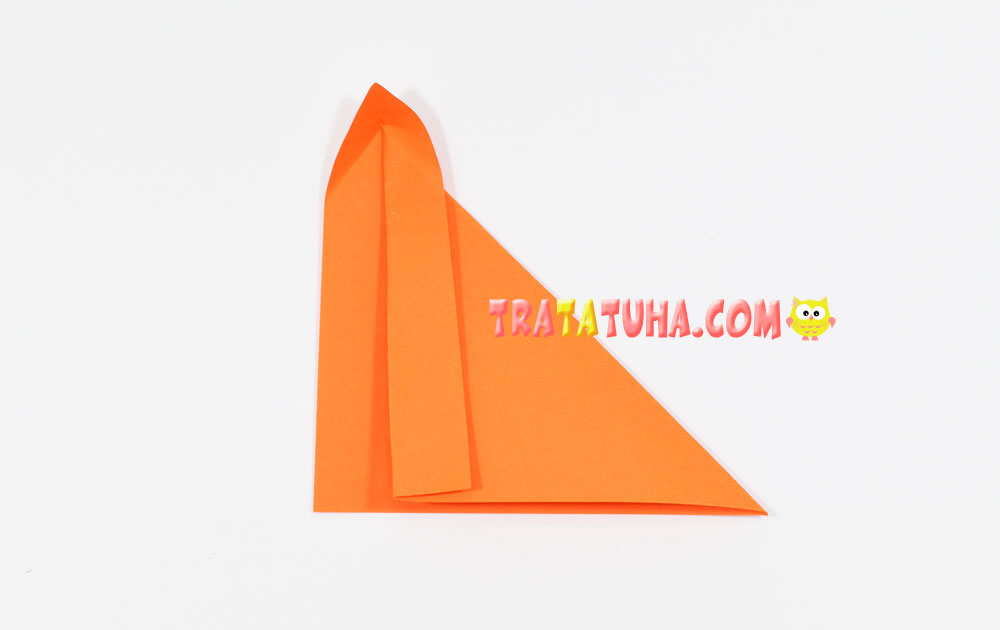
Lower the top corner down.
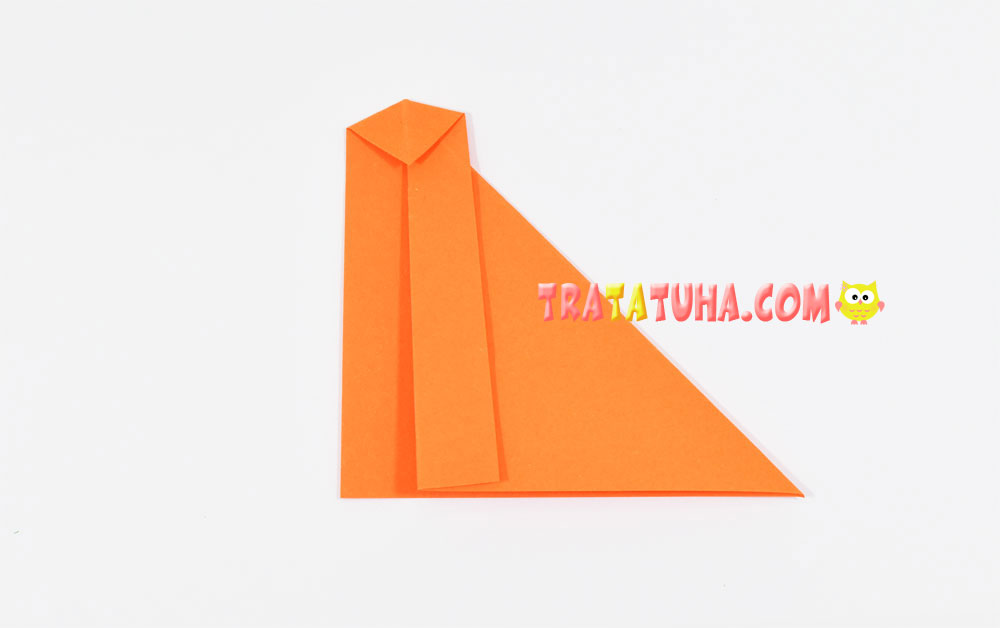
Bend the right corner to the left.
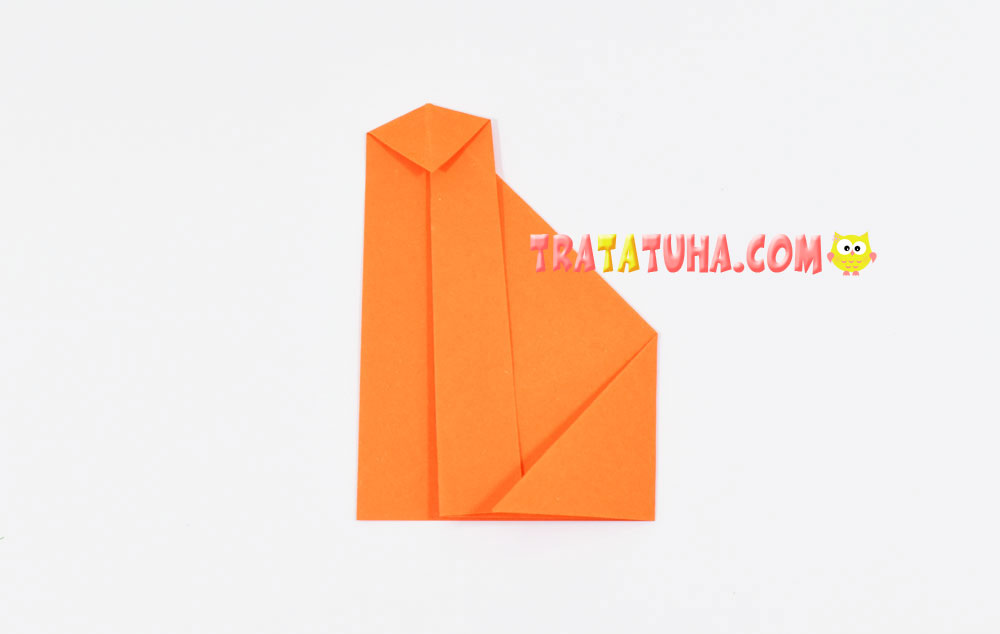
And then, making a fold, bend back, that is, to the right. With this action, we will outline the folds we need, which will help to make the tail more successfully.
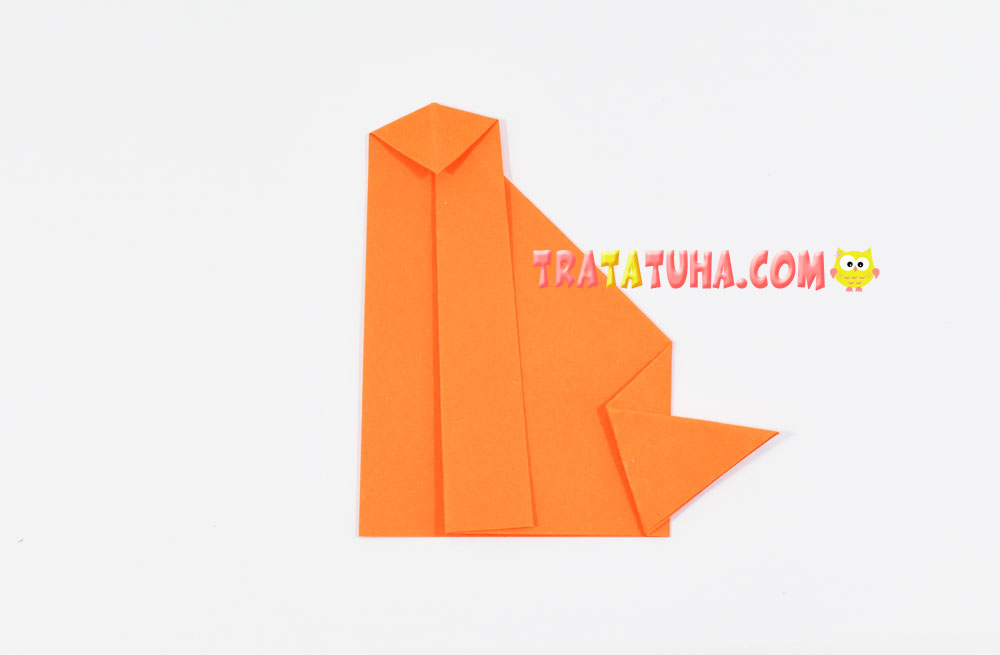
Open the paper.
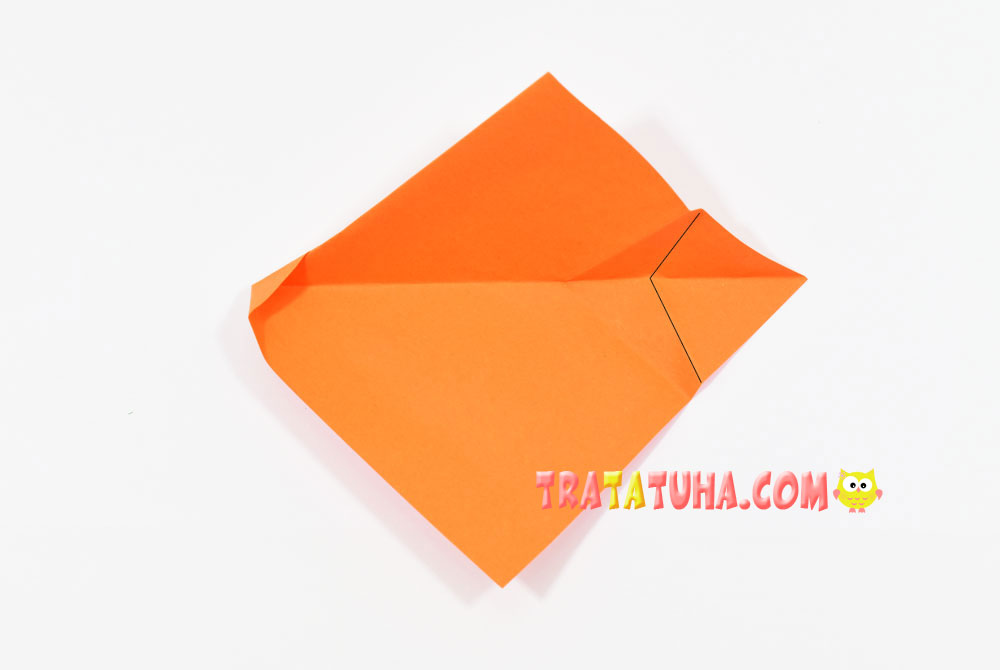
And in the tail area, redirect the fold inward.
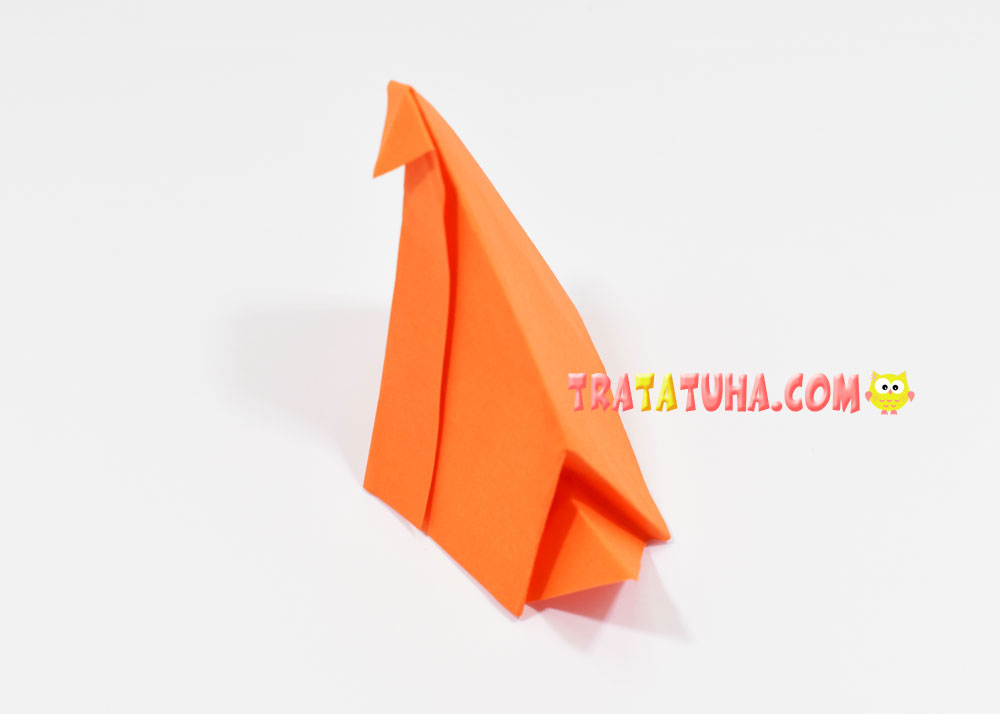
You will get such a small ponytail. The body is ready.
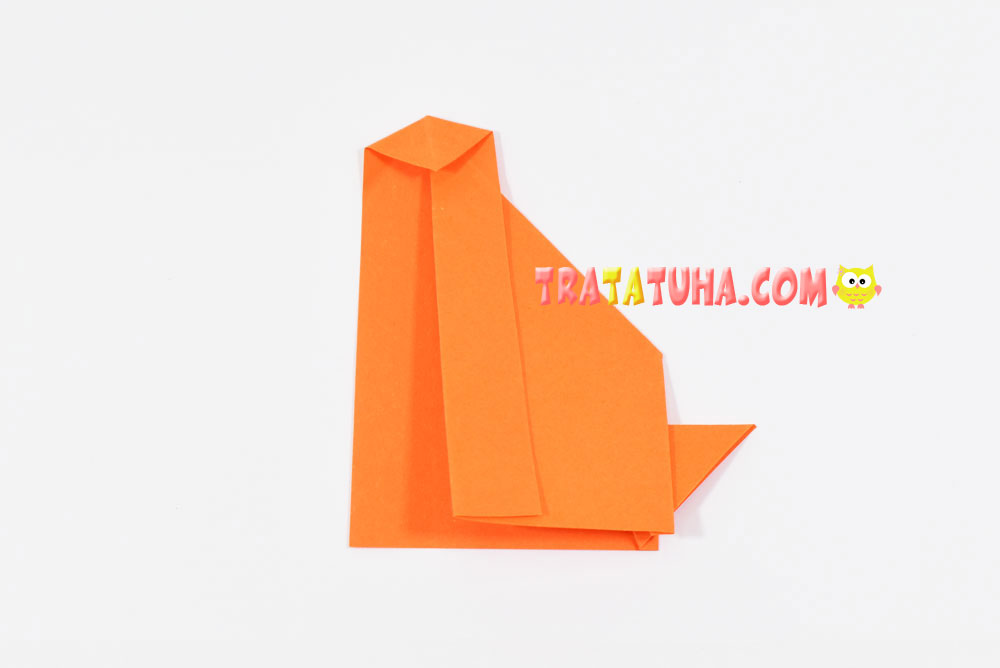
Glue the head to it, finish by adding the eyes and filling in the nose with a black felt-tip pen.
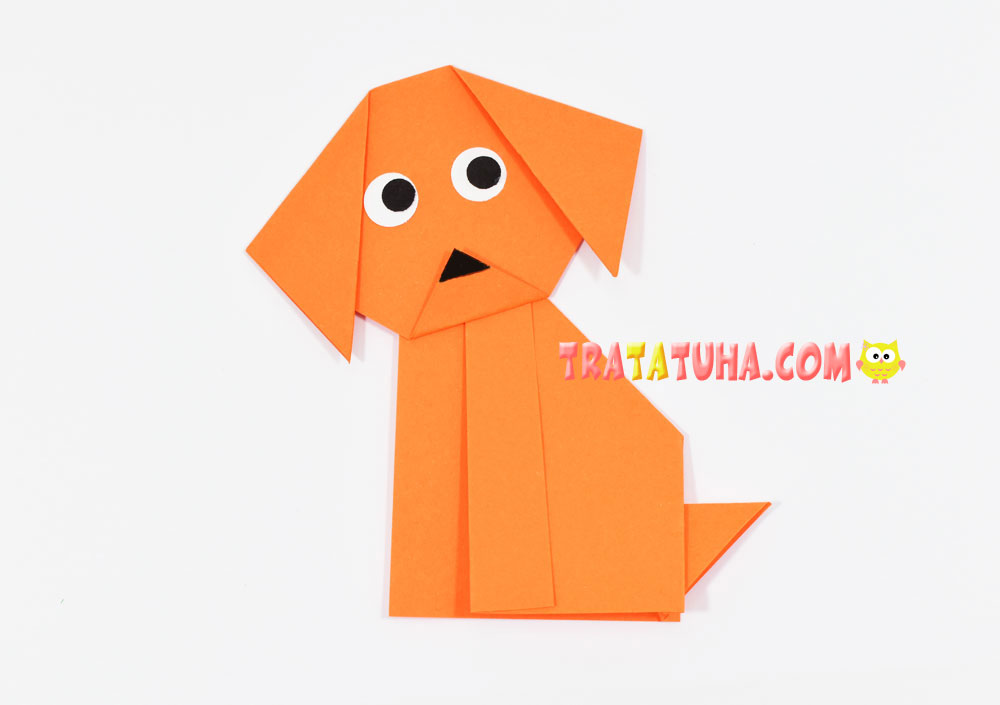
Now you know how to make an origami dog.
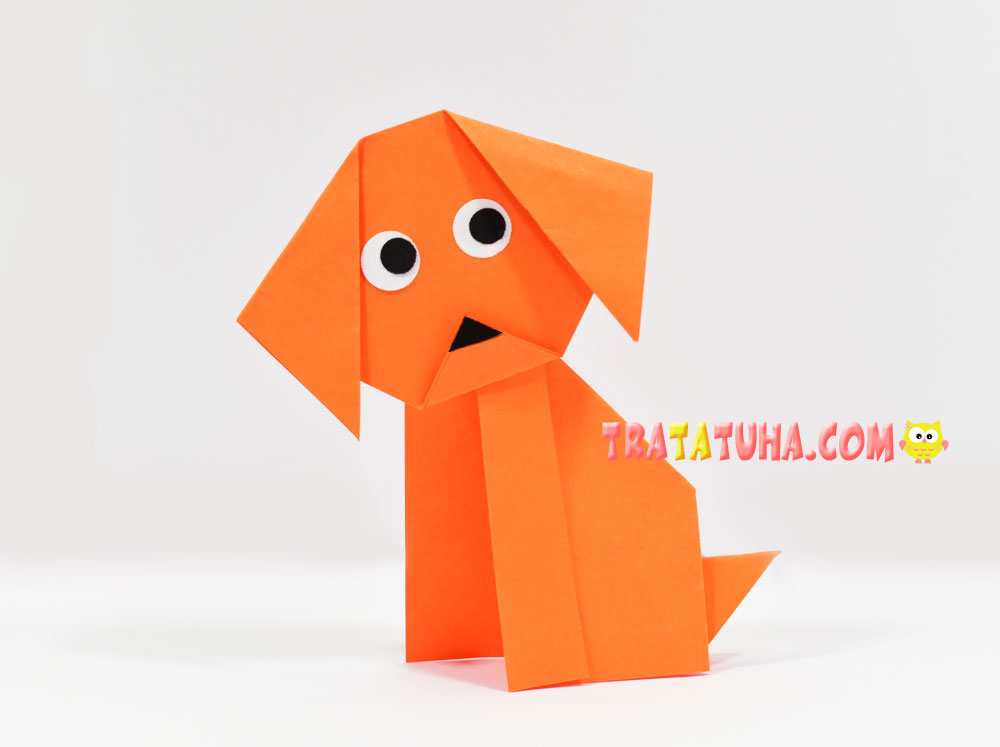
Even more ideas in the rubric — origami animals.
