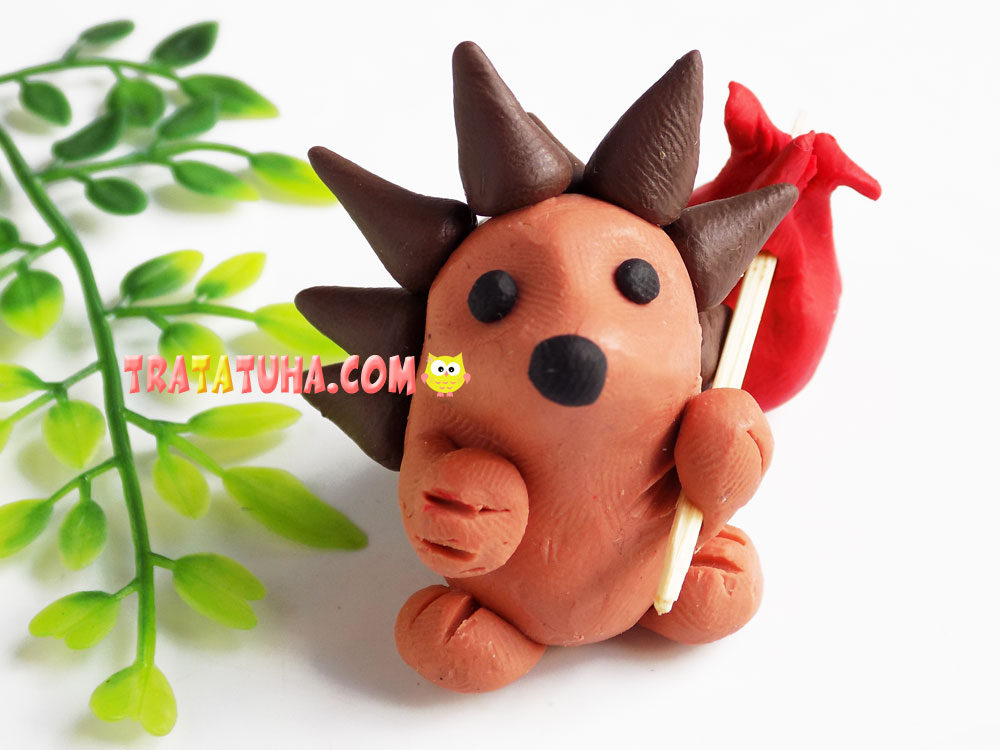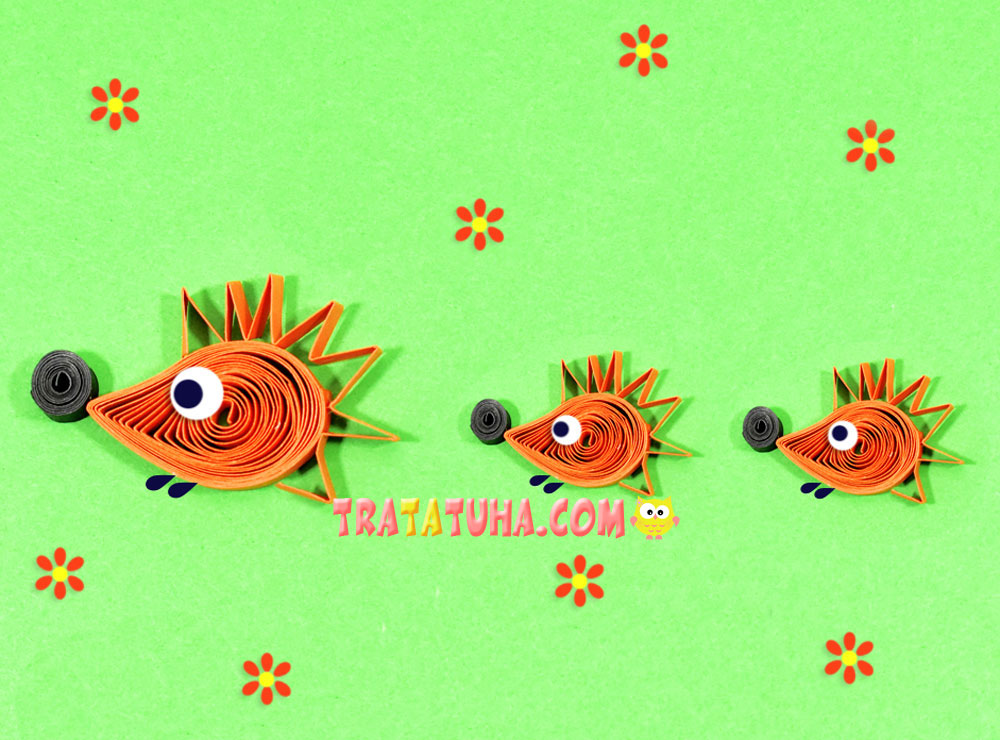
Simple quilling hedgehog step by step. An interesting 3d collage in the quilling technique — «Hedgehogs in a clearing».
Materials for work:
- 2 orange paper strips;
- A small piece of orange strip for needles;
- 1 black stripe;
- Paper eyes;
- Black marker;
- For the basis of the collage, you will also need green cardboard;
- Figured hole punch, white glue, scissors, black felt-tip pen.
Quilling Hedgehog Step by Step
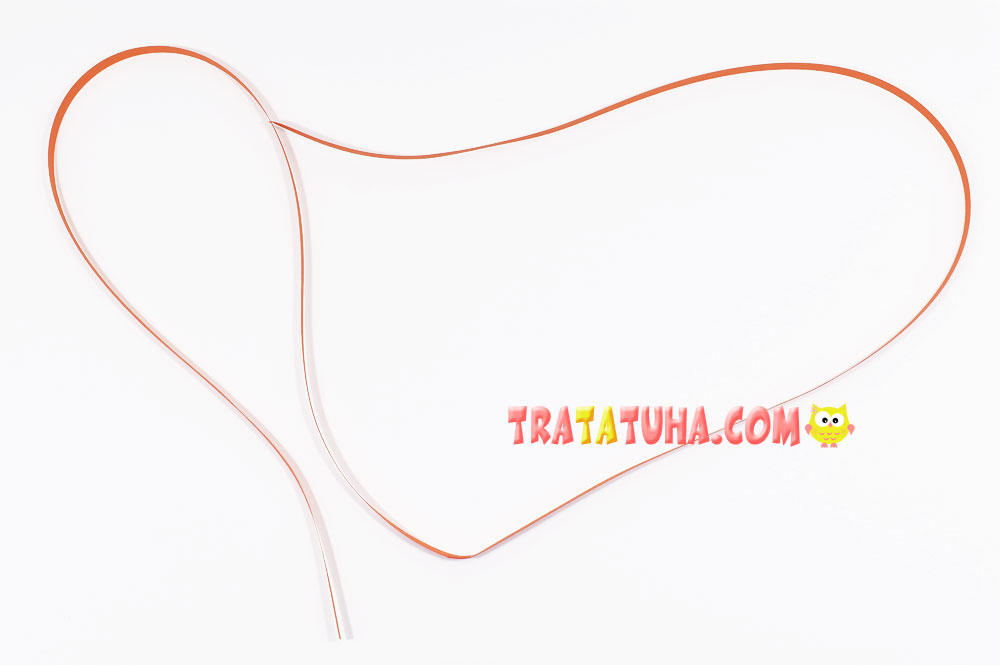
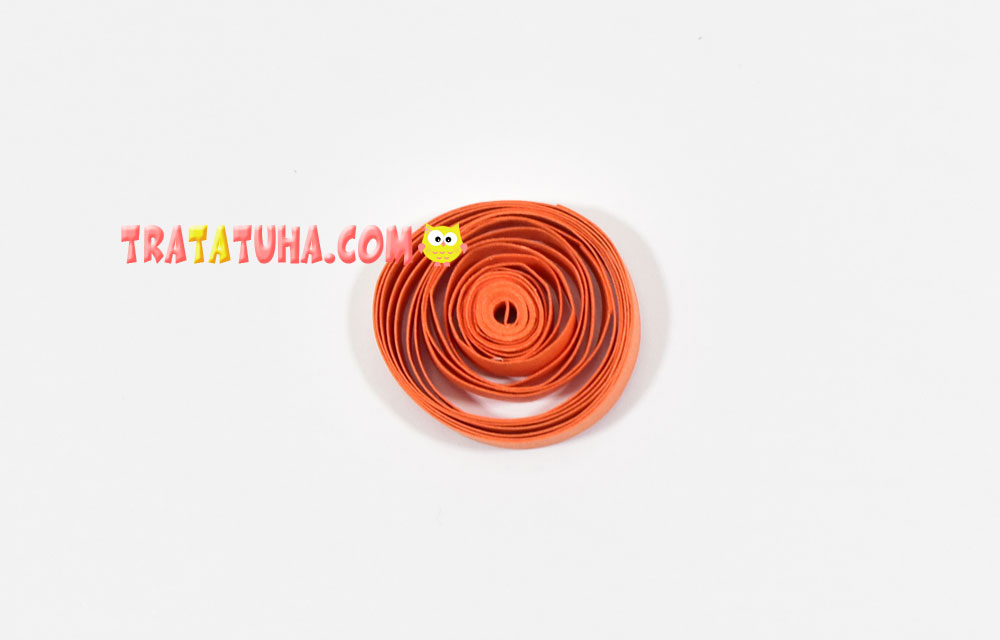
To make the body of the hedgehog more dense, take two strips of paper and glue the ends together to make one long one.
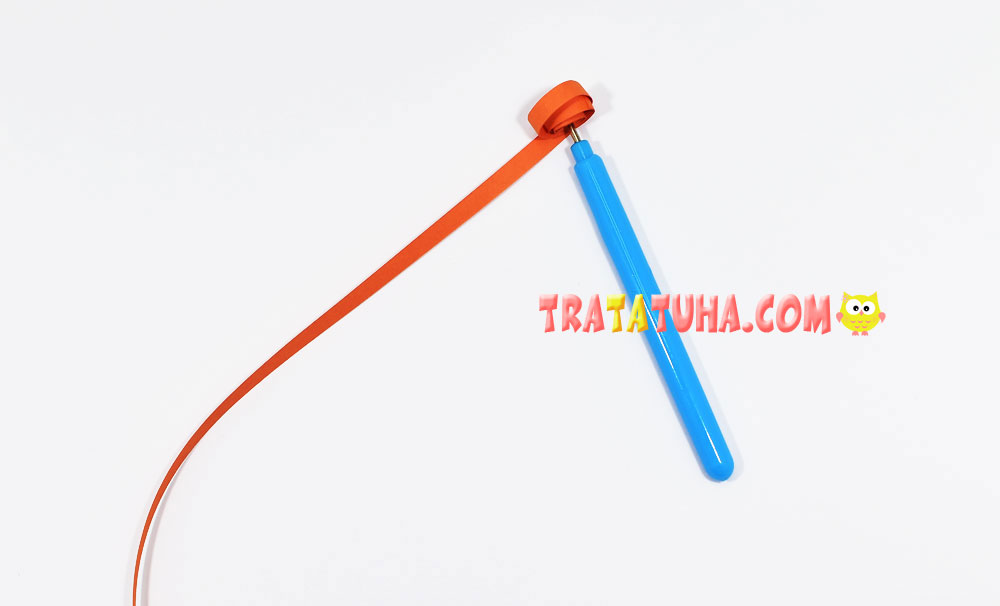
Wind the strip around the tool.
Remove, loosen a little to loosen the ring, and glue the tip.
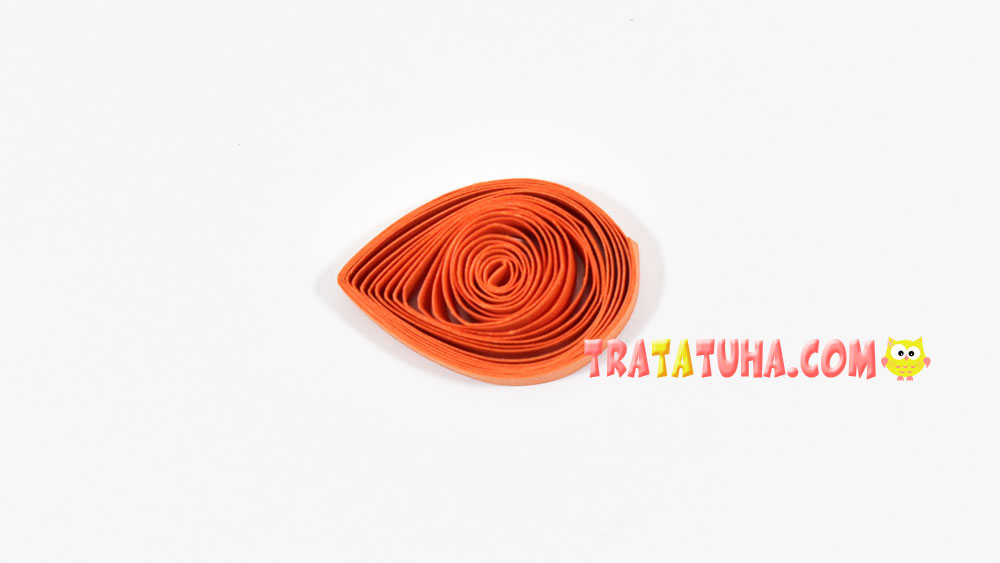
Press the circle on one side to make a teardrop shape.
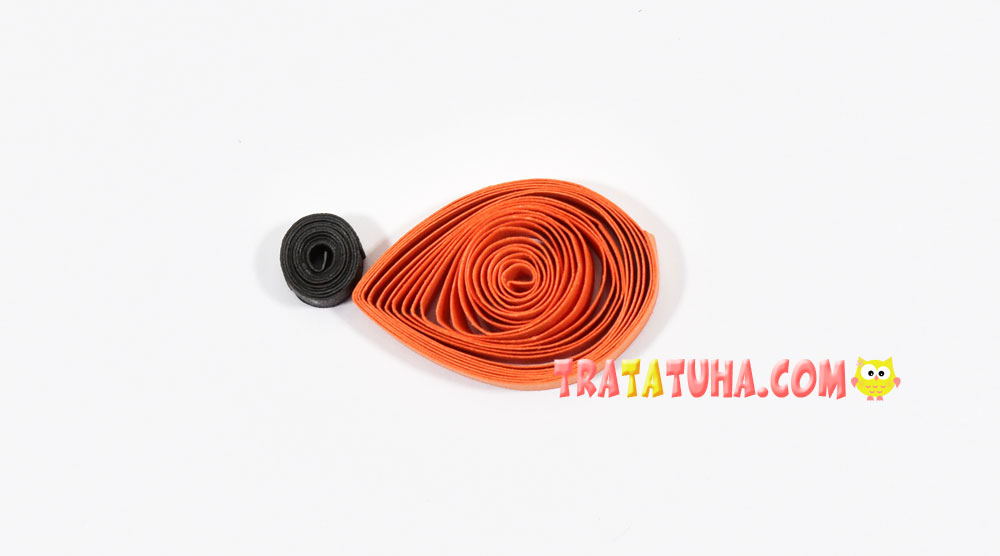
Now we need a nose. For it, tightly twist half of the strip and, without loosening, glue the tip.
Glue the black nose to the body. Shown here is a hedgehog as a craft, so the pieces are glued together. But, if you do the collage right away, it is much more convenient to stick the torso, and then the nose immediately onto the green cardboard. As are the needles.
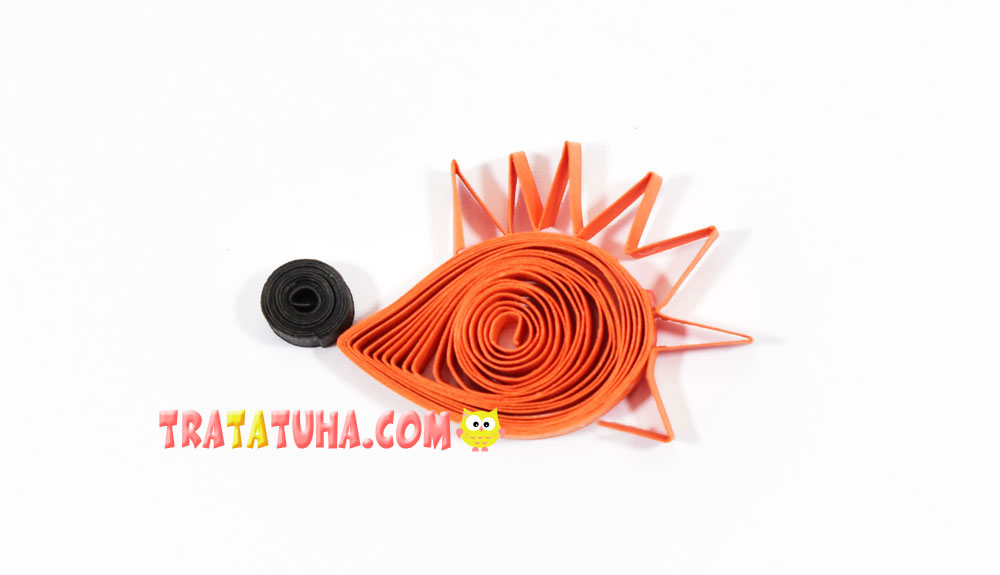
The needles are a strip folded into an accordion.

Glue it to the hedgehog, applying glue to the edges. Or, easier, glue the needles onto the green cardboard, framing the top and back of the hedgehog with an accordion.
It remains to add a paper eye, draw paws and the quilling hedgehog is ready.
Make two more of these smaller hedgehogs. Let the family of hedgehogs march decorously through the clearing. Flowers can be drawn with a felt-tip pen or cut out with a figured hole punch.
Even more ideas in the heading — paper quilling.
You may be interested in the works in the selection — crafts for kids.
Related Post: