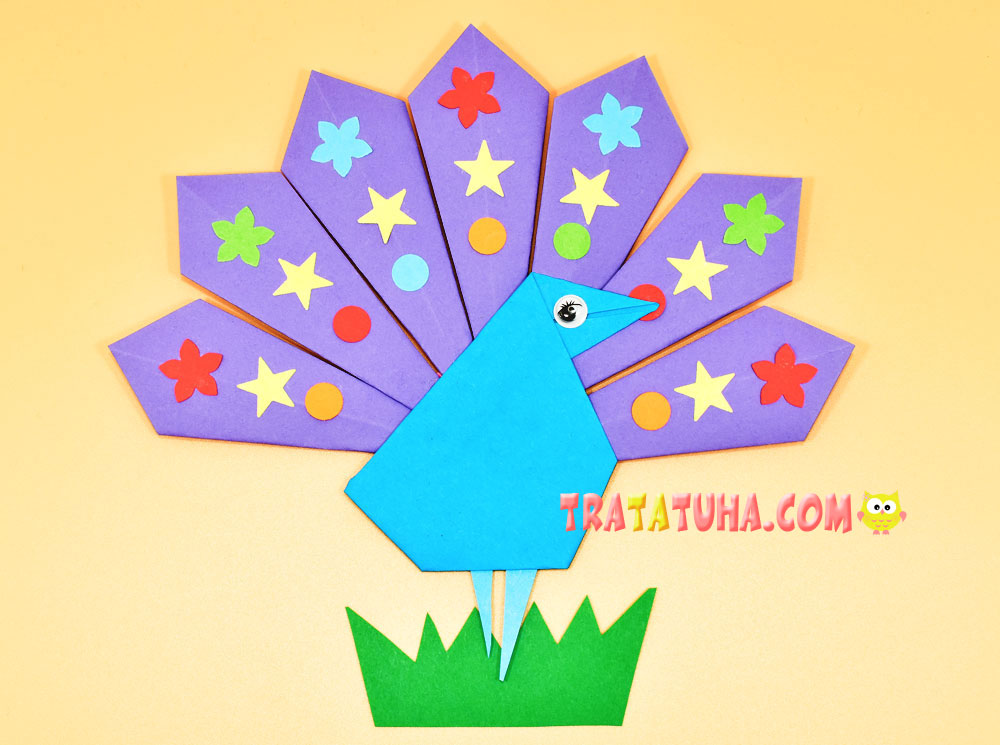
This origami peacock looks beautiful and catchy. But it’s not at all difficult to make. All actions are simple, even children can handle it.
They consist of a minimum number of stages, which add up literally in 2-3 steps. The only thing that will delay the work a little is the creation of a magnificent tail, because it will require several components.
Materials for work:
- Colored paper of any color. Including for decorating the tail, cutting out paws and, if necessary, grass;
- Scissors for additional details, figured hole punch. All this can be replaced with felt-tip pens or paints;
- Glue moving eye.
Origami Peacock Instructions
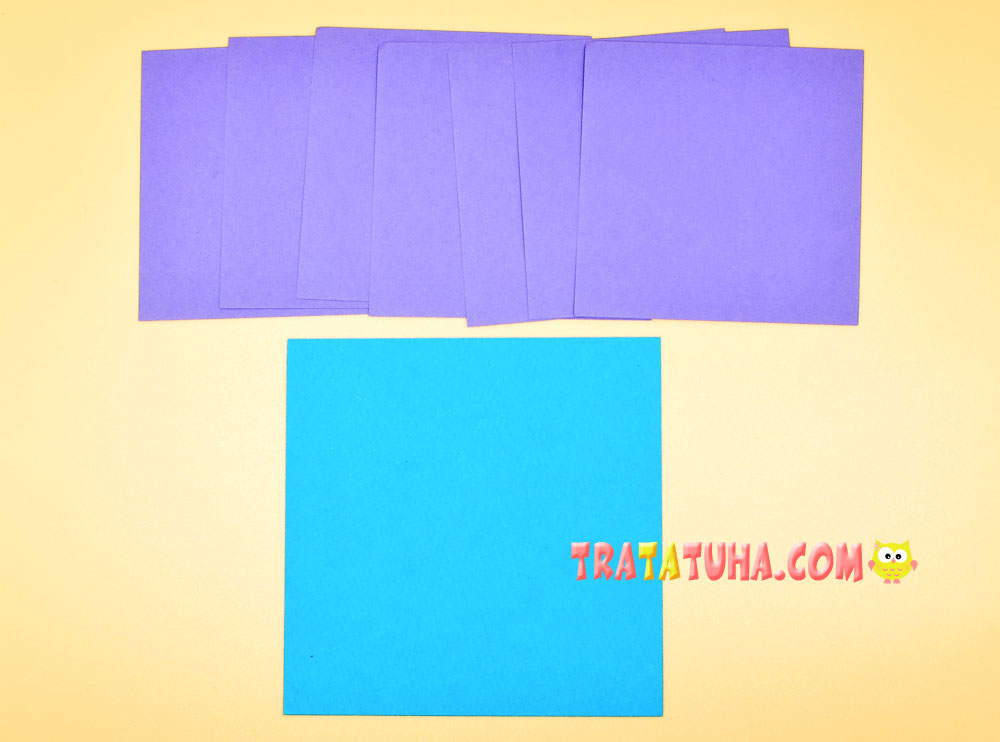
Prepare 7 pieces of square-shaped paper for the tail and one larger one for the body. For example, the dimensions of the squares for the tail can be 8 cm, and for the body, you can take a square sheet of 10 cm.
We Fold the Peacock’s Body
Take a sheet in the form of a square.
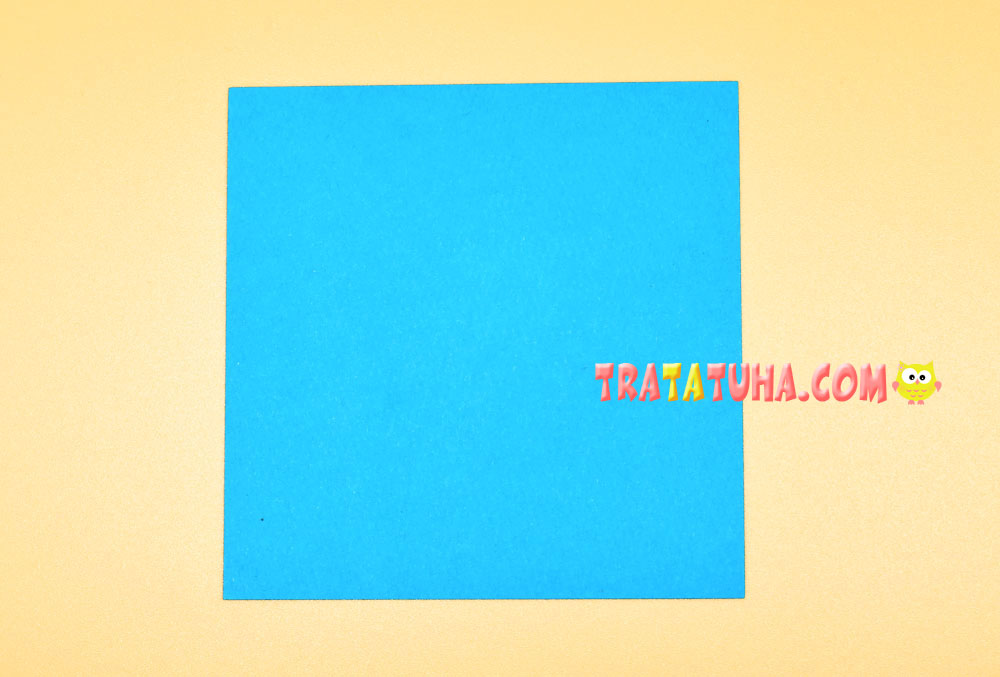
Fold it corner to corner to form a triangle.
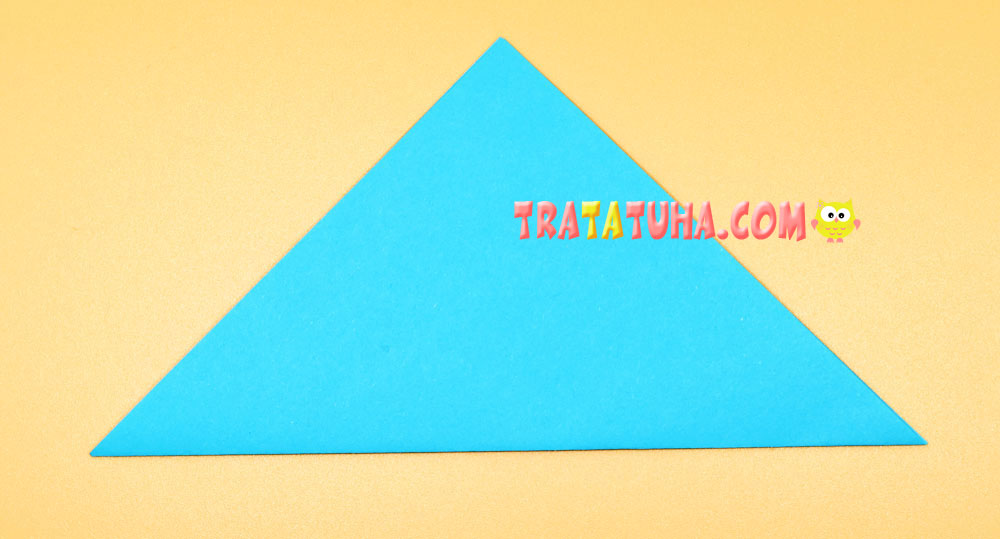
Return to a square state and align with the fold in the middle of the right side.
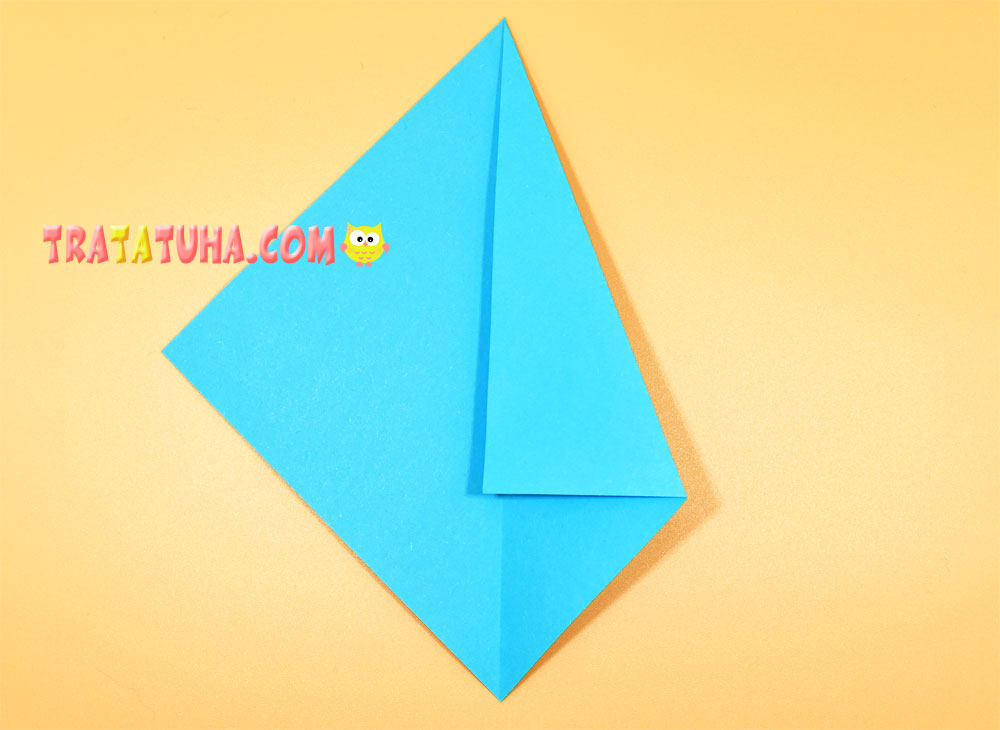
Then left.

Bend up the bottom corner, and we get such a triangle.
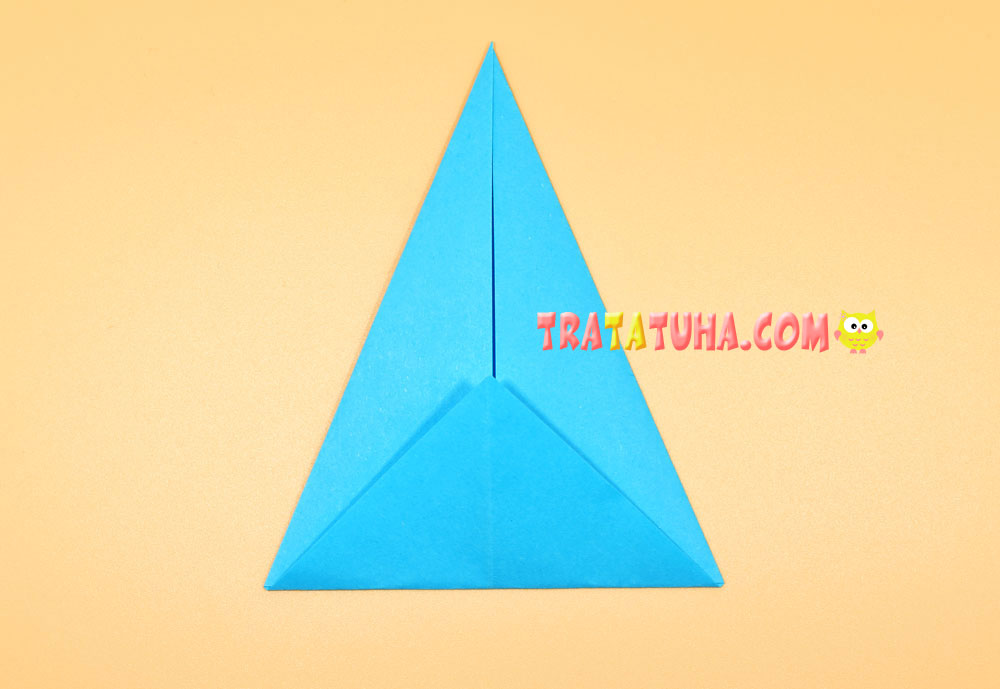
Bend the bottom corners quite a bit.
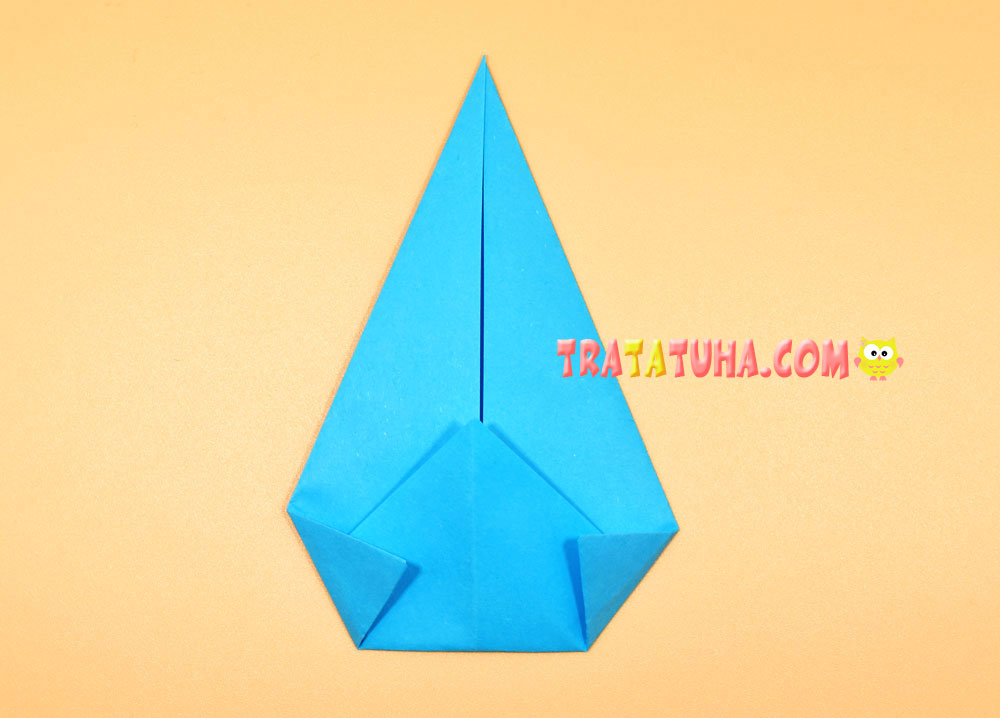
Point the upper right corner to the side and smooth the fold.
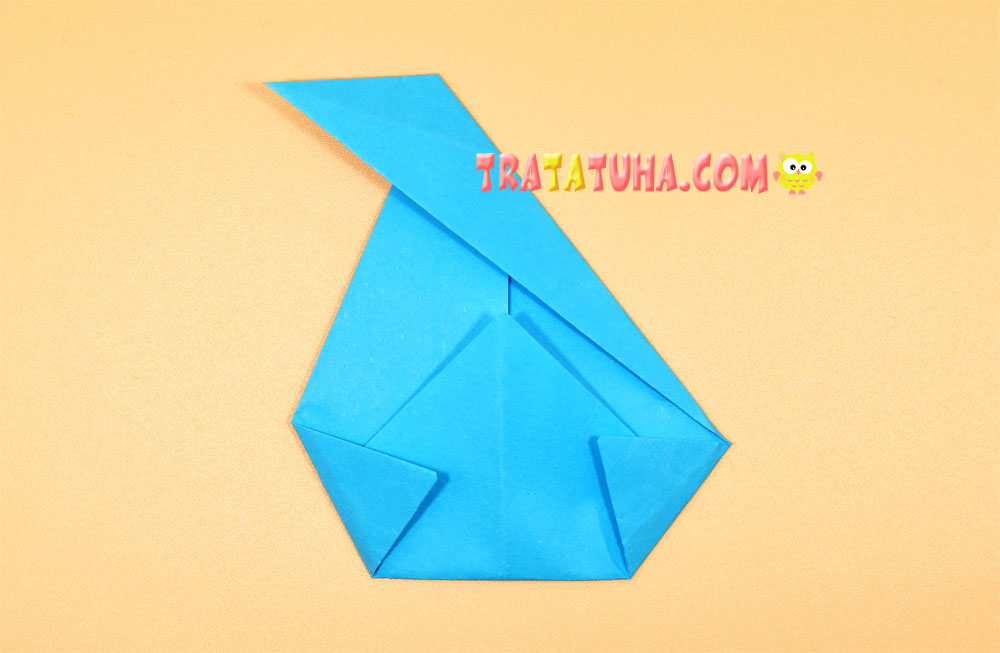
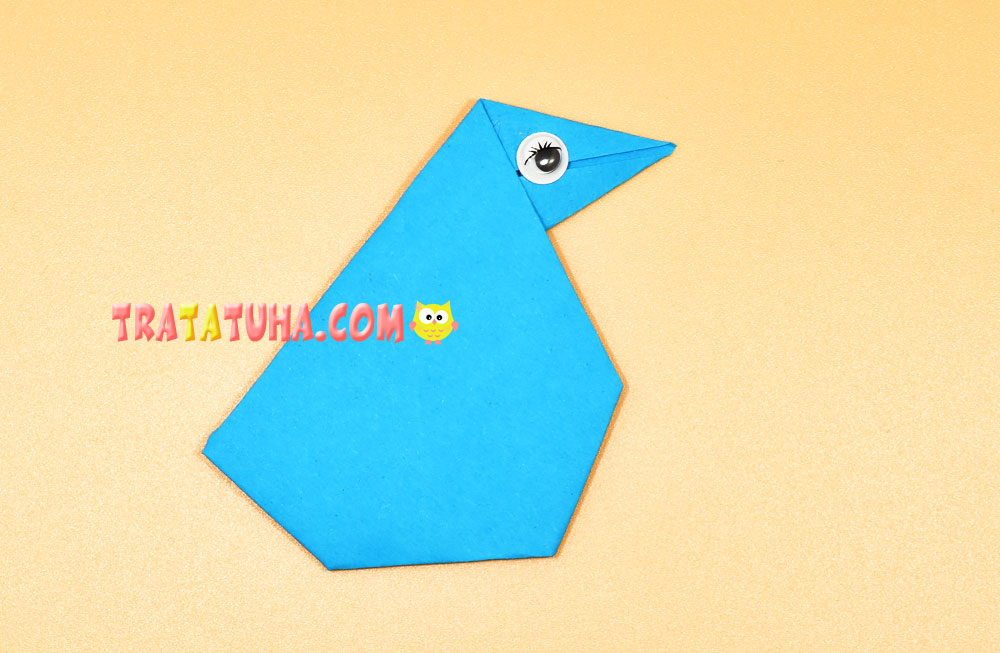
Turn over and glue on the eye. The body is ready.
Peacock Tail
We make the first pen. Take a square piece of paper.

Fold it into a triangle to mark the fold exactly in the middle.

Open the paper and align the right side with the resulting fold.
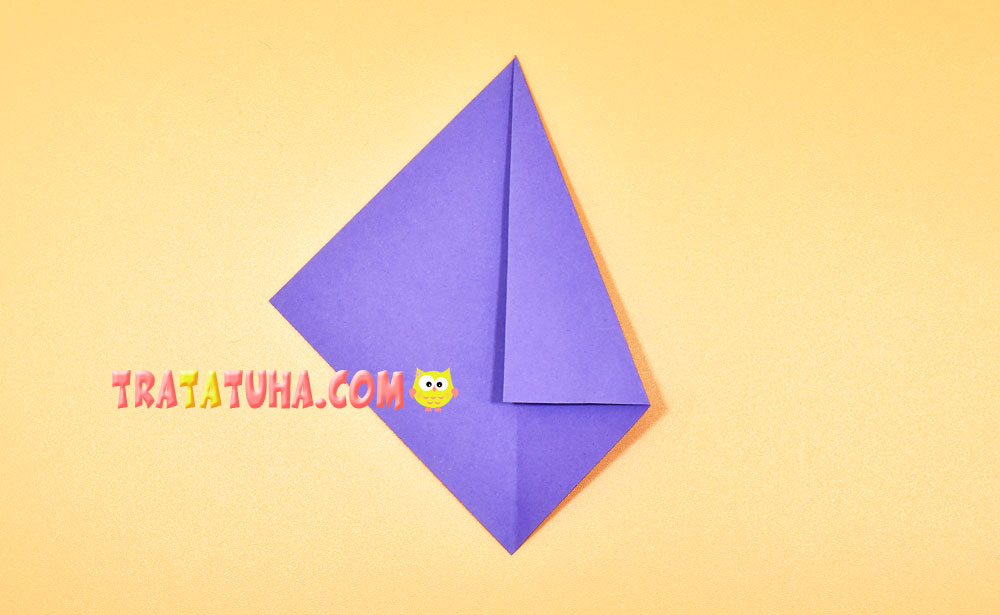
Then left.
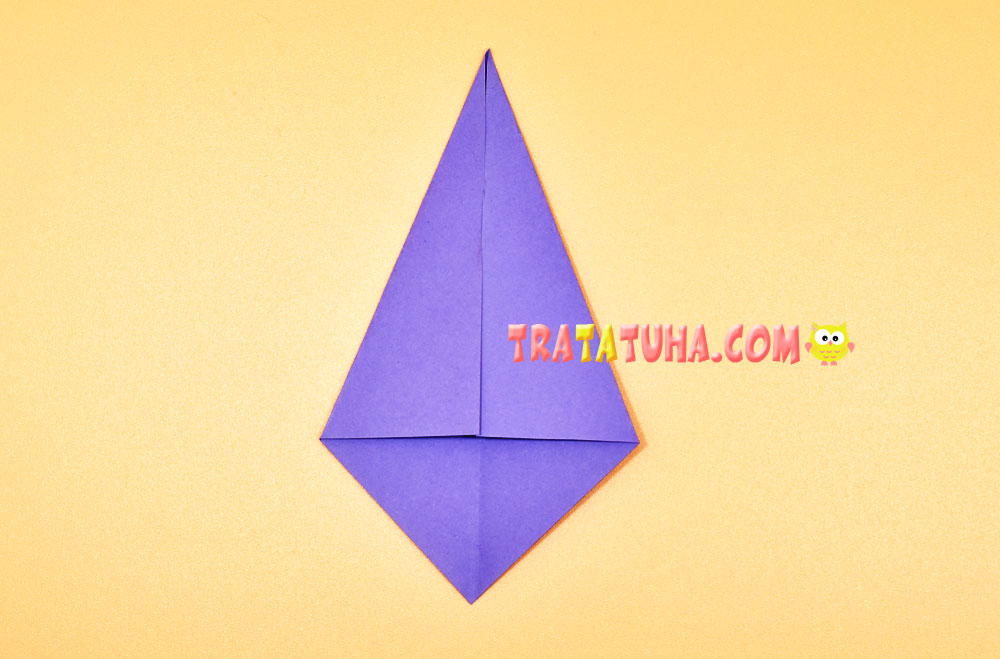
And immediately fold the right side again.
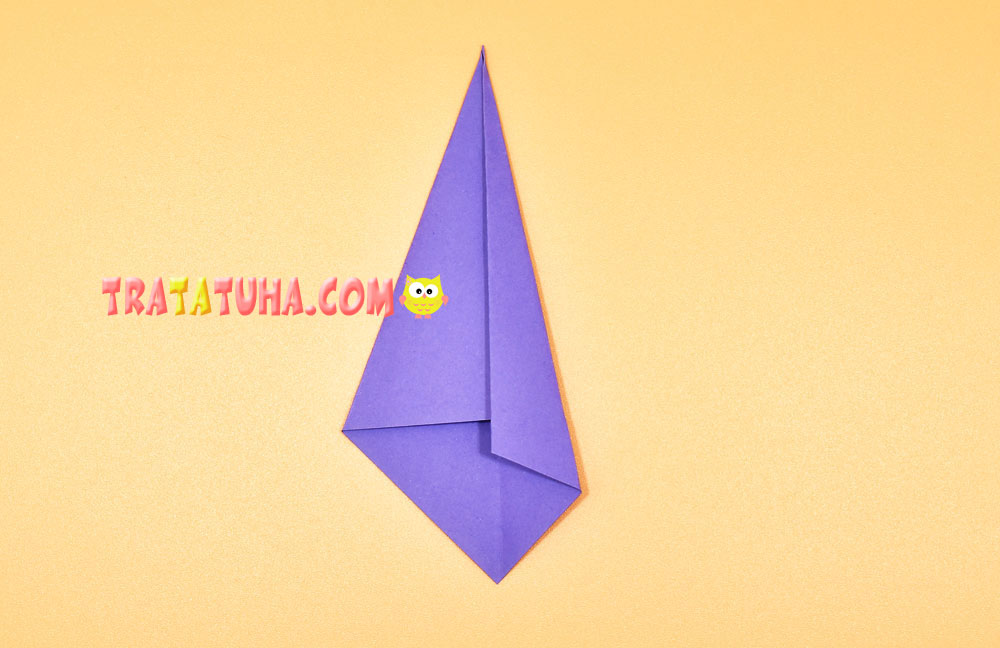
Then left. Here is our pen.
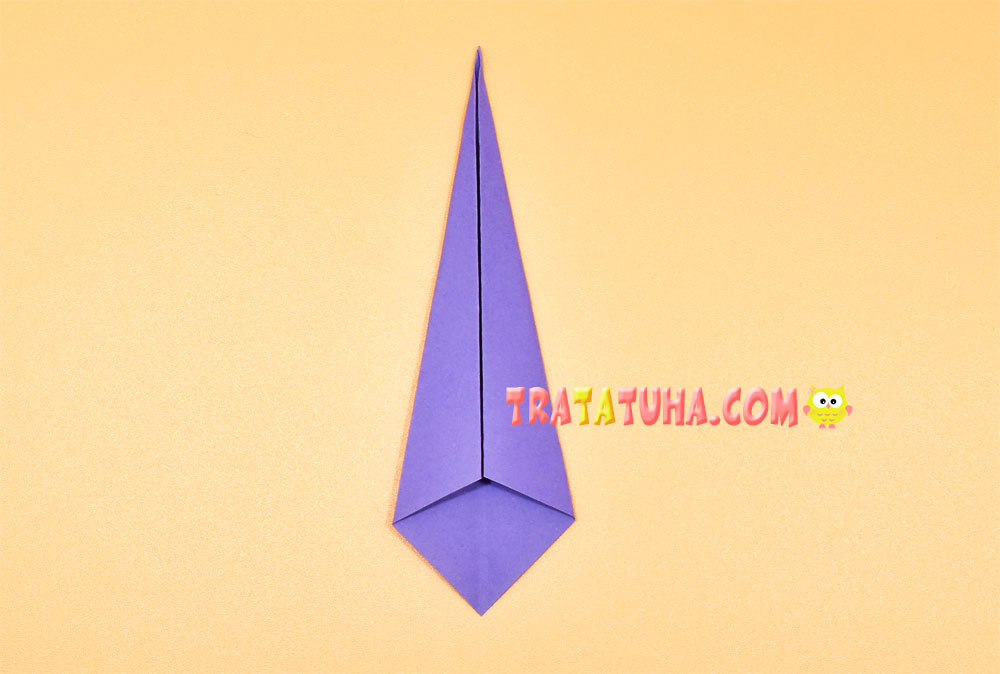
Make 7 similar parts. It’s not hard at all and it’s fast.
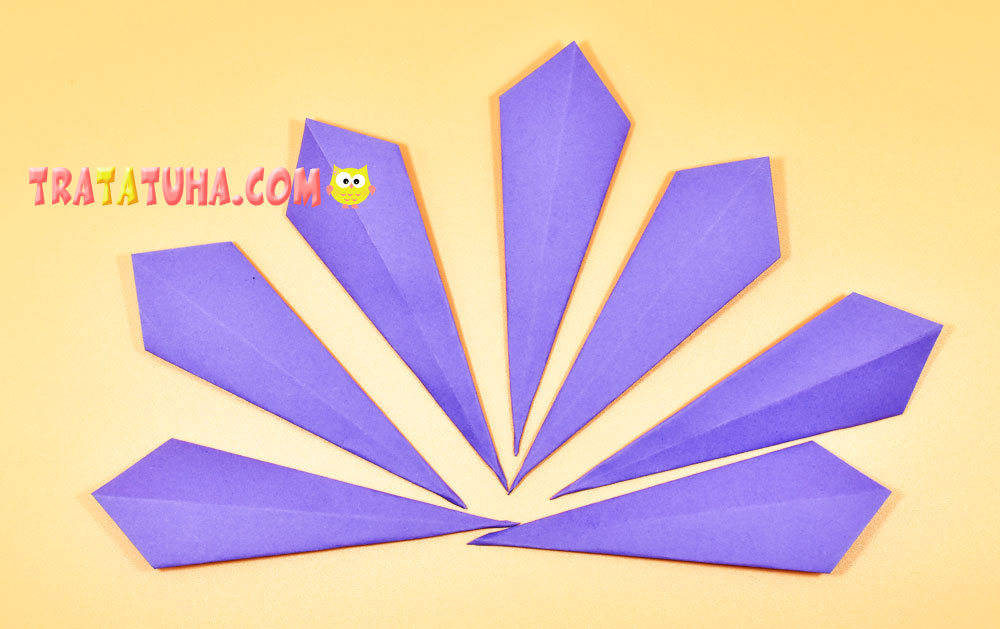
Glue all the tail feathers to the body in a semicircle.
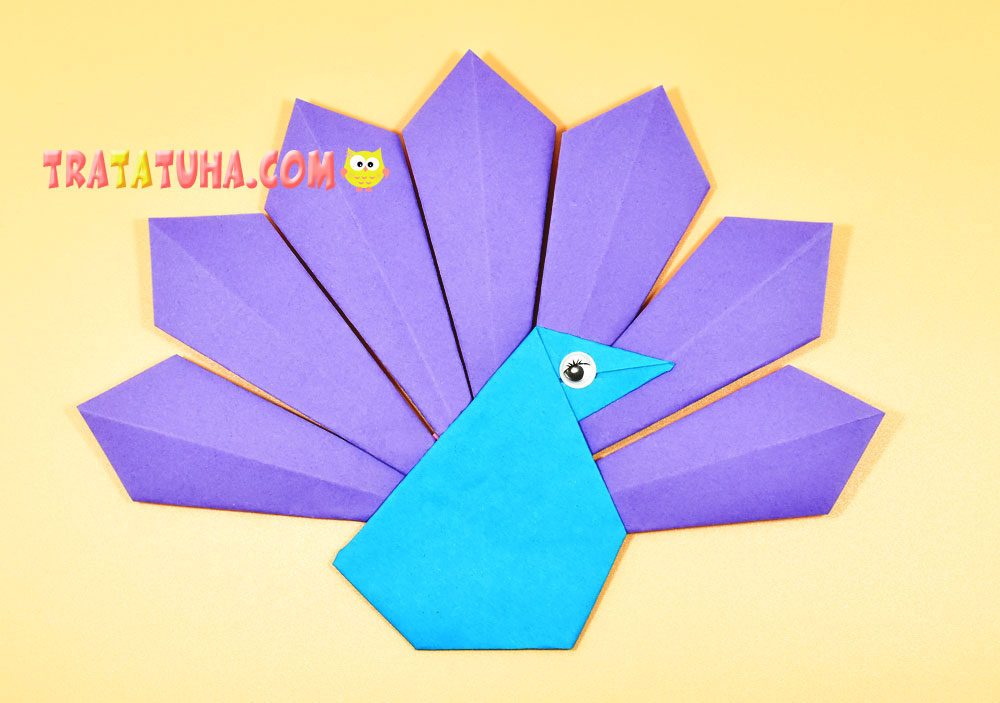
If desired, decorate the bird with an applique or pattern, add paws, grass. Everything, the origami peacock is ready.

See more ideas about origami birds.
Birds Paper – art and craft ideas for all ages.
Crafts for Kids – learn how to make craft at home! Super cute crafts for all age groups!
