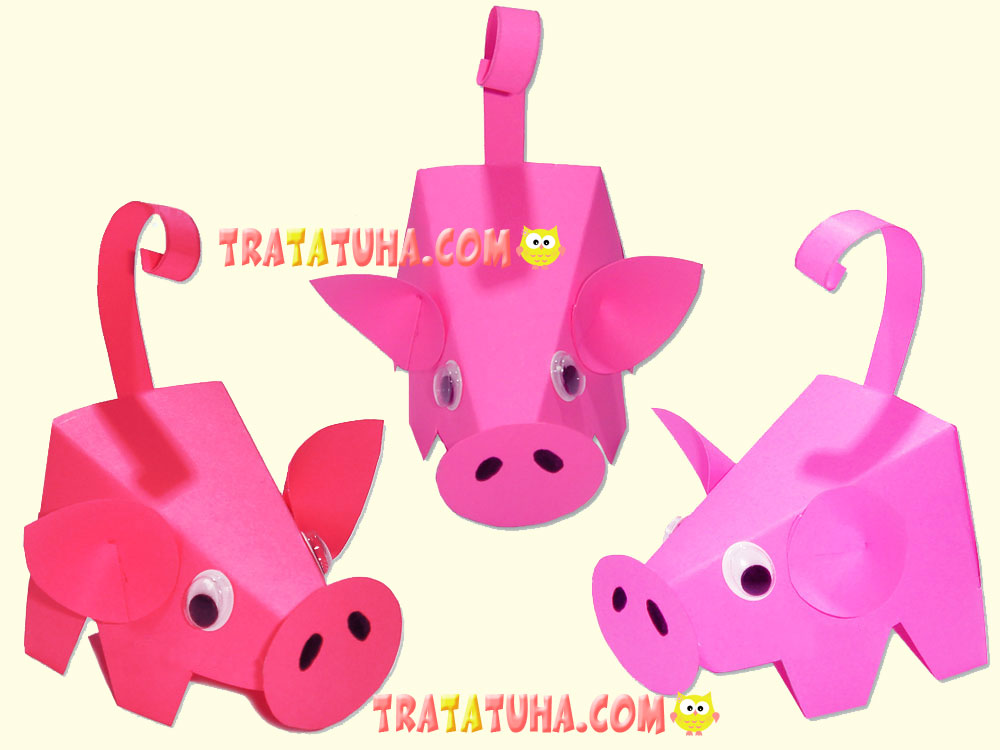
It is quite easy to craft this cute paper piglet due to its simplicity and the template that we offer. All you need to do is to cut out the template along the straight lines, fold the paper along the dotted lines and glue all the parts.
We will need:
- Pink cardboard;
- Piglet template;
- Moving eyes;
- Regular pencil, glue stick, scissors
You can also use a colored paper – it will be even easier for kids to work with it. However, such a piglet won’t be as robust its cardboard “mate”. It is not a problem, if you have no moving eyes at hand. This piggy will look cute even you draw the eyes with a marker pen. Alternatively, you can cut out white paper circles and draw pupils in the middle.
Making a DIY paper piglet step-by-step
Print the template. You can initially print it on a white sheet of paper, then cut out the template and outline it on a colored cardboard.
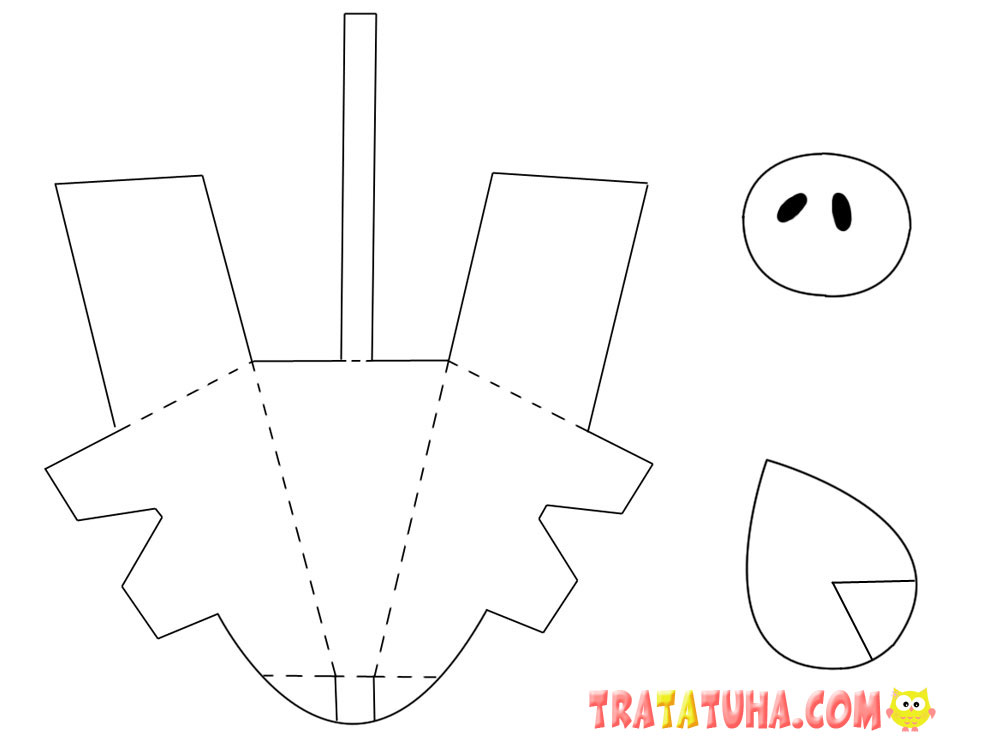
Cut out the piglet’s body, ears and snout. Make cuts along all straight lines including two cuts in the nose area and don’t forget to make a triangular cut on each ear. Draw two nostrils on a snout with a black marker pen.
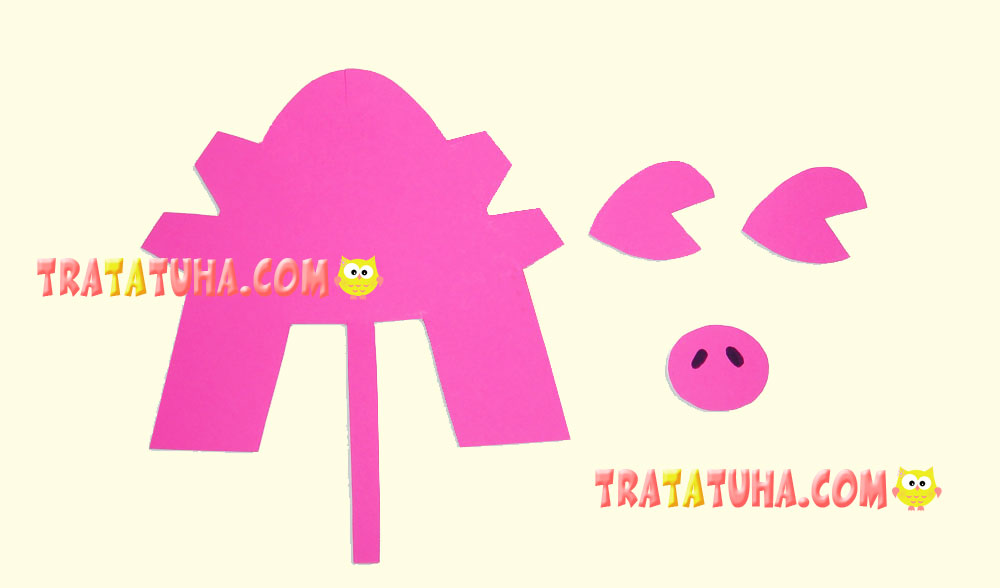
Fold the template along all dotted lines in one direction and fold the tail in the opposite direction.
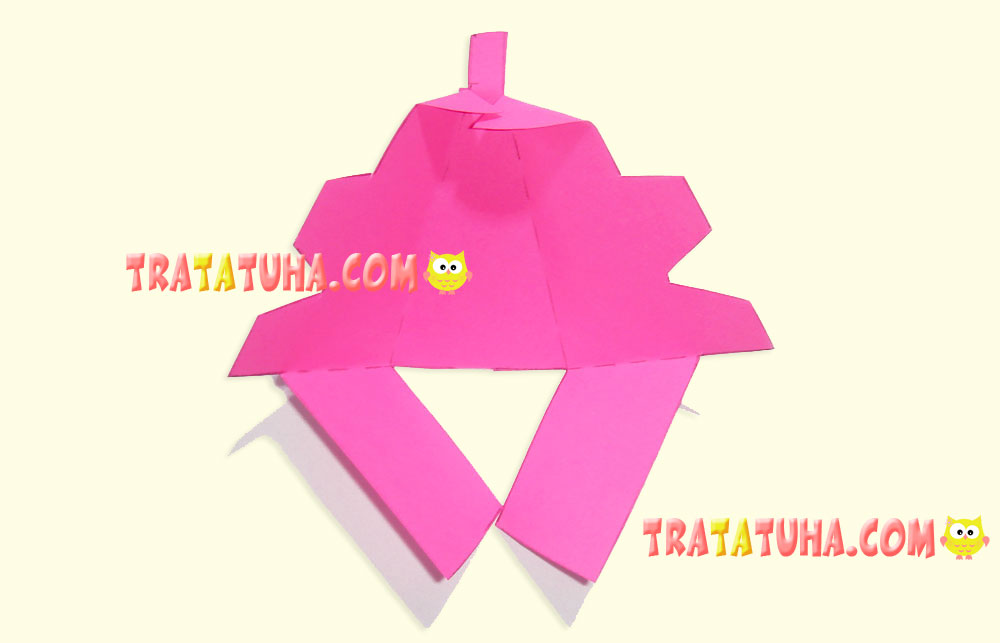
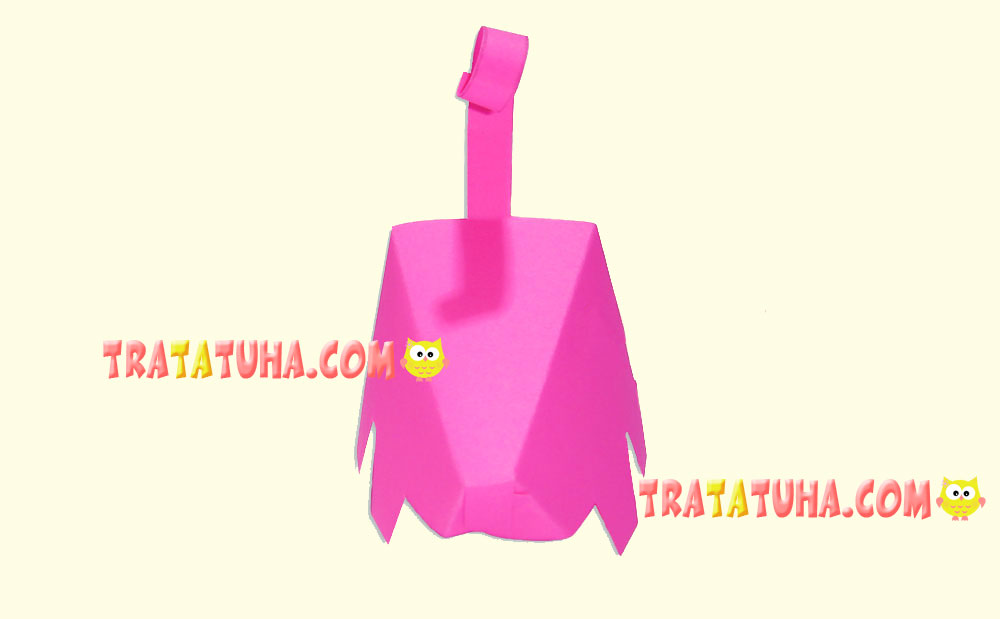
Glue the front and the back parts by bringing two pieces of paper together. Use a pencil to curl the tail.

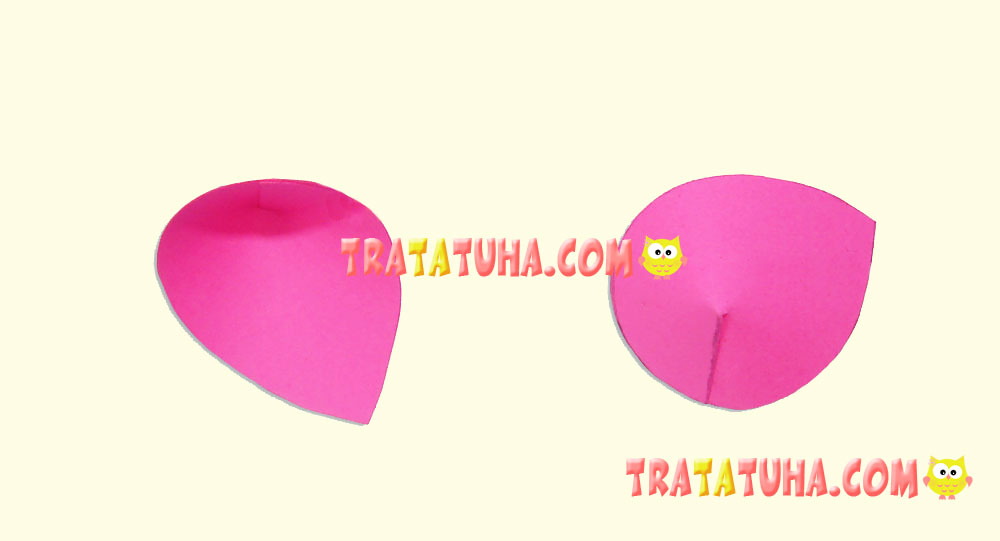
Glue the cuts in the ears to make them look voluminous.
Glue the piglet’s snout to its front part and stick its eyes and ears on the sides. That’s it: this funny little pig made of paper is ready to go!
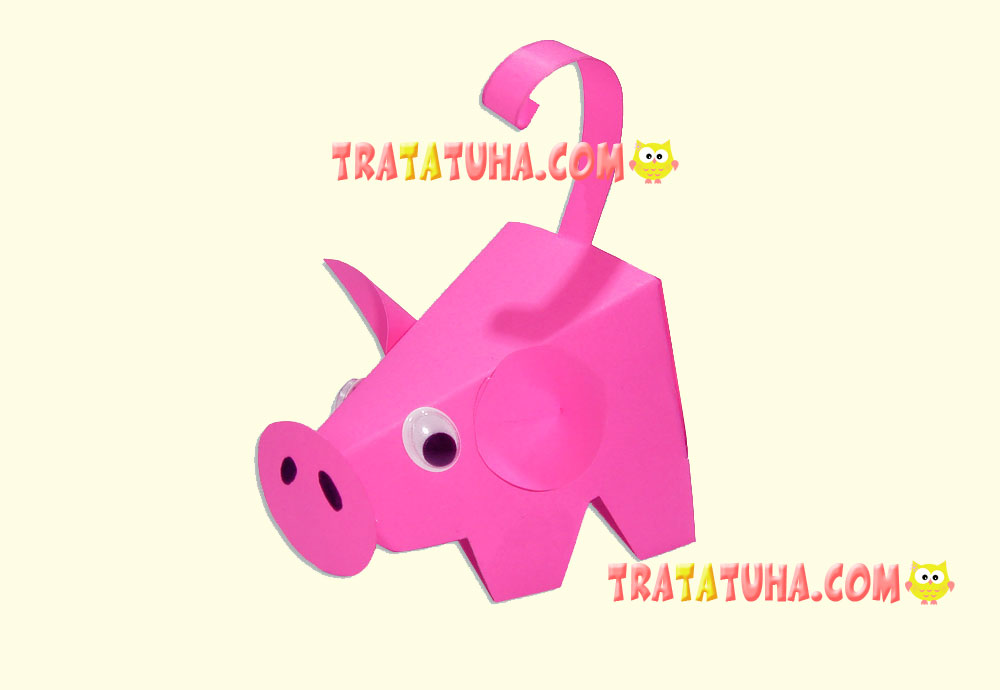
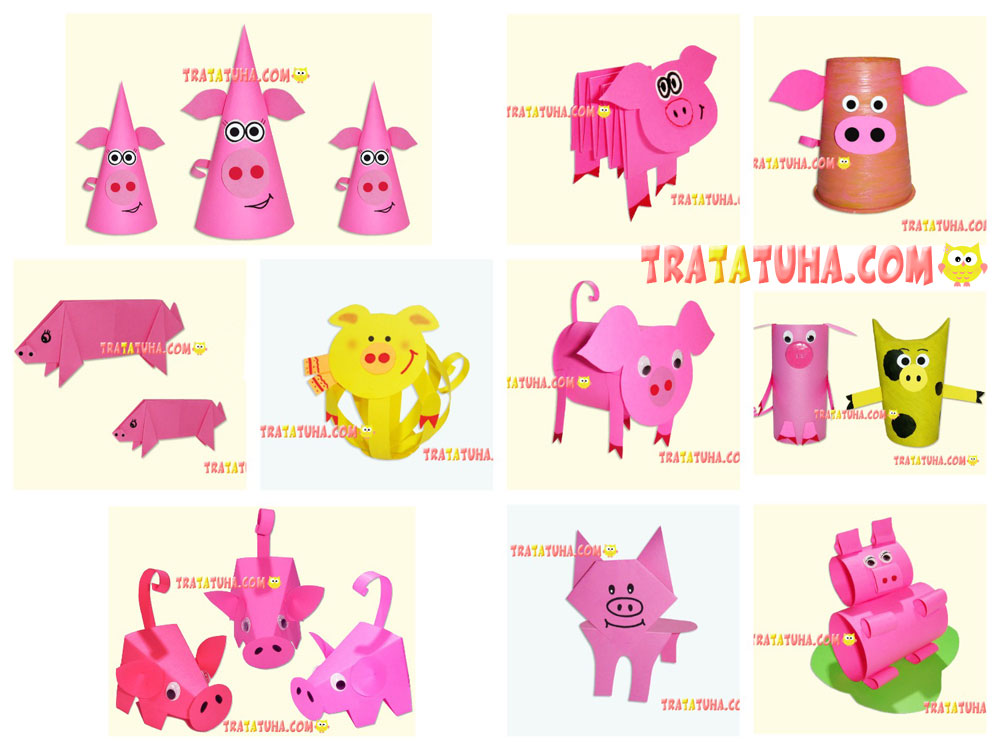
Many other ideas in the collection of Paper Animals Craft.
Crafts for Kids – learn how to make craft at home! Super cute crafts for all age groups!
