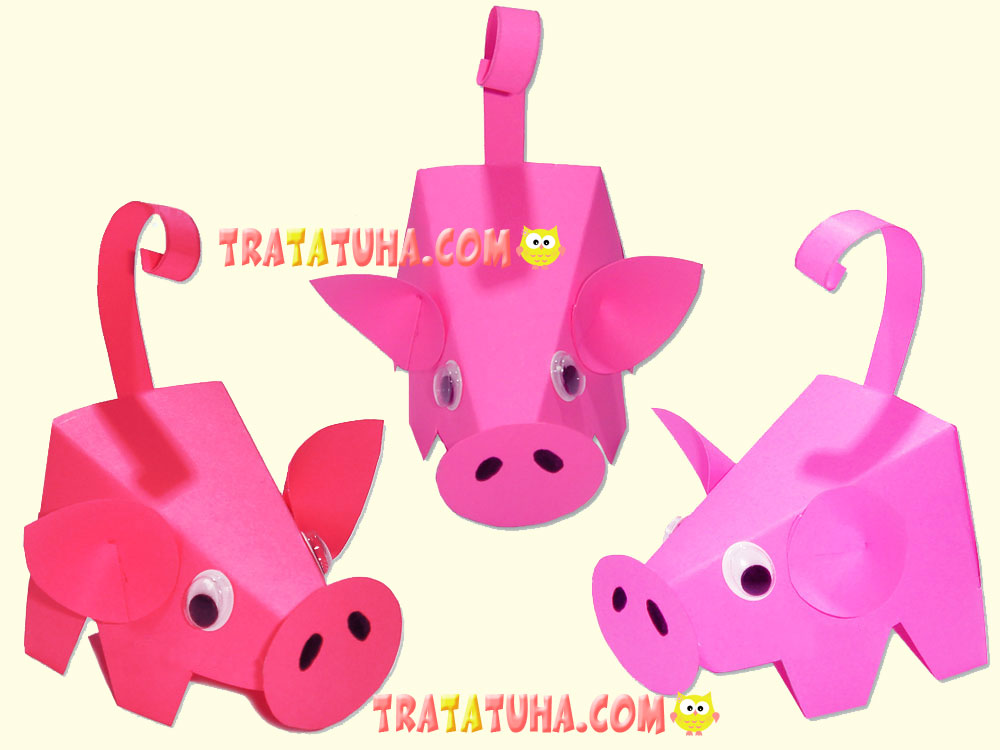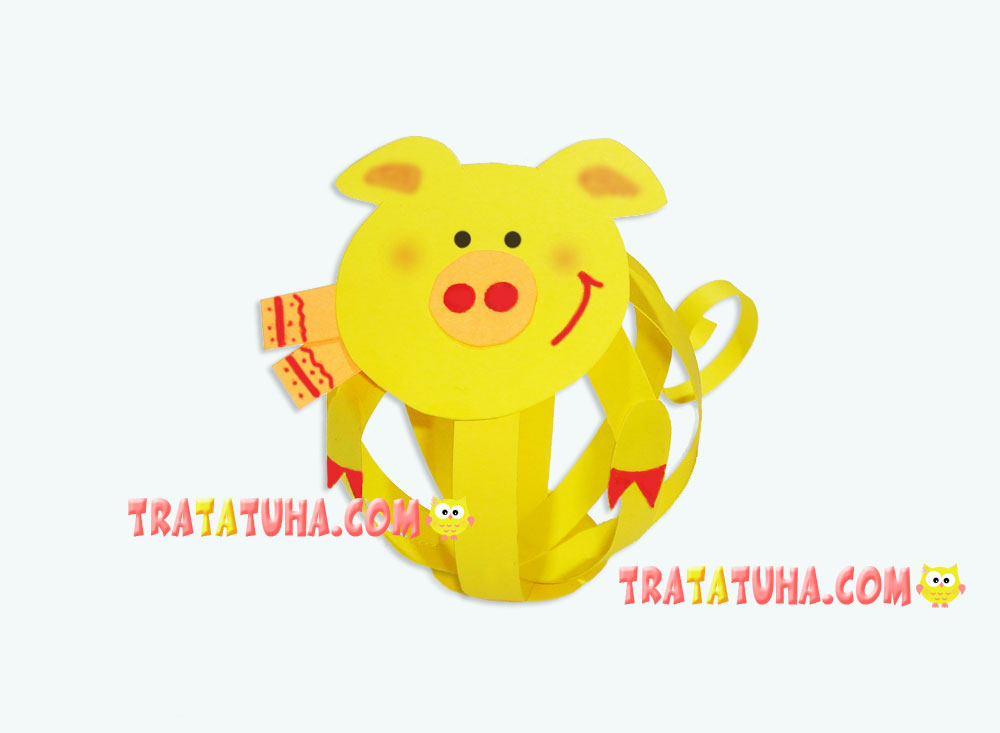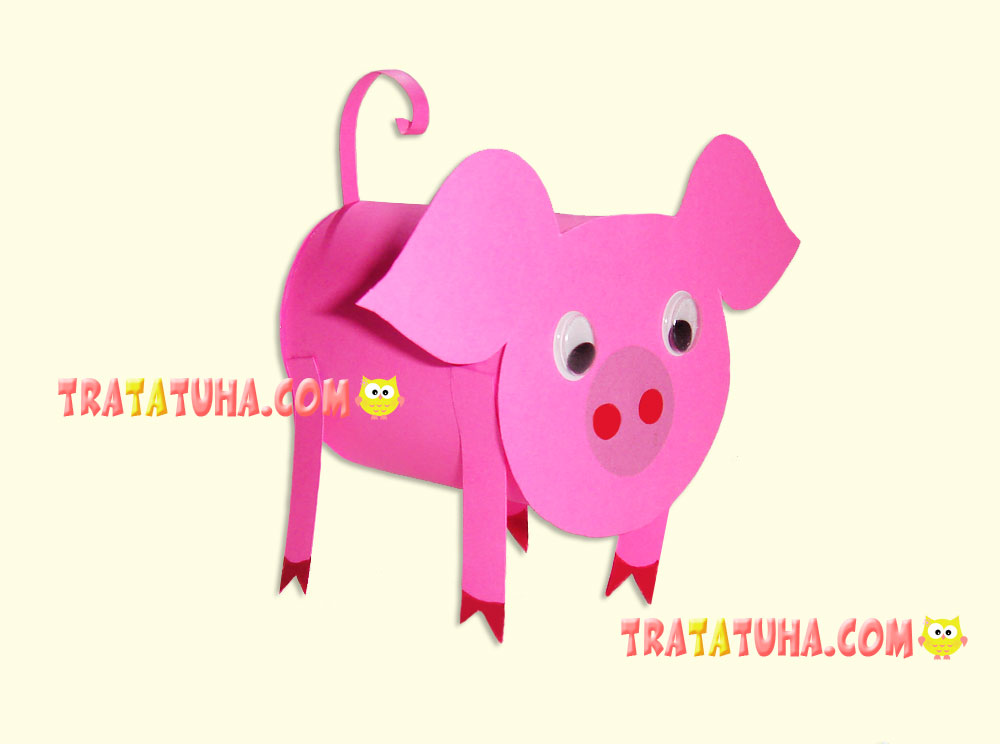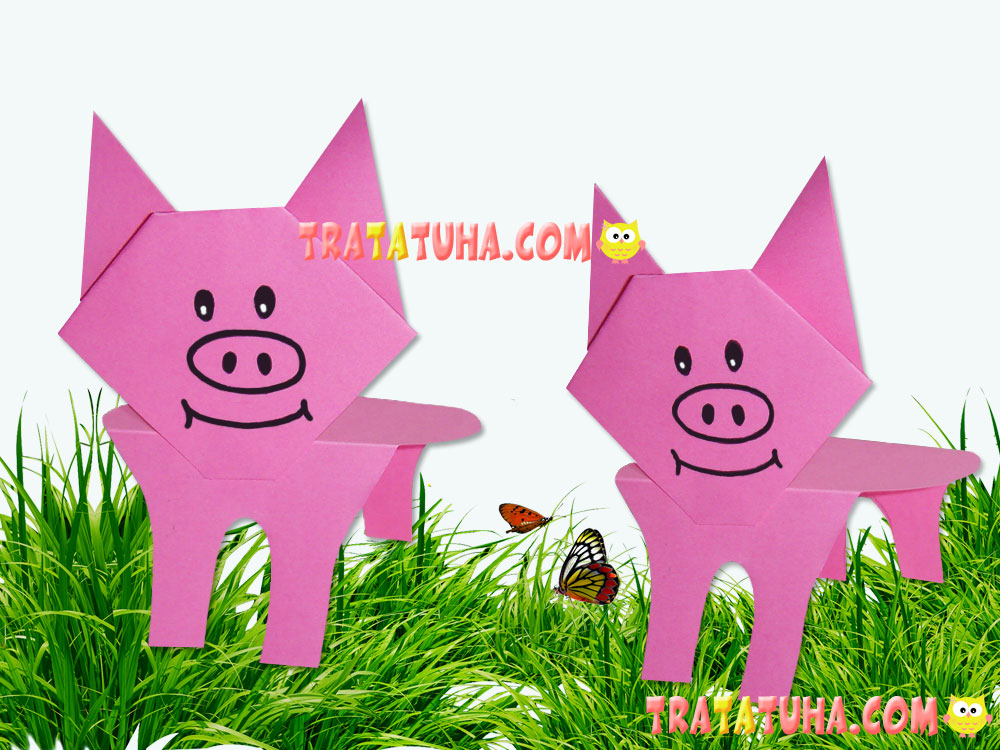
Making an origami pig face using this scheme is simple, fast, and comprehensible for all kids. You can make only the first part – the pig’s head. The body is optional.
What will you need for the work?
- Double-faced paper;
- Scissors, a glue stick, a black felt pen.
Origami Pig Face Step-by-Step
Prepare a square piece of paper of any size.
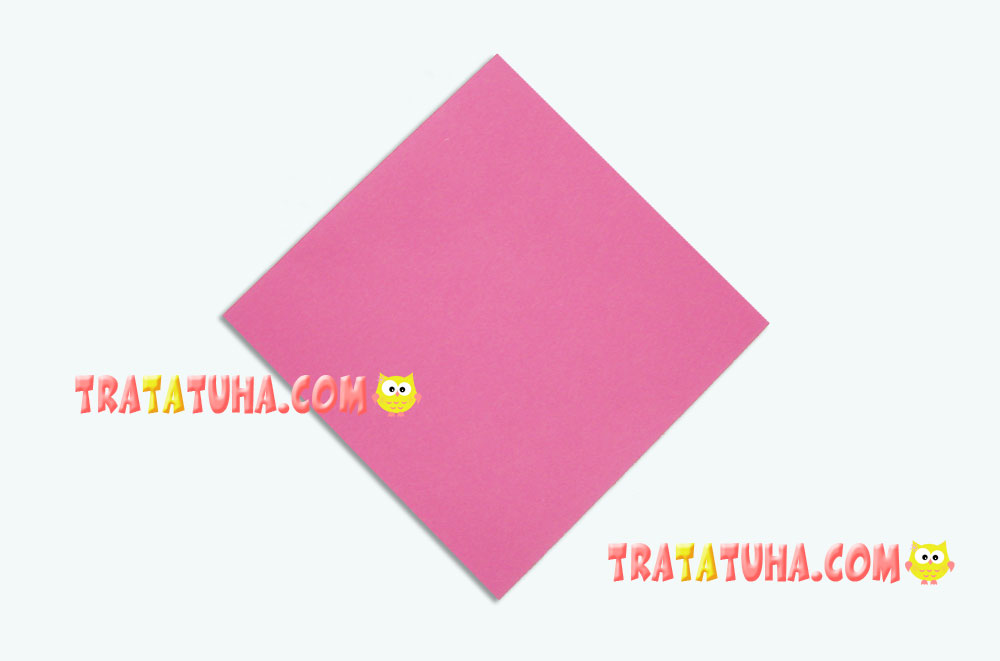
Fold it in half by joining the opposite corners. You should get a triangle.
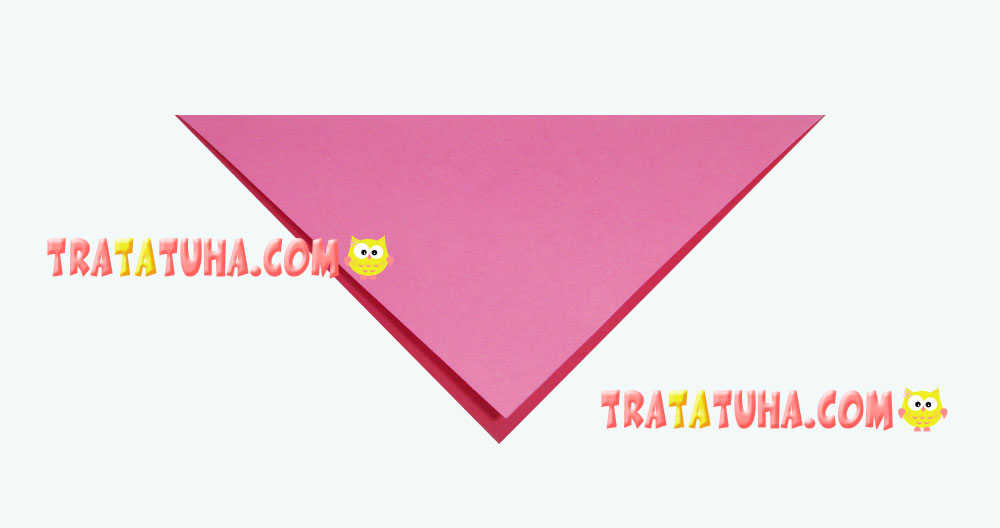
For your convenience, turn it the corner upward and the corresponding wide side downward. Pull the right corner, joining it with the upper one. Press and smooth the fold.
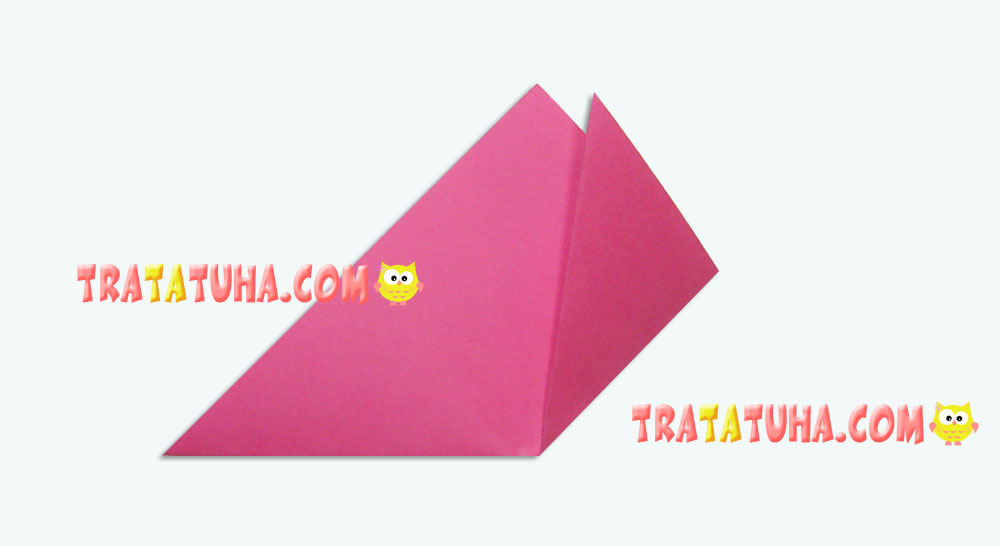
Repeat this action with the left corner.
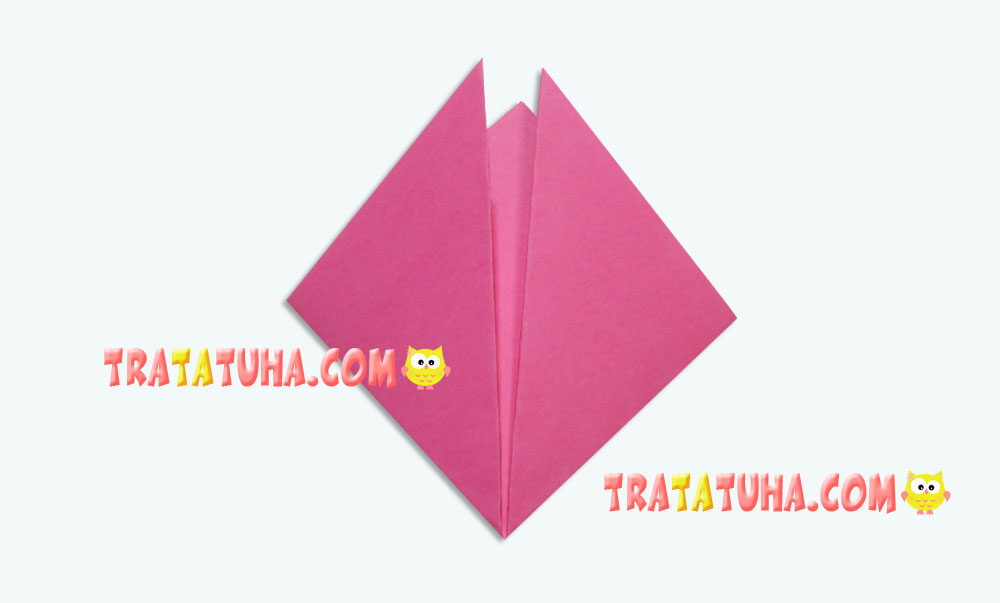
Turn the detail again. Fold the right corner sideward.
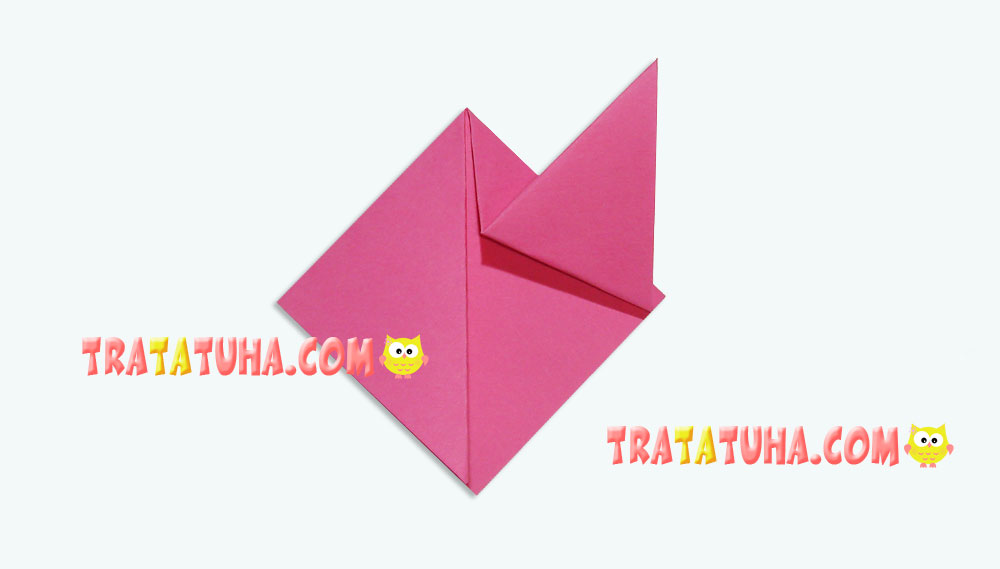
After that, fold the left one as well.
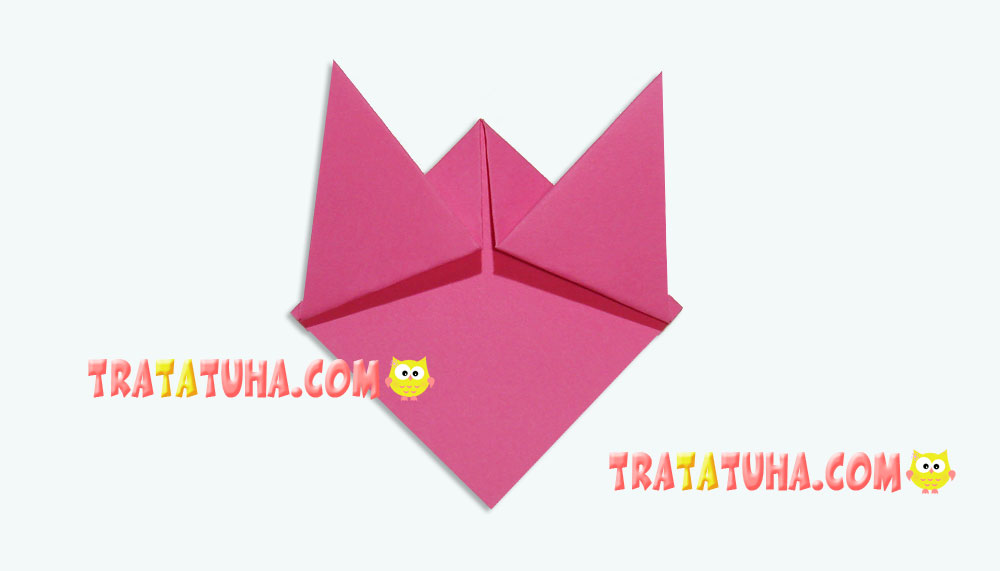
Turn the reverse side of the detail toward you. You can see that the head and ears are almost ready. There only a few finishing touches left to complete the origami pig face.
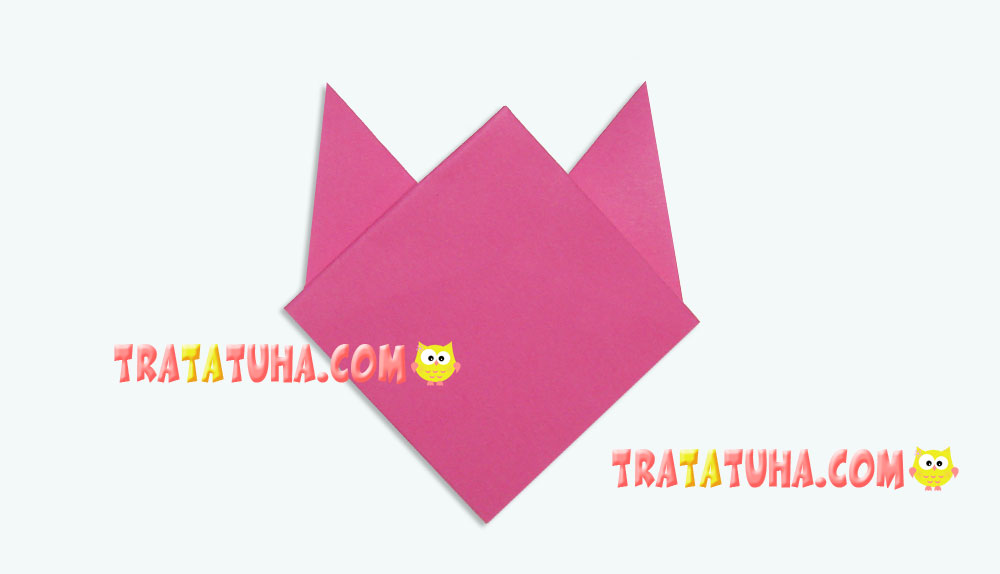
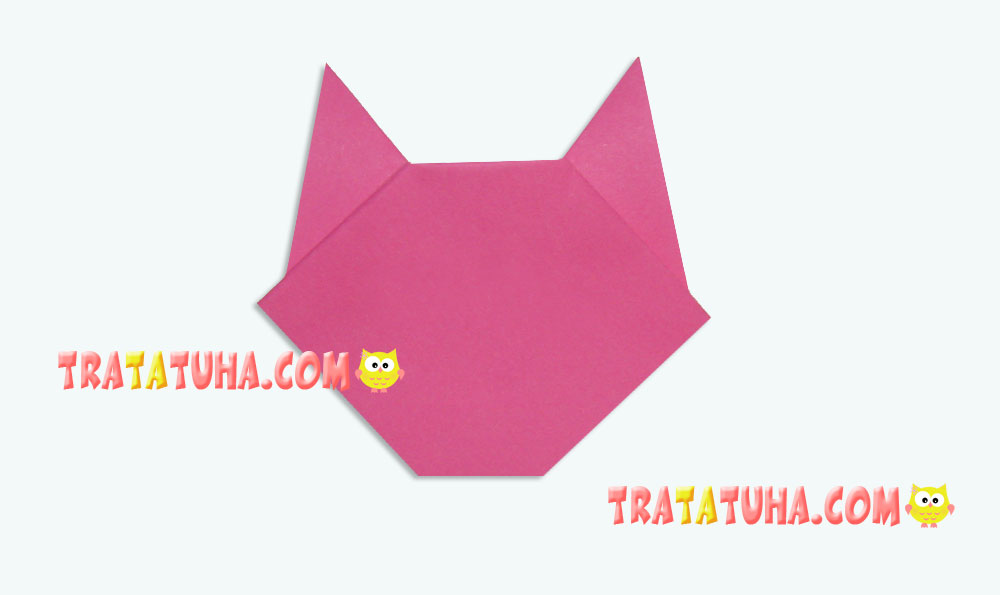
Fold the upper middle corner backward, making the fold even along the ears’ line. Fold the bottom corner as you like and press thoroughly.
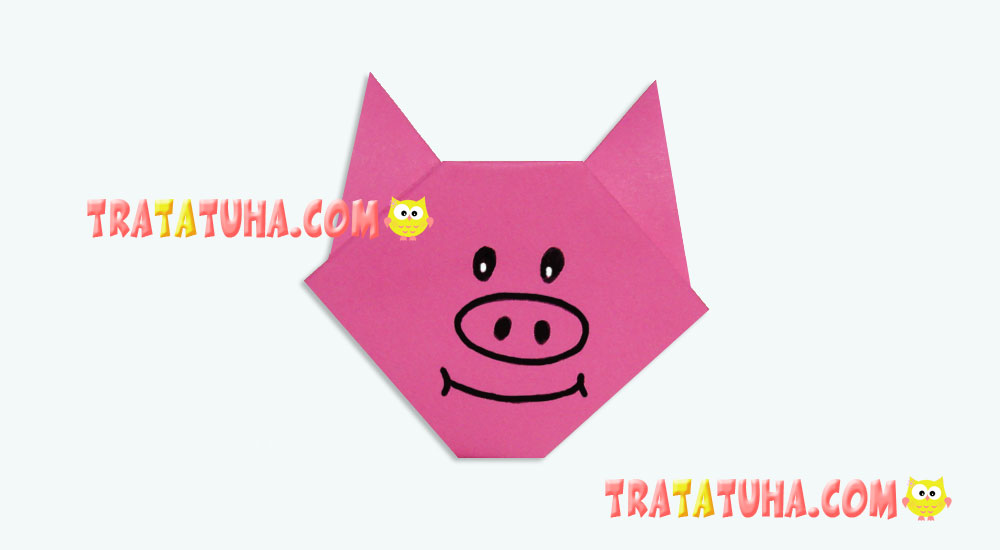
Use a black felt pen to draw eyes, snout, and smile. These parts can be made of paper. The white glares in the eyes are made with correction fluid. That’s it, the craft is ready.
Additional Process
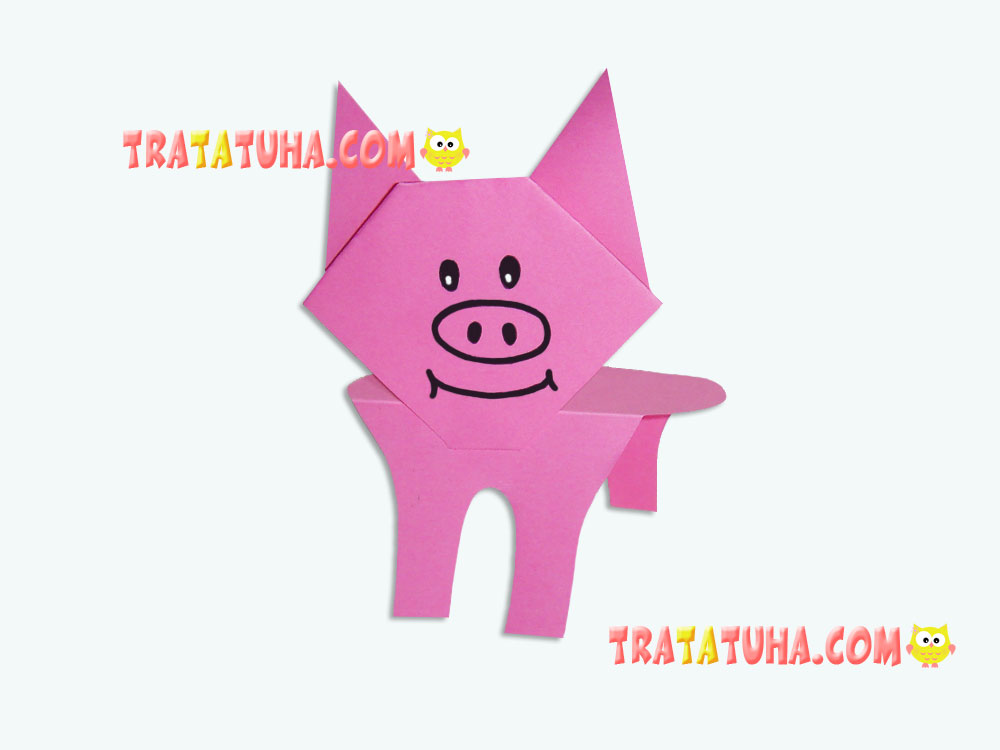
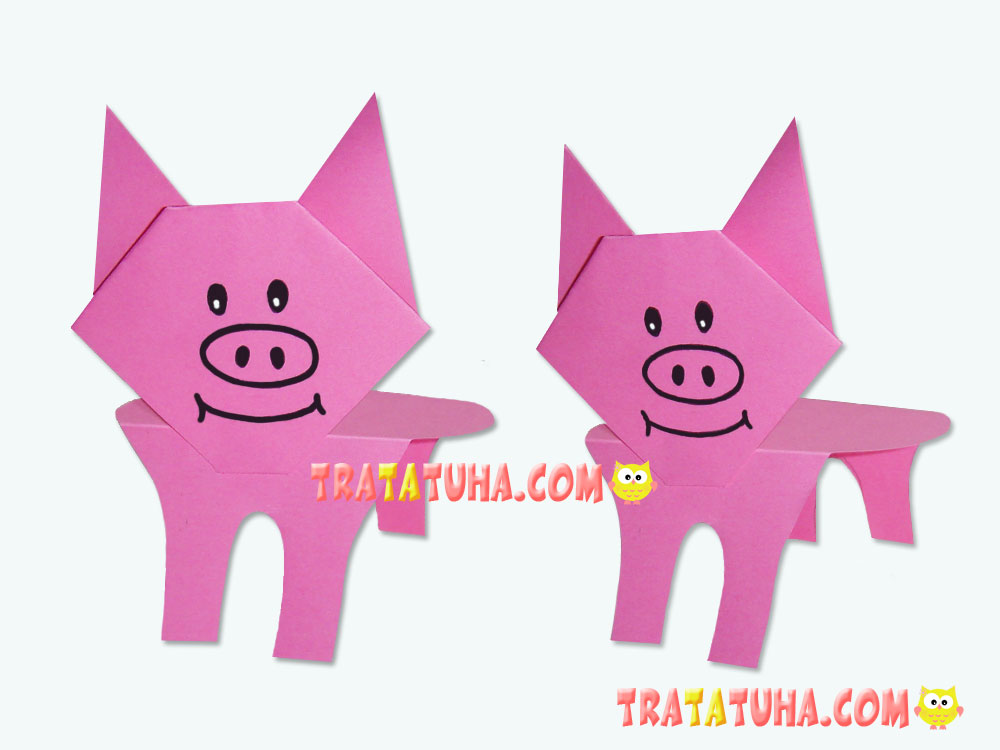
Optionally, you can attach a body to the pig. Here, any option is possible. You can draw the body on a piece of paper and glue the head to it – you will get an amusing applique work. Or the head can be attached to the pre-made accordion, as exemplified by a pig made of accordion paper. Or you can make the whole origami pig at once.
Or use this simple pattern – optionally, you can draw something like this yourself and cut it out.
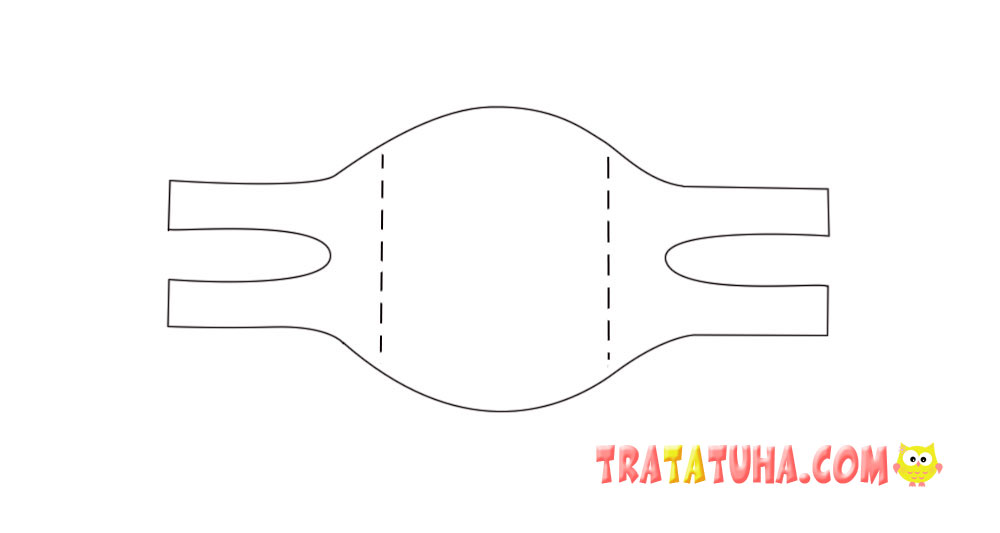
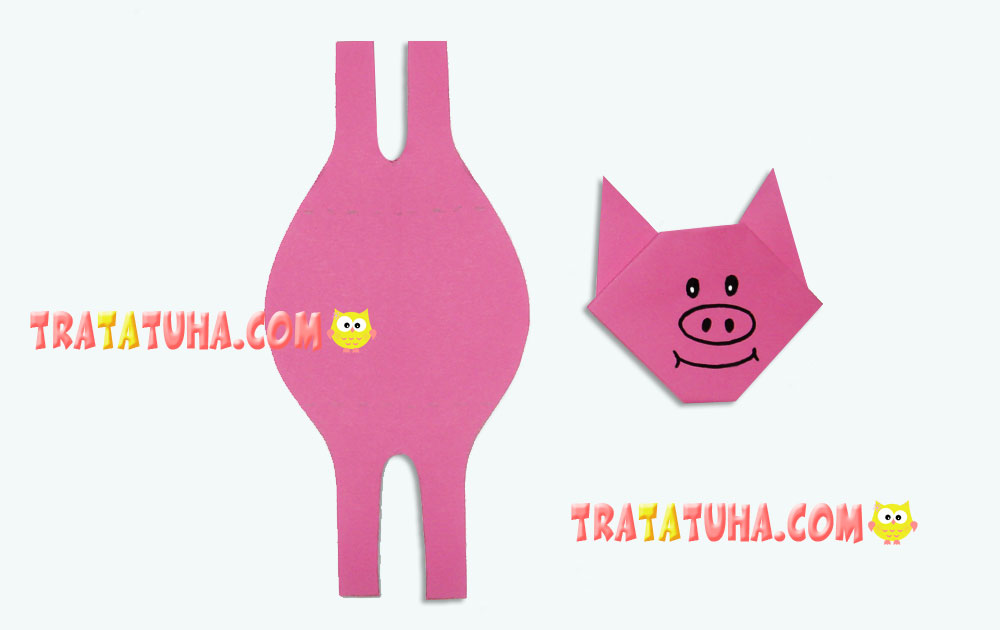
Fold it along the lines and glue the head to the front part. The origami pig is ready.
See also other tutorial of Origami Animals.
Many other ideas in the collection of Paper Animals Craft.
Crafts for Kids – learn how to make craft at home! Super cute crafts for all age groups!
