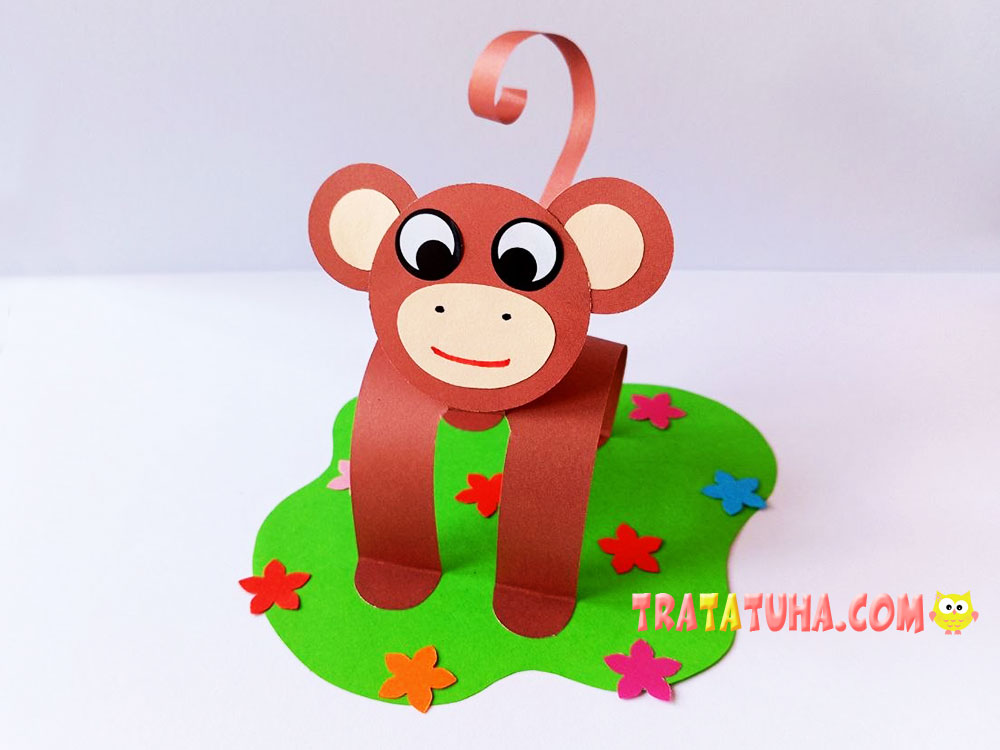
This mischievous and cheerful jungle dweller is easy and quick to make from ordinary colored paper! A monkey craft for kids is a great way to keep a child who loves making things busy and entertained.
Materials needed:
- Brown, beige, and green paper;
- Black and red markers;
- Googly eyes (either handmade from paper or store-bought);
- Compass (optional);
- Scissors;
- Glue.
Step-by-Step Monkey Craft for Kids
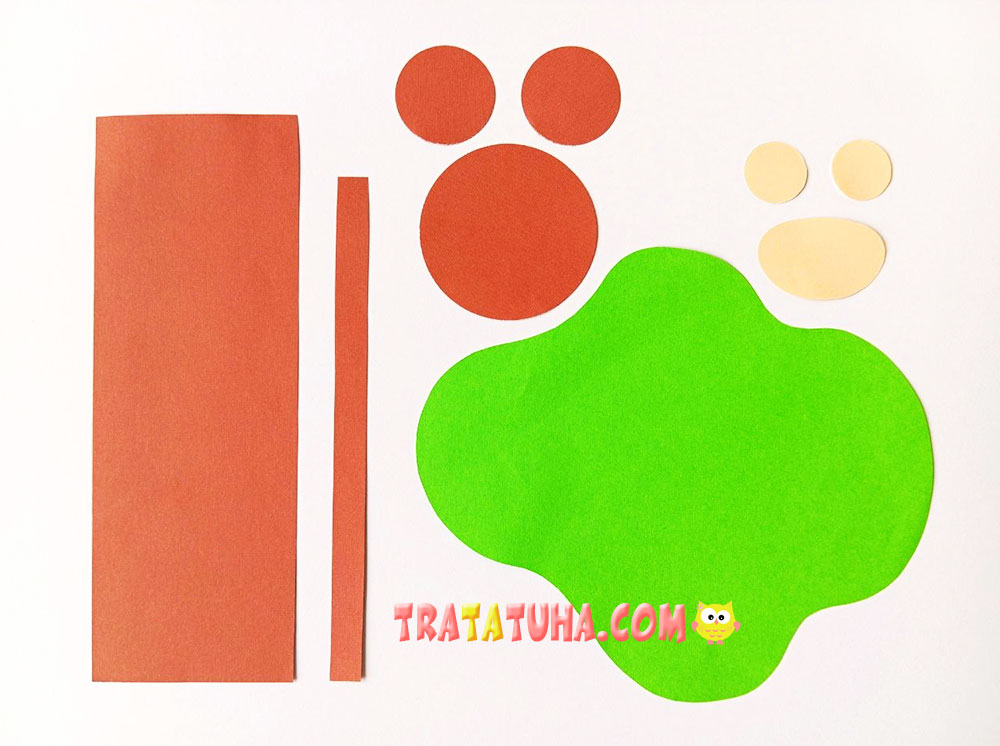
First, prepare all the craft elements.
- From brown paper, cut out a long rectangle (the monkey’s body), a long thin strip (the tail), a large circle (the head), and two small circles (the ears). Make the tail slightly shorter than the body, and the diameter of the head slightly smaller than the width of the body.
- From beige paper, cut out a piece that resembles an oval, but does not have to be perfectly even — this will be the monkey’s muzzle. It should fit on the monkey’s head and be smaller than it. From the same paper, cut out two small circles, smaller than the brown ones. These will be the inner parts of the monkey’s ears.
- From green paper, cut out a smooth but irregularly shaped piece. This will be the grassy patch where you will place the monkey.
- If you decided to make the eyes from paper, cut out two white circles and draw pupils on them. We used store-bought eyes, so they are not shown in the photo.
A compass is convenient for drawing the outlines of the circular pieces, but you can easily make the craft without one.
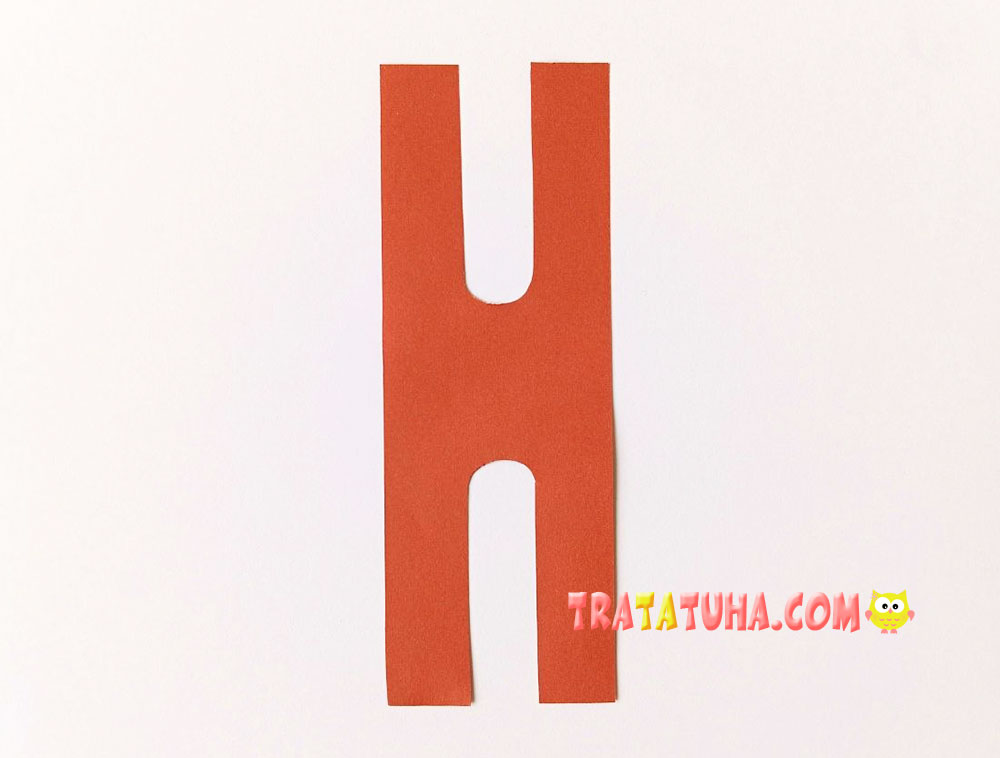
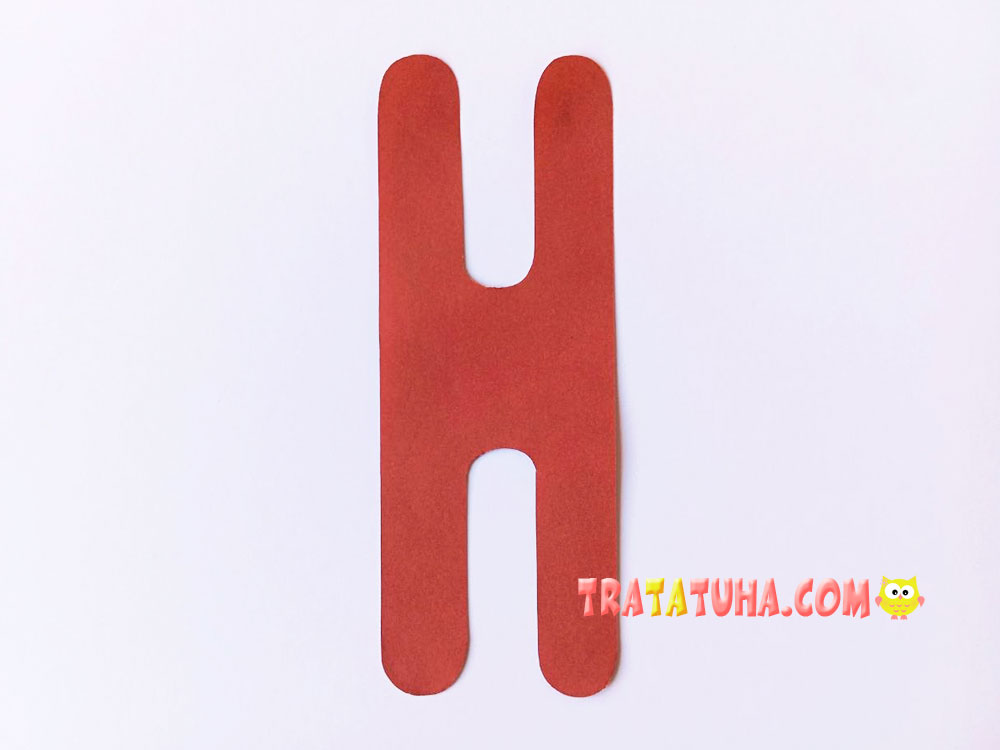
Next, take the rectangle and cut a shape resembling the letter H out of it. This will give you four legs — two front and two back — with the body in the middle. Do not throw away one of the strips left over after cutting; you will need it later.
Then round off the monkey’s legs by trimming the corners of the piece.
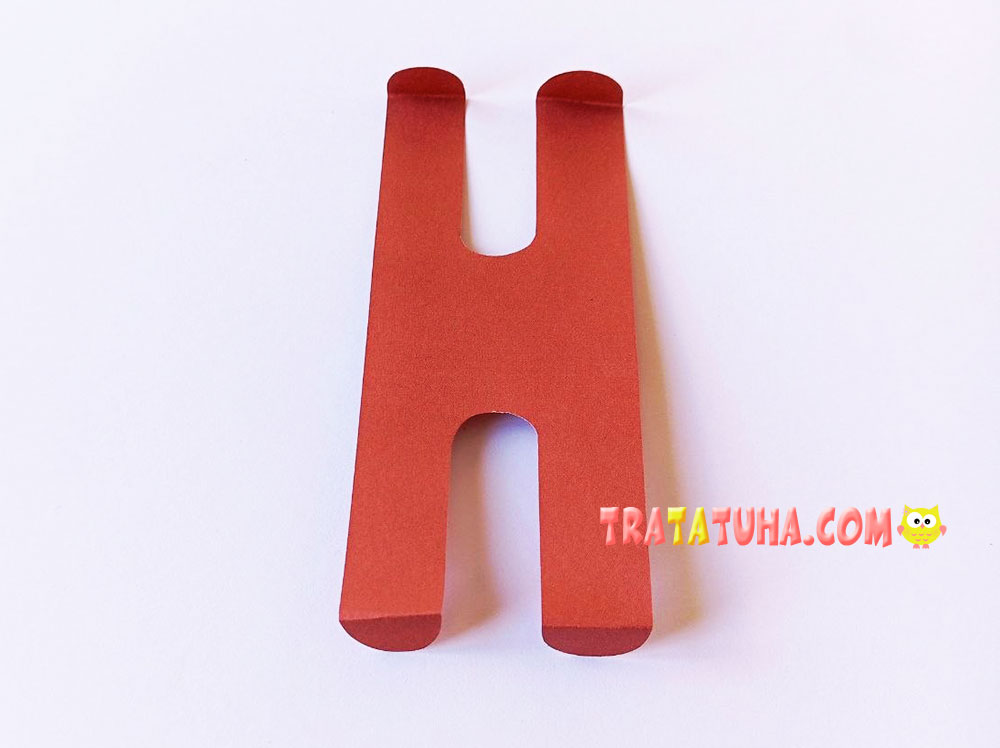
Next, fold the ends of the monkey’s legs: bend the front legs forward and the back legs backward.
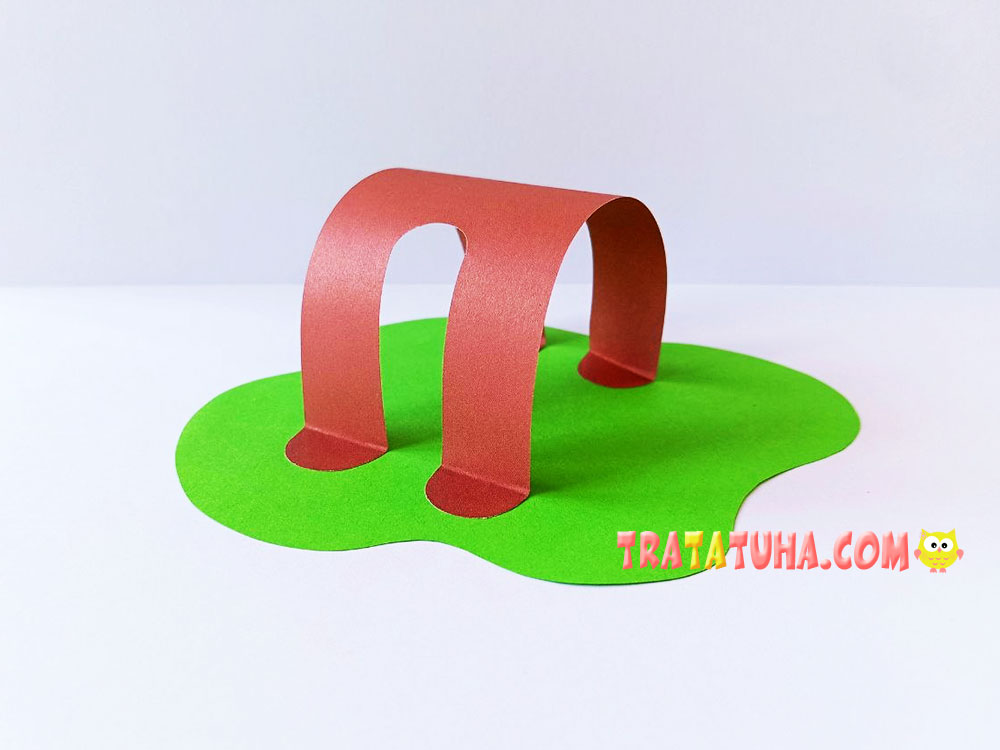
Then bend the body into an arch and glue it to the grassy patch. Apply the glue to the ends of the legs that you folded in the previous step.
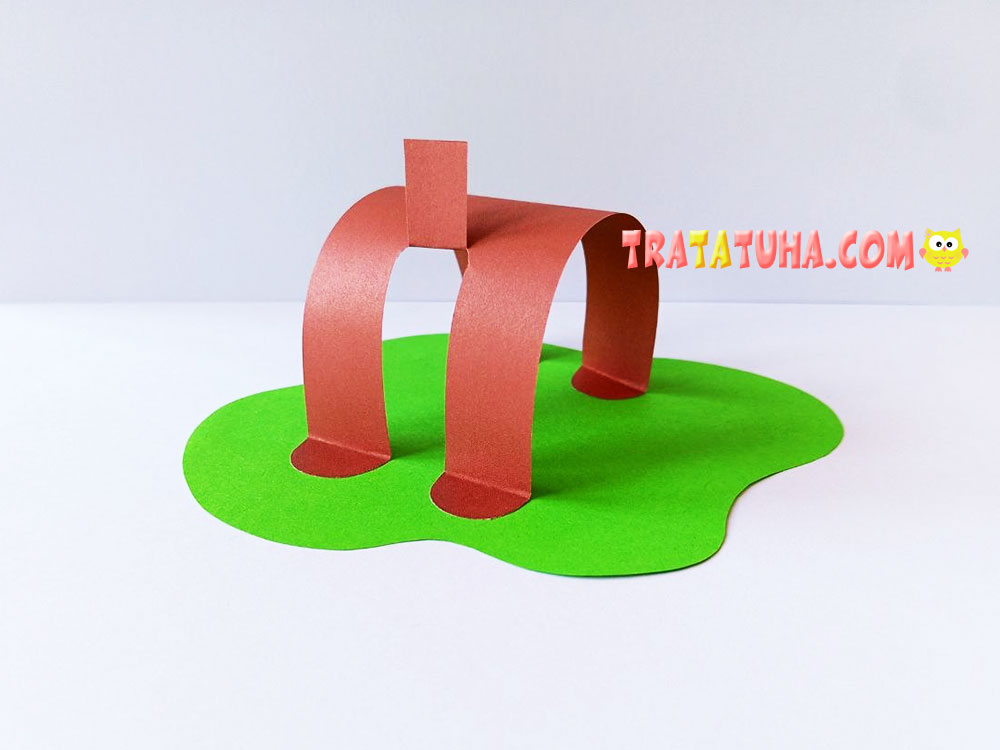
Next, take the strip left over after cutting out the body. Use scissors to make it narrower so that it fits into the opening between the monkey’s legs.
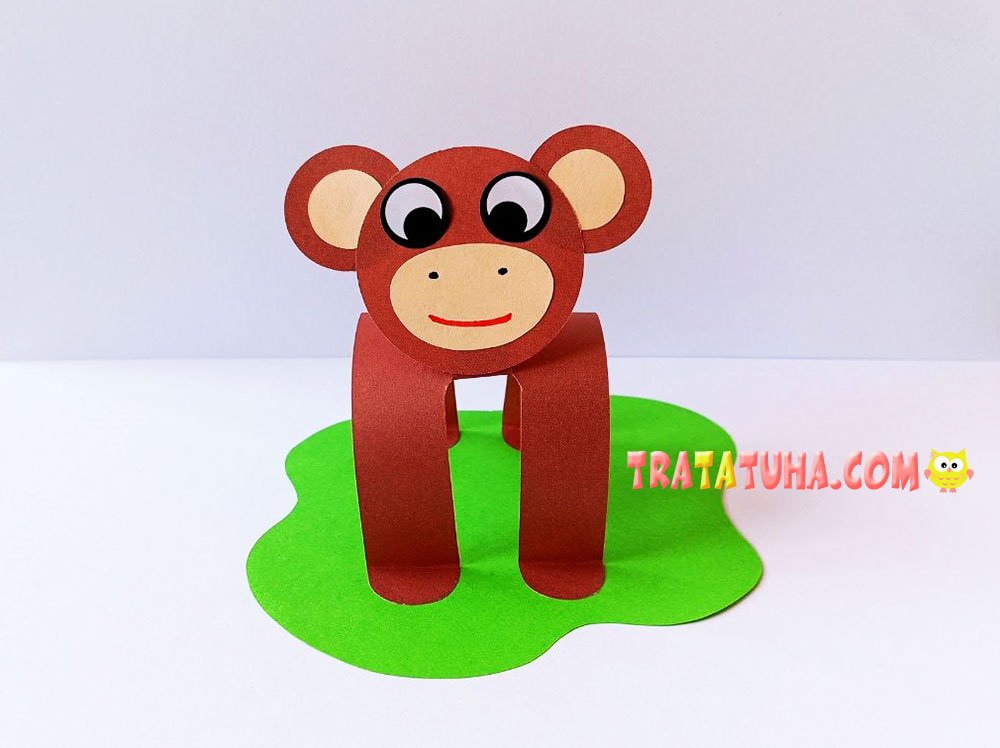
Fold the piece in half and glue it between the monkey’s two front legs. One half of the piece should stick up. This will be the monkey’s neck.
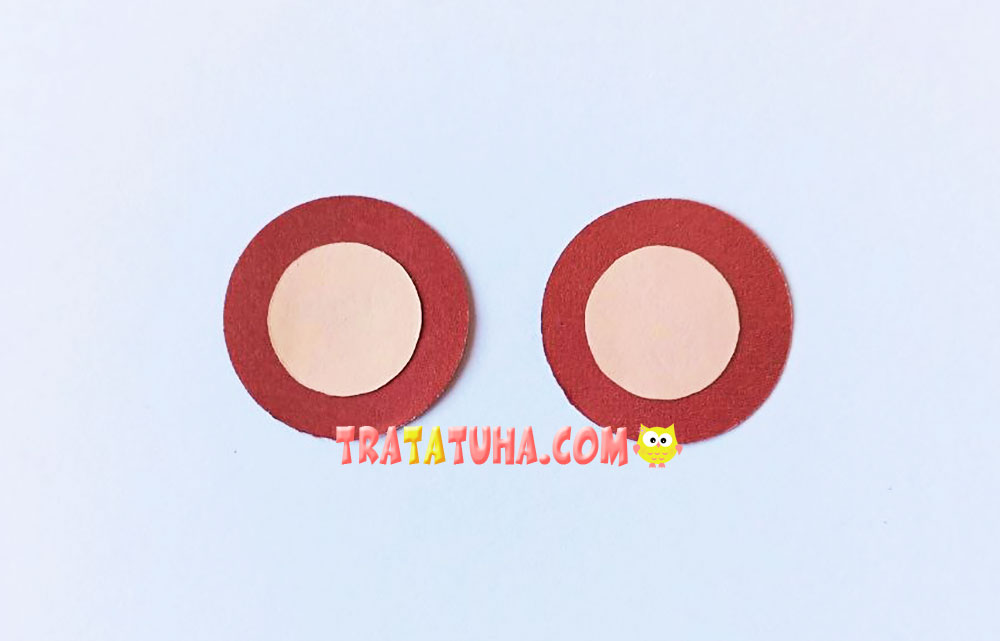
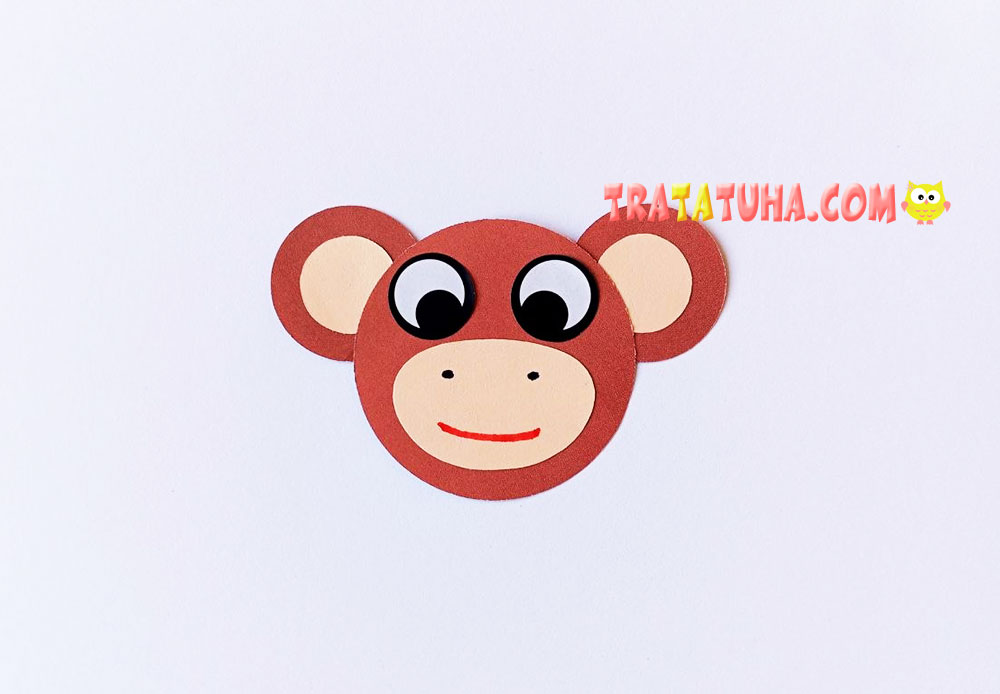
Set the grassy patch with the body aside for now — it’s time to work on the monkey’s head. Glue the beige circles onto the centers of the brown circles to create the ears.
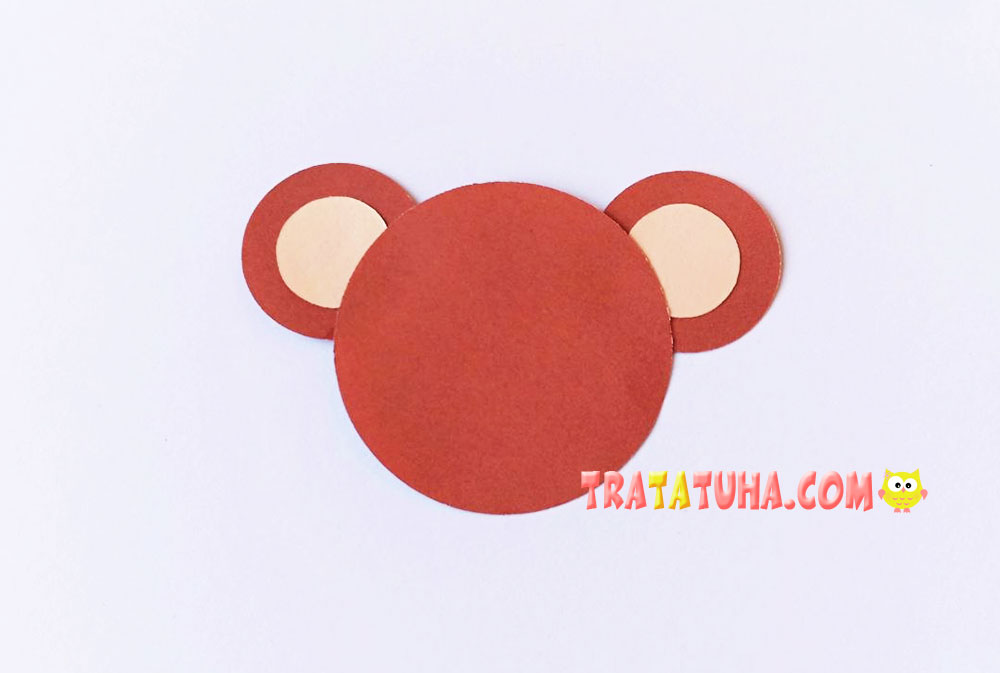
Next, glue the ears onto the head. Place them fairly far apart from each other.
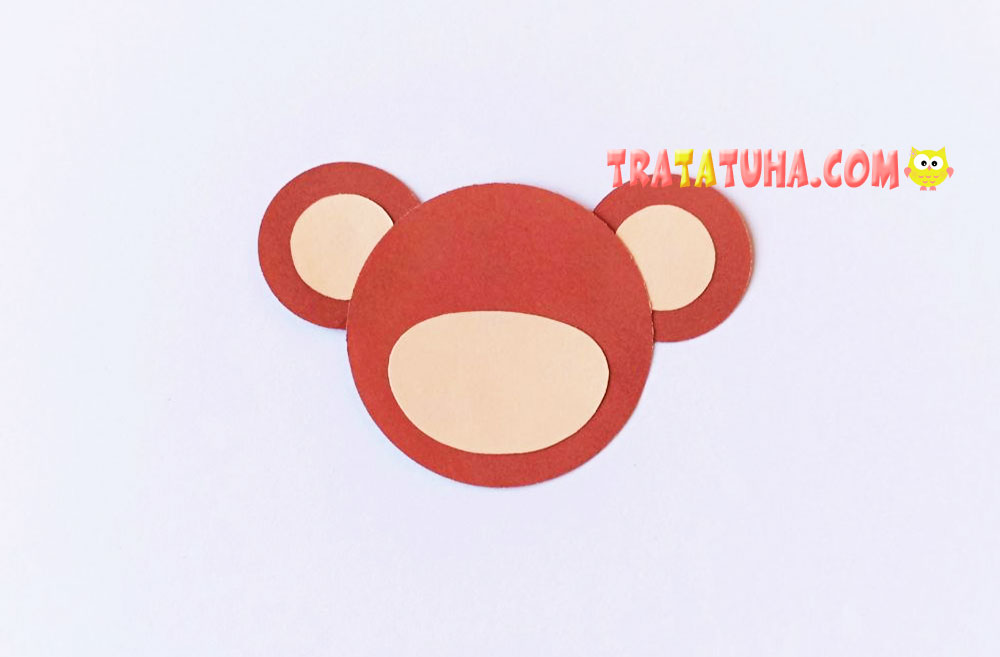
Then glue the monkey’s muzzle onto the head. It should be positioned in the lower part of the circle without touching the edge.
Next, draw the nostrils and a smile on the muzzle. Use black for the nostrils and red for the smile.
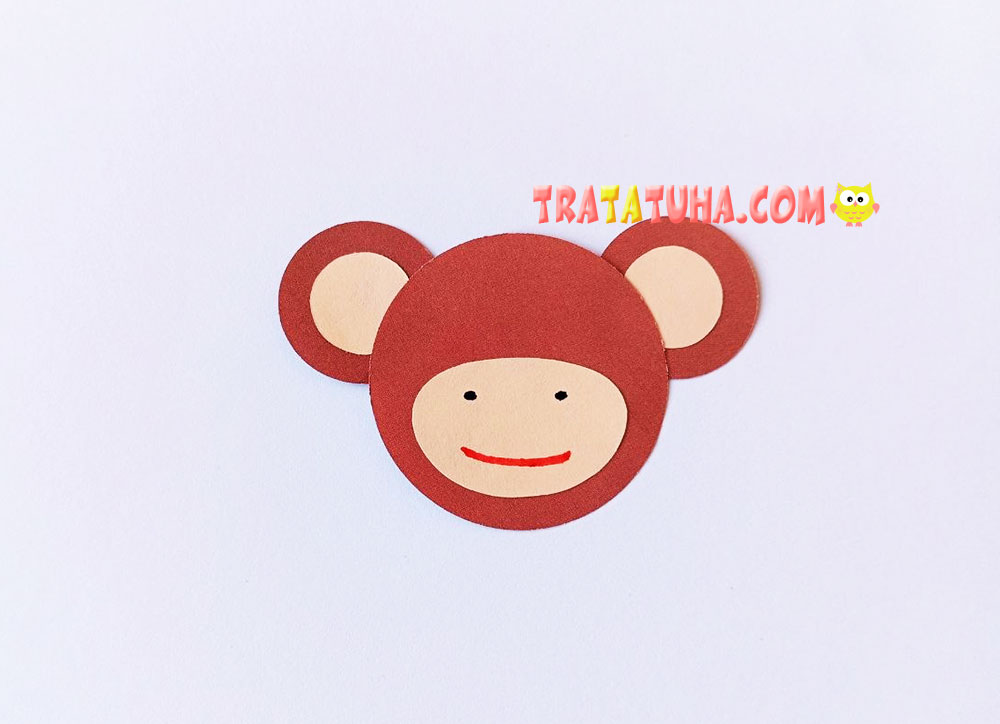
After that, glue the monkey’s eyes slightly above the muzzle. The head is ready!
Next, glue the monkey’s head to the neck, connecting it to the body.
Then attach the monkey’s tail. Wrap it around a pen or pencil so that the tail is not straight but has a fun, curved shape.
If you like, you can decorate the craft — for example, add some bright flowers to the grassy patch.
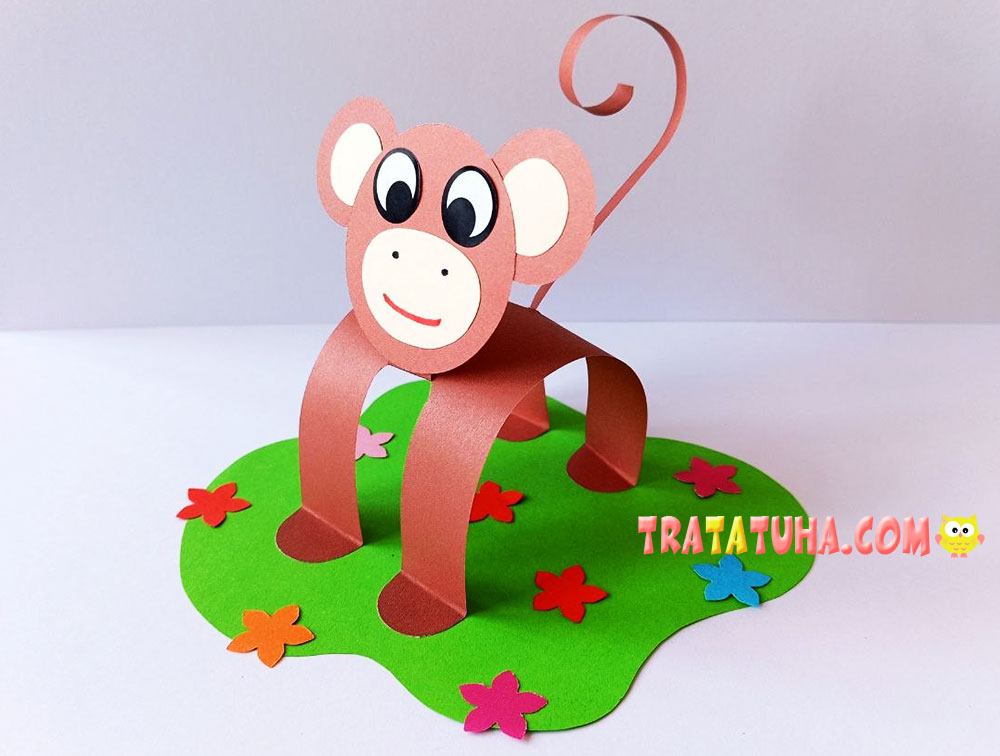
The monkey craft for kids is ready! The little monkey looks funny and cheerful, while the grassy patch adds brightness and charm to the finished craft.
You can find even more fun and varied ideas in our collection of paper animals crafts.
Related Post: