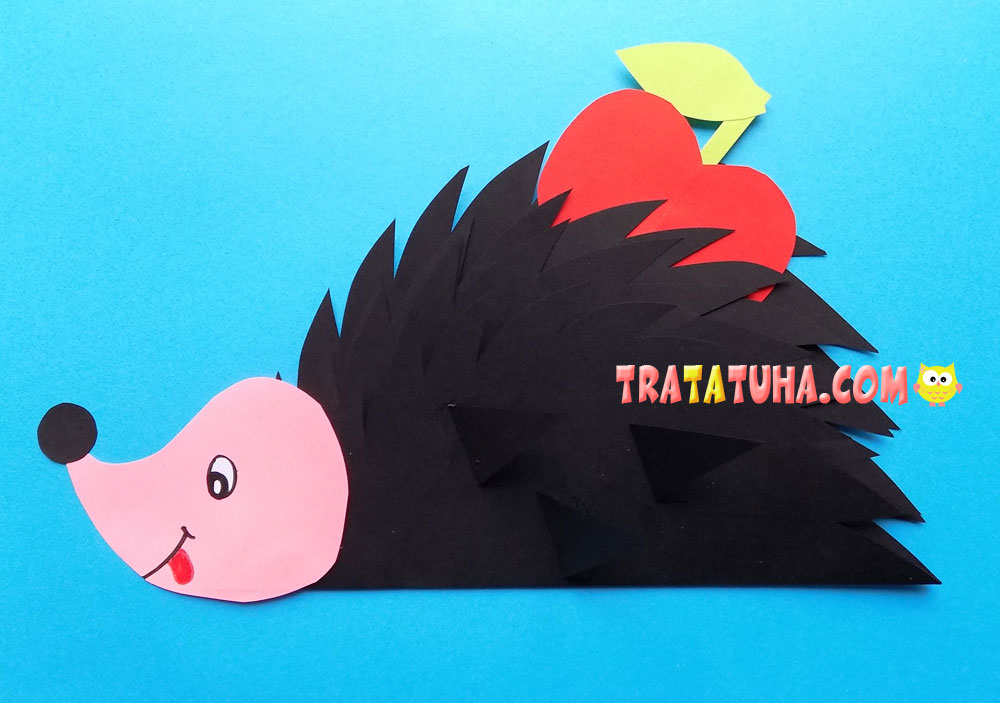
A simple craft paper hedgehog for children’s creativity. Step by step instructions with photos.
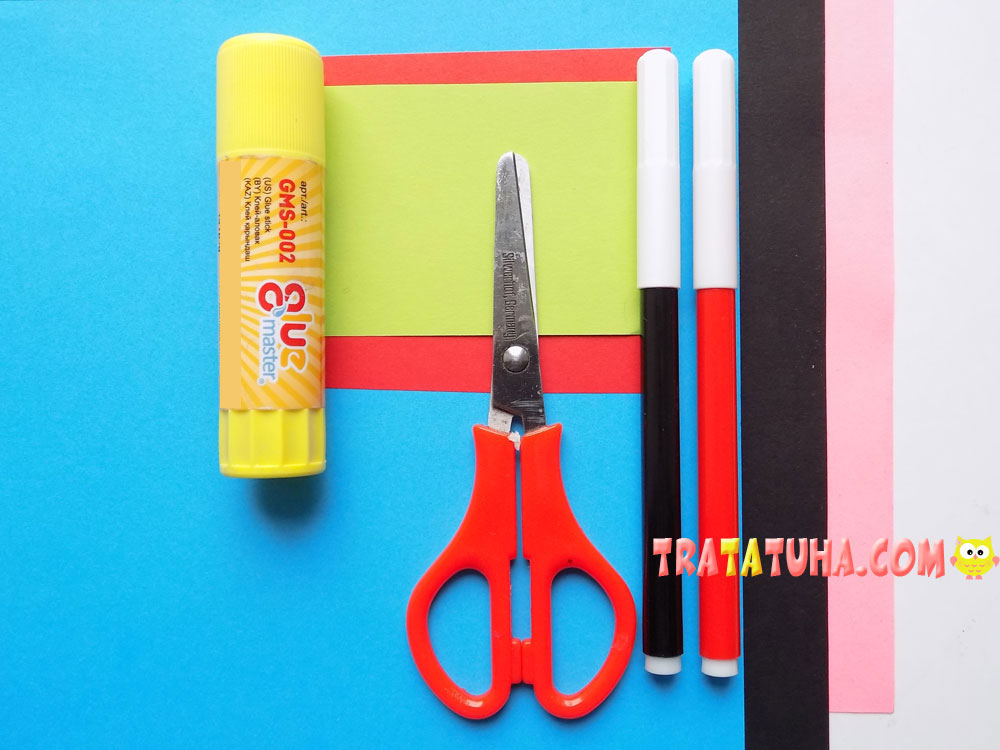
To create such a craft, we will prepare:
- paper in black, blue, pink, green and red;
- scissors;
- felt-tip pens red and black;
- glue stick.
Paper Hedgehog Step by Step
The main details for our hedgehog will be made of black paper. We take 2 sheets of such paper and fold them in half (the fold is located at the bottom).
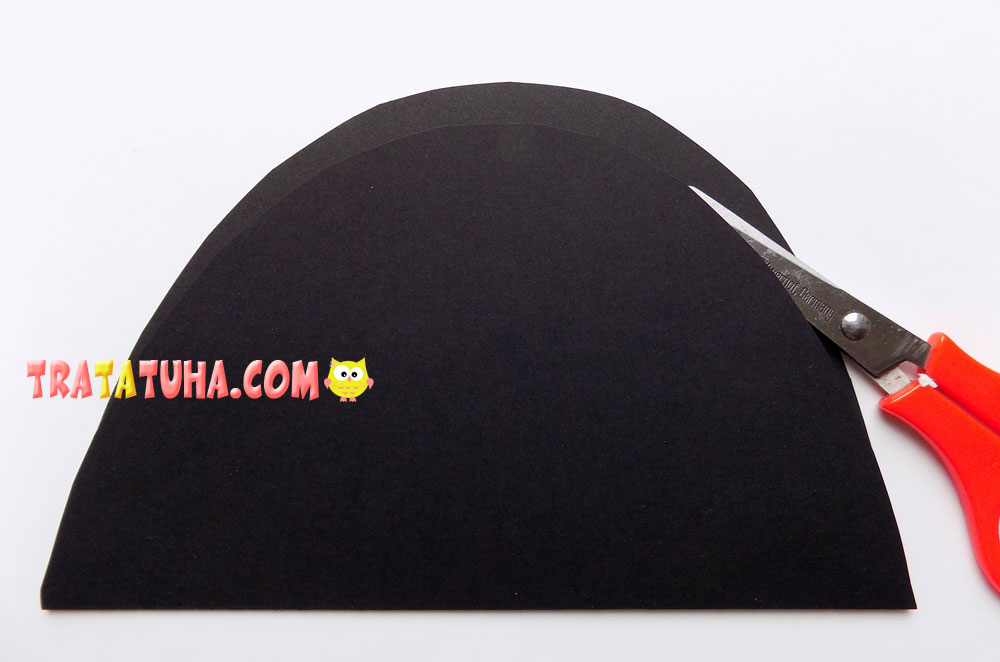
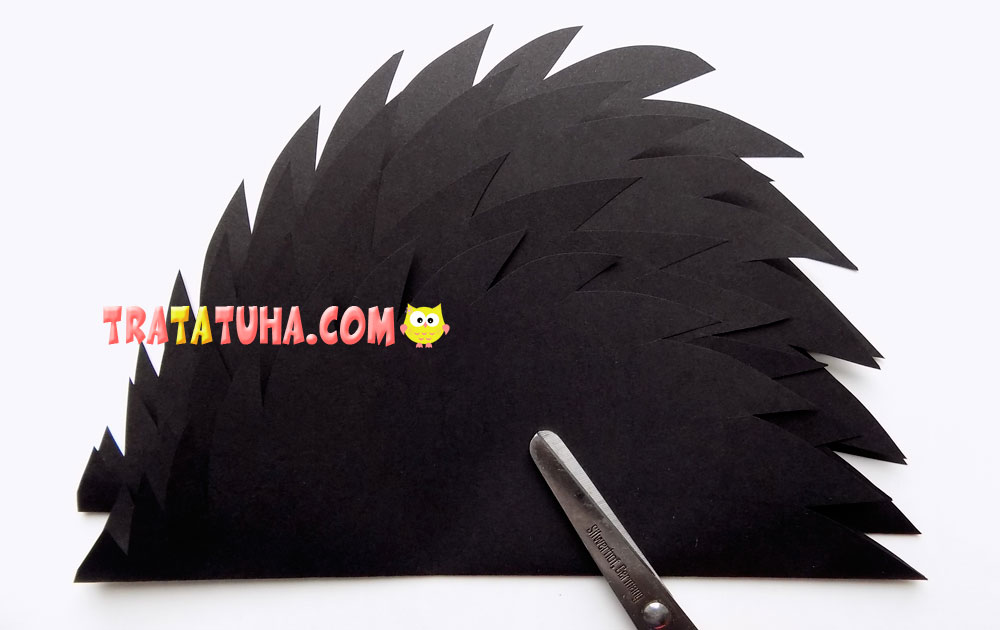
Scissors give these blanks a semicircular shape. Next, they need to be made different in height. To do this, we will use scissors again. We take the first black blank, consisting of two layers. Cut off the top layer a little along the edge with scissors, making it lower.
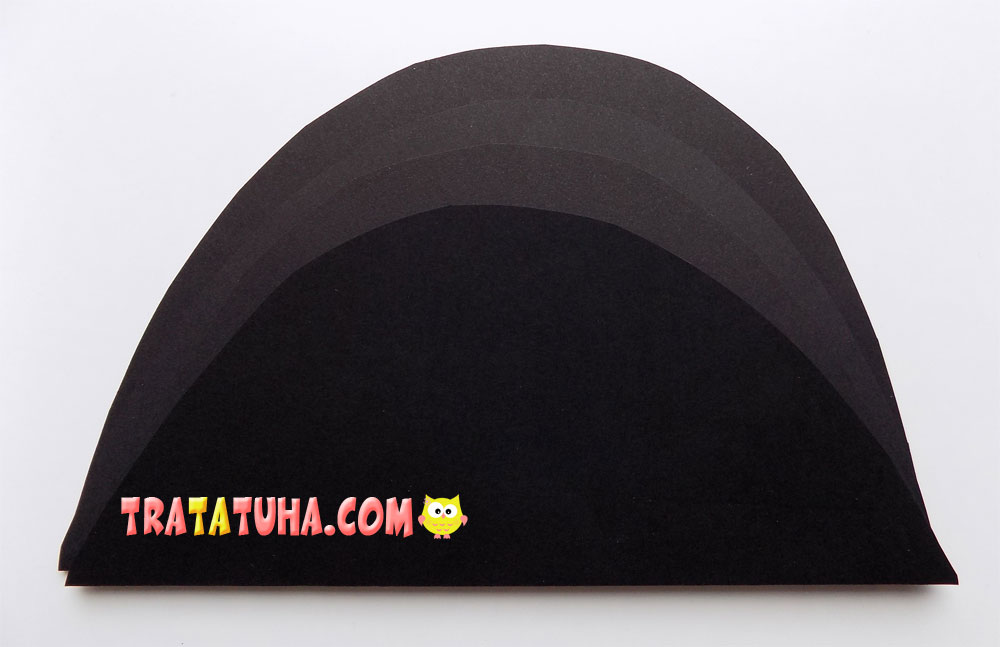
The second blank also needs to reduce the height of the different layers. As a result, we should get black blanks of various heights.
Now we will make needles for the hedgehog. We carry out triangular cuts along the edge of the workpiece.
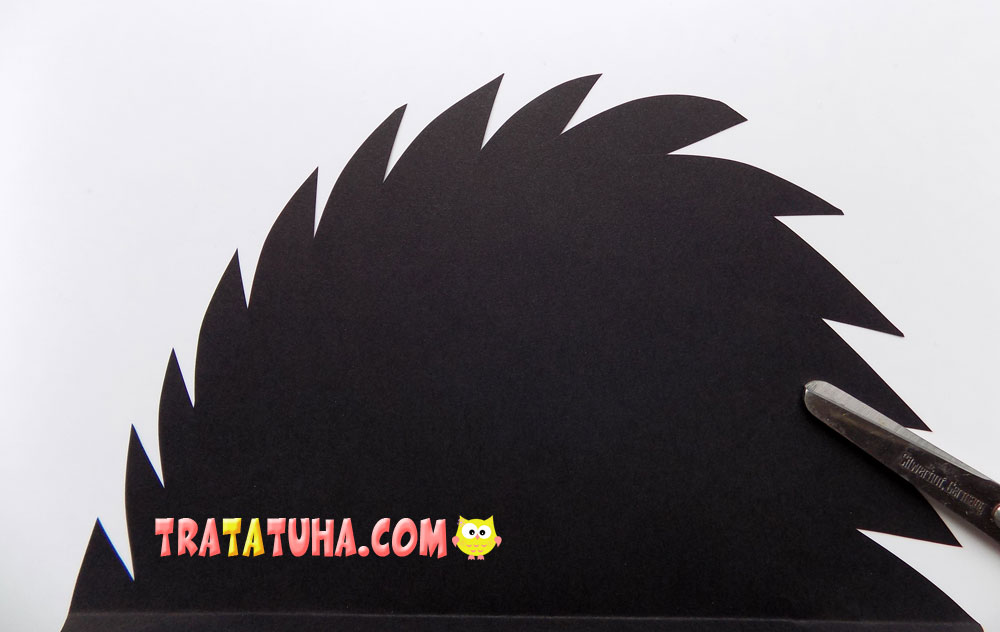
In this way we form needles on each layer.
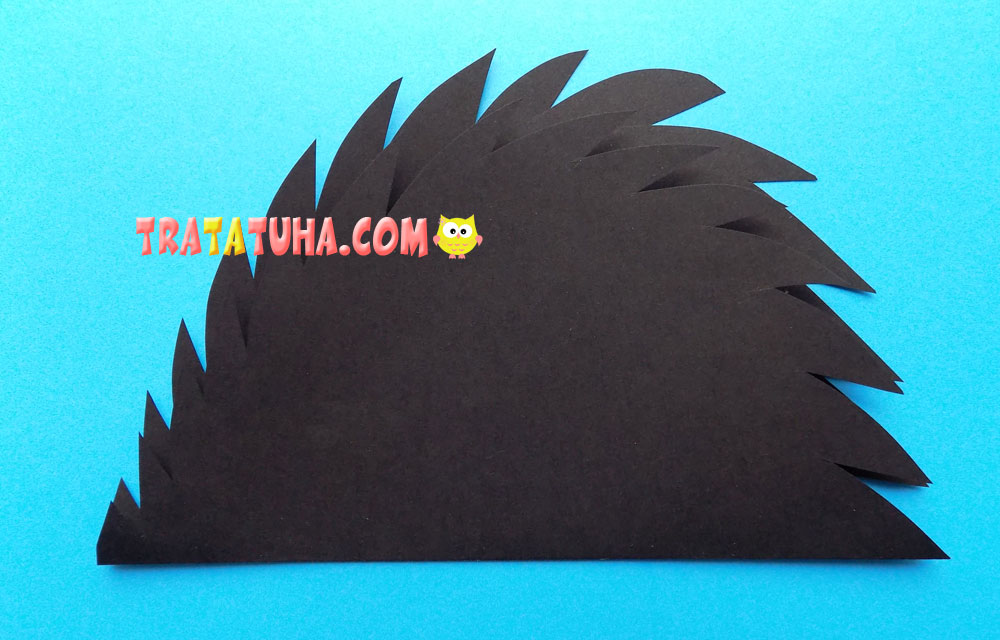
You can start gluing the parts on the blue base. First we fix the largest black blank.
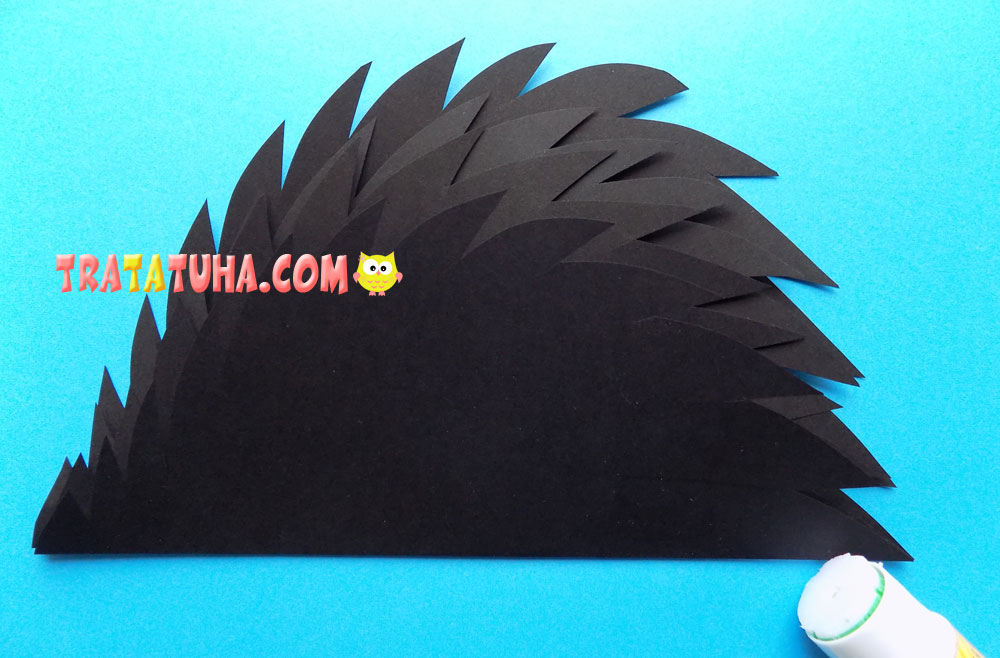
On top of it we glue a smaller part, combining along the bottom fold line.
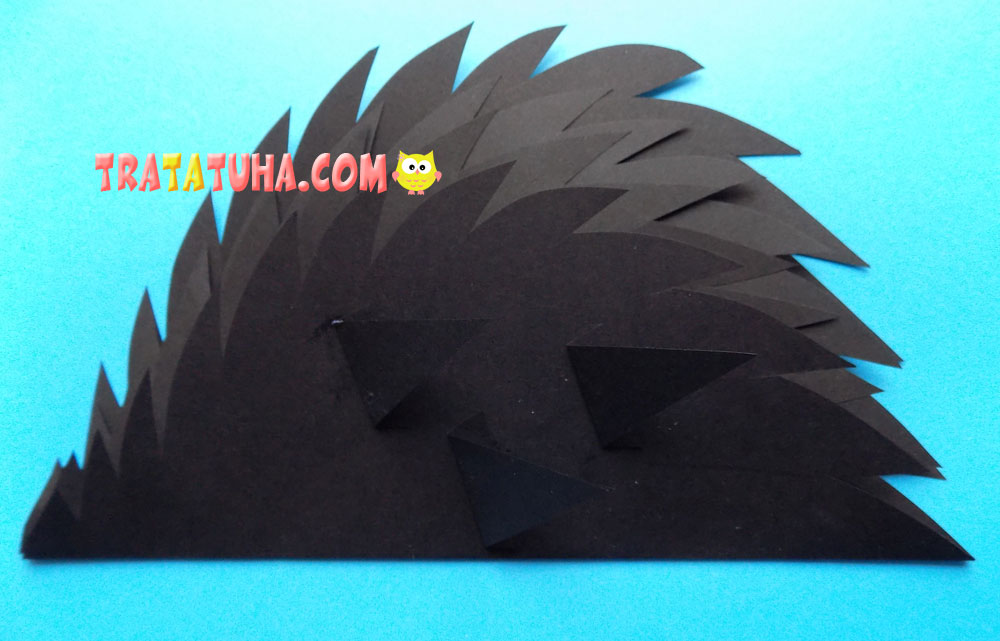
Additionally, cut out several small triangles from black paper. Bend their base and glue in the center. These will be additional needles that add volume to the hedgehog.
For the muzzle, cut out a piece of pink paper.
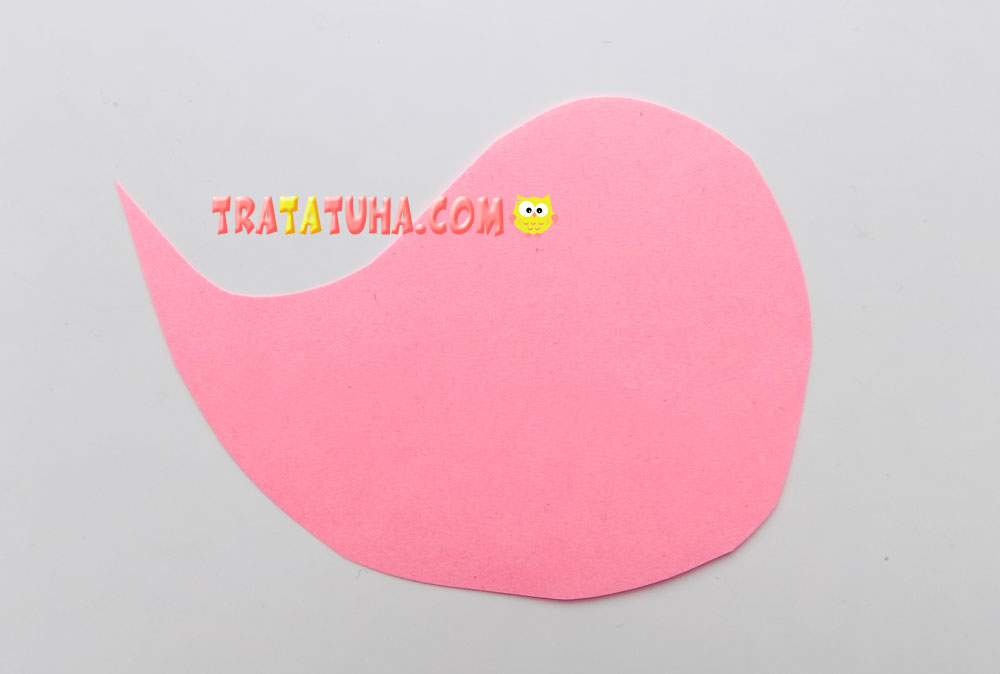
With felt-tip pens we draw a mouth, add a round nose from black paper and glue an eye.
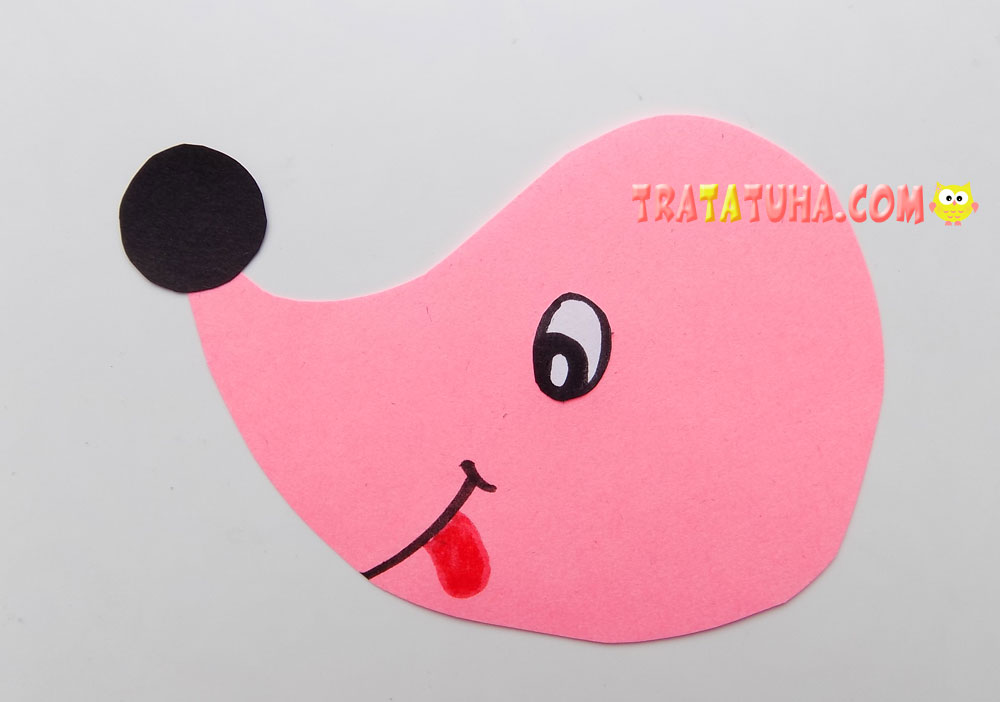
We fix the muzzle on our craft with glue.
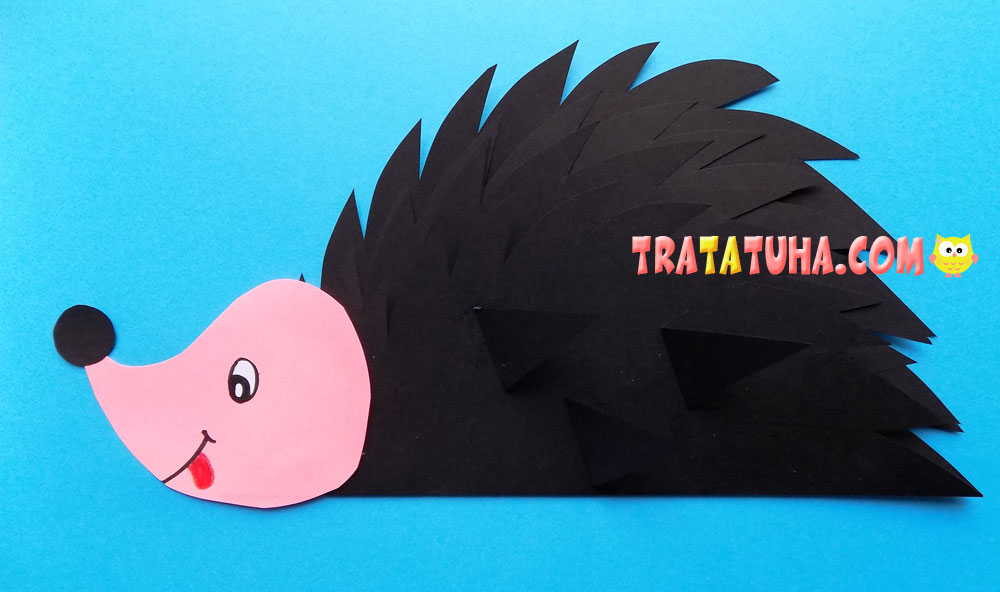
It remains to add a small detail. We made a paper apple by gluing red and green paper blanks together.
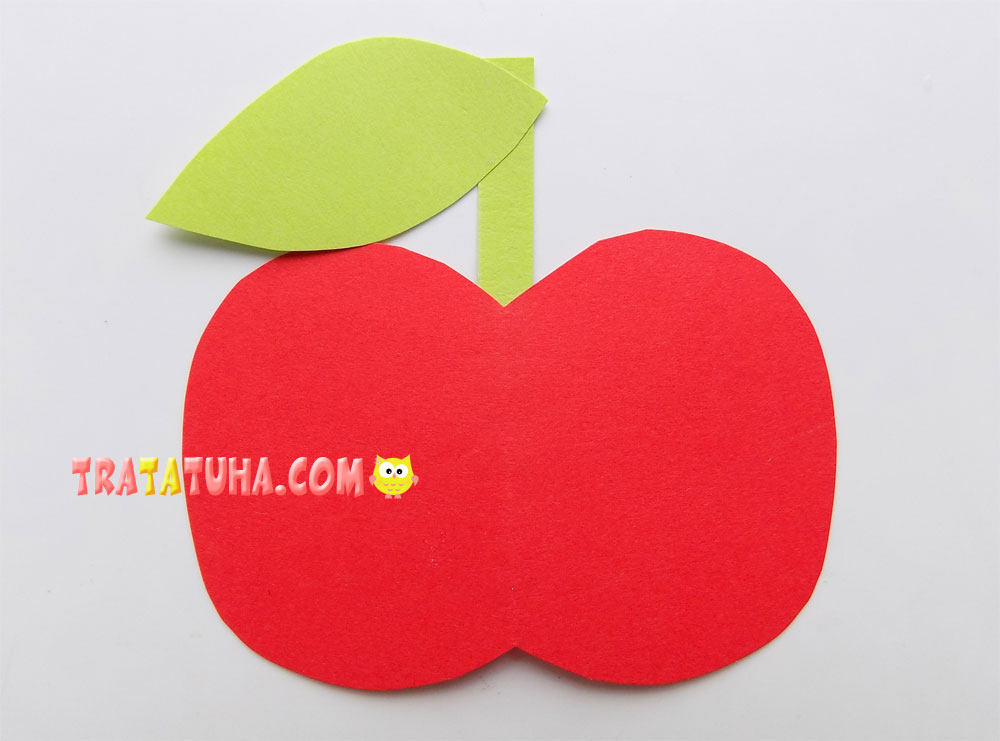
Let’s put this apple on pins and needles. Volumetric application with a paper hedgehog is ready.
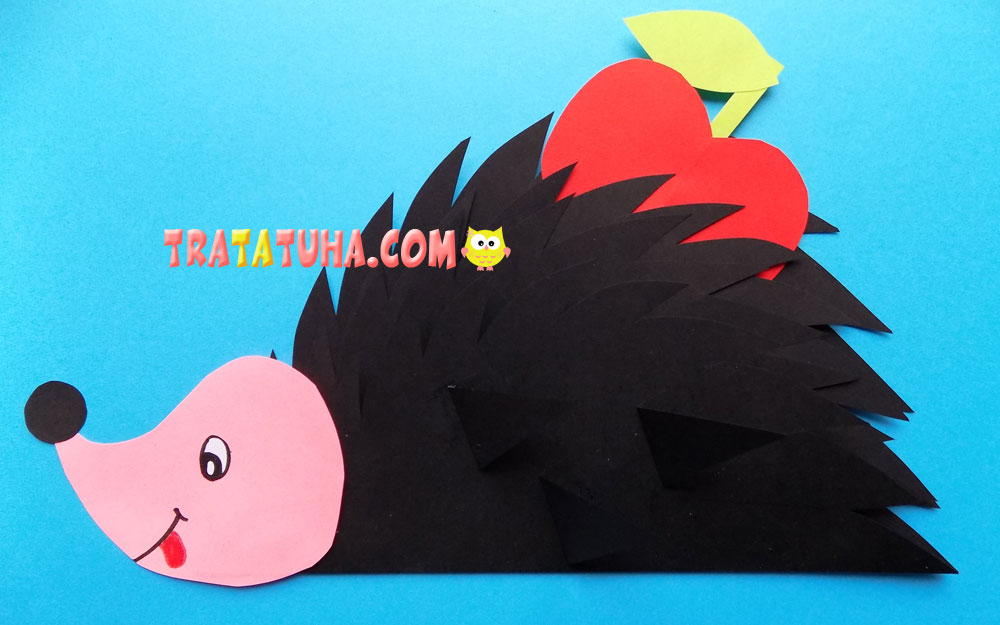
Many other ideas in the collection of Paper Animals Craft.
Crafts for Kids – learn how to make craft at home! Super cute crafts for all age groups!
