A white clay mouse according to this tutorial can be a great surprise from a child to your loved ones. By following the step-by-step lesson, it is easily blinded by children.
Materials used in this work:
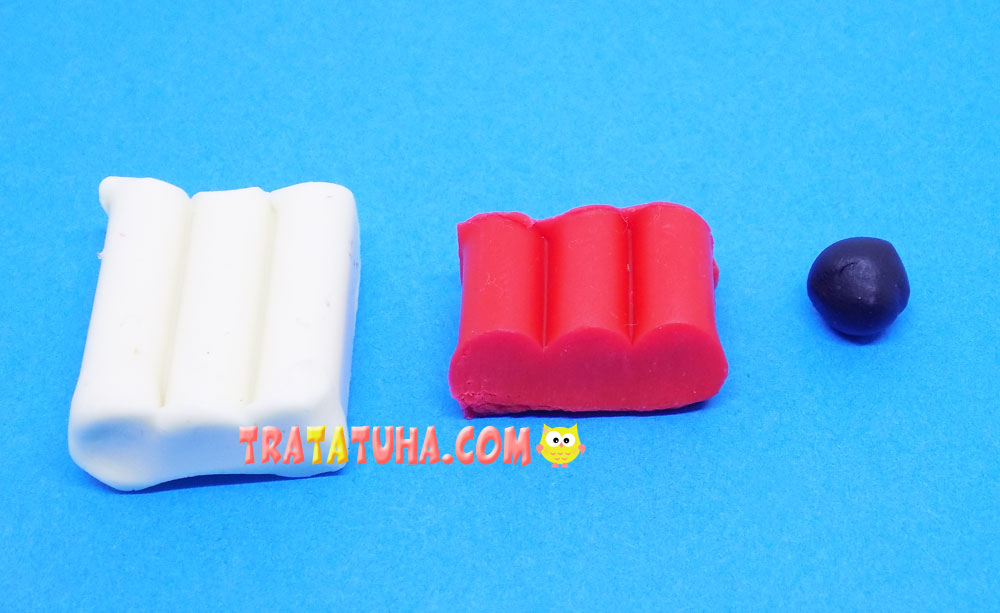
- Clay white, red and black.
- Auxiliary materials in the form of stacks, table covers.
Clay Mouse Step by Step
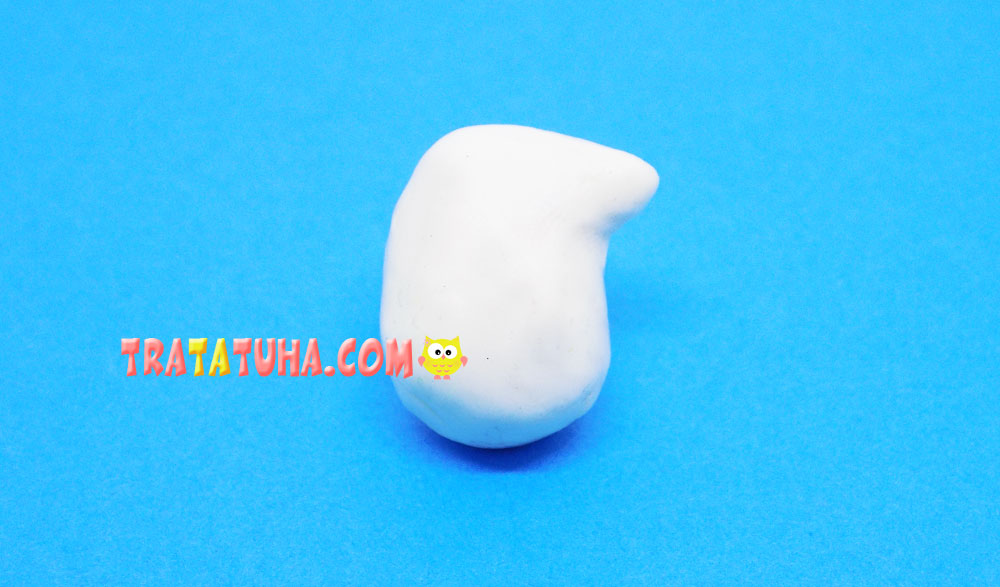
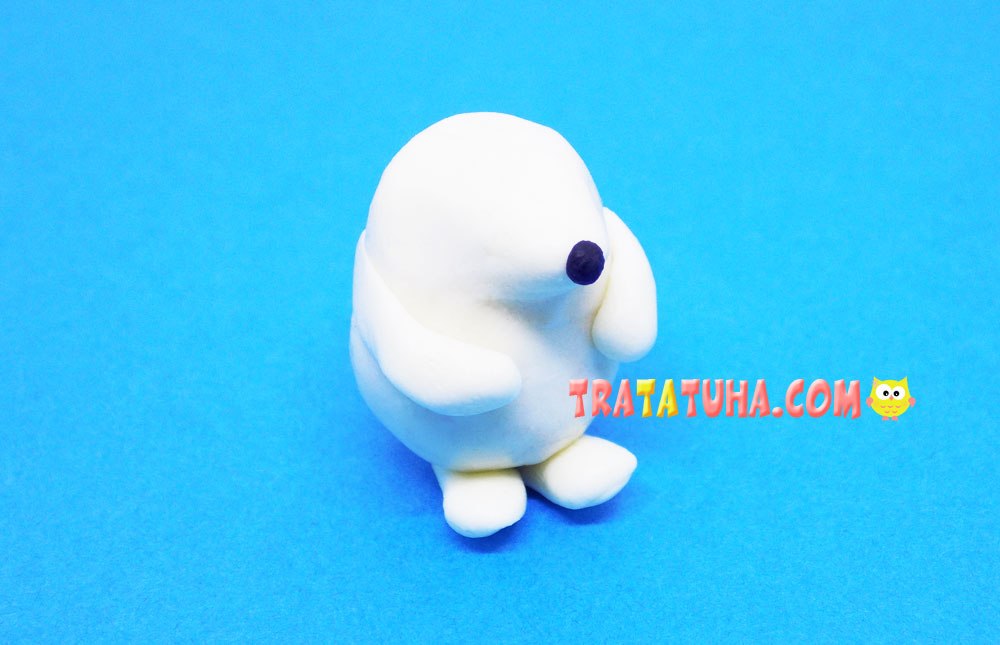
First, we blind the body blank for our mouse. It will be made of white clay. Roll out the clay, make a ball, and an oval out of it. Pull one side of the oval a little to the side to get the muzzle of the mouse.
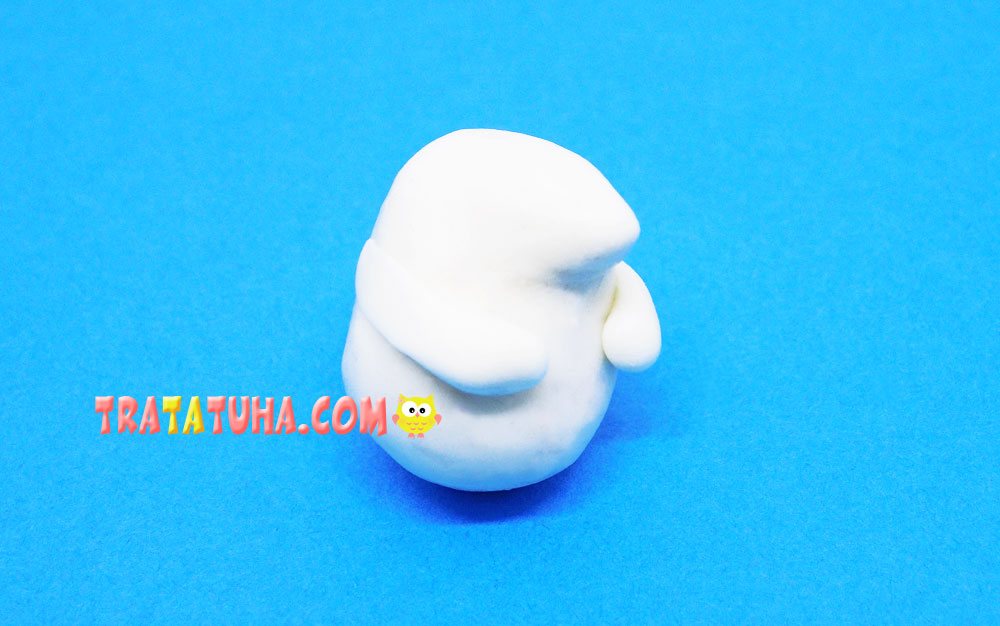
From the same white clay, mold the upper paws of the mouse.
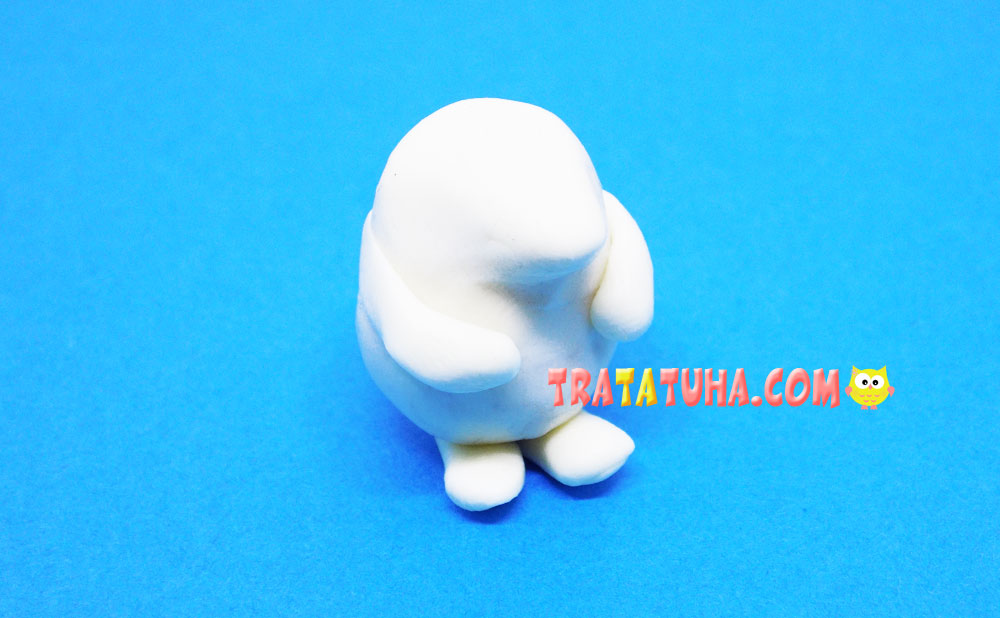
Add the lower legs.
Now we need black clay. Roll a small ball out of it, this will be the mouse’s nose.
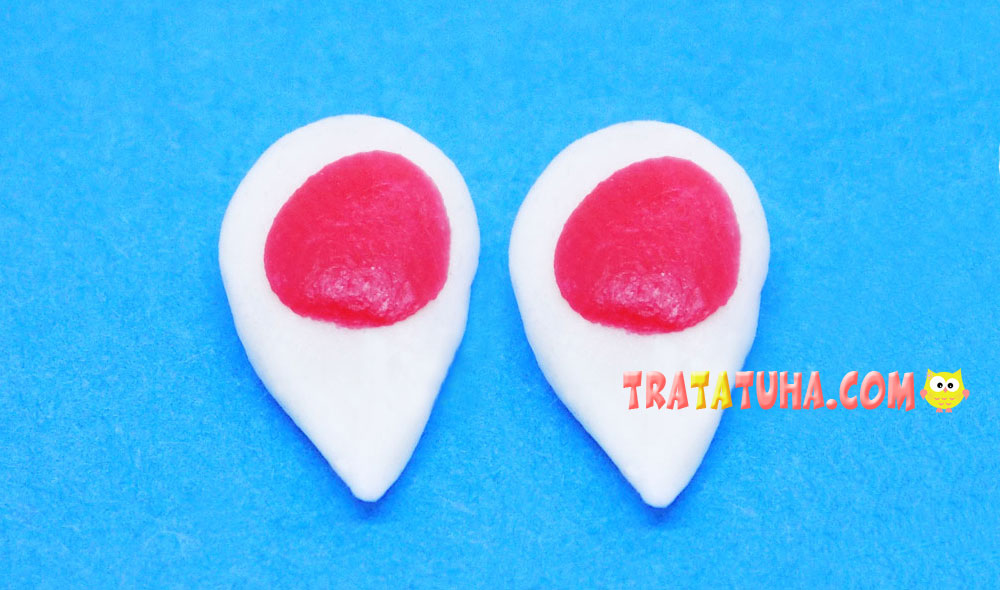
Now let’s make the ears. Blind them from white clay, and decorate the middle with a piece of red.
Attach the ears to the head of this funny rodent. Add black clay eyes.
It remains to add the tail. Roll up a thin flagellum from red clay and fasten it to the back of the craft. Everything, the white mouse from clay is ready.
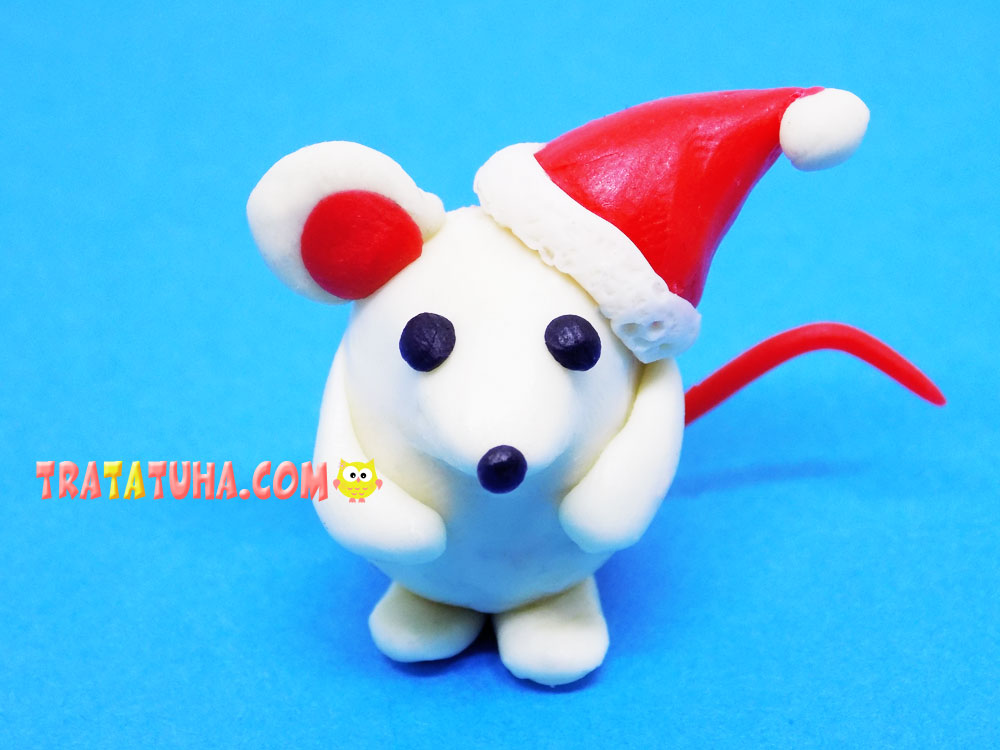
Christmas Version of a Clay Mouse
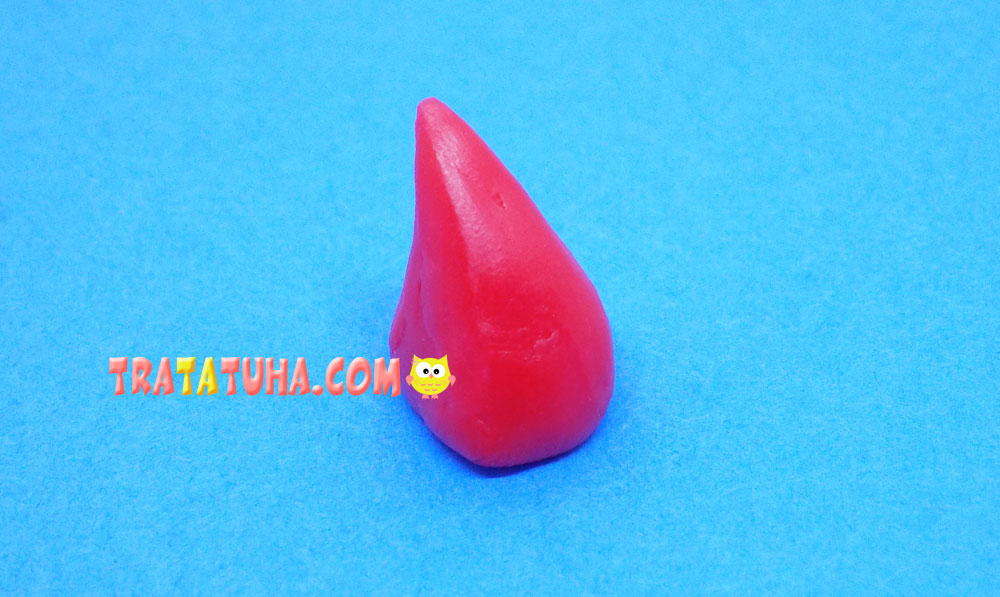
In order for the mouse to become Christmas, we make a cap for it, with which we will replace one ear. Blind a cone-shaped blank from red clay.
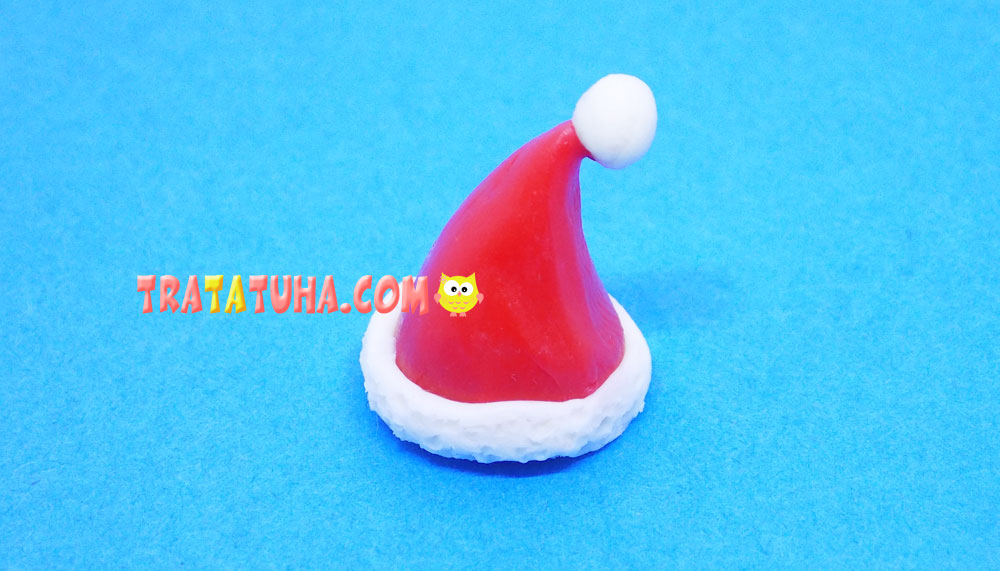
Add a white clay strip edging and a round pom-pom on top. To create an imitation of fur, walk along the edge with a toothpick or plastic stack.
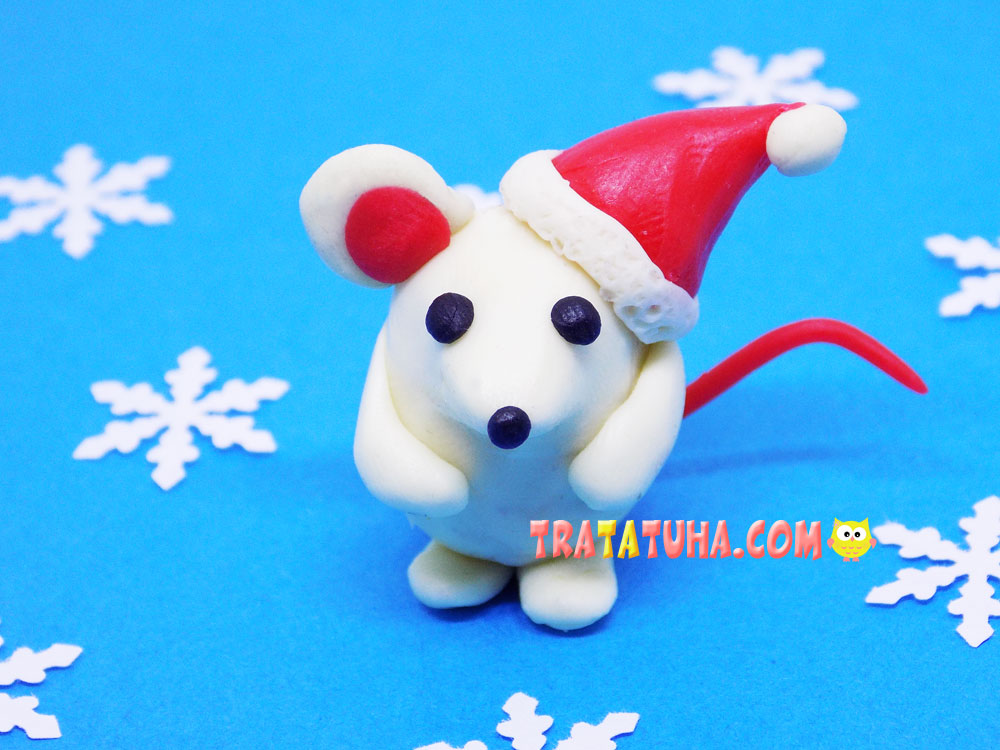
Fix the cap on the head of the mouse, slightly shifting it to the side. For greater stability, you can use a toothpick. Christmas mouse is ready.
More collection ideas:
Related Post: