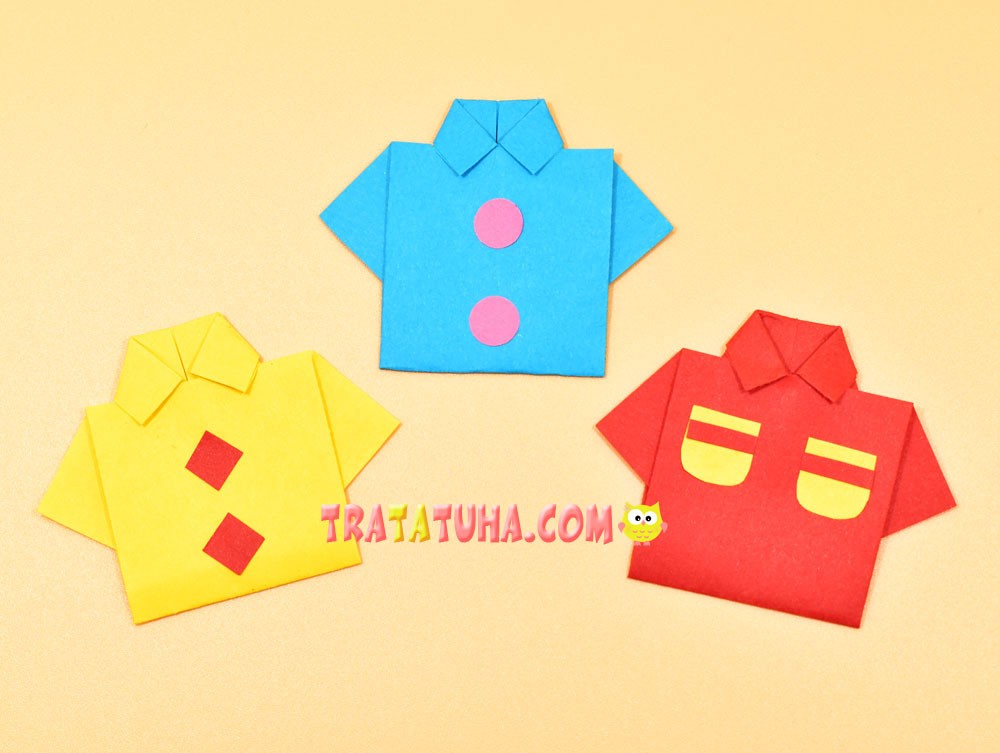
An origami shirt is suitable for beginners in this paper art, as folding it is very simple and straightforward. Suitable for decorating cards for Father’s Day, maybe as a surprise from a child to his male relative.
An interesting gift option is if you make a shirt out of a banknote.
What will be needed for work?
- Colored paper;
- Additional materials for decorating a shirt in the form of pieces of colored paper;
- Glue.
Origami Shirt: 10 Easy Steps
For this origami, you will need paper in the shape of a rectangle. Dimensions do not matter, you can take an arbitrary segment of a rectangular shape. Or cut the square in half.
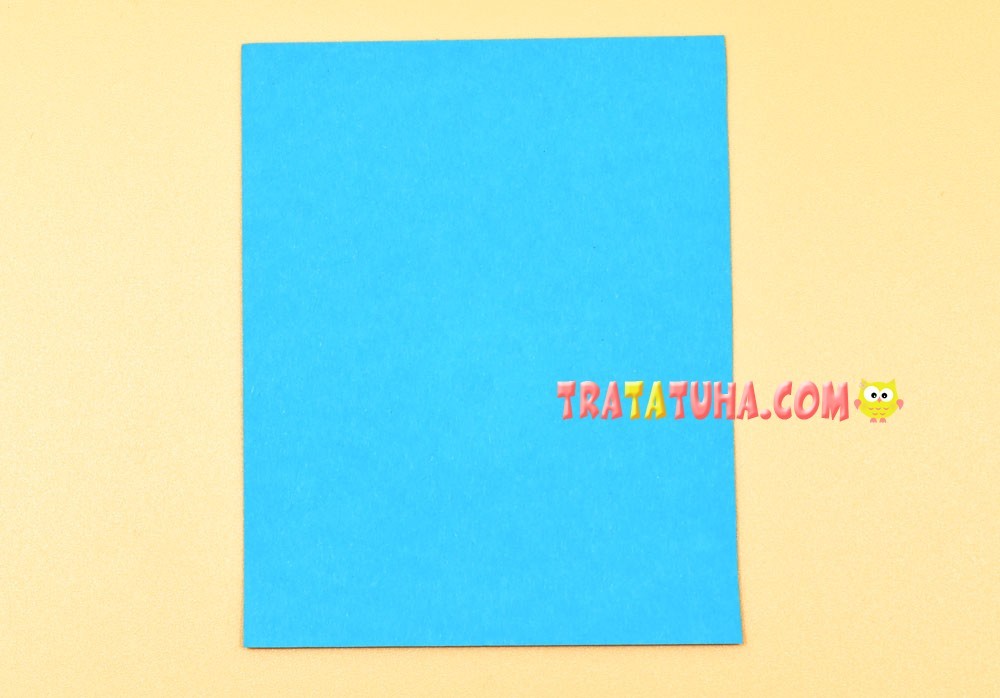
Fold the rectangle in half lengthwise.

Open and fold in half wide.

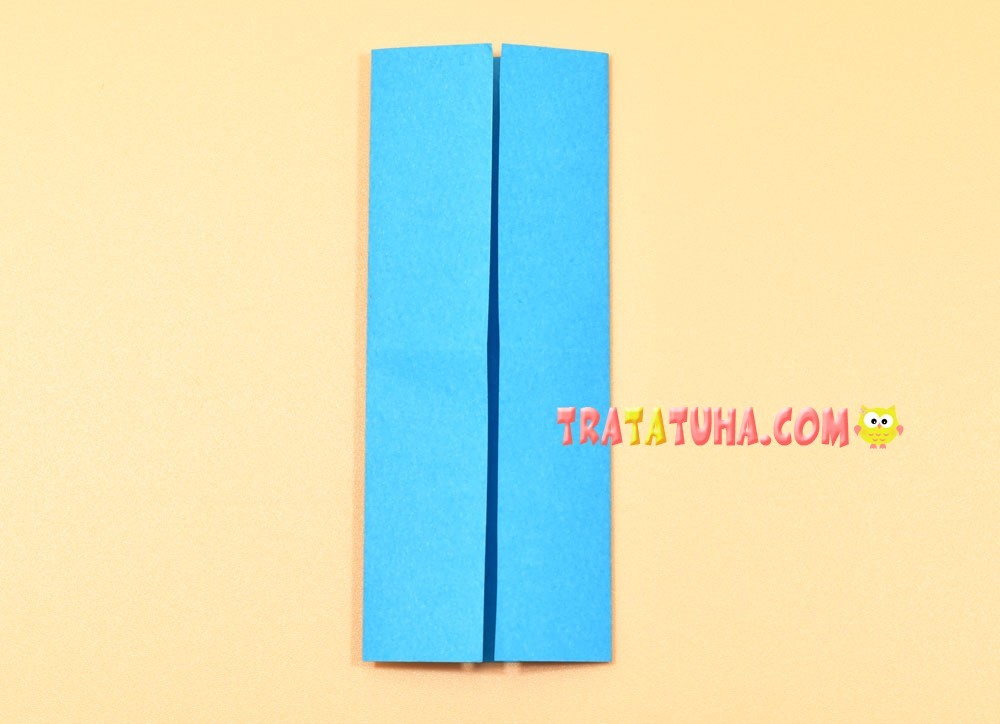
Open and fold in the middle on the right side.

Then left.
Turn over to the other side and make a very small fold on either side.
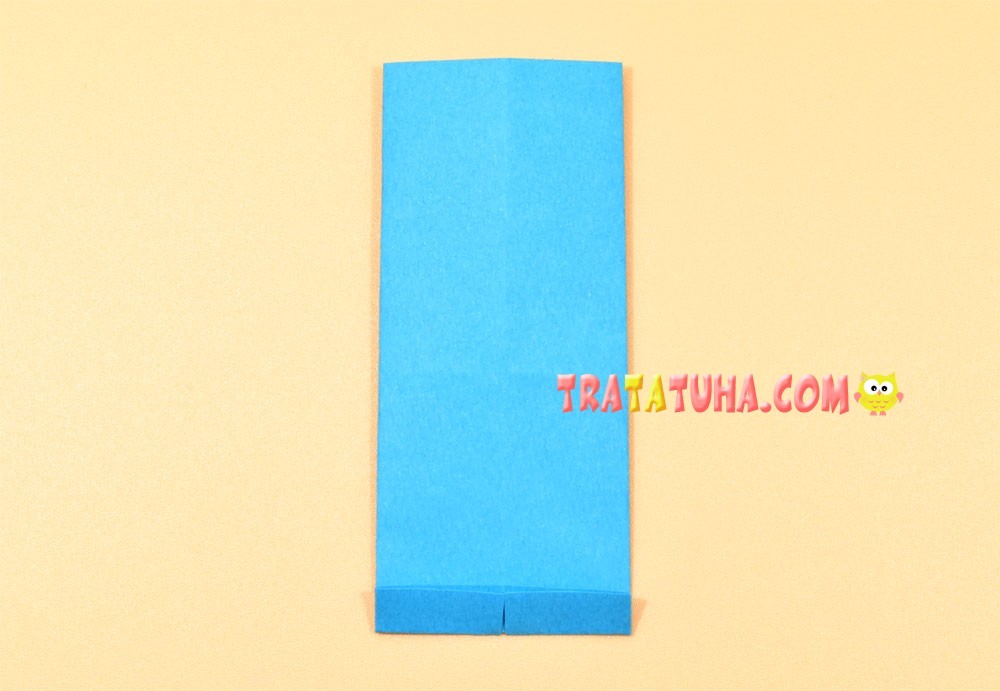
Flip over to the other side. The fold is now on top.

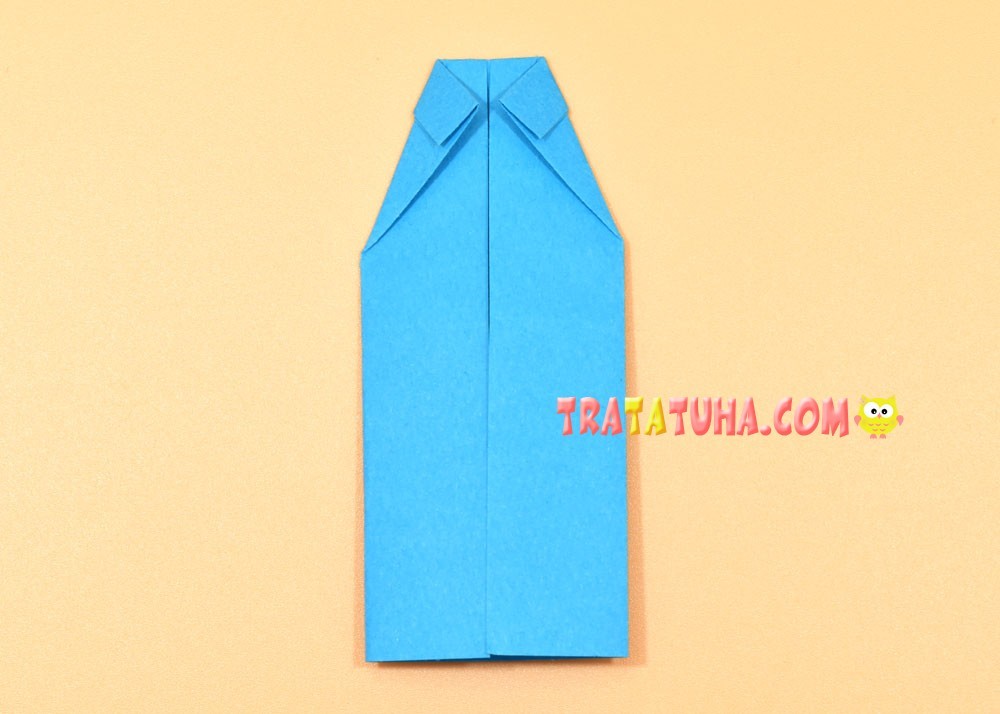
Connect the side corners in the middle.
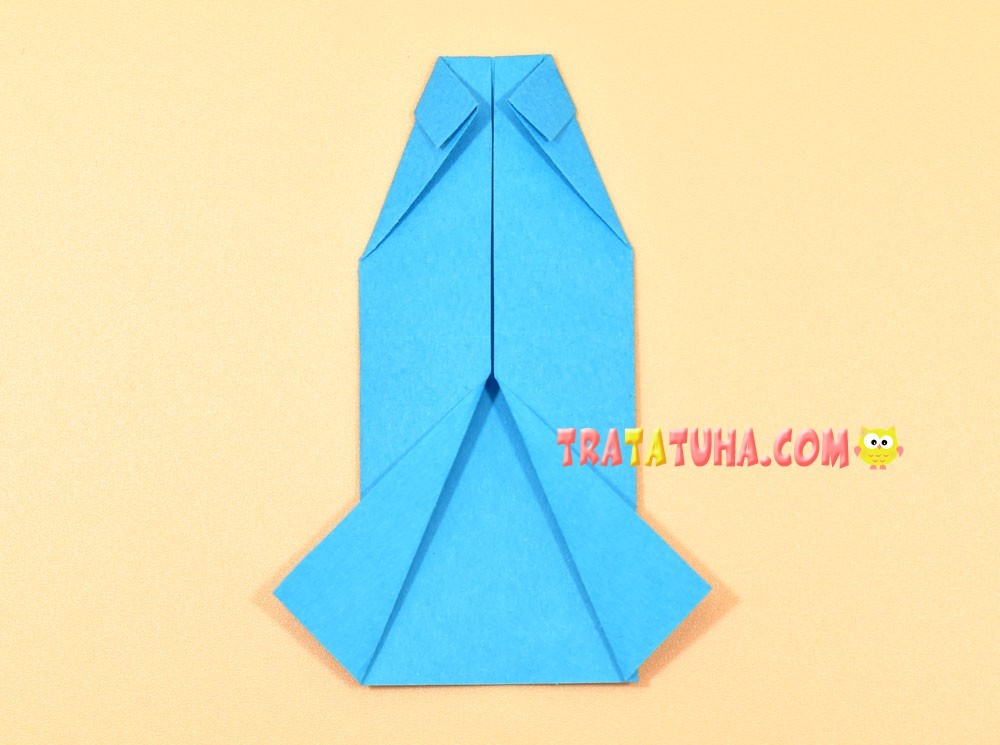
Bend the bottom corners to the sides, starting approximately from the middle.
Point the bottom part up, folding so that the bottom edge comes under the collar a little.

Tuck it in there, straightening the corners of the collar from above.
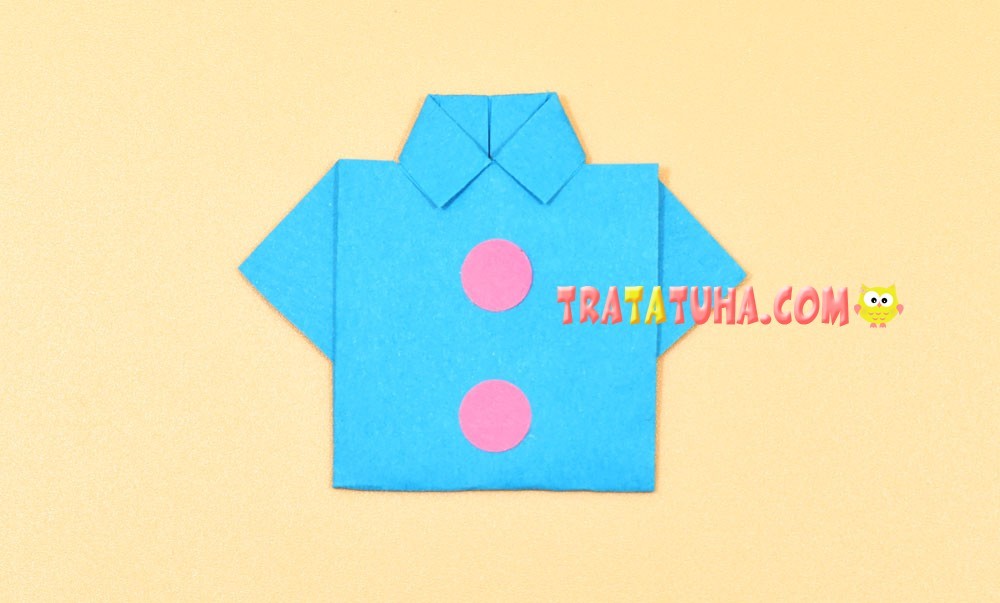
The origami shirt is ready, it can be supplemented with paper buttons, pockets, patterns.
Related Post: