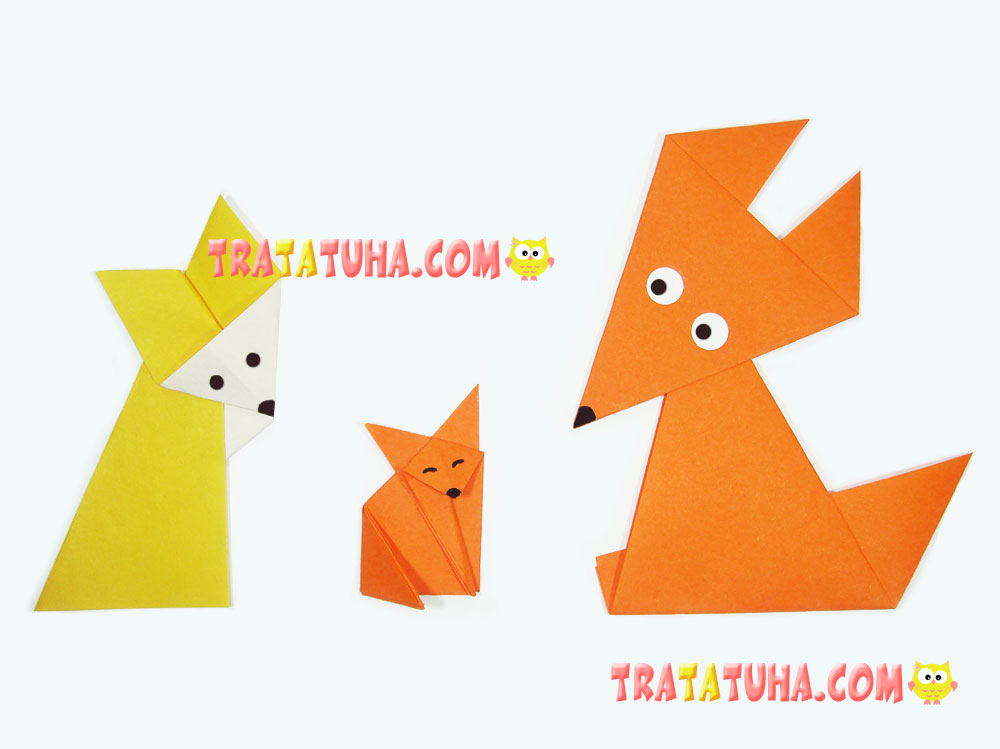
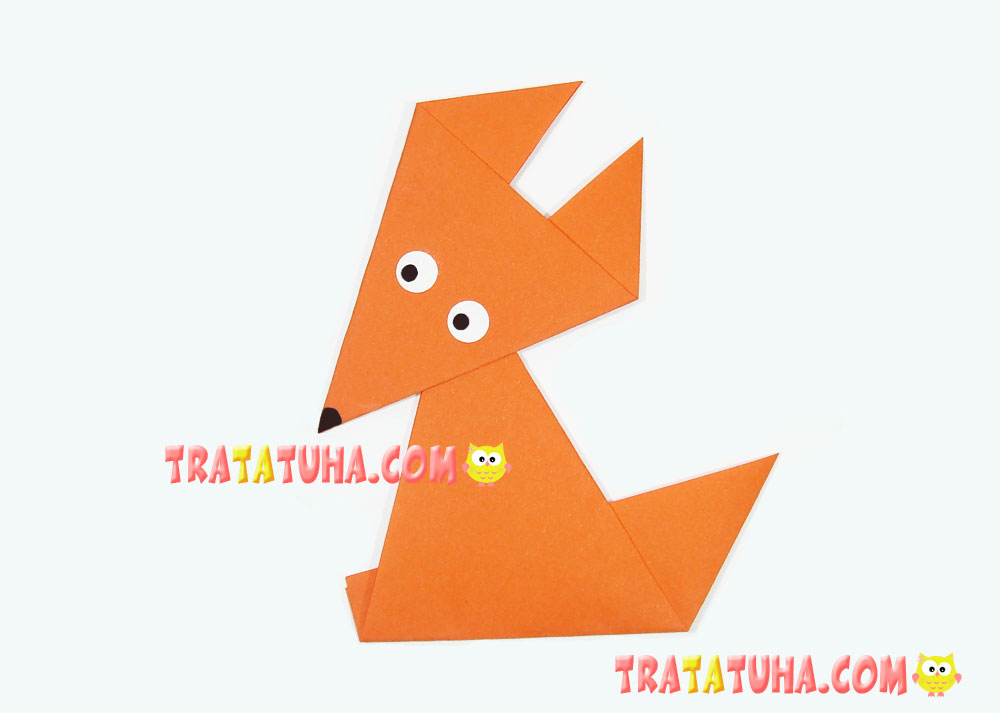
Three simple-to-complex versions of making an origami fox for kids. Step-by-step instruction with descriptive photos.
Materials:
- Two-sided and single-sided colored paper (origami paper);
- Glue, felt pens, paper eyes, optionally – adhesive moving eyes.
Origami Fox: 3 Versions for Kids
The first version is extremely easy, two others are more complex; however, they include similar details. Pay attention to the very first photo that depicts not only the work, but the size as well. It can be important, since foxes differ in dimensions even when using paper of the same size. It depends on technique and number of folds: the more actions there are, the less is the character.
Origami Fox for Little Ones
Let’s start with the easiest version that even small children can cope with. The fox consists of two parts (the head and the body) glued into one, but it’s extremely simple to fold them.
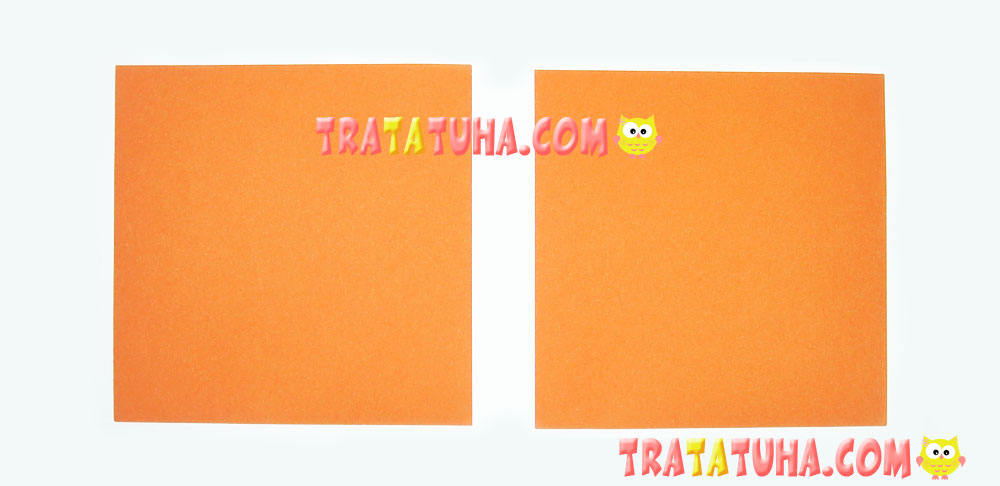
To do the work, you will need two square pieces of paper of the same size.
Making the Fox’s Head
Place a paper square in front of you.
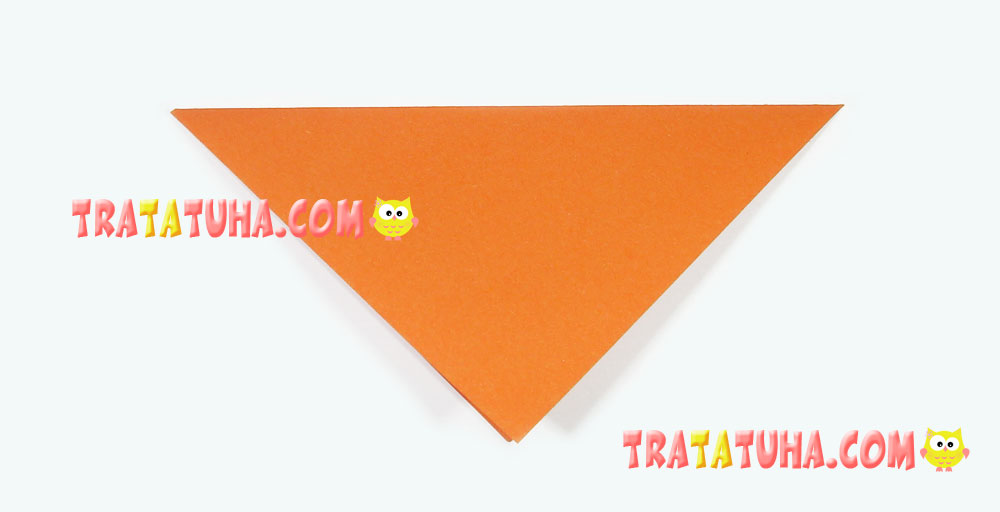
Fold it in half by connecting the opposite corners. Smooth the fold thoroughly. You can use a ruler to do it.
Raise the right and left corners of the triangle, adjusting their height at the same time. You should do your best to lift their tips to the same level, since they will make up the fox’s ears. Below, you should get a narrow right angle.
Turn the paper over to the other side, stick or draw the fox’s eyes and nose. The head of the origami fox is complete.
Crafting the Fox’s Body
Place the second square piece of paper in front of you.
As previously, fold it in half to form a triangle. For your convenience, the photo shows the triangle so that you can see the folding from right to left. That means, the fold is to the right.
Fold the bottom part of the triangle backwards. Do it in such a way that a piece of paper shows up on the left and there is a tail at the back part. The body of the origami fox is ready.
Use glue to attach the head to the body, and you will get this cute and cunning paper origami fox origami technique.
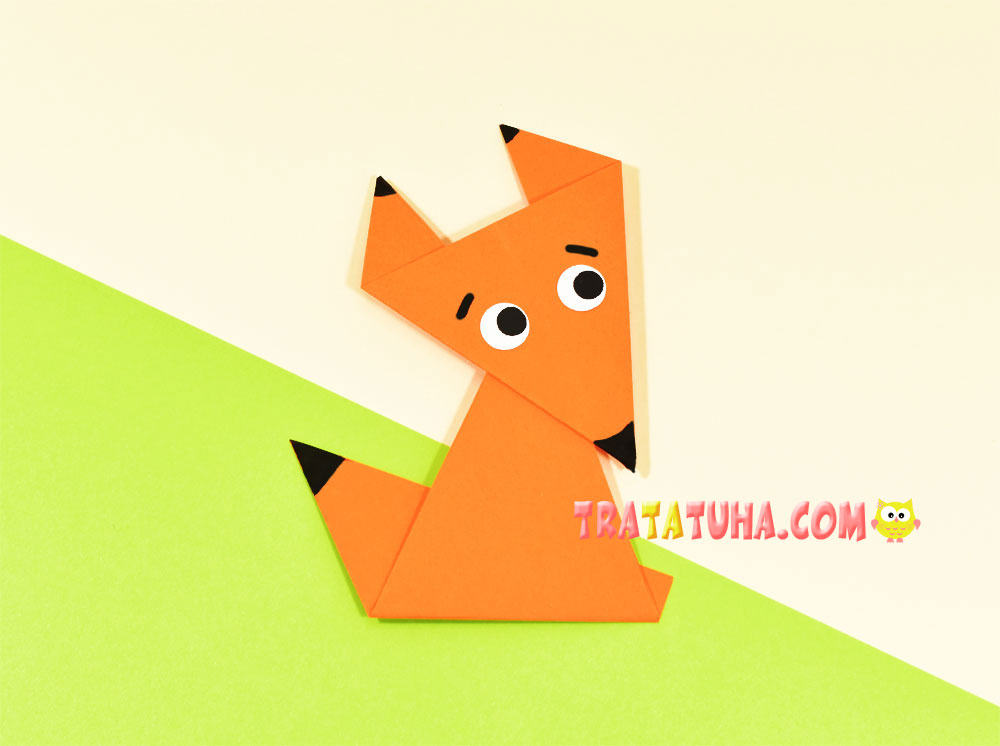
Origami Fox for Kids – Version 2
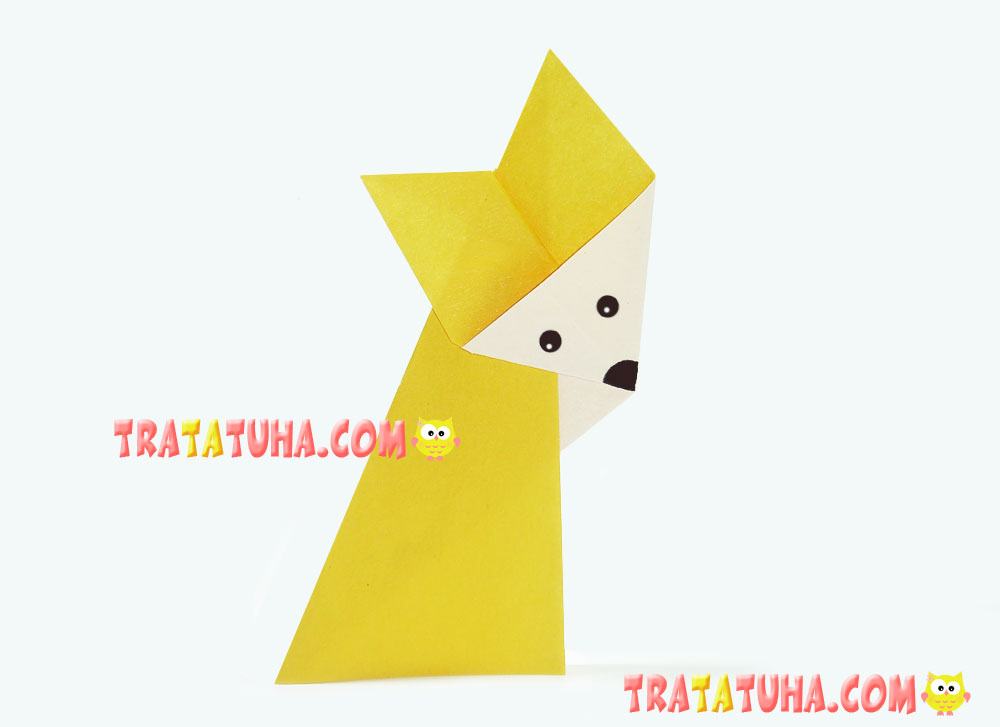
Another easy way to fold this popular animal from children’s art. This time, the fox consists of one paper square.
As you can see, the fox’s snout and neck are lighter; therefore, it’s recommended to use single-sided colored paper or special origami paper. It is yellow on the one side and is white on the other.
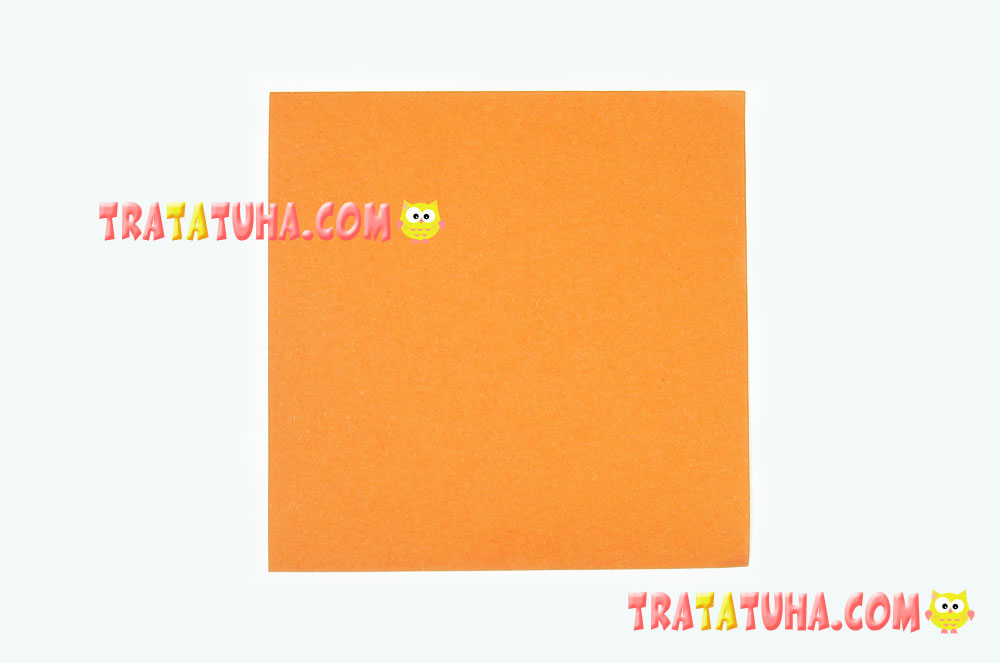
Place the paper in front of you colored side up.
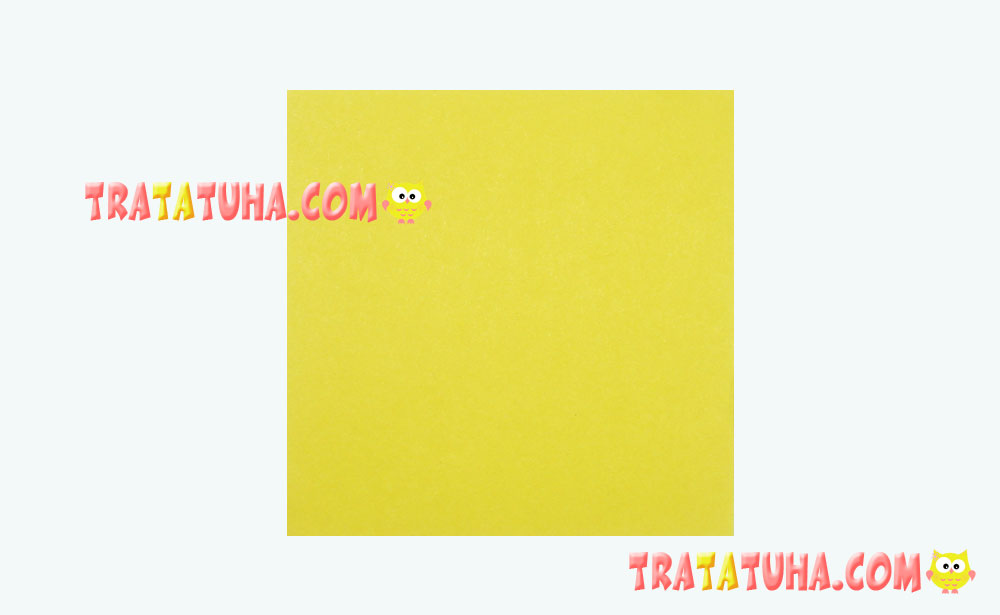
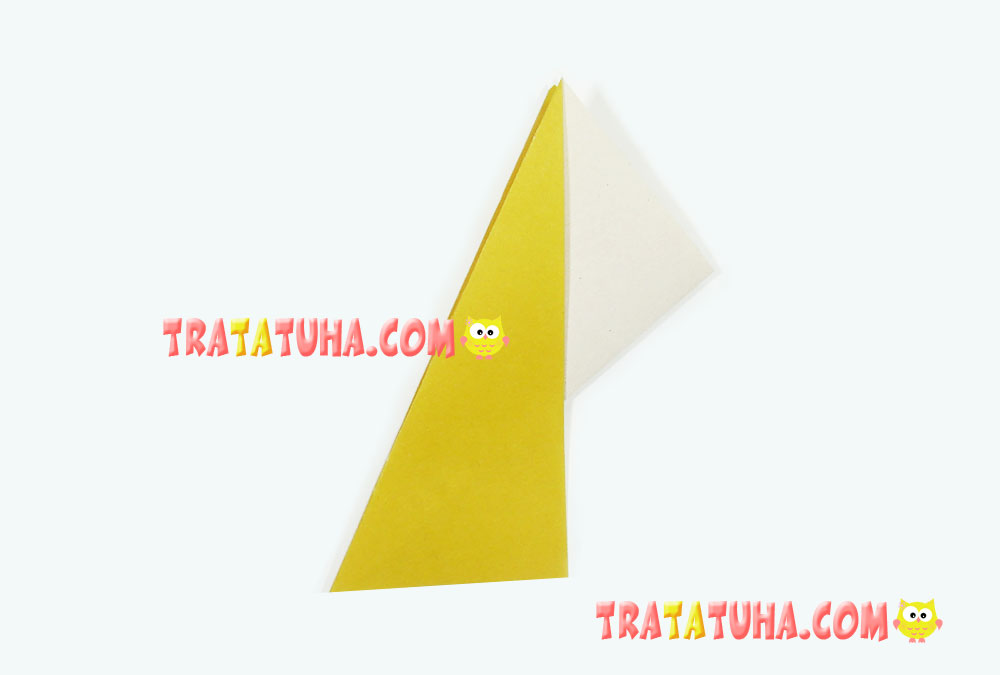
Fold it from the right to the left, side to side. White color will be at the top.
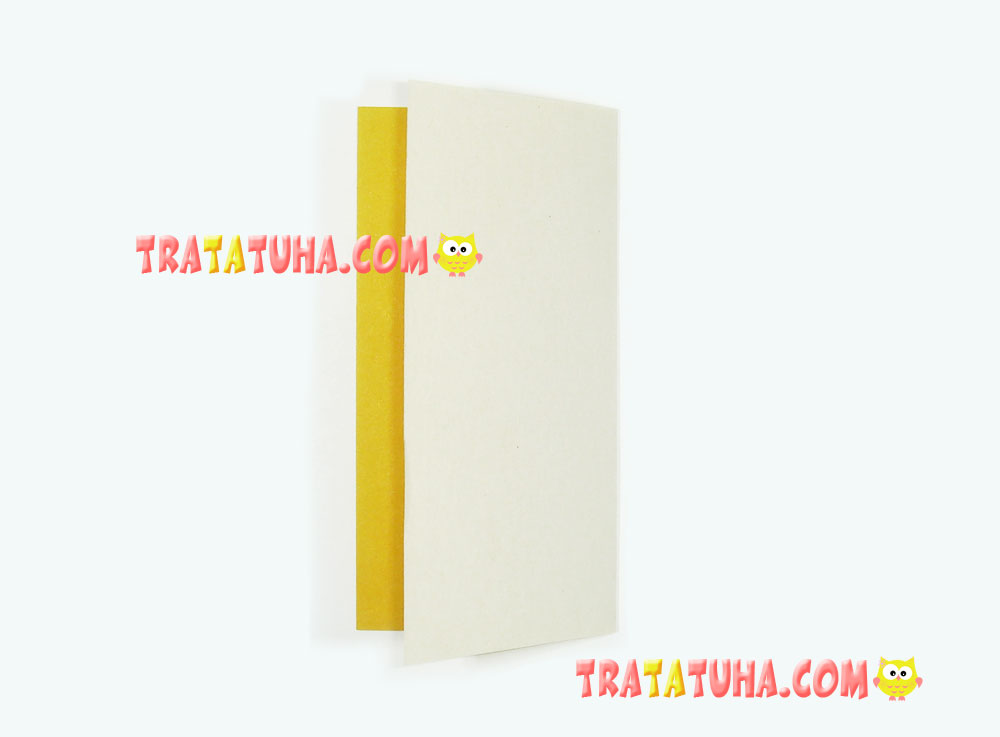
Draw an imaginary line from the upper left corner of the rectangle to the bottom right one, and fold the side upwards so that its fold extended from corner to corner along this imaginary line.
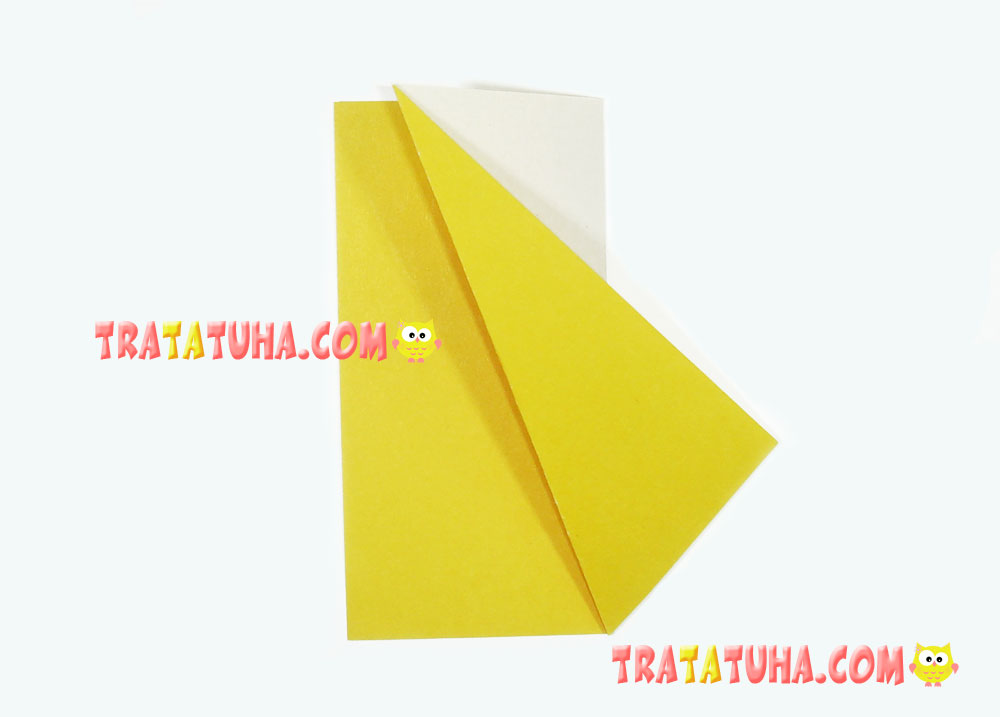
Similarly, fold the paper from the second side.
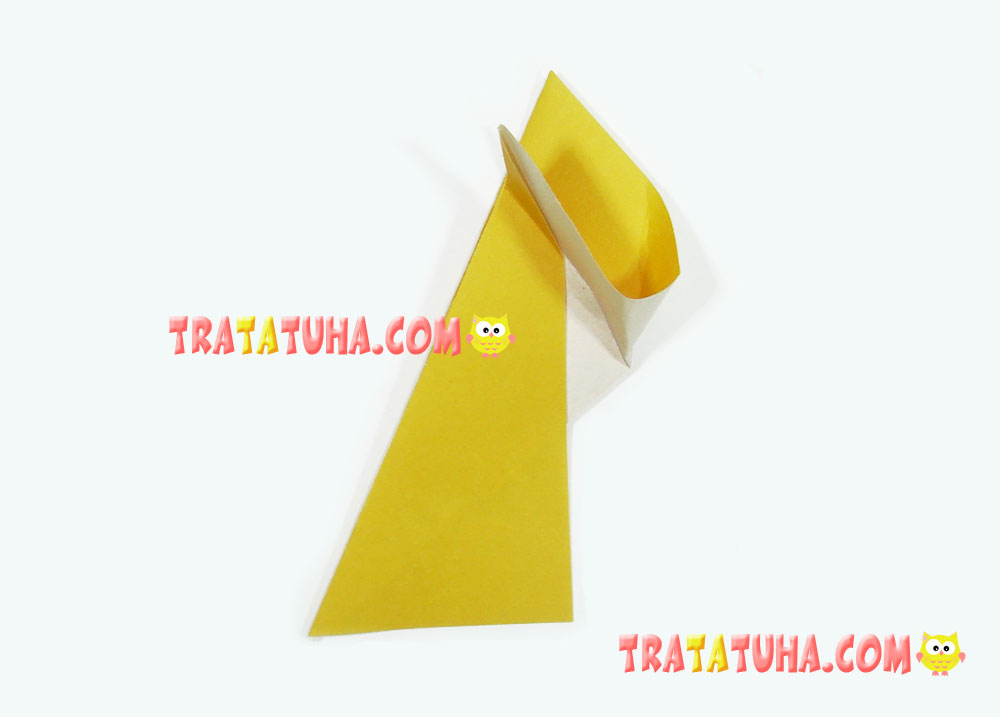
For your convenience and better understanding of the process, align the detail as shown in the photo. That means you should place the bottom part horizontally.
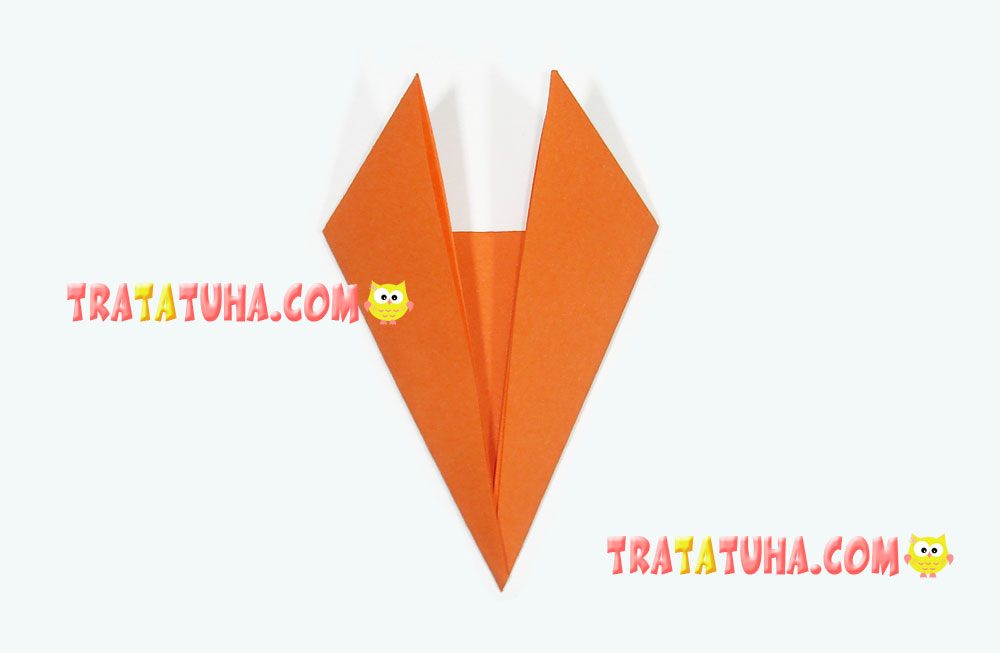
Fold to the upper part containing a white area toward you.

Now, it’s the most important moment: we create the fox’s head. Slightly raise the upper part, pre-folded at the previous stage. Slightly open the paper and redirect the white corner inwards along the fold.
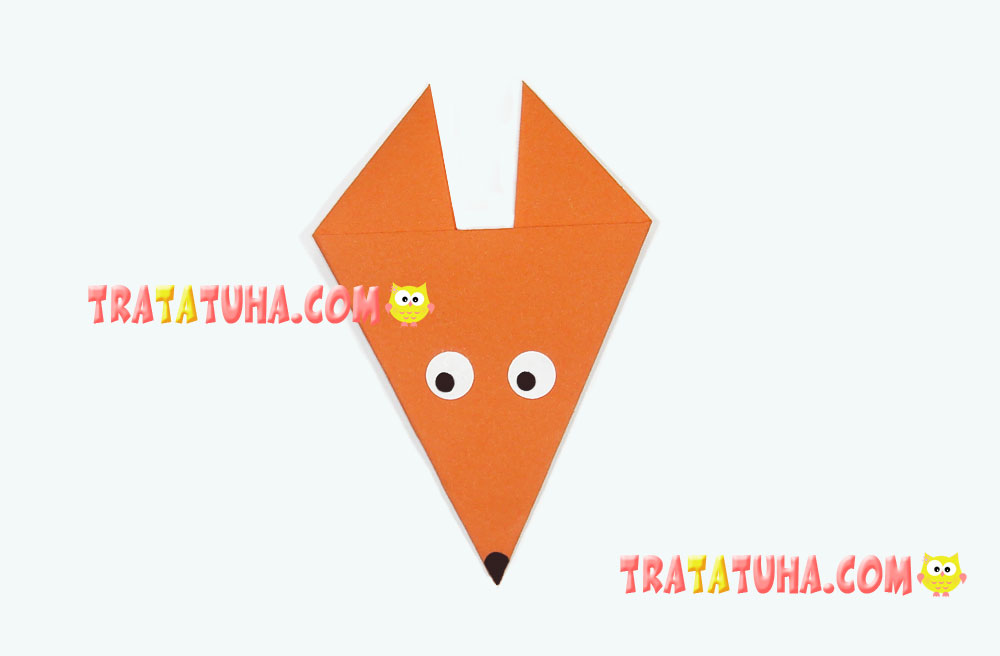
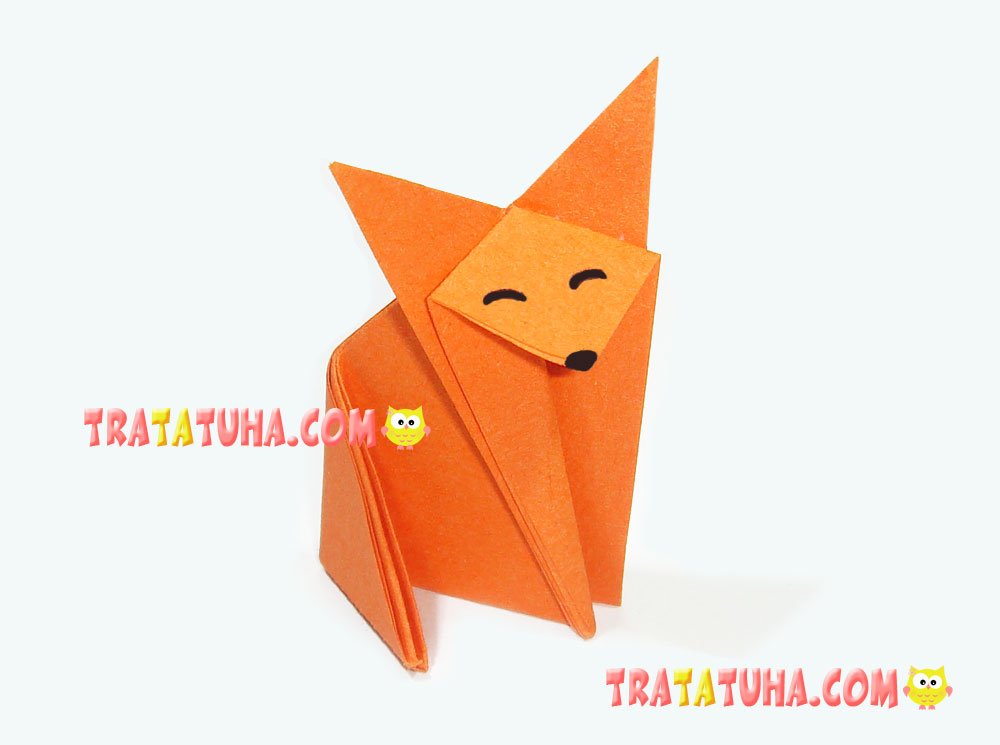
Align the corners and press. The origami fox is almost complete; all you need to do is to draw its eyes and nose.
Origami Fox: the Most Difficult Version 3
Despite the fact that this version is more complex than the previous two, in reality it’s quite simple as well. Perhaps, it’s not suitable for kids, but over-fives and children of primary school age will cope with the work.
Place double-sided square piece of paper in front of you.
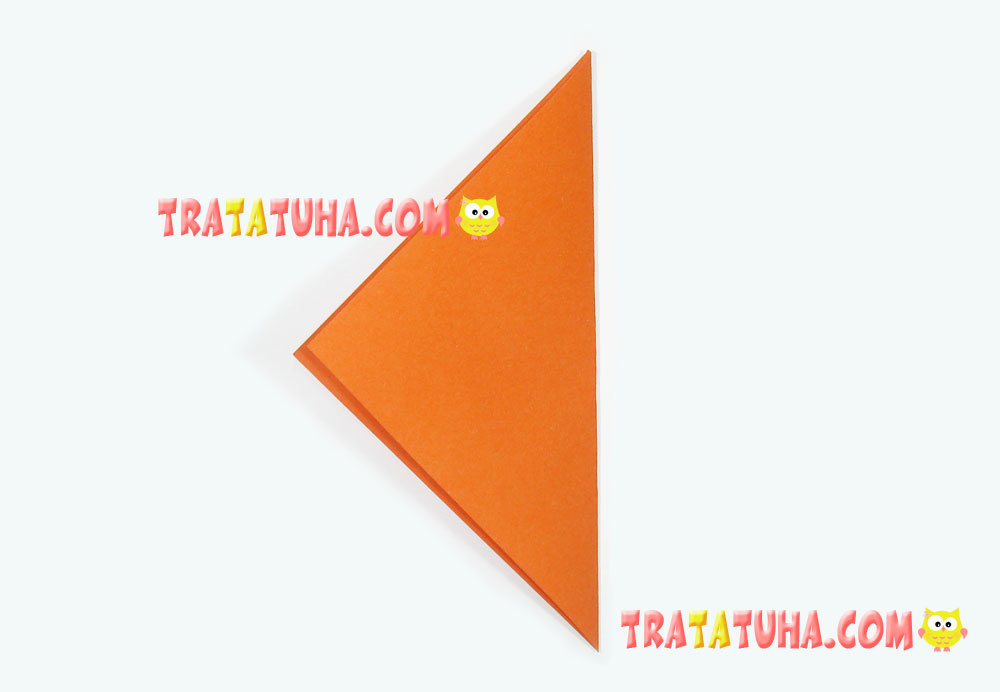
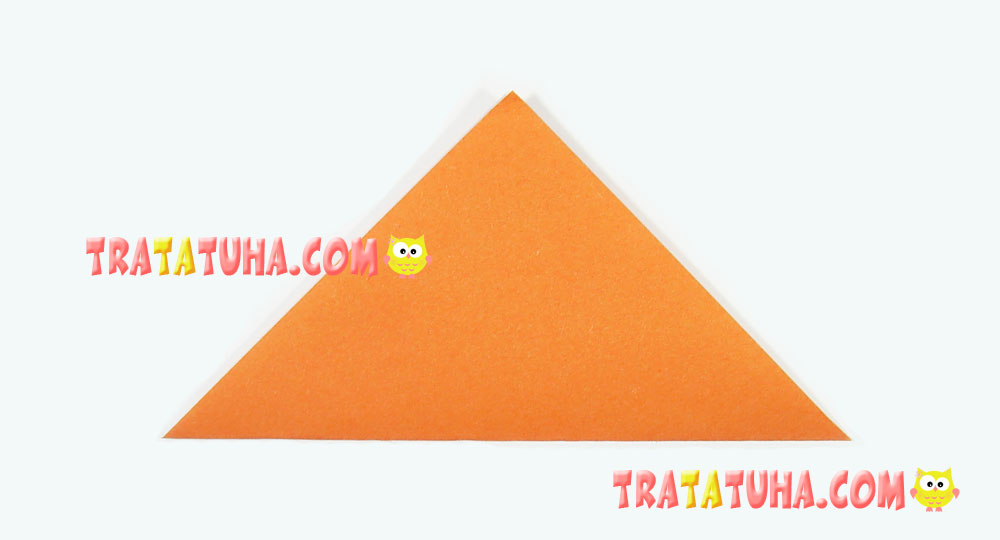
Connect the first pair of the opposite corners; you will get a triangle.
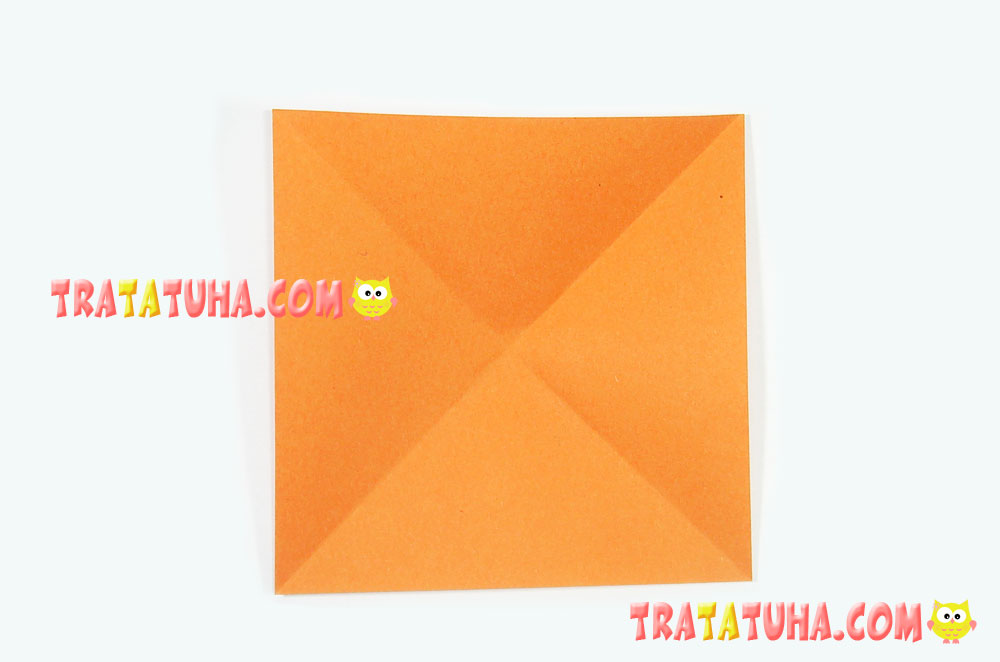
Then, connect the second pair to create intersecting lines on the square.
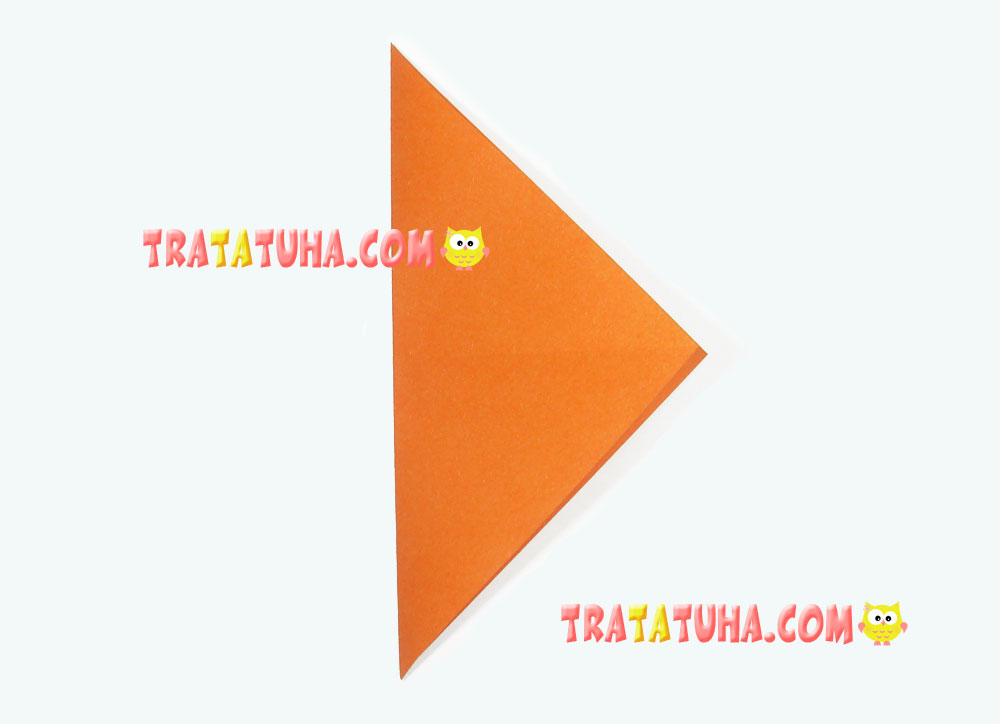
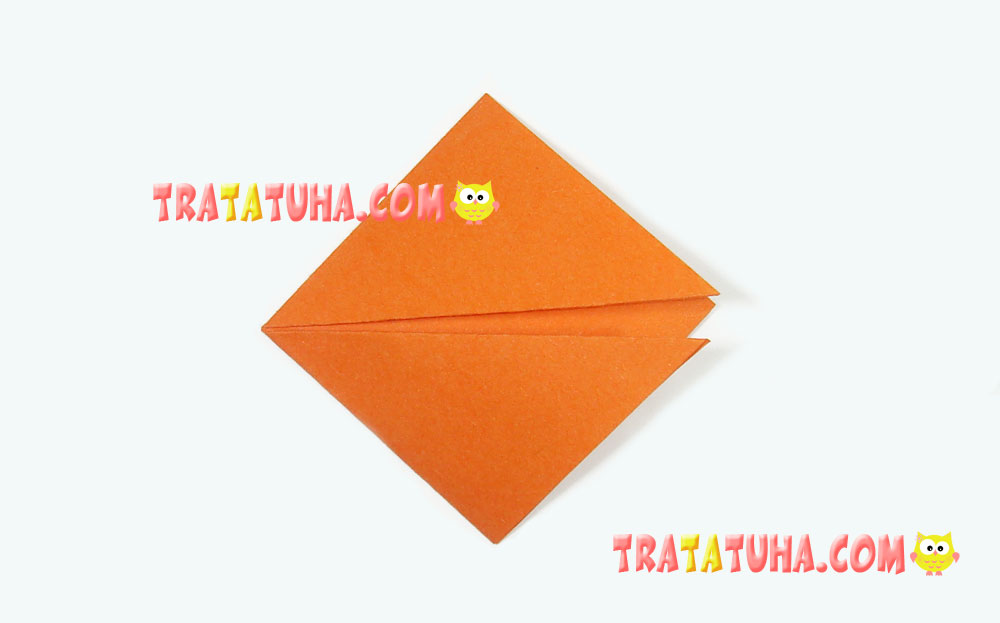
Fold the triangle by connecting the corners from left to right.
Connect the bottom corner with the right one.
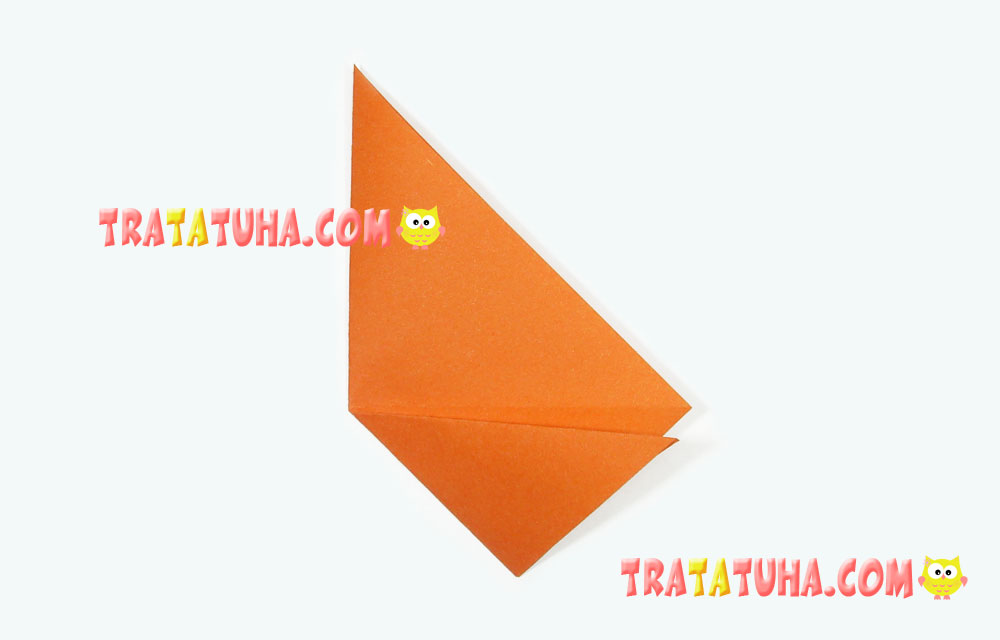
Then, direct the upper corner to the right one; smooth the folds.
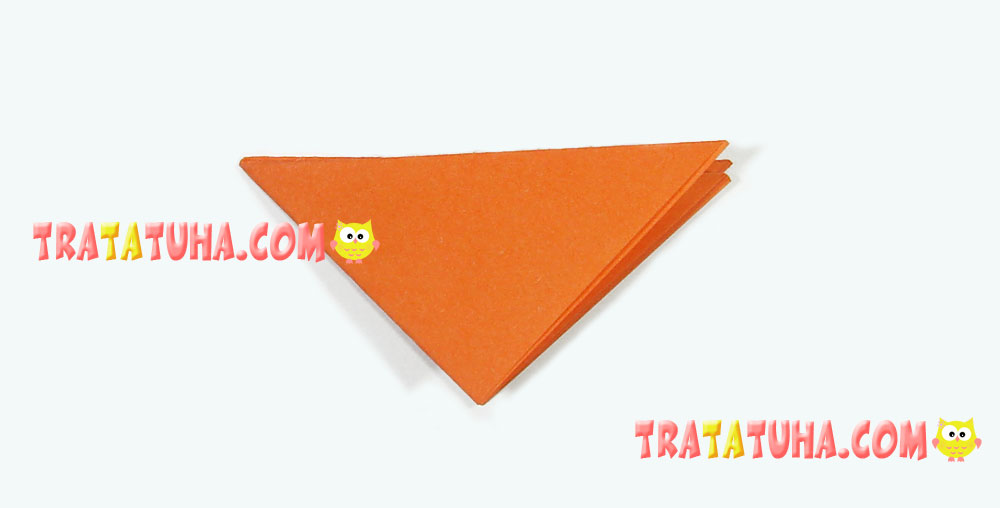
Fold the upper corner backwards and connect it with the bottom one. You will get a triangle. Be careful, at this stage you fold the detail in half; however, you should make the fold not towards you, but away from yourself, in other words, backwards.
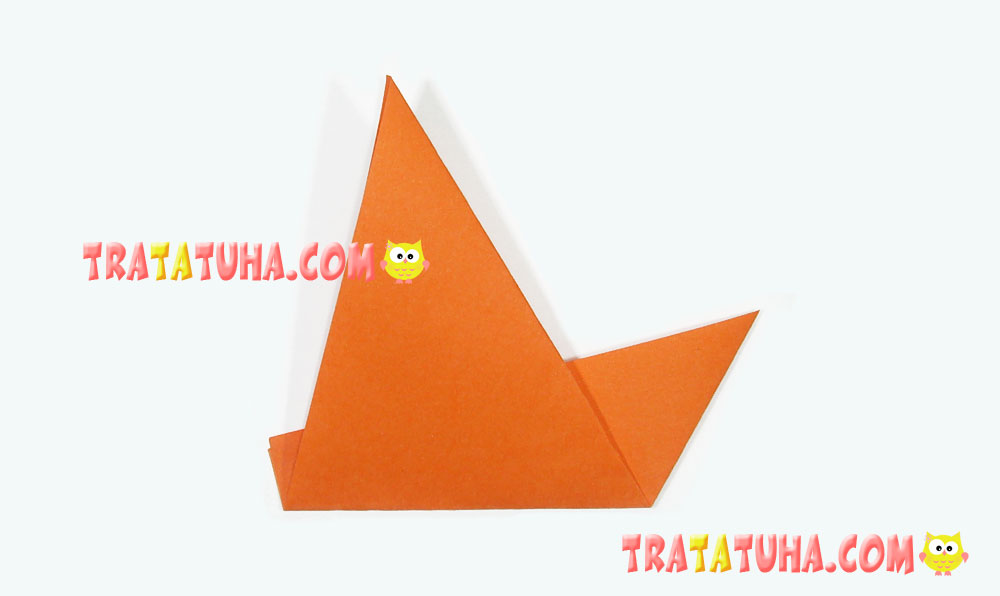
Raise the corners on the right side. For your convenience, align the left straight side of the part horizontally, since it will make up the lower part of the fox.
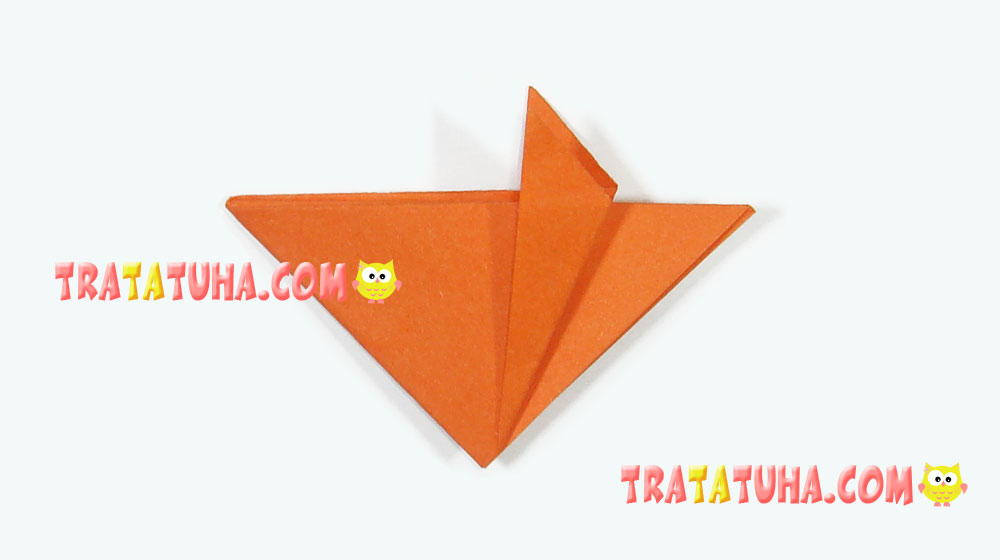
Now, slightly open the appeared right corner and simply fold it downwards, forming a small square or the fox’s snout.
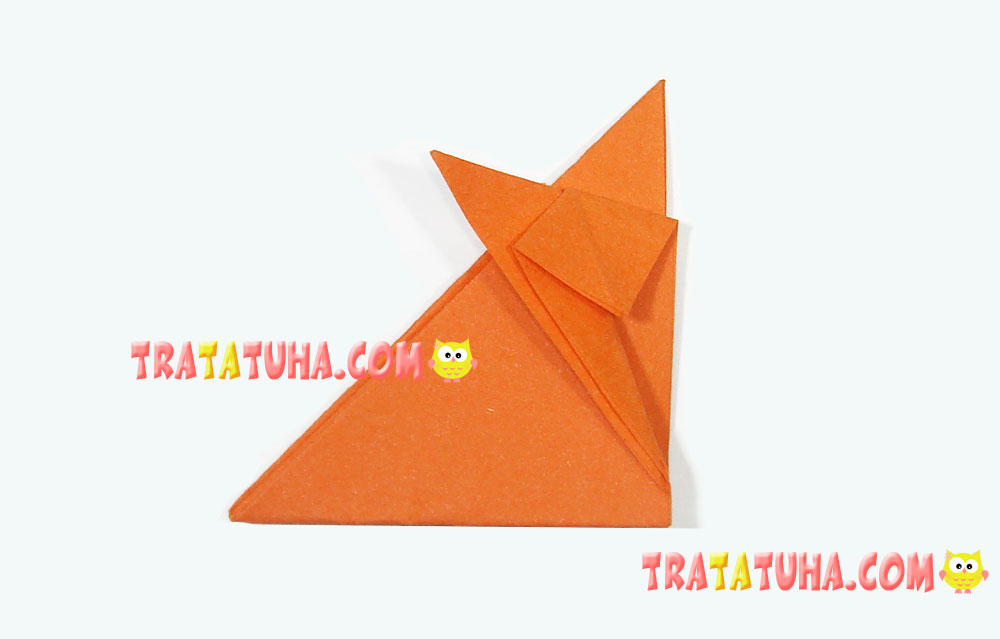
Fold the tip on the left, turning it into a tail; if you wish, you can slightly broaden the paws. Draw eyes and a nose; the cunning origami fox is complete.
Here are the three ways of folding a paper origami fox. Choose the version you like most or the one your child can cope with.
Also see how to make a Origami Pig.
See also other tutorial of Origami Animals.
Many other ideas in the collection of Paper Animals Craft.
Crafts for Kids – learn how to make craft at home! Super cute crafts for all age groups!
Related Post: