Origami handmade mitten. Simple technique with step by step instructions. Winter origami idea for beginners and kids.
Origami Mitten Step by Step
Prepare paper in the shape of a square. You can take a double-sided one, but it is better with different color shades to highlight the edging along the edge of the mittens. In this origami it is white.

Fold the paper, connecting opposite corners, giving it the shape of a triangle.

Open and connect the other two corners. Thus, we will get intersecting folds.

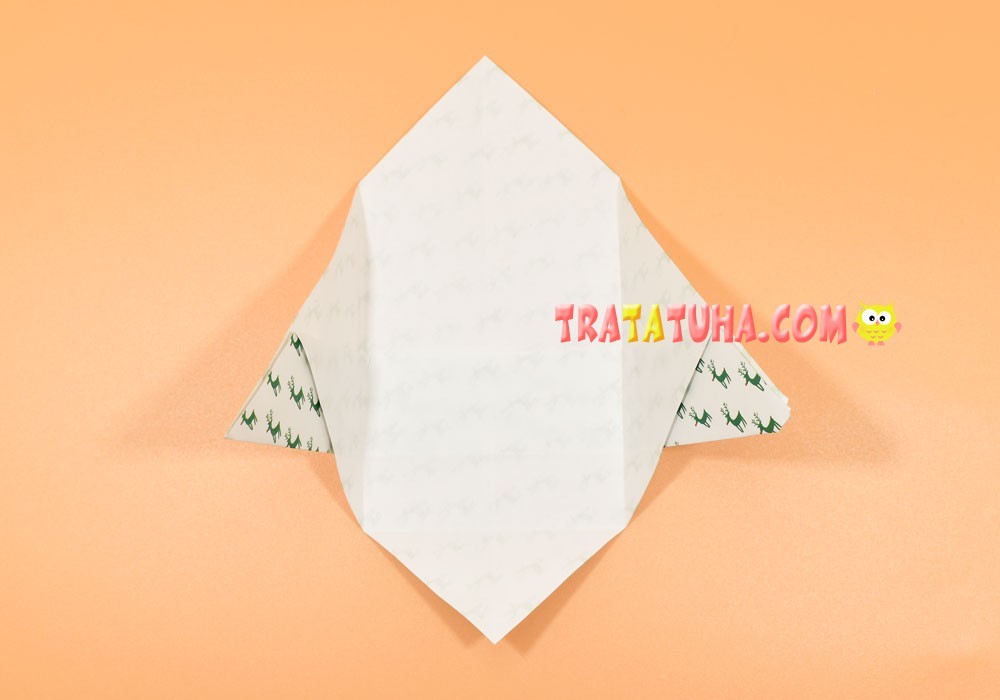
Go back to the triangular shape, the color should be on top and the white on the inside. This clarification is important so that later we get a mitten with a pattern on top and a white edging at the bottom. Bend the corner of the top layer down to the straight side opposite.

Then pull the corner down again, aligning the resulting fold with the bottom side.

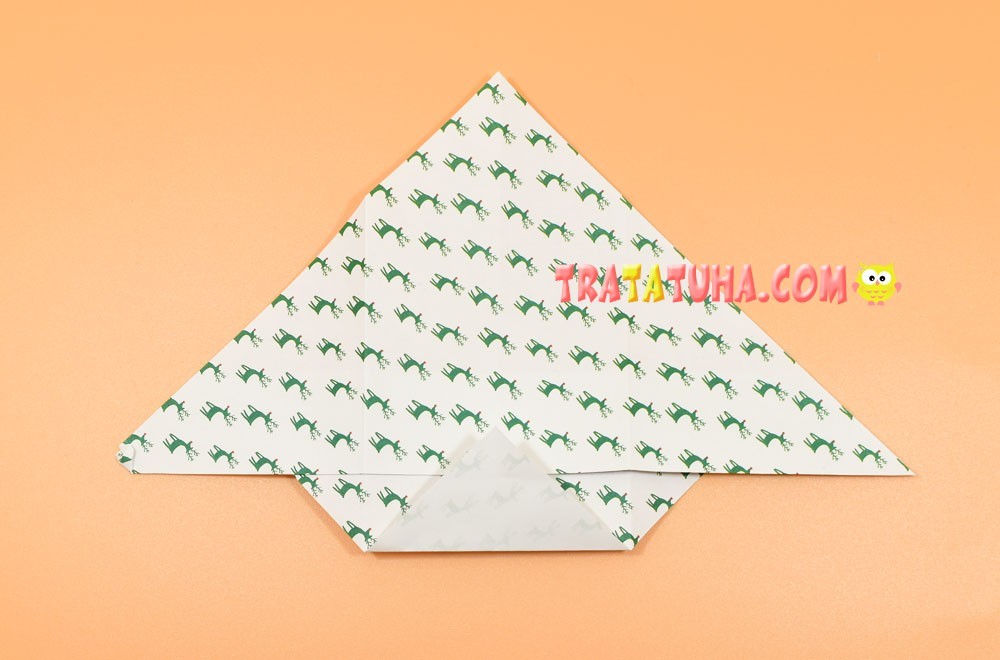
Fold up the bottom corner.
Bend the right side to the left, the fold should extend from the bottom corner.

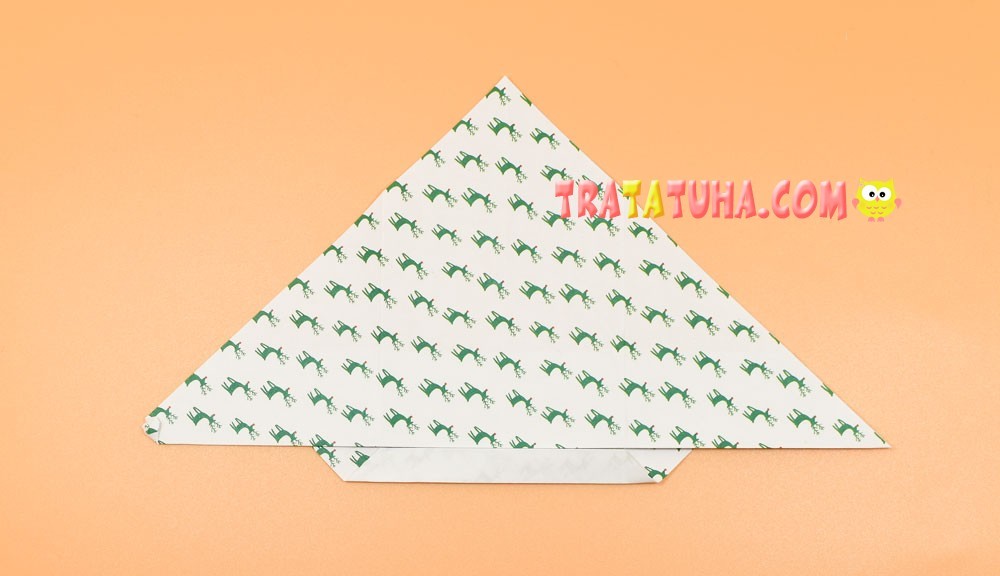
Then fold the left side too.

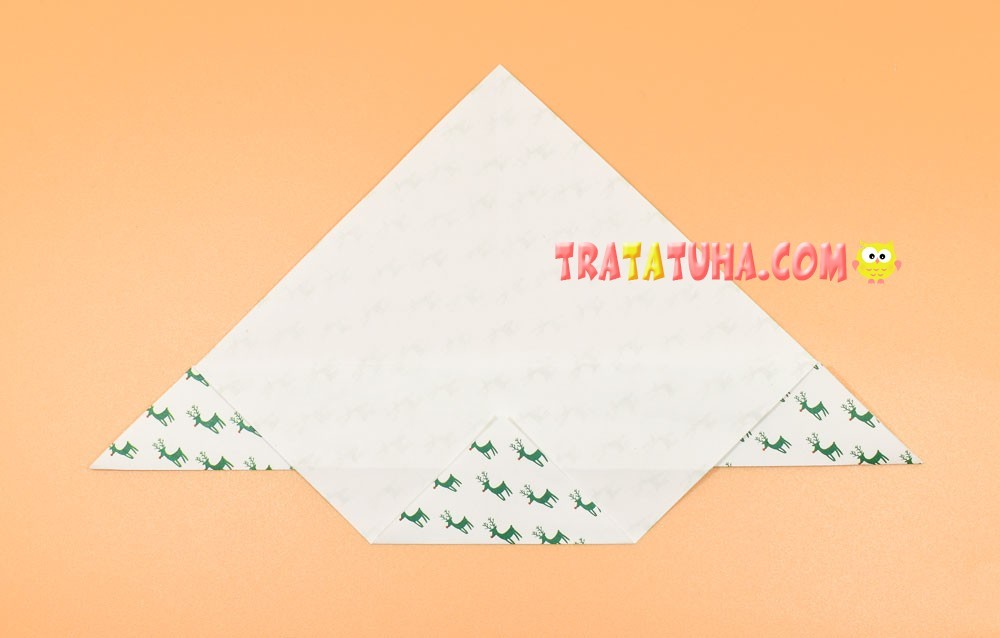
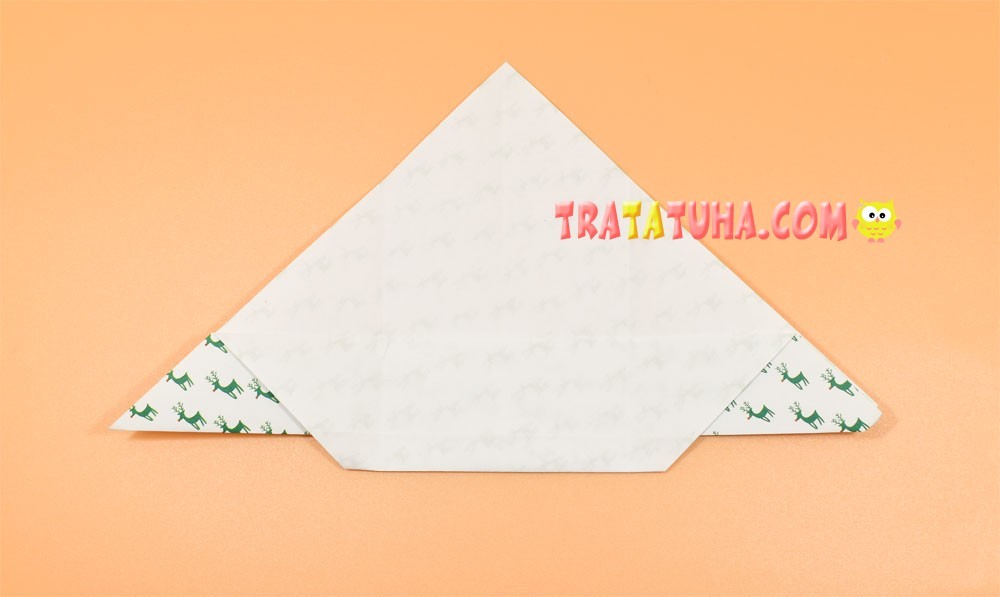
Temporarily open the side and bottom corners.
Flip over to the other side.

Point the bottom corner up.
And then completely hide it under the horizontal part of the paper.

Fold the same area again, making it twice as narrow.
Now flip over to the other side.
And fold back the side corners.

Bend the top corner to the left.

Round the mitten by folding down the top corner.

Flip over to the other side.

The branch for the thumb should also be slightly rounded. To do this, bend back the sharp corner. The origami mitten is ready.

Related Post: