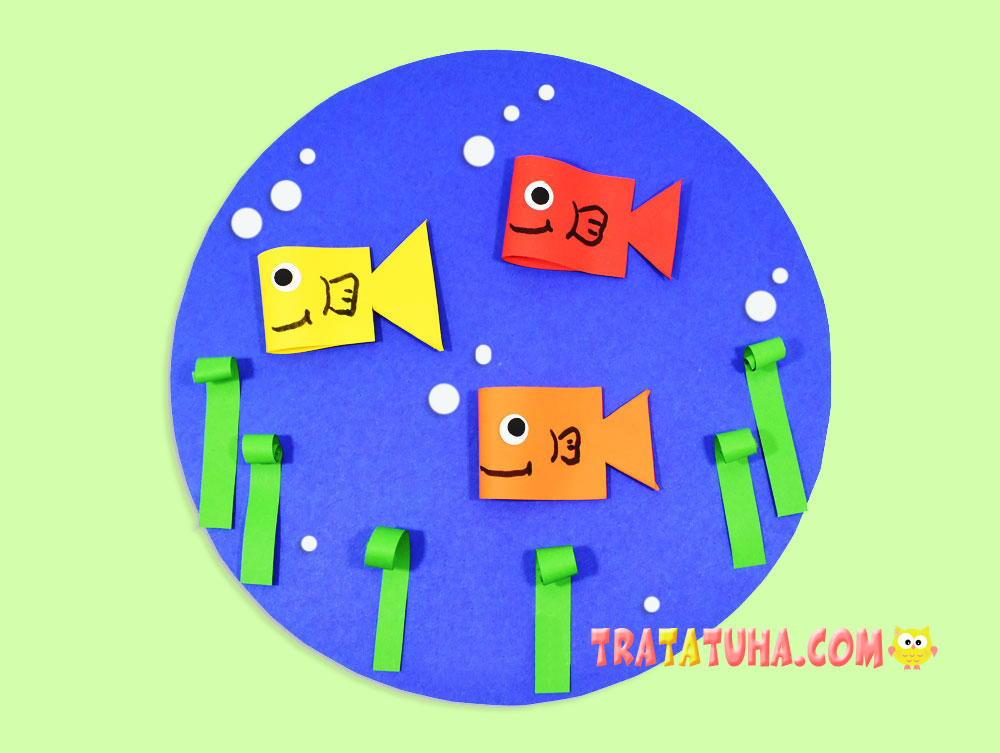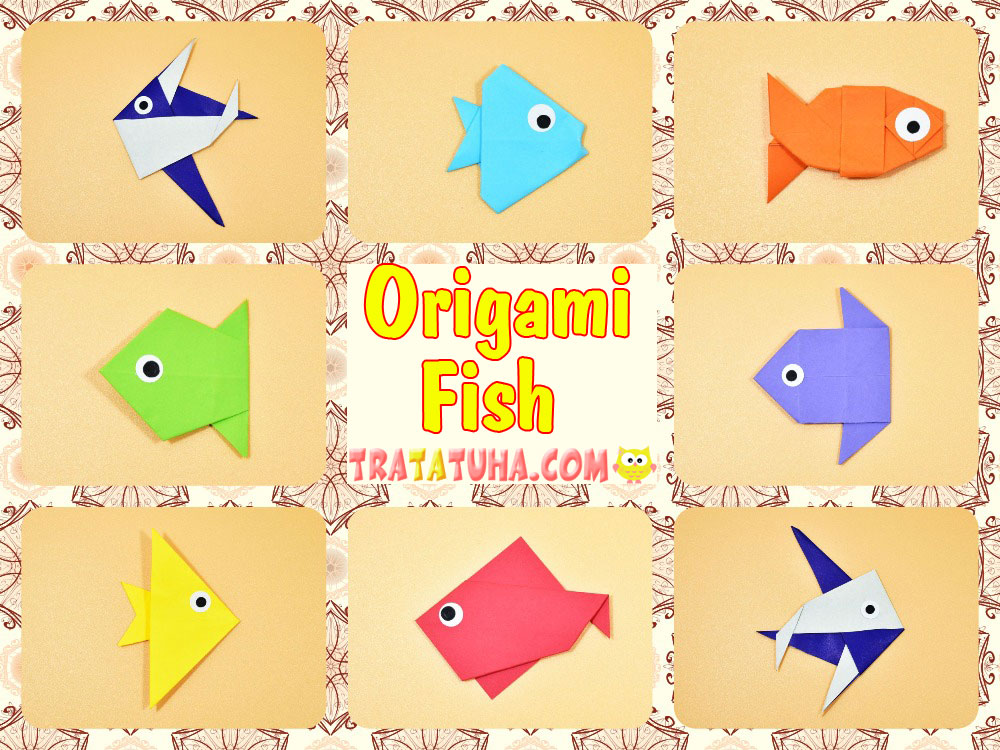
Origami fish step by step in 7 variants. Instructions with photos, simple ways to make a fish out of paper.
Materials:
- Colored paper;
- Felt pens, plastic or paper eyes;
- Scissors, glue.
Most origami will only require paper, only a few will require scissors and glue.
Origami Fish Ftep by Ftep
1 Way
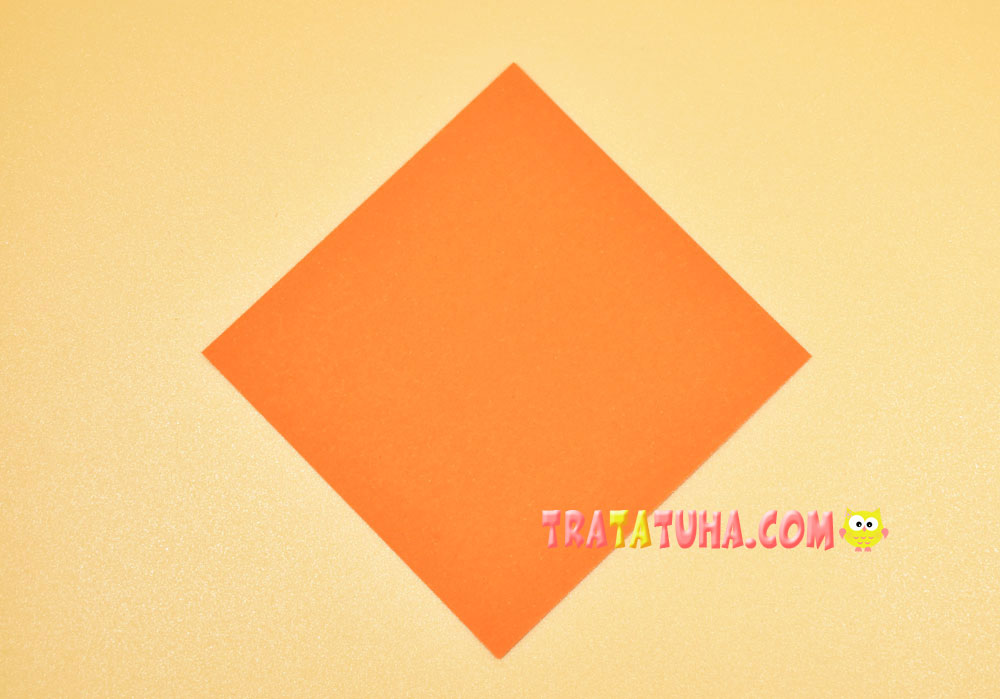
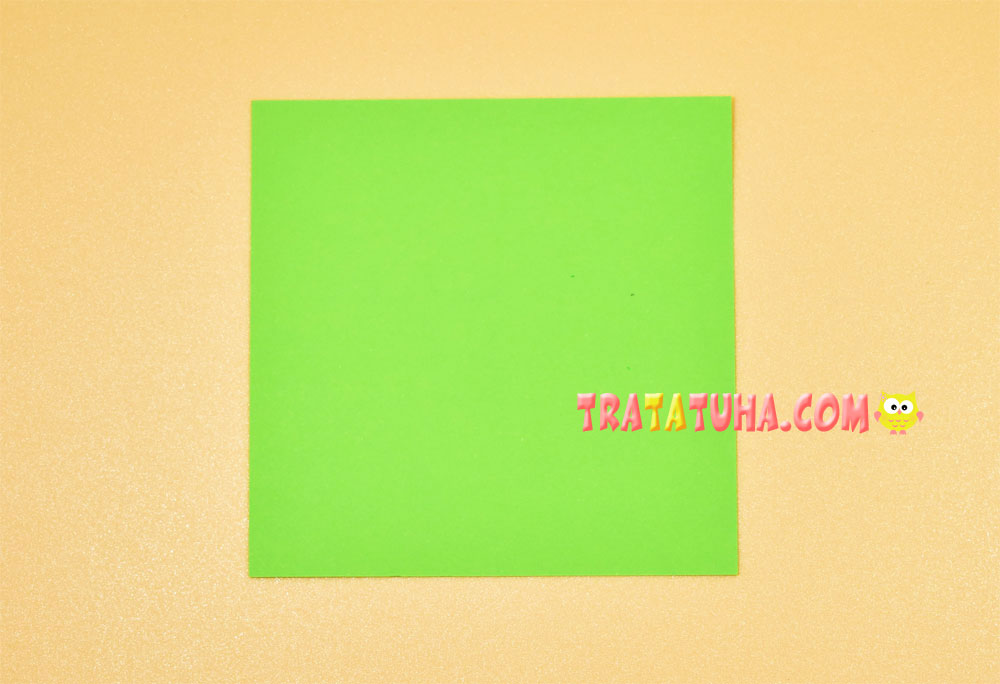
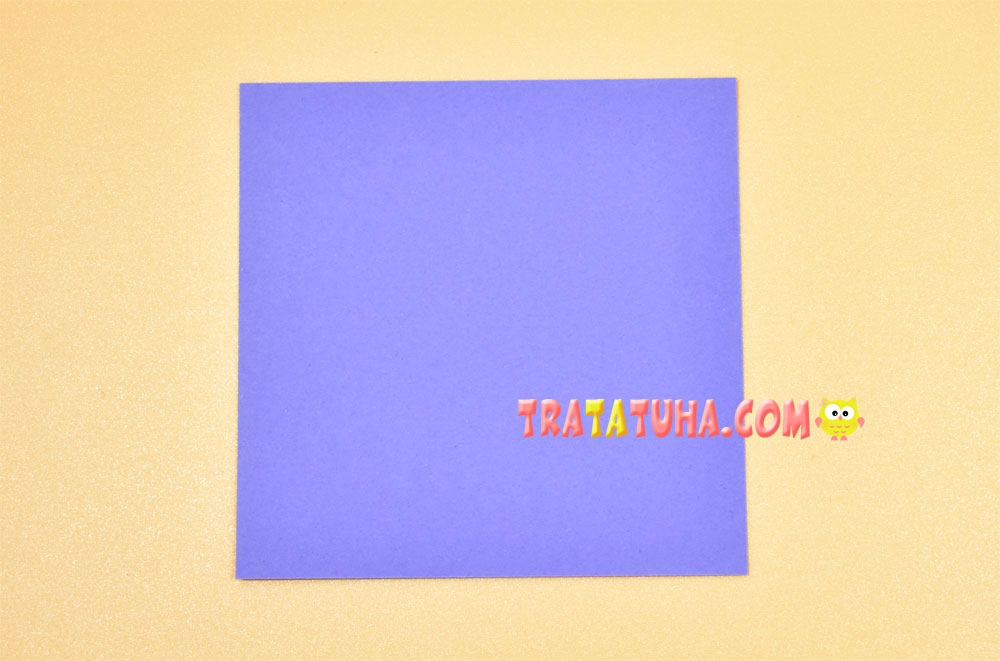
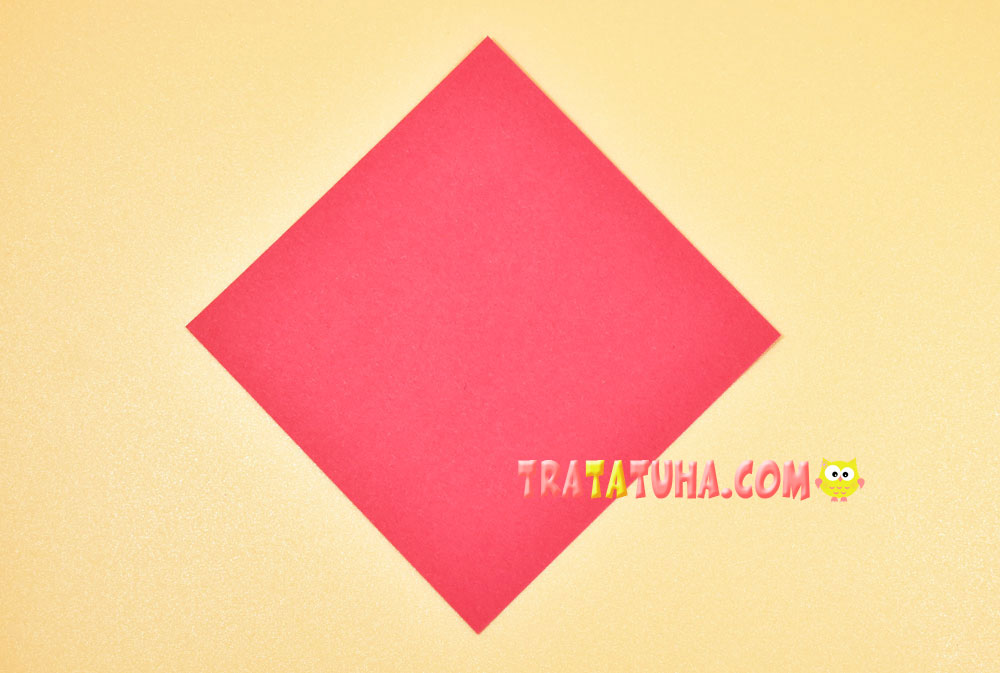
Prepare square paper.

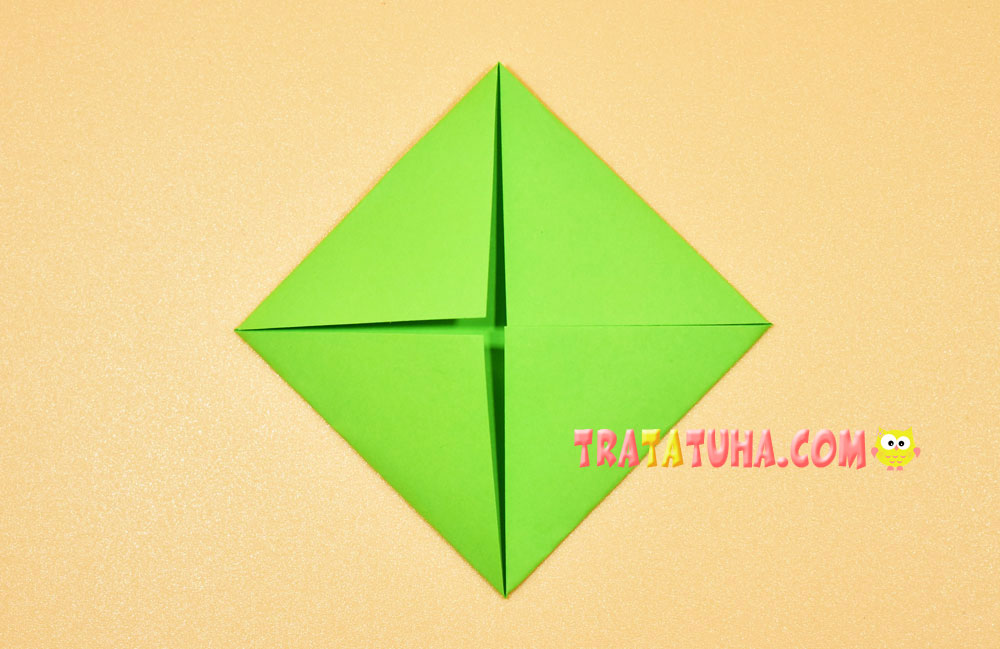
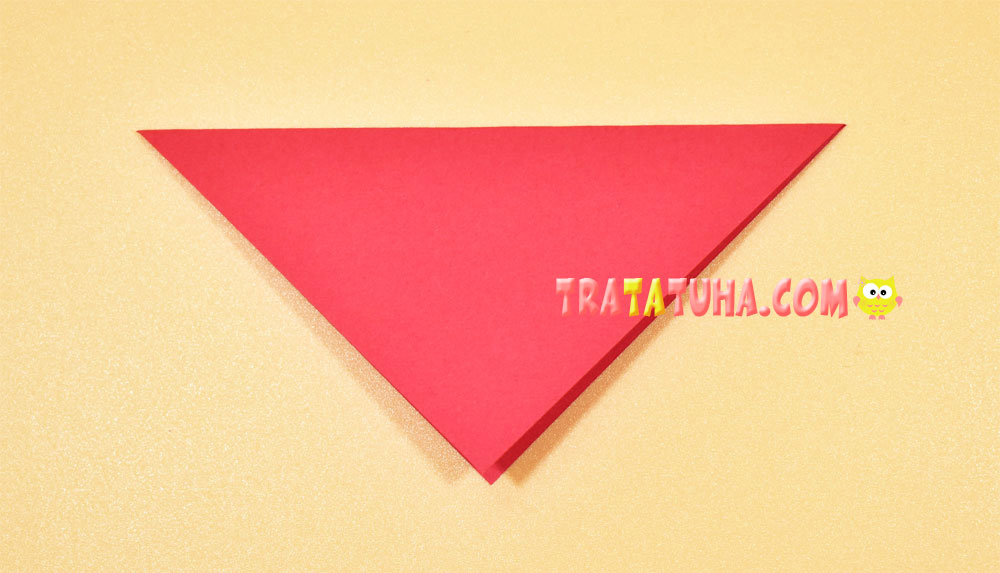
Fold it into a triangle, open it and fold it again using the other two corners.

When opening, you will get intersecting folds.

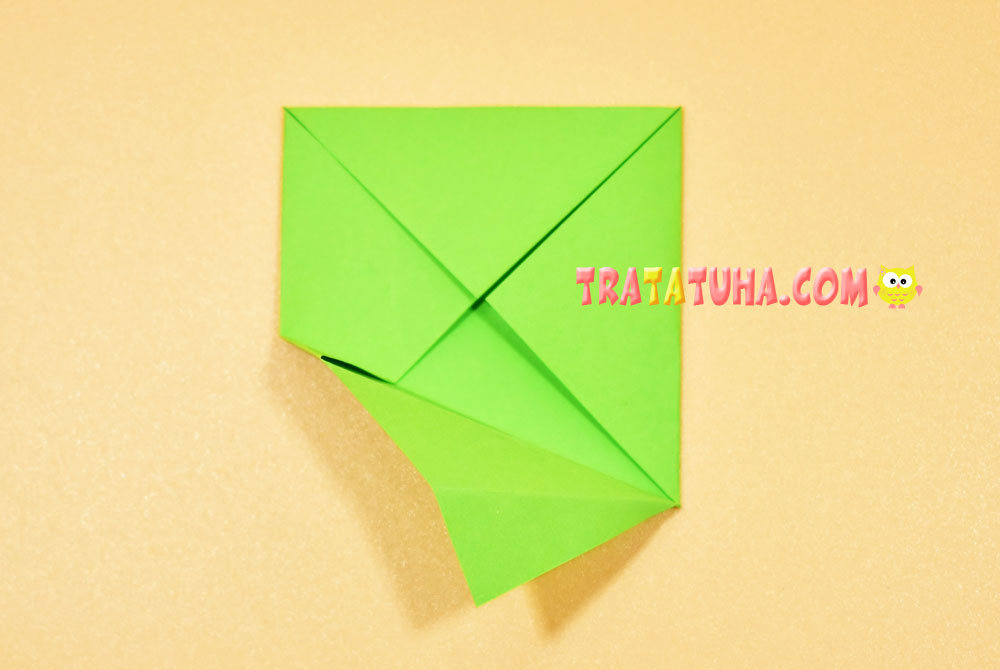
Fold into a triangle again and fold up the bottom corner.

Determine an equal distance and bend the side corners inward.

In this case, the lower corners should overlap.

Turn over to the other side, press the upper part with your finger, making a semi-oval.

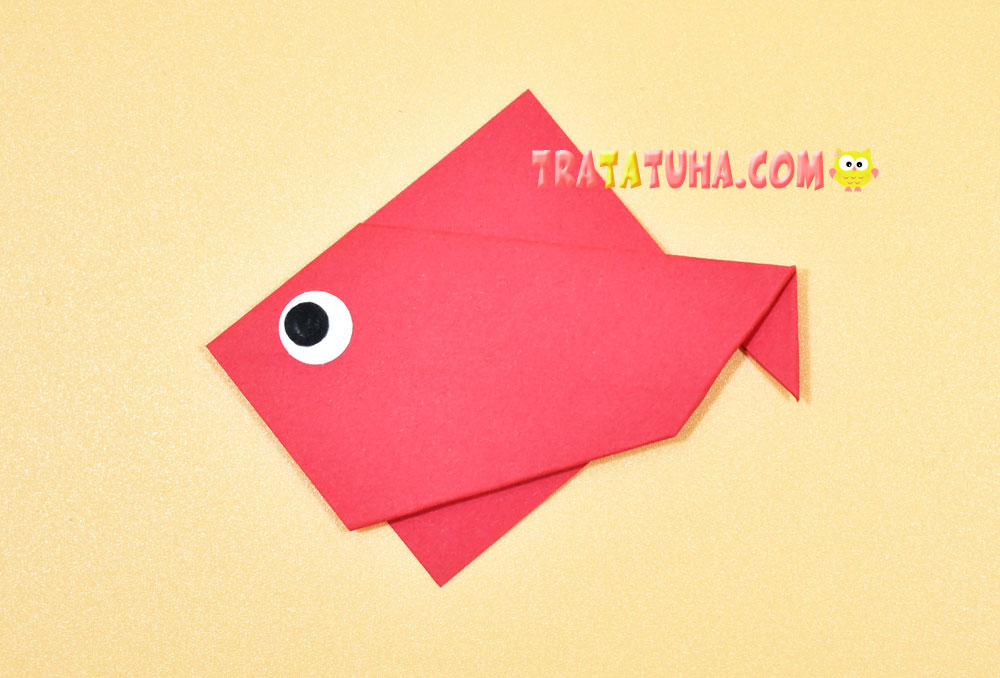
Glue the eye, the fish is ready.
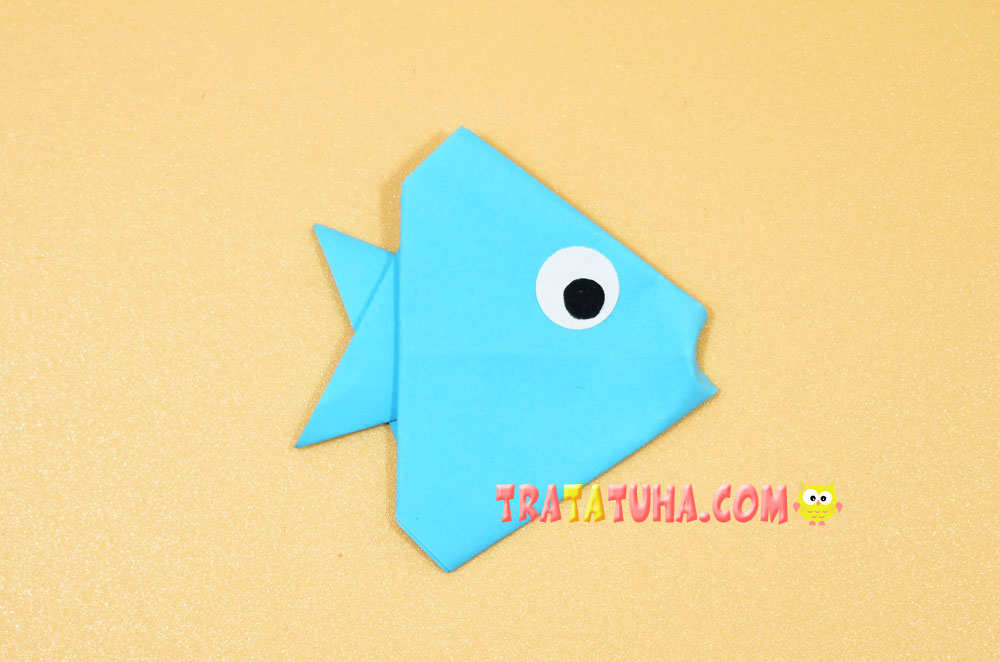
Origami Fish — 2 Way
We will also make it from a square piece of paper.
Fold the square into a triangle.
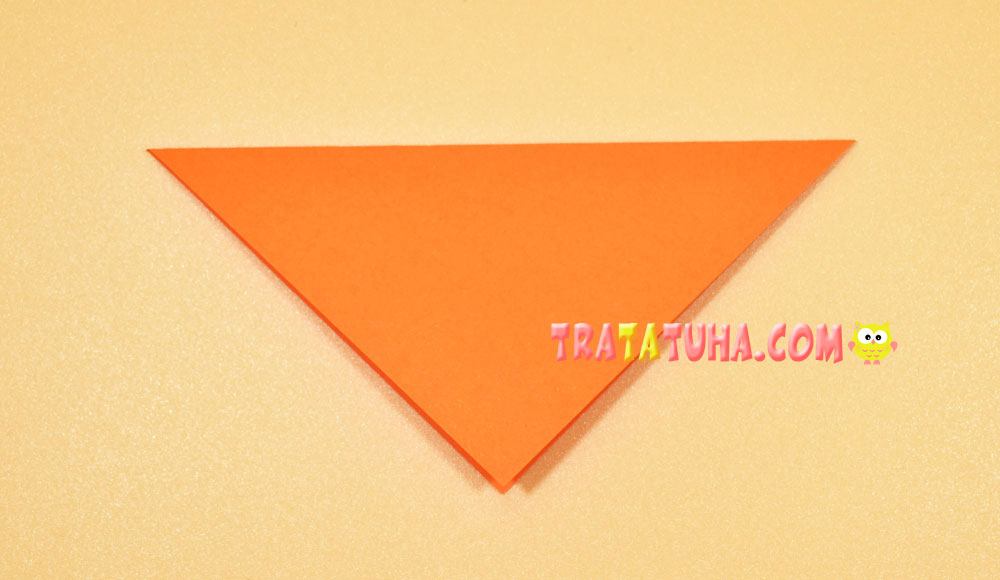
Then fold it back into a triangle.

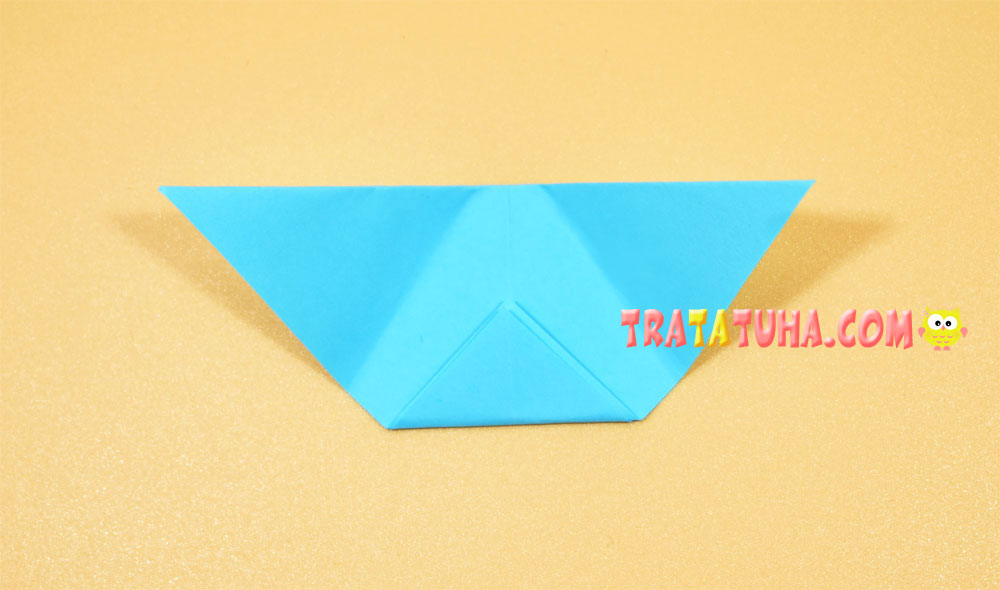
Open, fold up the bottom corner, and fold down the top side.

Point a small corner of the top layer down.

Flip over to the other side.

Guided by the lines shown in the photo, fold the right side to the middle.

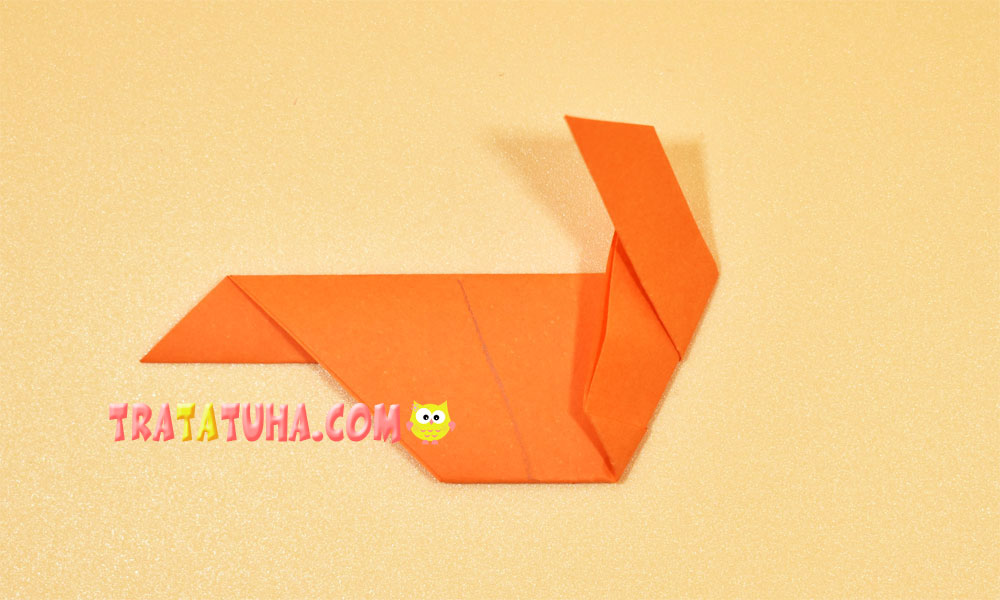
Then left.

Small corners also bend inward to slightly round the sides.
Flip over to the other side.
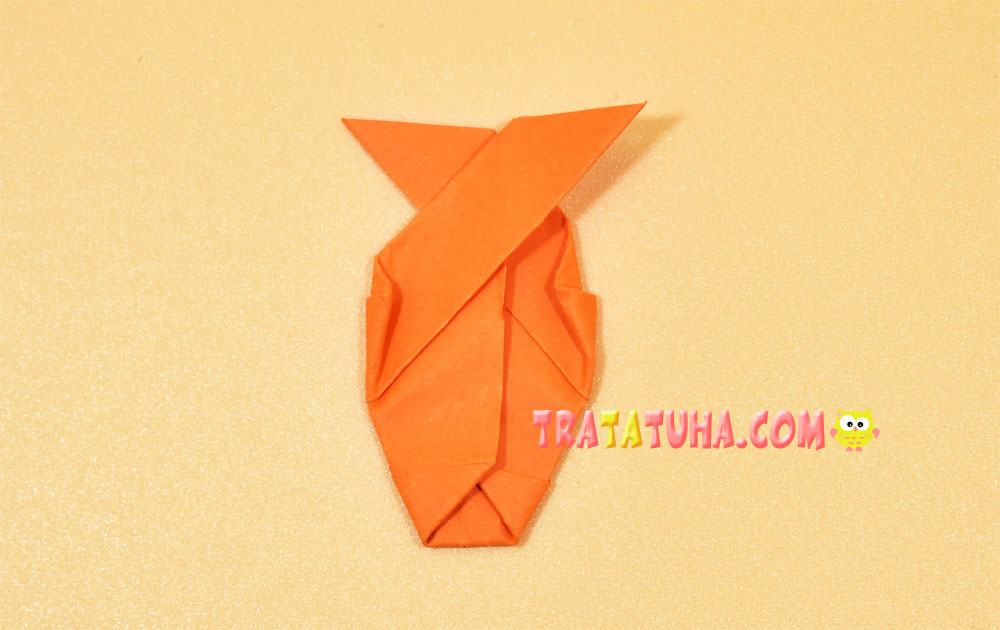
Glue on the eye. The fish is ready.
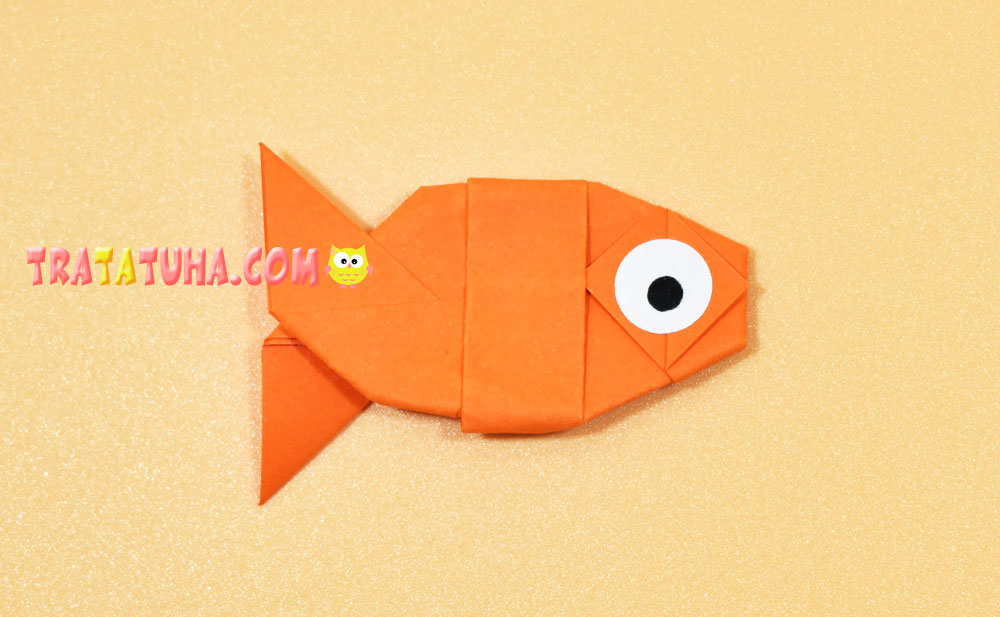
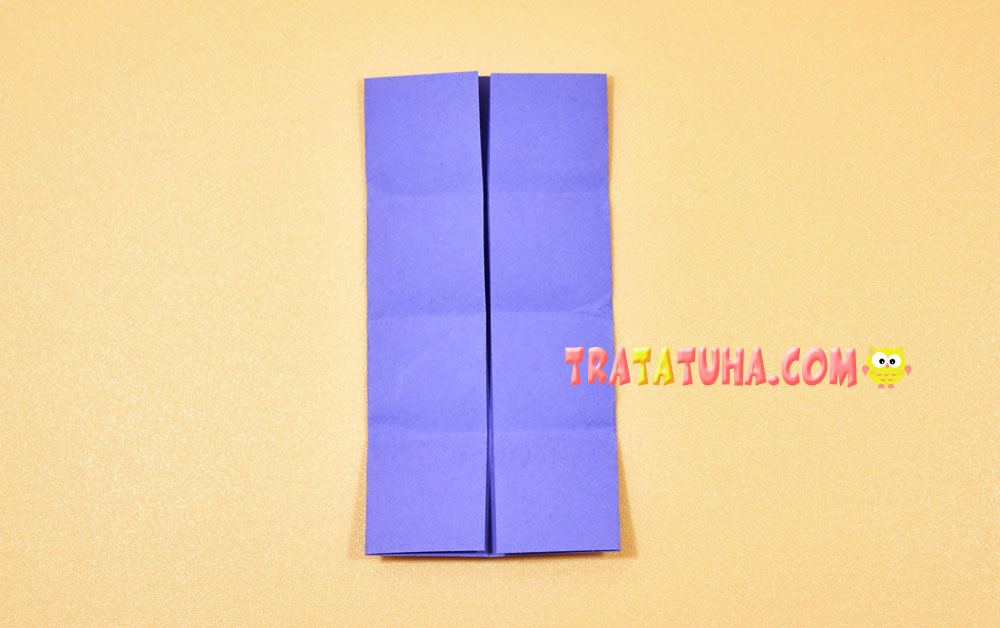
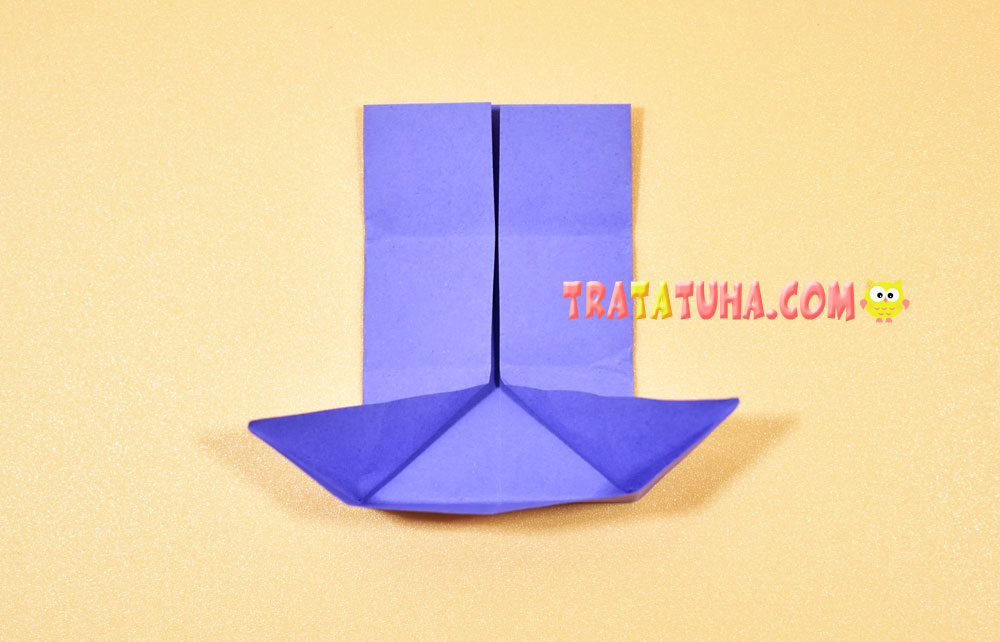
How to Make a Paper Fish: 3 Way

To work again, you need paper with equal sides, that is, a square.
Make vertical and horizontal folds on its area. To do this, fold the paper in half. Open and fold again, joining the other two sides.


Bend all corners to the center of the paper square.

Mark the fold by folding one of the sides towards the middle.

Fully open this side.
And fold again, leaving a corner free.

For convenience, turn the corner up and bend the right side to the middle.

Then also open it and direct it to the right, forming a square shape.
Connect the bottom corner to the top corner of the square.
Flip to the other side, glue or draw on the eye. 3 version of the origami fish is completed.
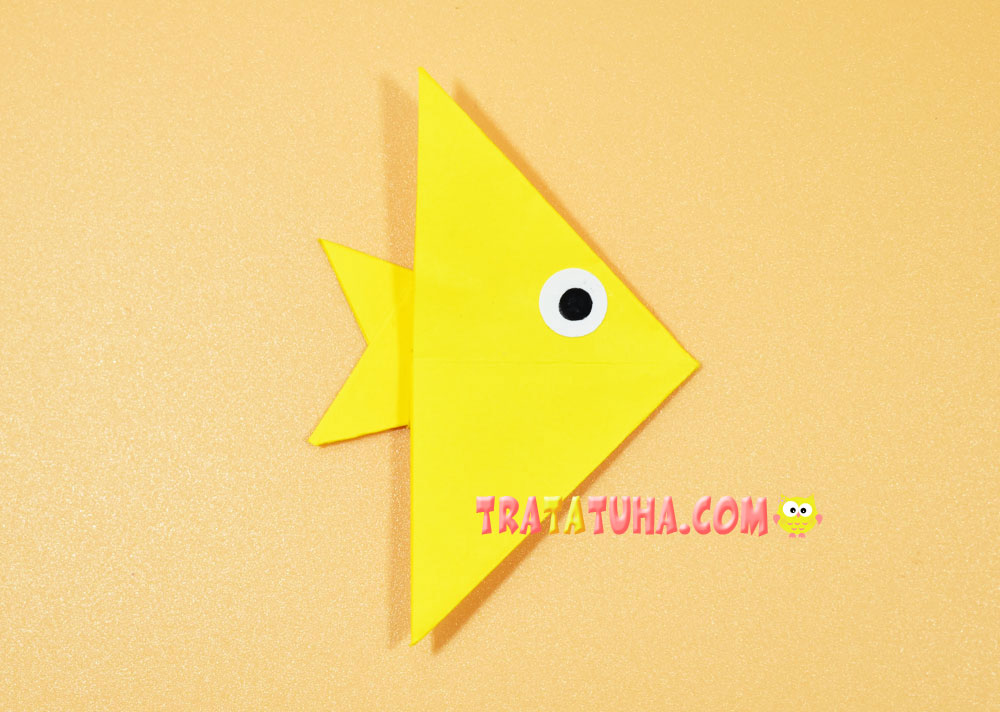
4 Way
You will also need paper in the shape of a square.
On its surface, 3 folds should be made, forming 4 compartments. To do this, fold the paper in half.

Open and fold the right side to the center.
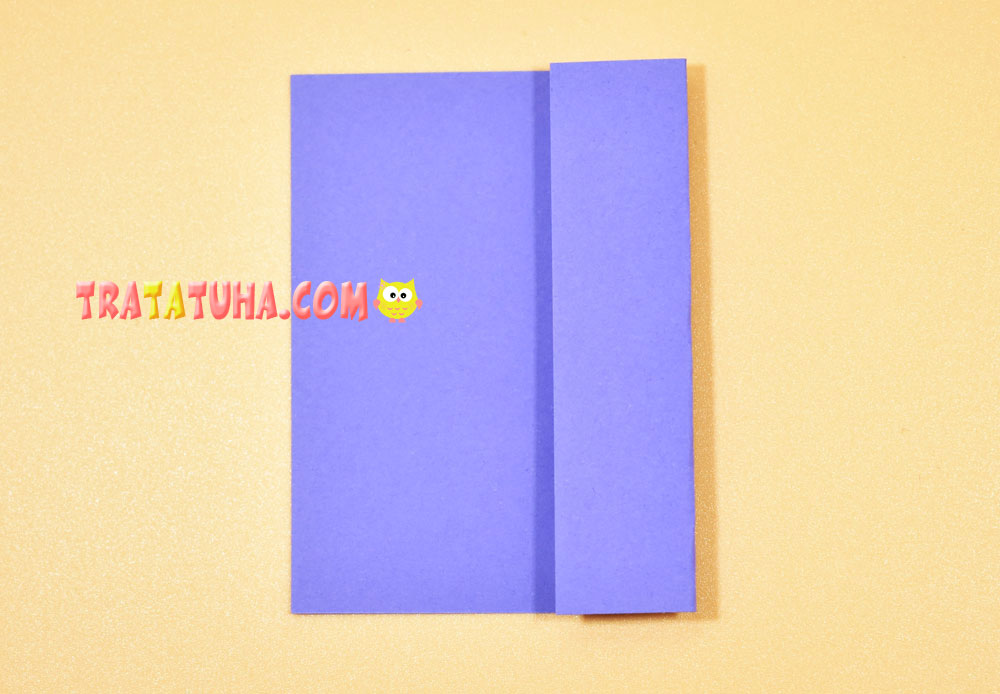
Then left.


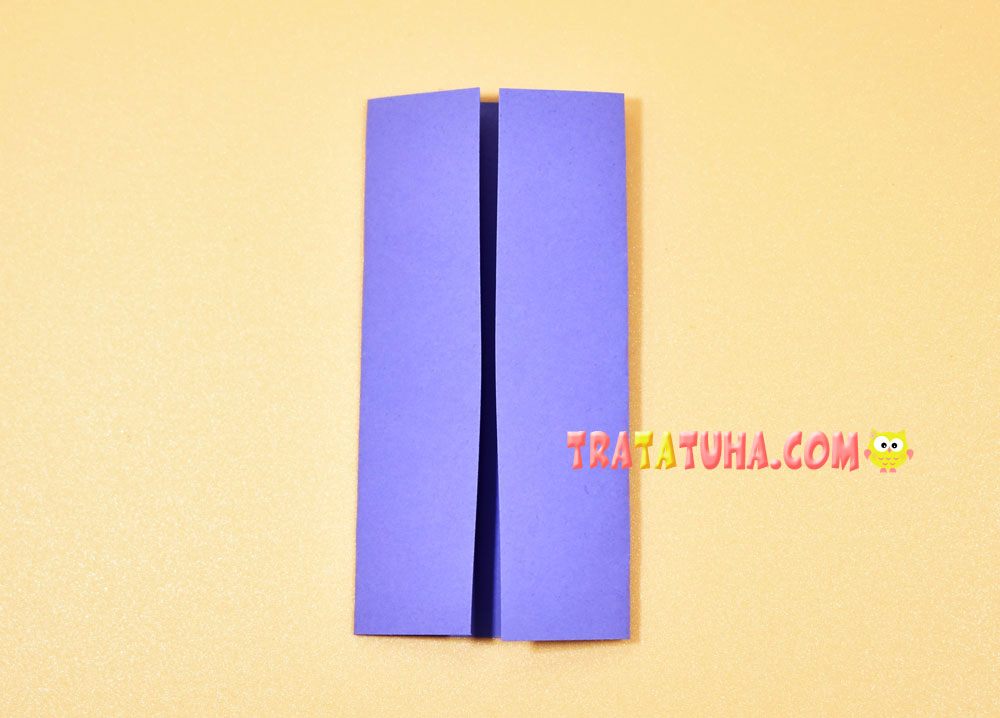
Point the top down, folding the paper in half.

Open and fold the top to the resulting fold.
Then the bottom.

Open the paper again, on the surface of which 4 cells will be visible, delimited by 3 folds.
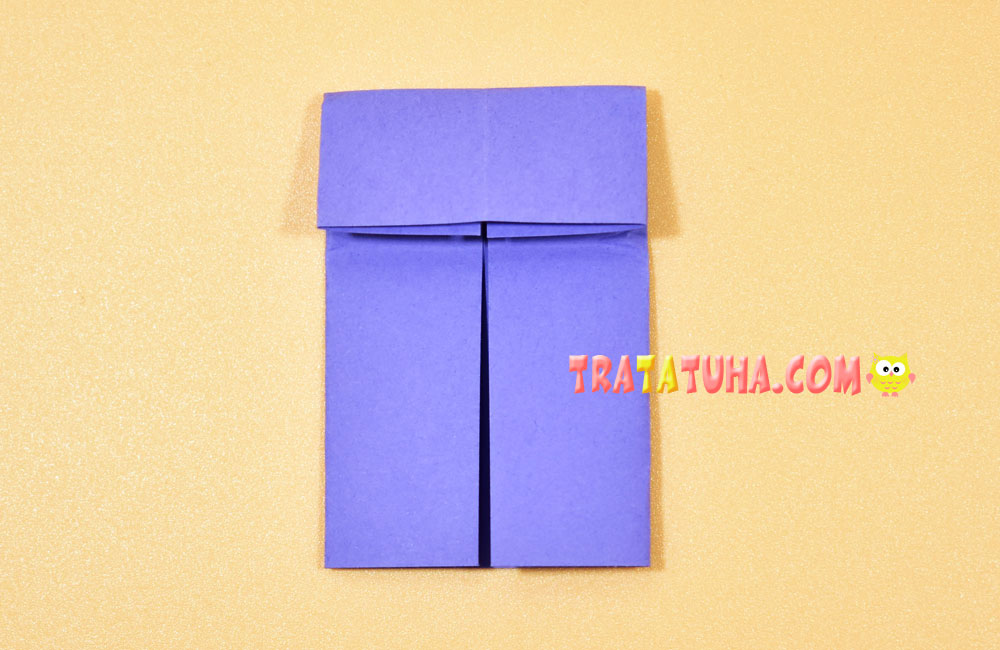
Open the bottom and open the corners to the side, while guiding the inner sides to the first fold.
Lift the lower part up and press down.


Fold in the top two corners.

Flip to the other side and add an eye. The fish is ready.
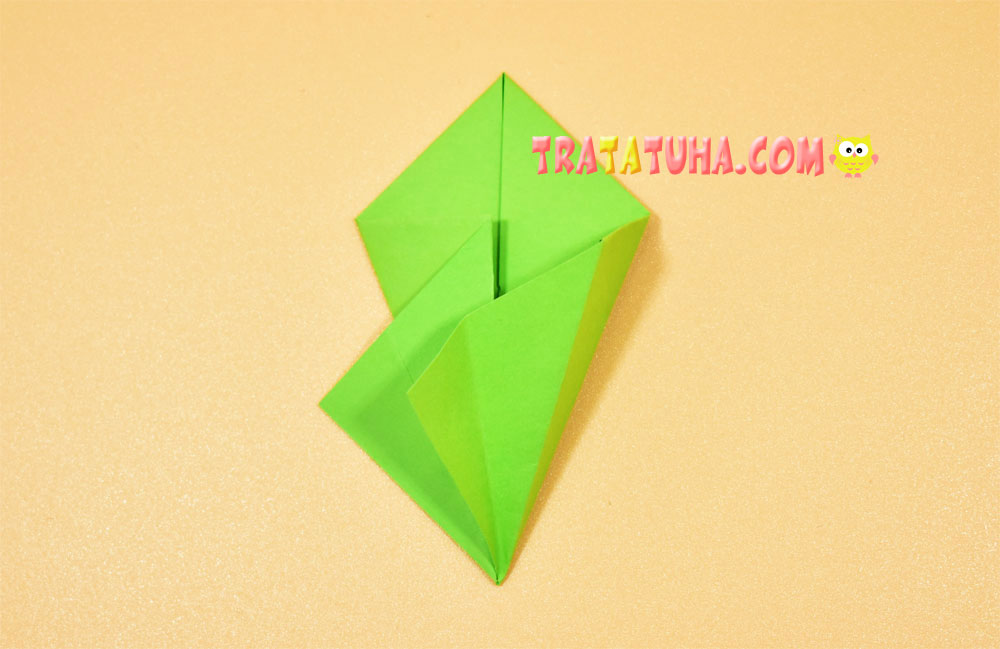
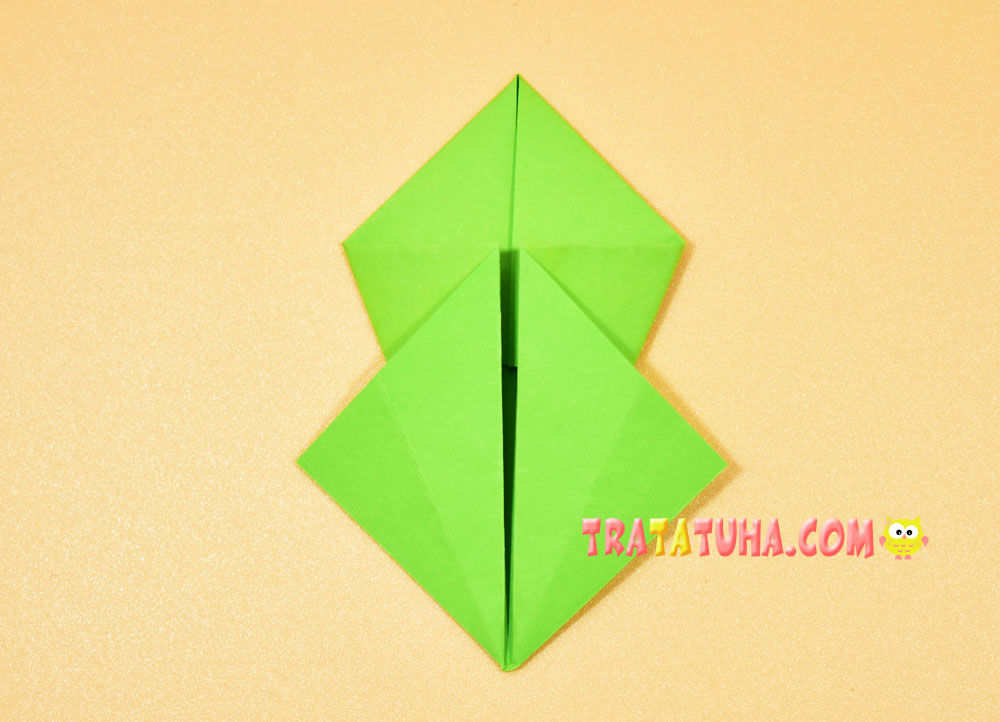
Origami Fish Step by Step — 5 Way
Prepare square paper.
From it you need to make a basic origami shape — a double triangle.
To do this, fold the paper into a rectangle.

Then open and fold into a triangle twice, connecting first one opposite corners, then the second pair of corners.

Thanks to the horizontal fold, the sides are easy to point inward.


Bring the top and bottom sides together and press down to form a double triangle.
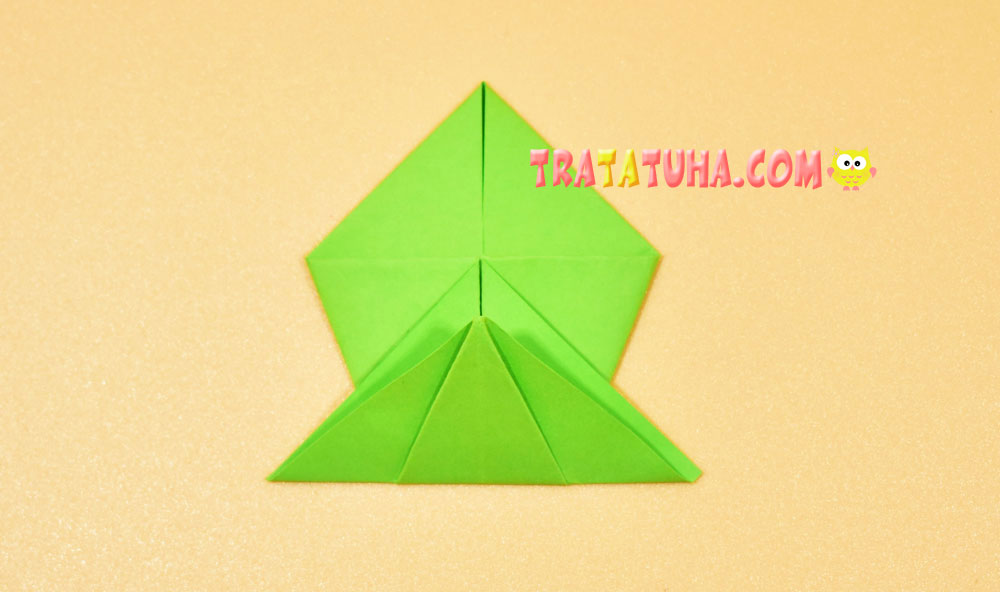
Bend the right corner of the upper part of the triangle to the left.

Then bend the left side of the triangle to the right, layering it on the right. The ends must intersect.

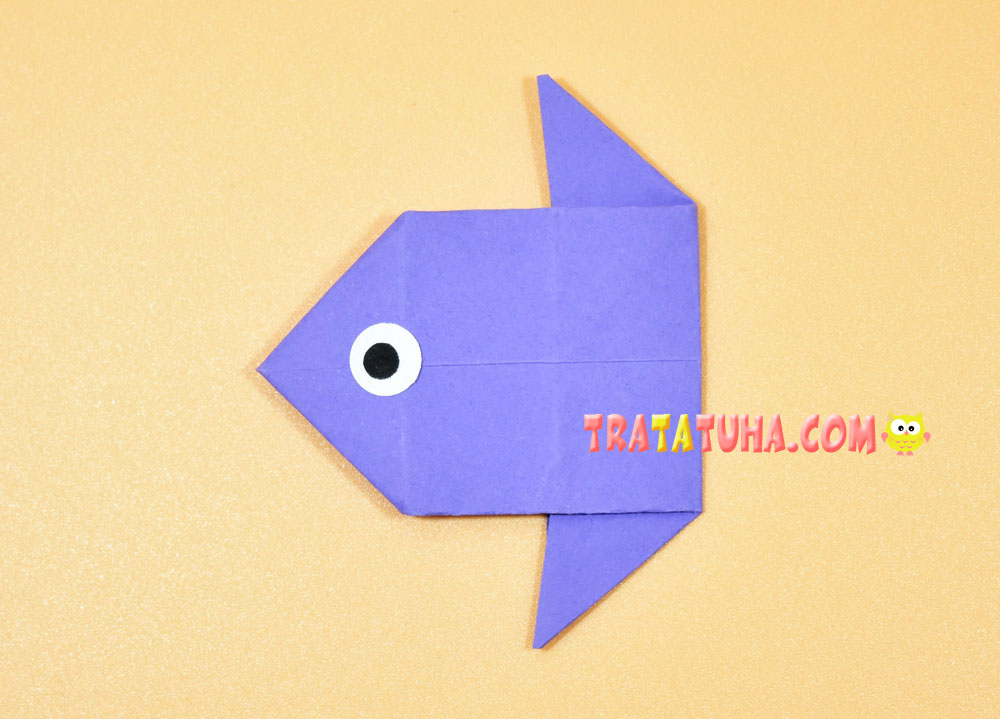
Turn over to the other side, glue the eye. The fish is ready.

6 Way
Again we need paper in the shape of a square.
Fold it into a triangle.
Fold the corner of the top layer up.

Fold the bottom corner up to the fold.

And then immediately bend it back a little.

Fold the left corner to the right.

Then fold it to the left and down. Fold down the right corner as well.

Turn over to the other side, add an eye. It will turn out such a very simple waterfowl with fins.
Paper Fish — 7 Way

Here in this origami, unlike the others, we need glue and scissors.
Prepare a square piece of paper. For the fish to be two-color, the paper must be with sides of different colors. In this version, one side is blue and the other is white.
Fold the square into a triangle.

Bend the top corner down to the bottom side.
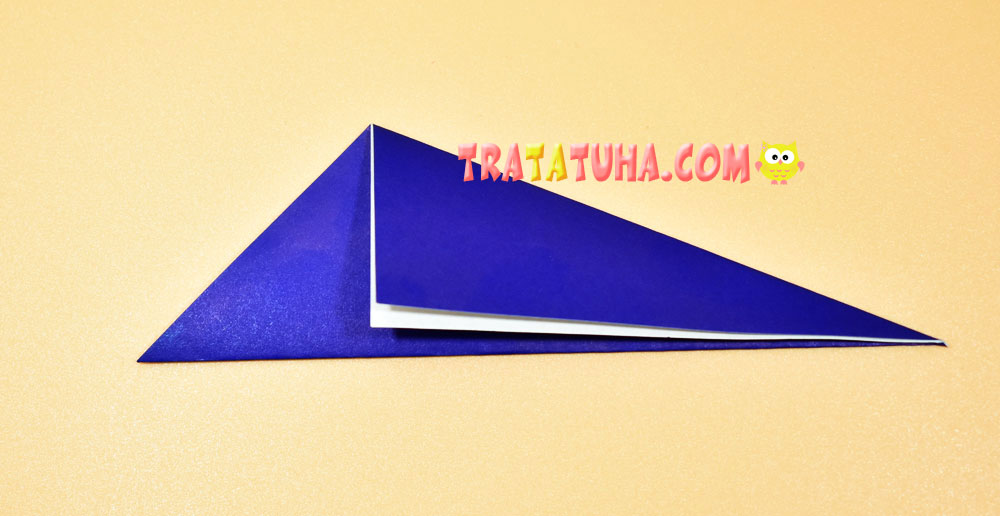
Now again, point the upper corner down, while bending the left side.

Open the paper. A horizontal fold is visible on its surface, which delimits sides with exactly the same folds.
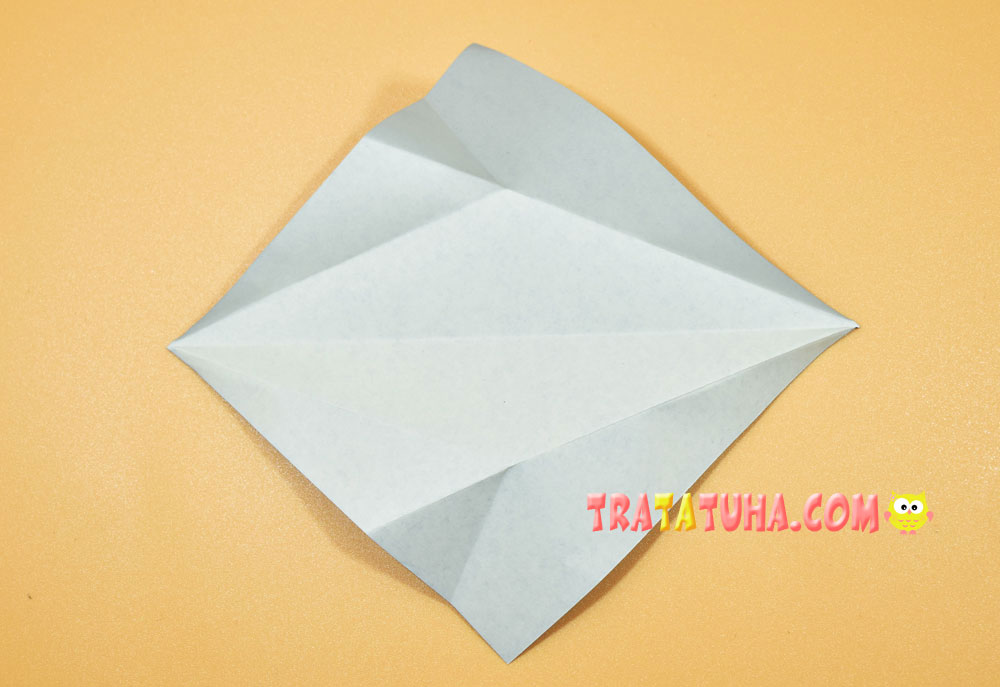
Cut with scissors along the horizontal fold.
You will get two triangular parts.
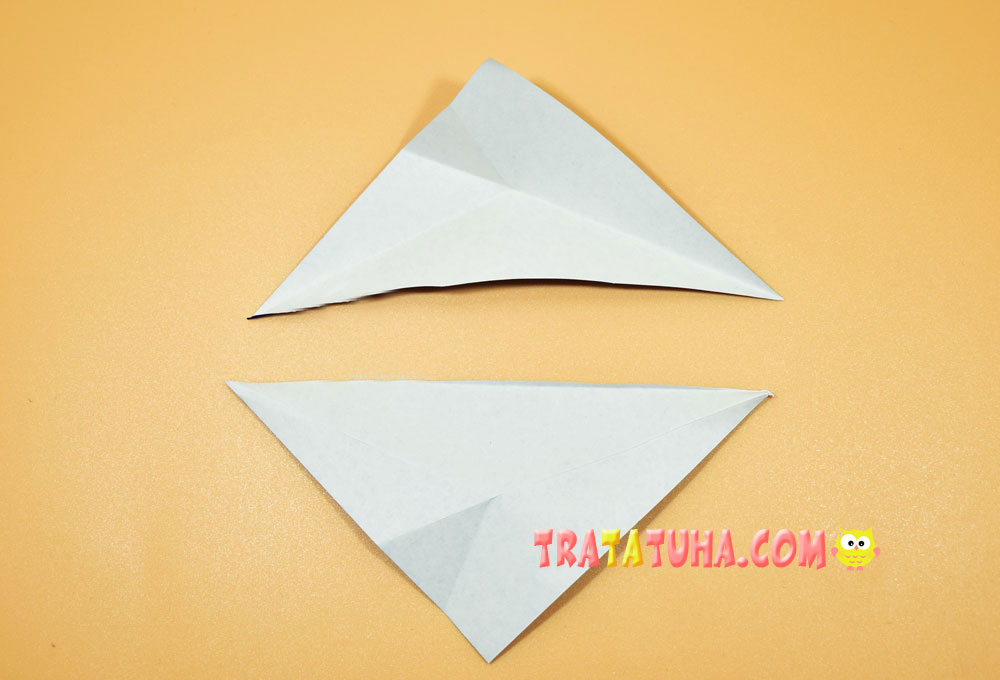
Along the folds, fold them into the option where the upper corners are folded down. At the same time, turn one part of the triangle upside down so that the paper structures are of different colors.

Fold them in half, placing the corners to the side.

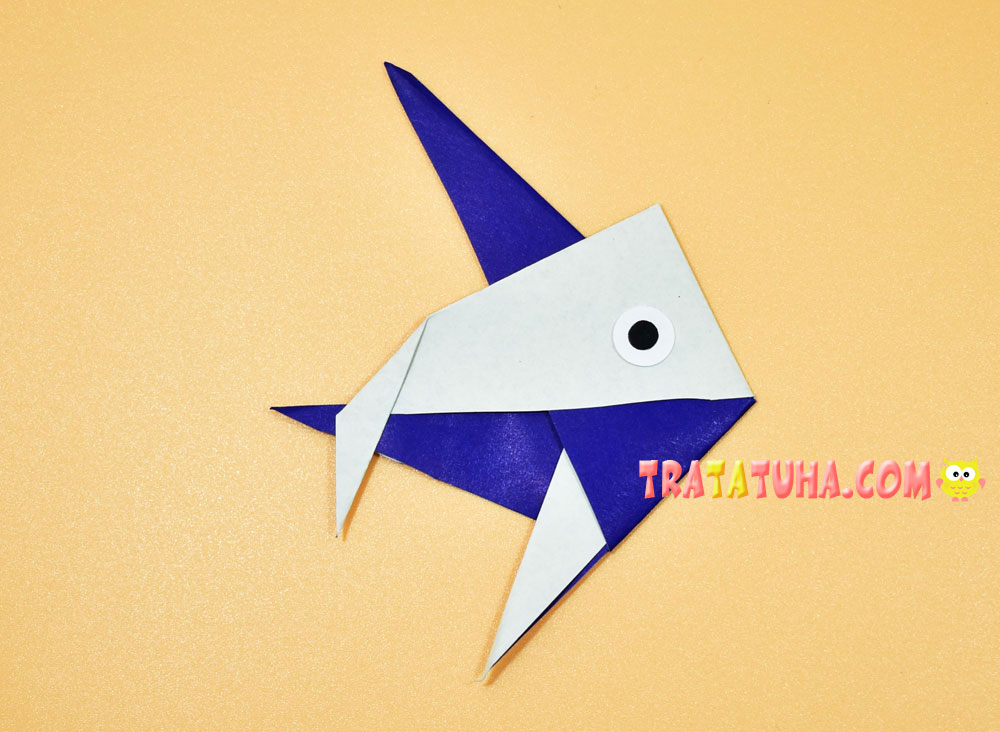
Connect them together by twisting the corners as shown in the photo. Fix with glue.


Lift the bottom right corner up.

Add an eye, origami fish step by step is ready.
You can change the bottom with the top and glue the eye, while the fish itself is noticeably modified.
See also another way to make an origami fish.
Related Post: