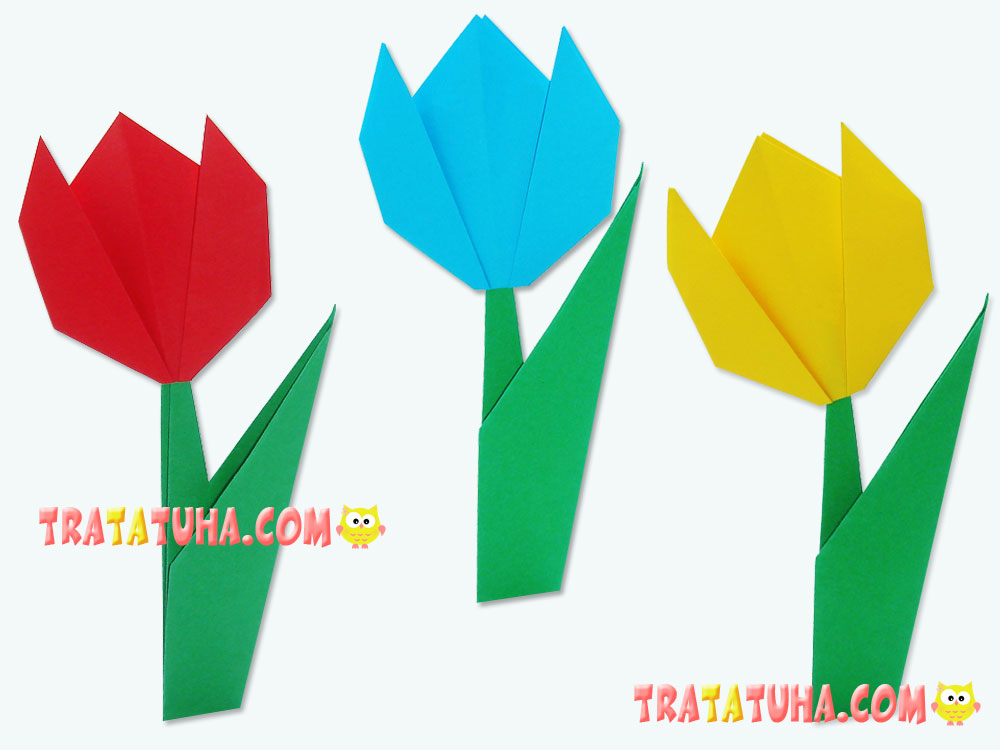
The easiest origami tulip for kids is its flat version. The flower itself is extremely easy; it takes only a few steps to make it. An origami stem with a leaf is a bit more complicated, but small children can make it simpler by twisting a tube of green paper.
You will need:
- Double-faced green paper for the stem with a leaf;
- Any coloured paper for the flower;
- Scissors.
Origami Tulip for Kids Step by Step
If you have special origami paper, you should take green sheet of a larger size and a smaller red (yellow, violet, blue, etc.) sheet.
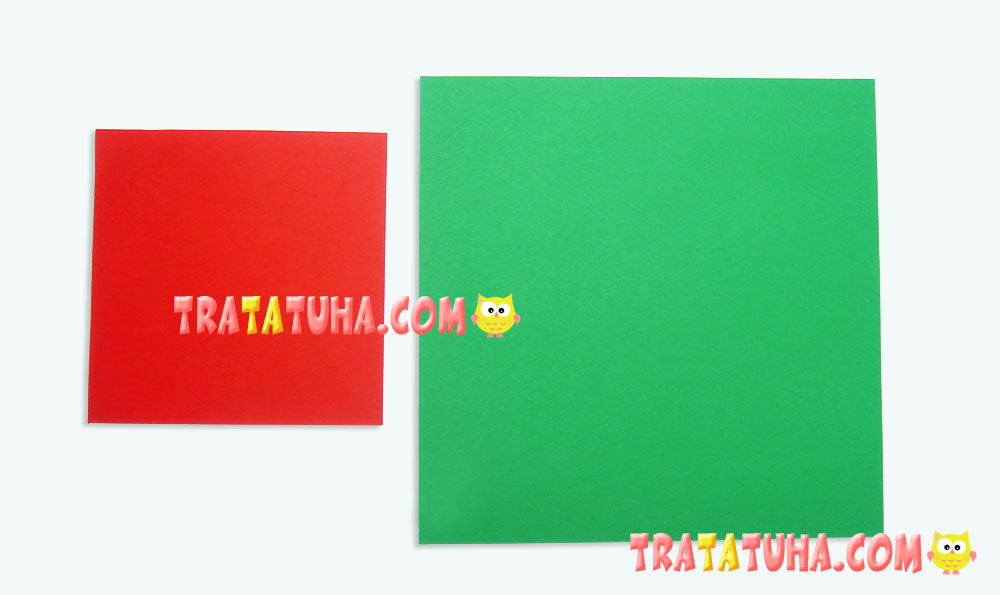
In this example, common double-faced coloured paper has been used.
- A red square sheet with the 10 cm long side;
- A green square with the 16 cm long side.
Making an Origami Tulip Flower
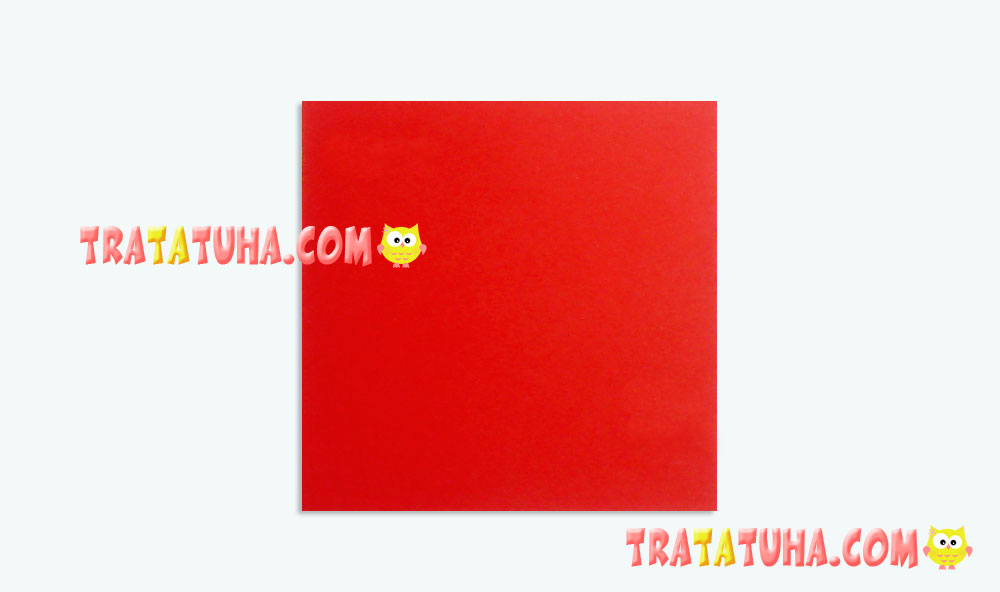
Put a square sheet of coloured paper in front of you.
Fold it in half – corner to corner so that you get a triangle.
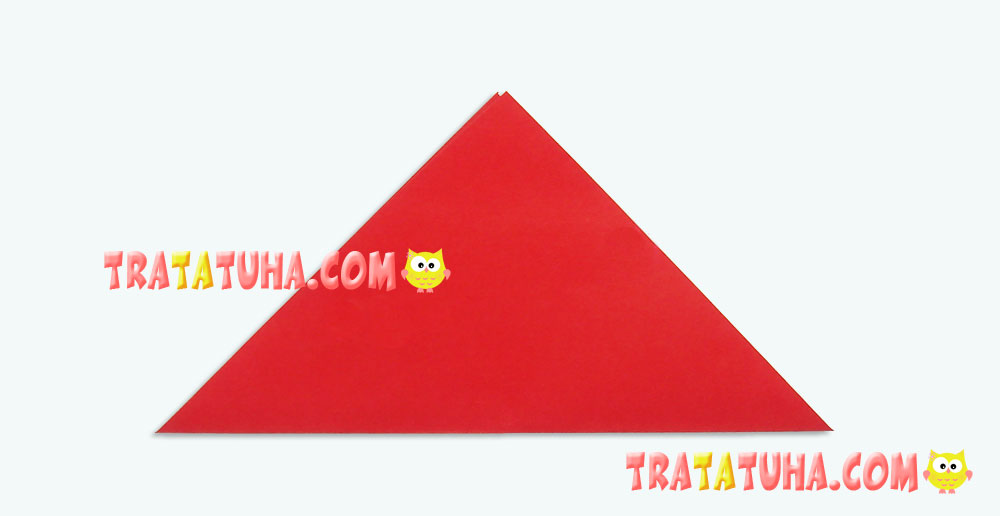
Fold the triangle once again by joining the angles. This step is required to find the fold only.
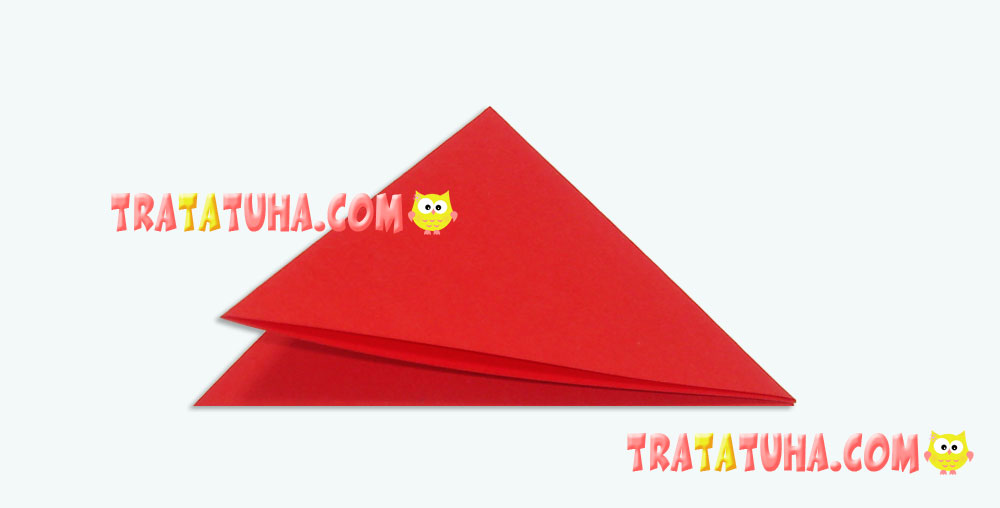
Open the triangle you’ve got.
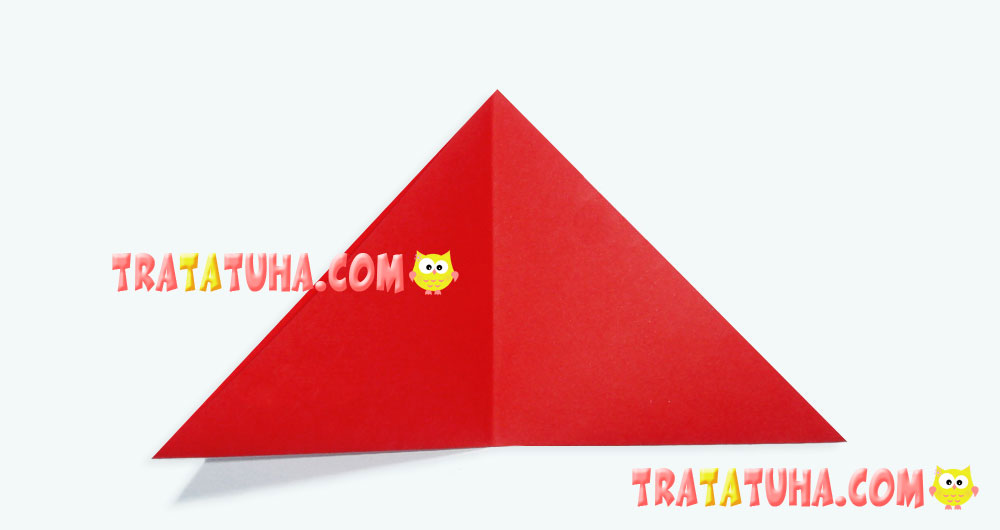
Pull the right corner and position it at a small angle not reaching the angle at the top; don’t level it along the fold in the middle. Smooth the side fold.
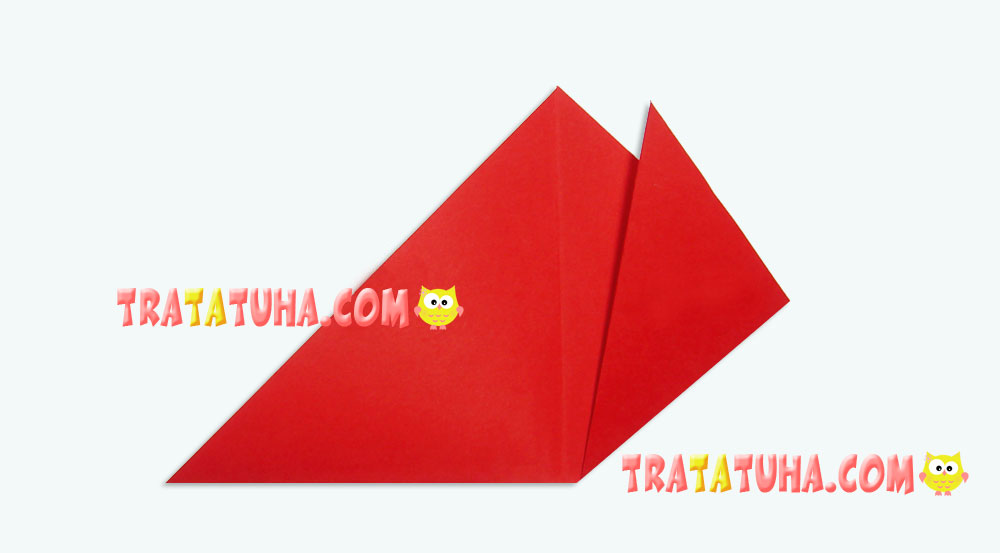
Repeat the actions with the left corner.
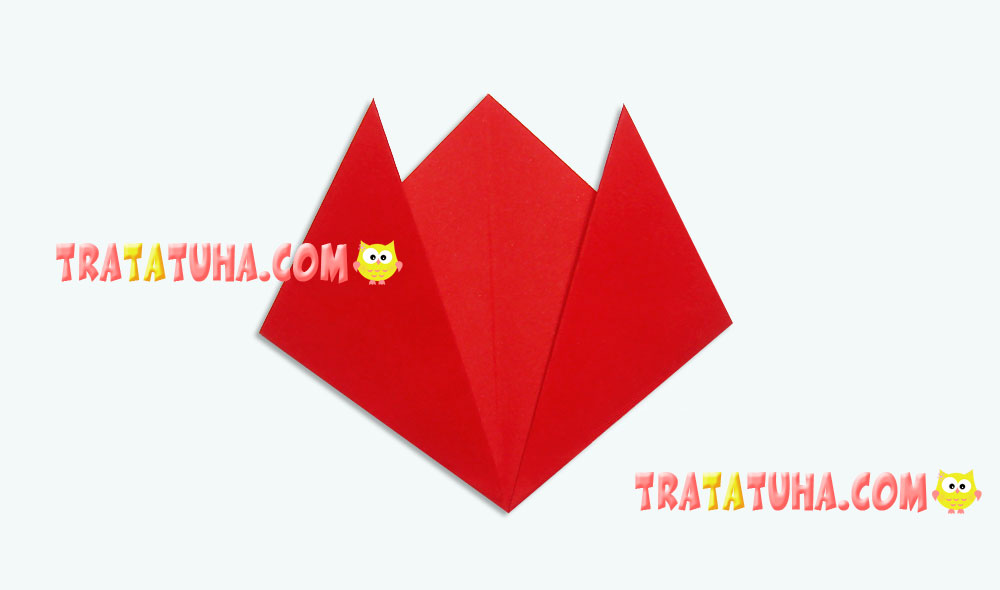
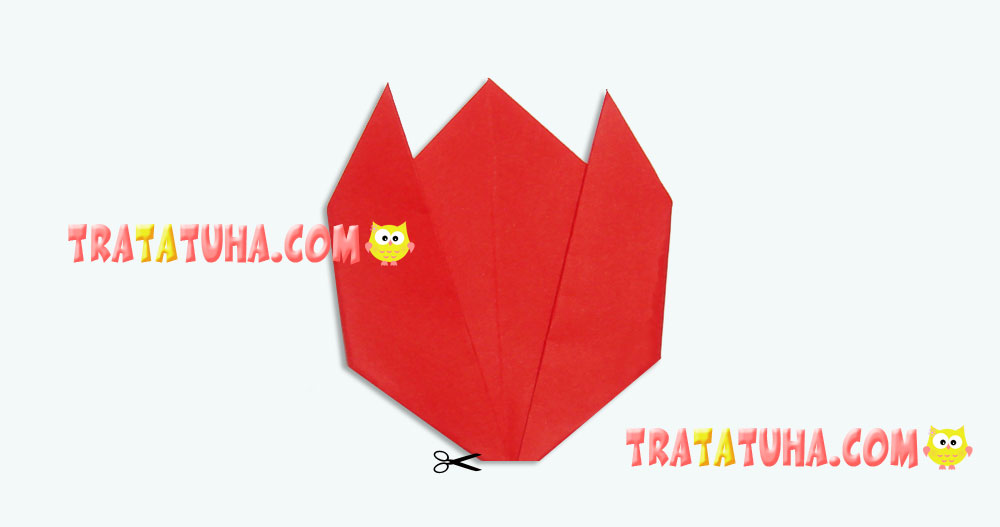
The tulip is almost ready. Turn it to the other side, fold the side corners a bit to make the flower look more round. Very small children may skip the last step. The tulip flower is ready.
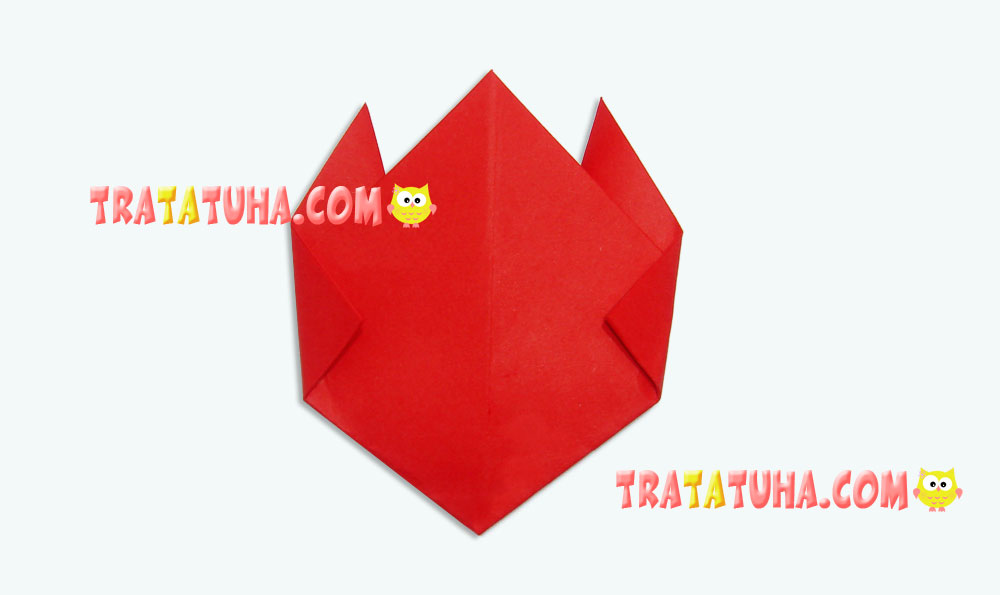
Here are the flowers of various colours; you can cut off the bottom corner to insert a tube twisted of green paper.
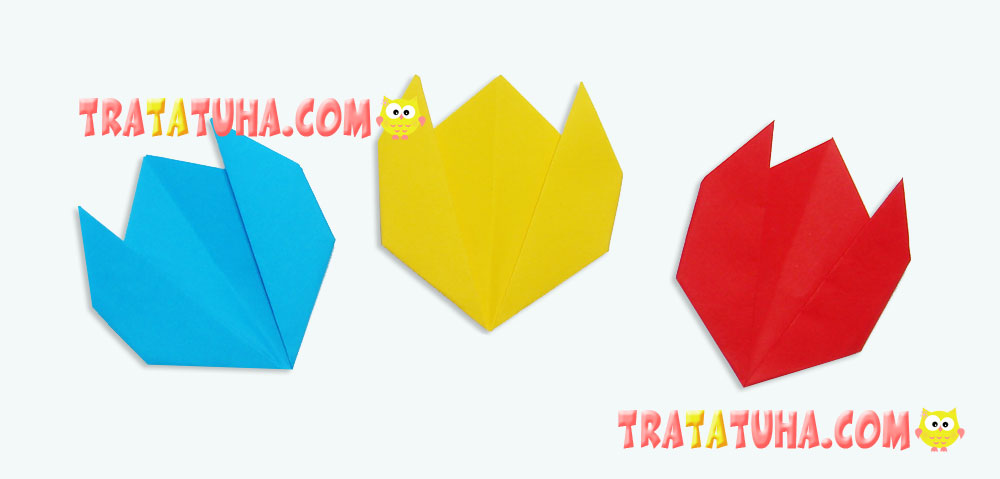
Or make an applique work: to glue the tulip flowers to construction paper, draw or glue paper stems with leaves.

Elder children can make an origami stem that will hold the tulip in a vertical position. A half-open stem bottom easily fixes the flower at the surface.
Making a Stem With a Leaf for Origami Tulip for Kids
Prepare a square sheet of paper that exceeds the one you have used for the flower. You can find the sizes above.
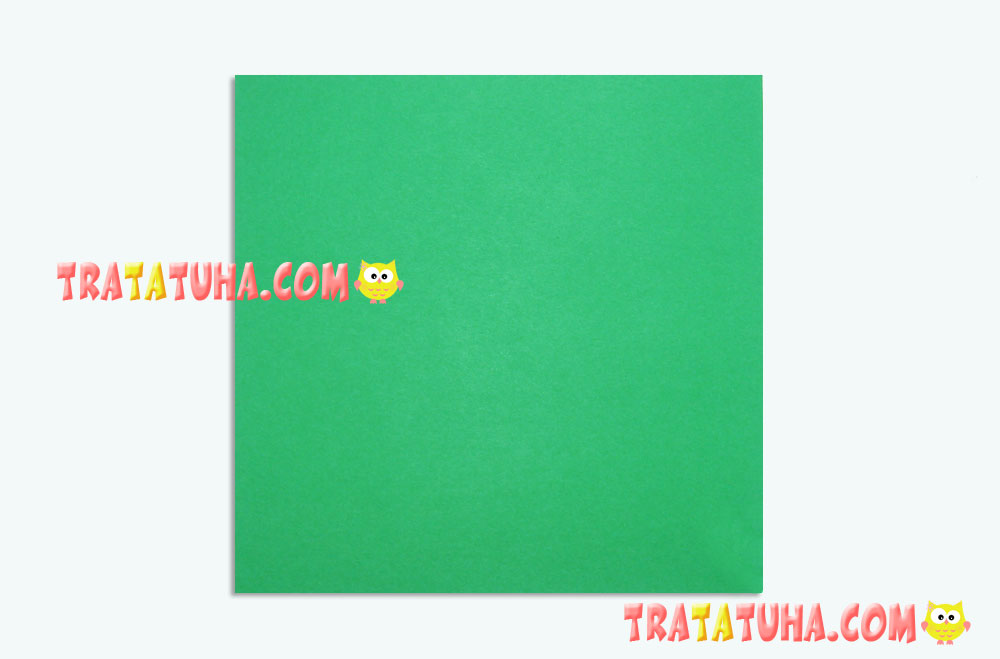
Fold it in half by joining the opposite corners. You will get a triangle.
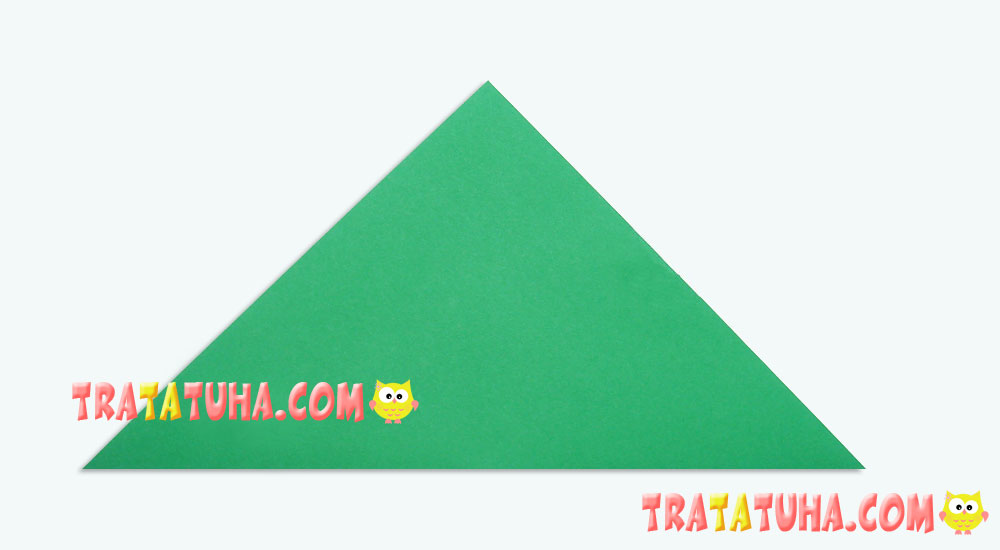
Open the triangle; you can see a fold in the middle. Level the right side of the square along the middle fold by moving the right corner there. Smooth the fold you’ve got at the right side. You can use a ruler or any other flat object to do it.
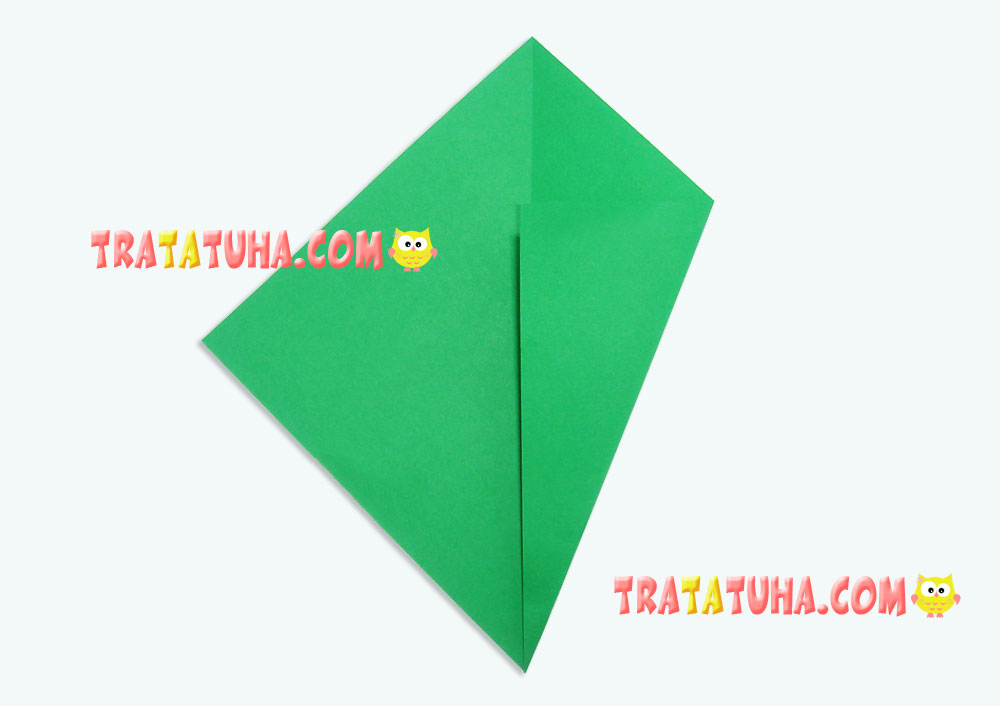
Use the same method to fold the left side of the square as well.
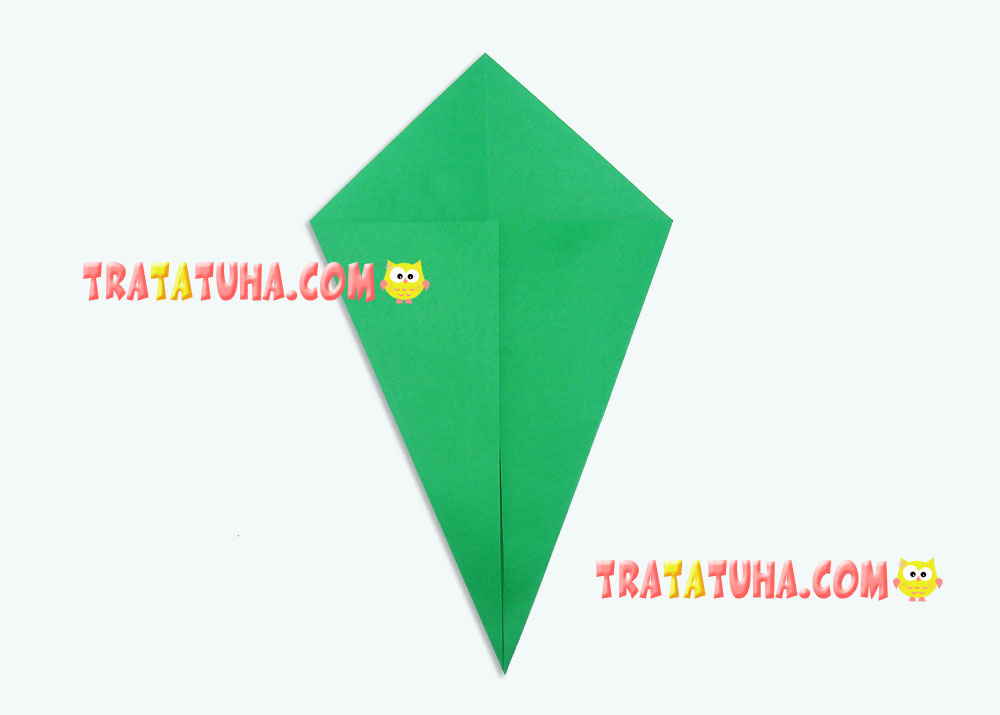
Again, fold the sides using the same way by moving new corners at the center. First, from the right.
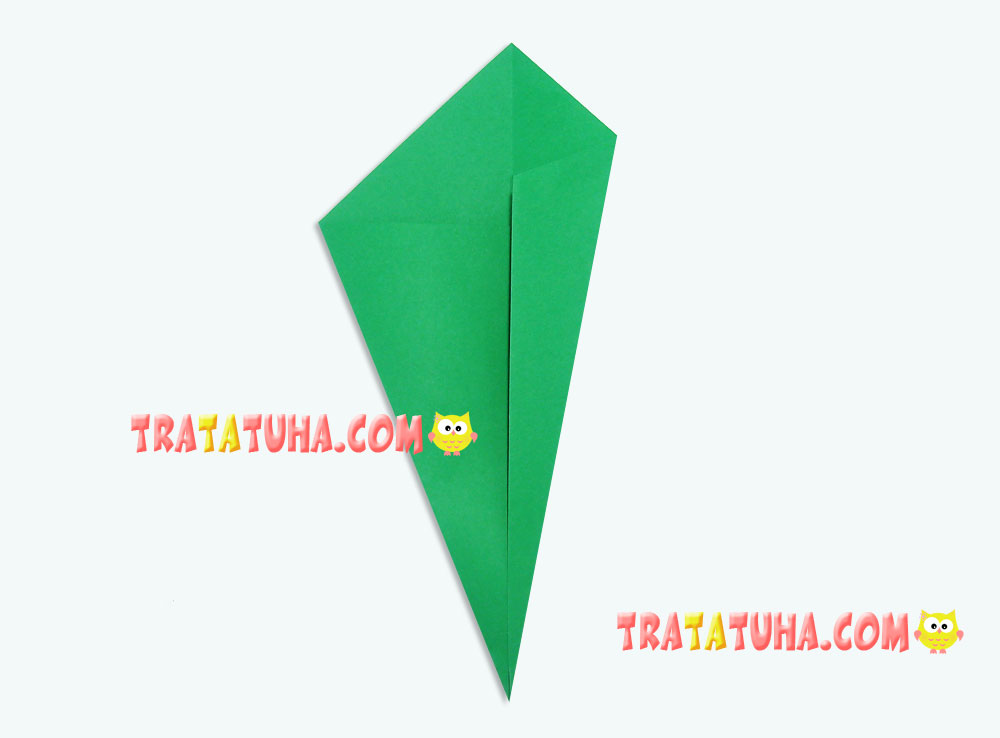
Then, from the left.
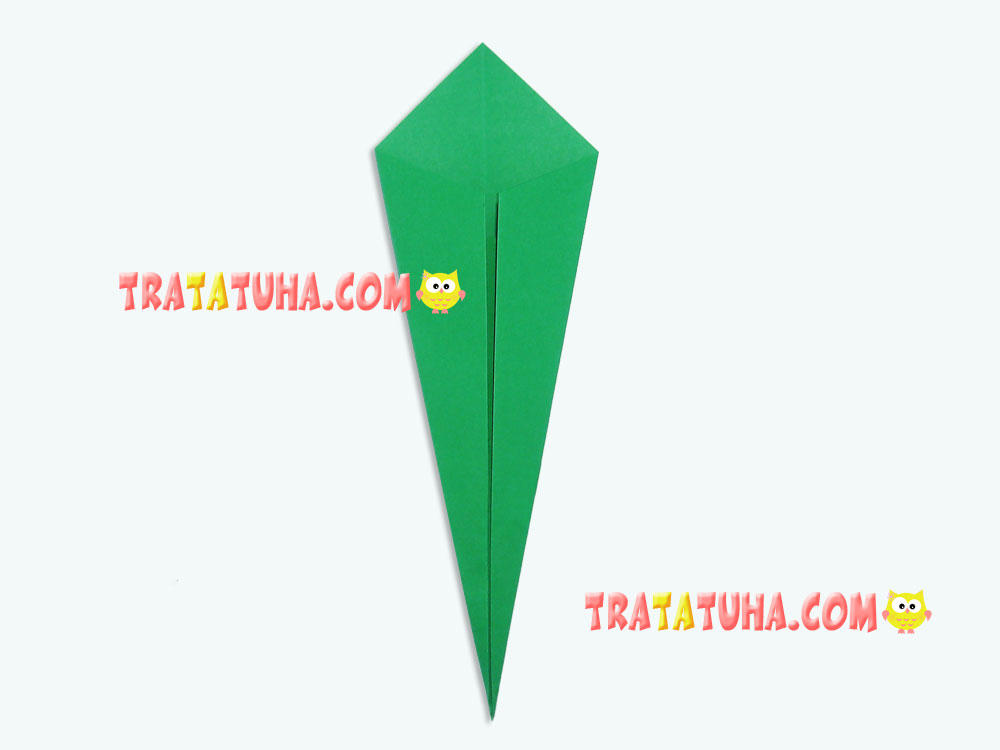
Now level the upper corners along the center. The right one.
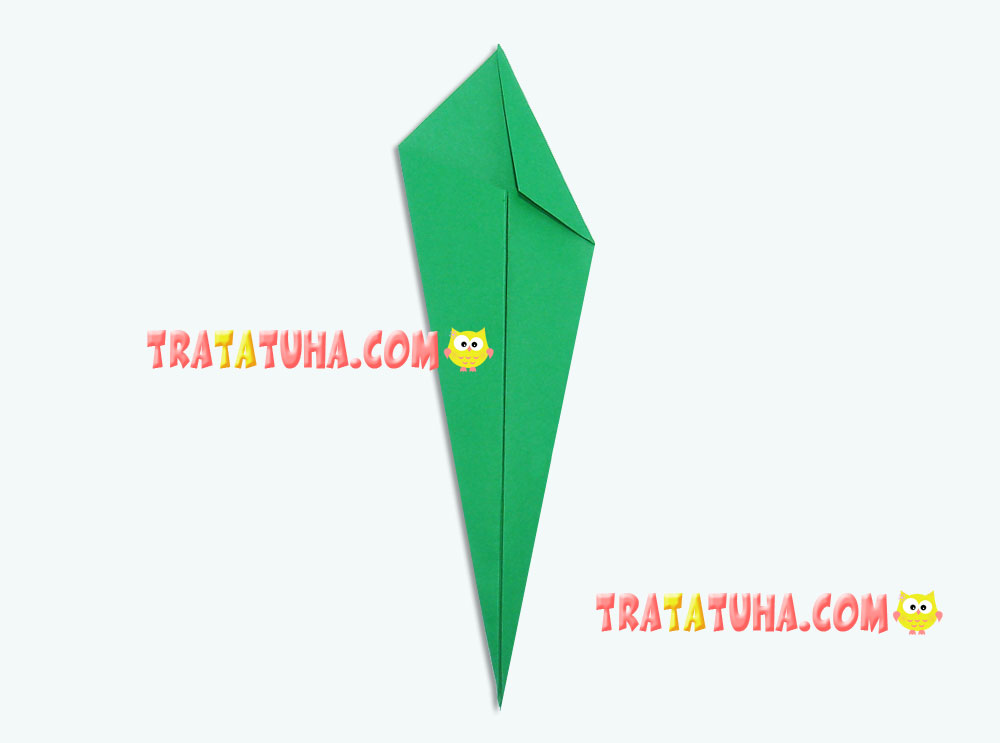
The left one.
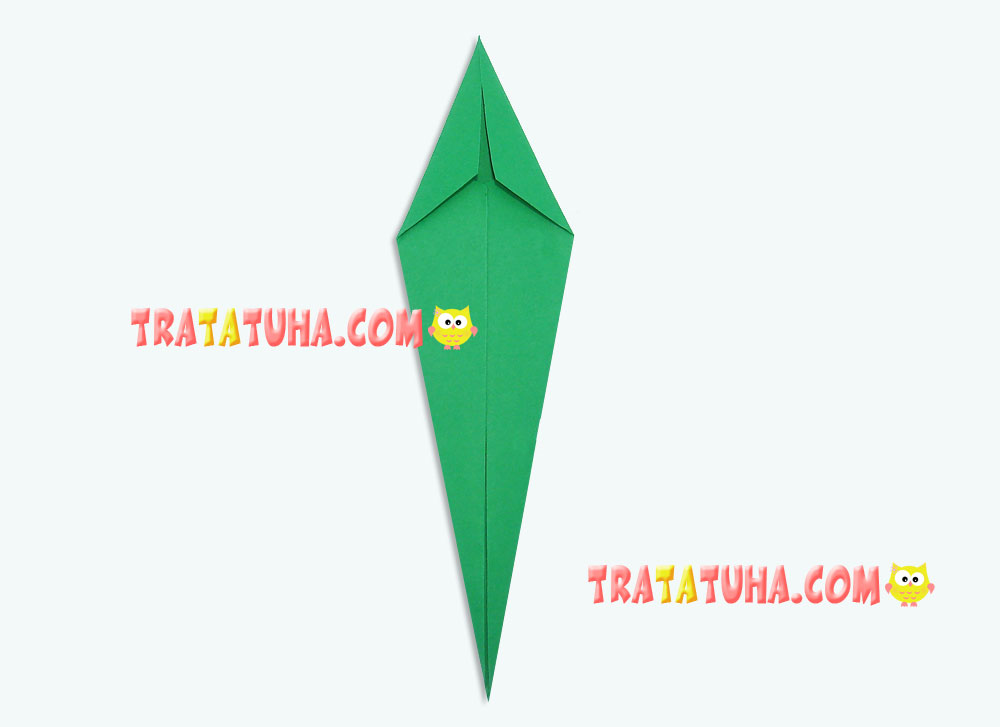
Fold the long detail you’ve made in half by joining the bottom corner with the upper one.
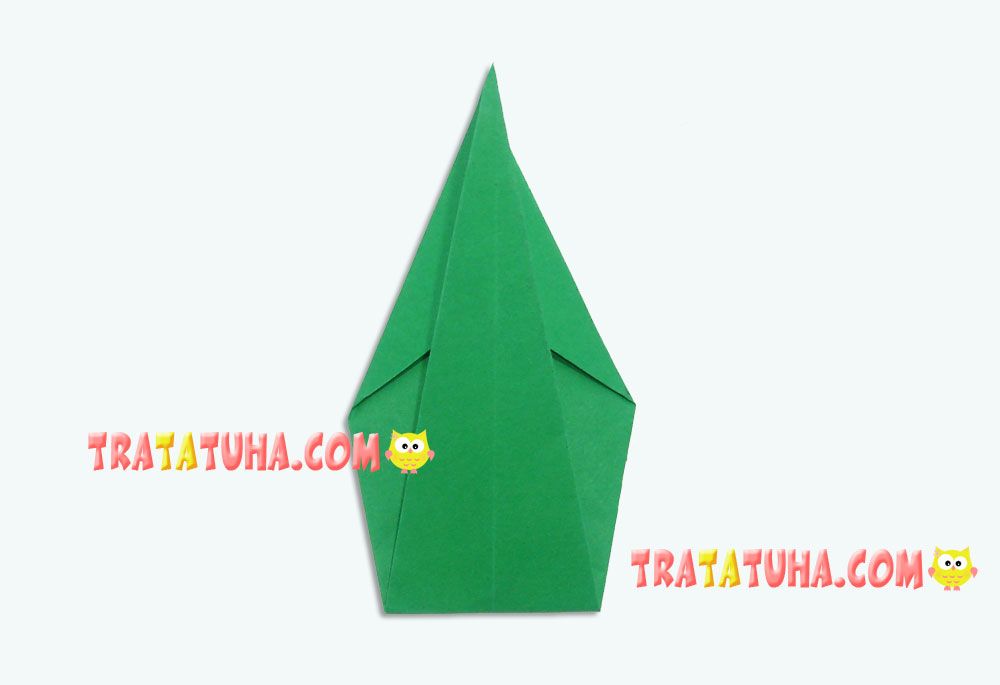
Now, fold this new detail in half; however, this time you should join the right side with the left one. The smaller part should be inside it. Slightly press.
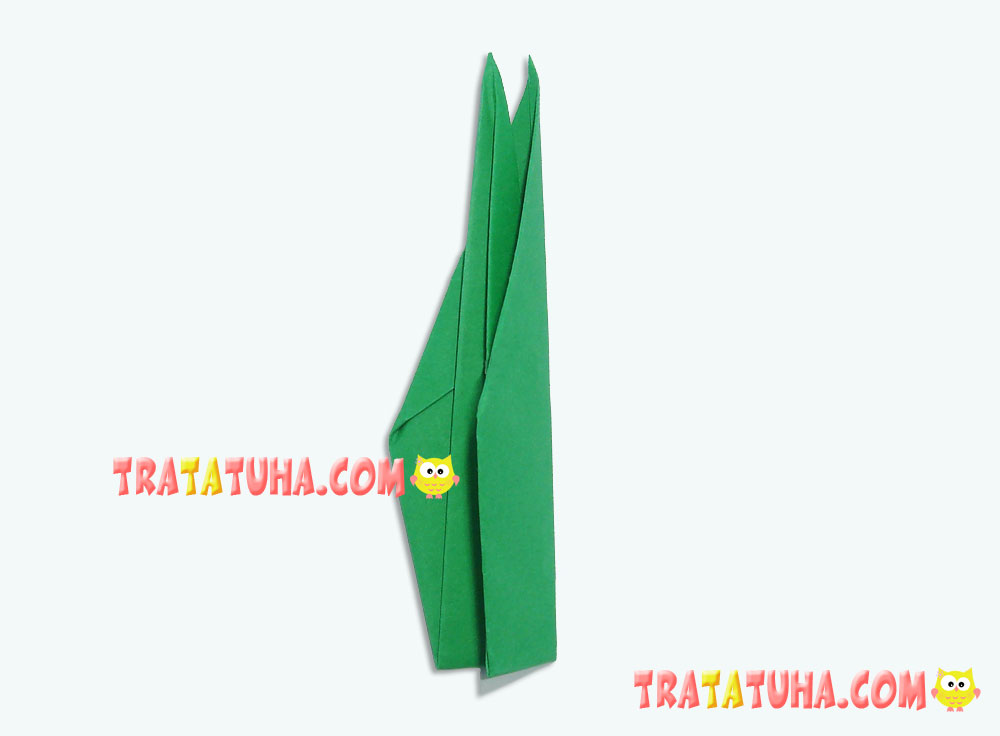
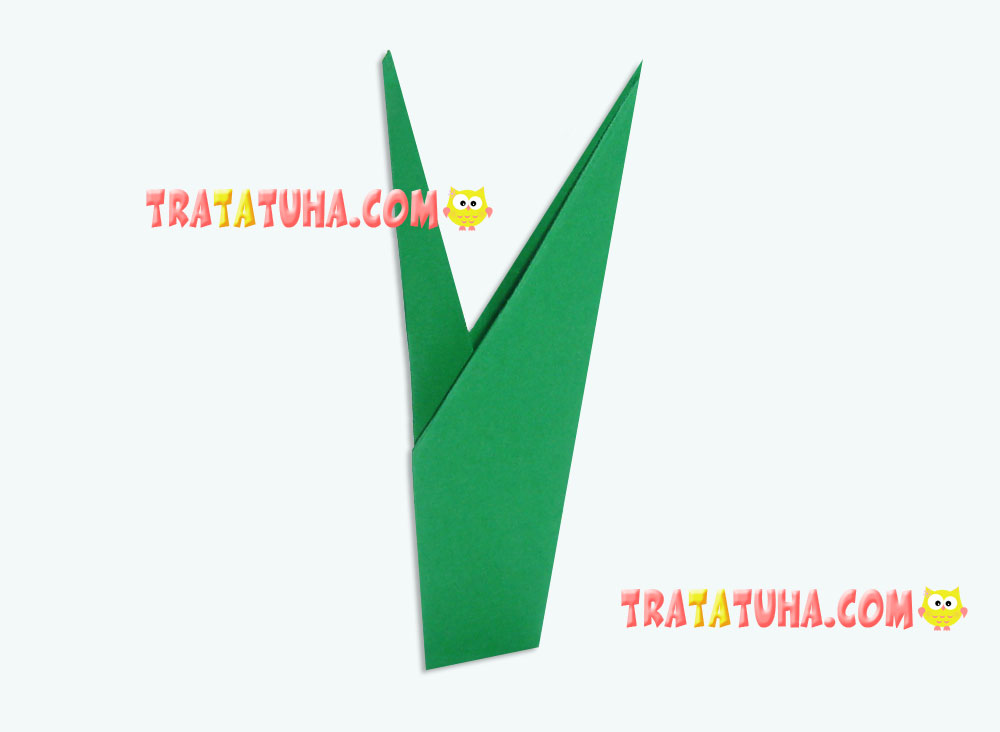
Then, pull the inner part and drag it out a bit. If necessary, additionally smooth all the sides or press them thoroughly. In general, in origami, the clearer the folds the neater and more accurate is the final result. The stem with a leaf is ready.
Cut off a bottom sharp end from the tulip flower.
Put a thin part of the stem in the hole you’ve got. Optionally, you can fix it there with glue. But if the flower is drawn upon as far as it can go, it should be well fixed at the stem without any glue.
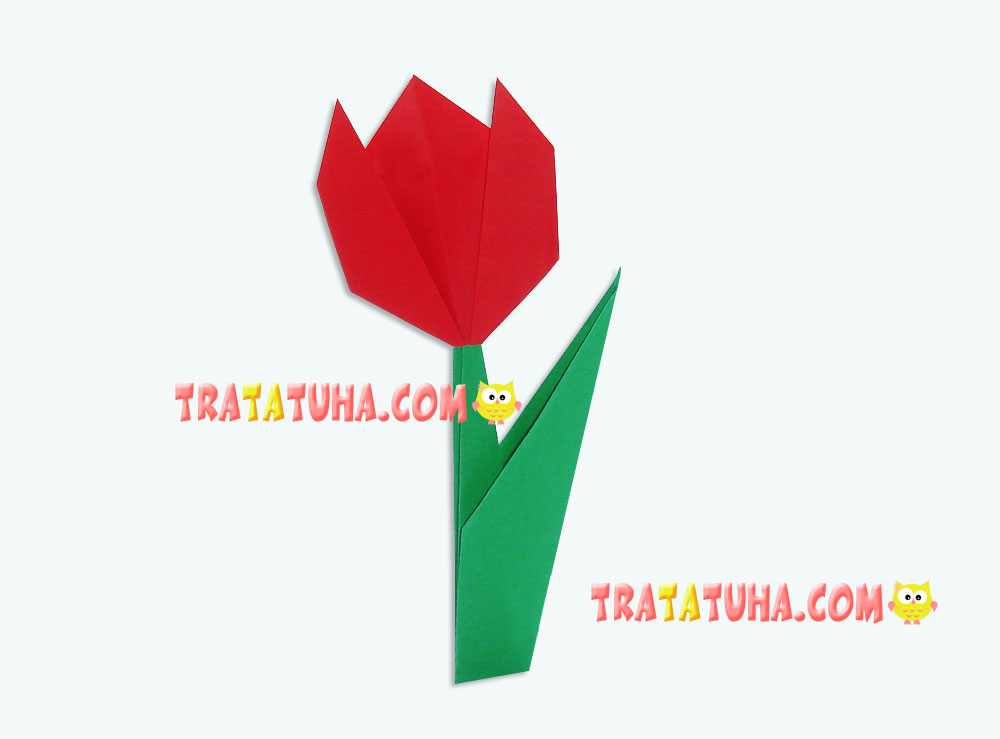
That’s it. The simple origami flower for kids is ready.

Crafts for Kids – learn how to make craft at home! Super cute crafts for all age groups!



marvellous way of making a flower. i loved it
The stem was hard for me