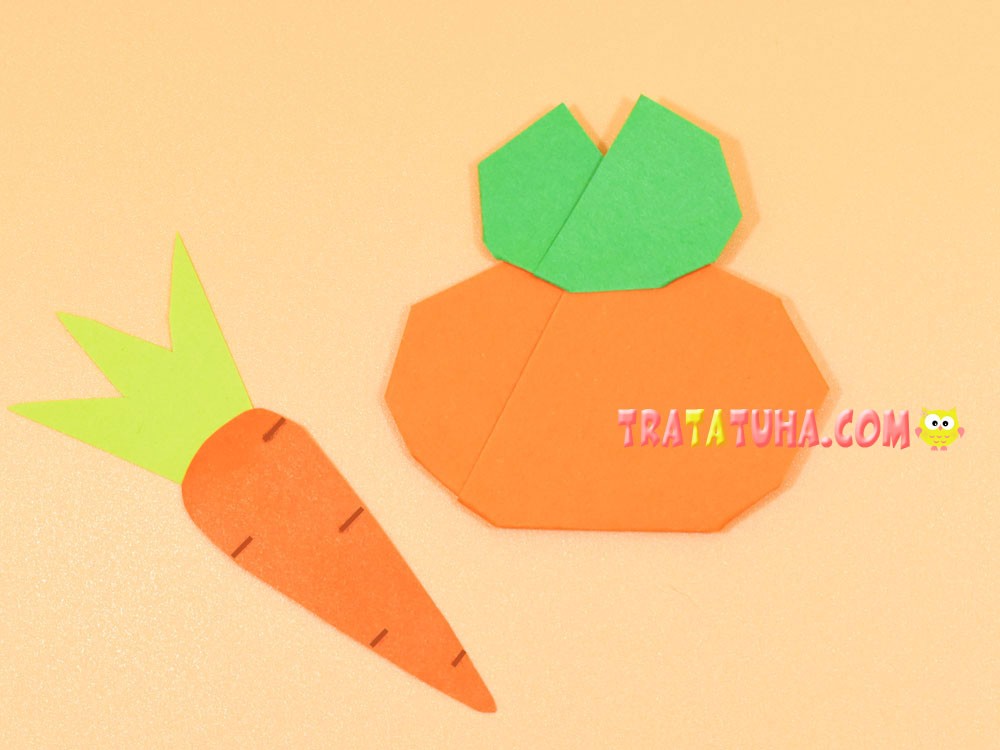
Easy origami pumpkin for Halloween. Step-by-step instruction with detailed photos. Easy and fast creative work.
Materials:
- Square-shaped paper (any desired size and suitable color);
- For eyes and a sinister smile to choose from: black felt-tip pens or black paper;
- Glue and scissors, if the choice fell on paper eyes with a smile.
Origami Pumpkin for Halloween Step by Step
At the initial stage, you should make a basic origami shape — a double triangle.

To do this, fold the paper into a triangle.

Open and fold the triangle again, but already touching the other two opposite corners.

Flip to the other side and fold the square in half to make a rectangle.

Open the paper completely and bring the horizontal fold to the middle. Moreover, while lowering the upper side of the square down.

You get this double triangle. The main part of the work is behind.

Now fold the sides of the top layer of the triangle inward, aligning it in the center. Right.

Left.

Flip over to the other side.

Bend the bottom corners up.

Direct the side corners towards each other, aligning along the underside.

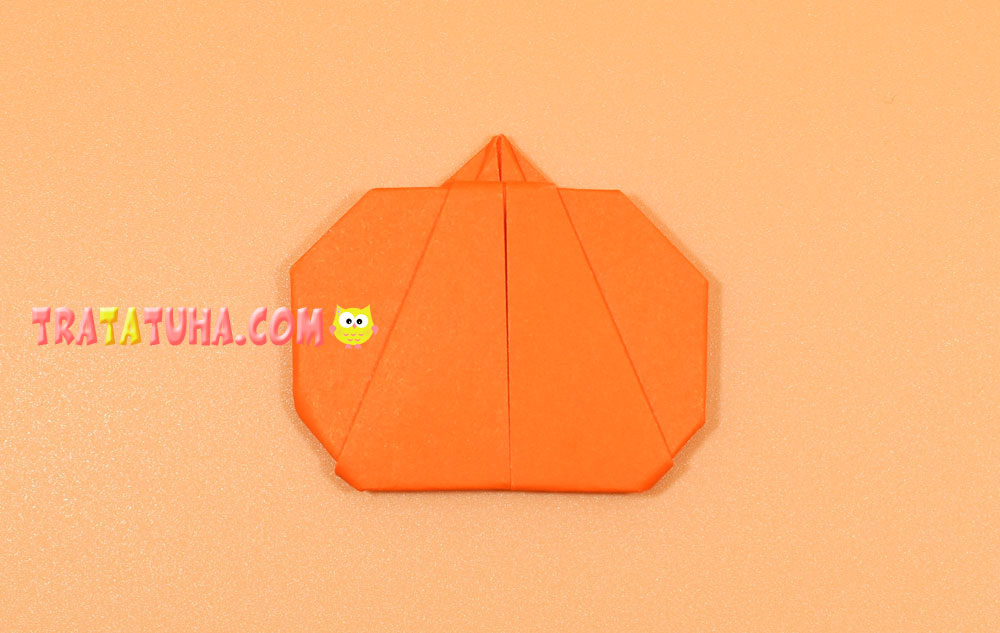
To round the pumpkin a little, bend very small corners on both sides at the bottom.

Point the top corner down.

And then lift it up, making a small fold.

Flip over to the other side. The vegetable we need is ready.
But now we need to make an origami pumpkin for Halloween. To do this, draw the eyes, nose and sinister smile with a black felt-tip pen. Alternatively, these details can be cut out of paper.
Even more ideas in the review are Halloween crafts.
Related Post: