Easy paper fun — origami finger trap. Step by step instructions with photos. Medium difficulty level.
Materials:
- A piece of square paper. Size – 7.5: 7.5 cm. Optionally, more can be;
- Scissors.
Origami Finger Trap Step by Step
Prepare the paper in the shape of a square.

On its area you need to make 4 intersecting folds.
First, fold the square into a triangle twice, changing the contact angles.

Then open the paper and fold the square twice into a rectangle. Also, first connecting the two opposite sides, and then the other two.

These are the folds you should have, with which you can easily make a basic origami shape — a double square.

To do this, bend the side edges inward, while pointing the top to the bottom.


Press down, the double square is ready.

Center the right side of the top layer of the square.

Then left.

Flip over to the other side.

And fold over the right side again.

Then left.

Open the paper completely. Here we can clearly see the folds, which will facilitate the further work of folding origami.

On paper, dotted lines indicate the places where you need to make cuts on all four sides of the square.

From these four areas you need to make rays. Bend the sides of the first ray.

And then everyone else.

Flip over to the other side.

Bend the first corner of the beam towards the center. It will be a small triangle.

Bends must be made along the contour of this triangle. Pinch the paper along the right side of the triangle with your fingers.

Then press the paper, creating a fold, along the left side.

You will get such folds, completely repeating the shape of a triangle.

Make such folds on all rays. In the center, press the edges that are crosswise, directing them towards you.

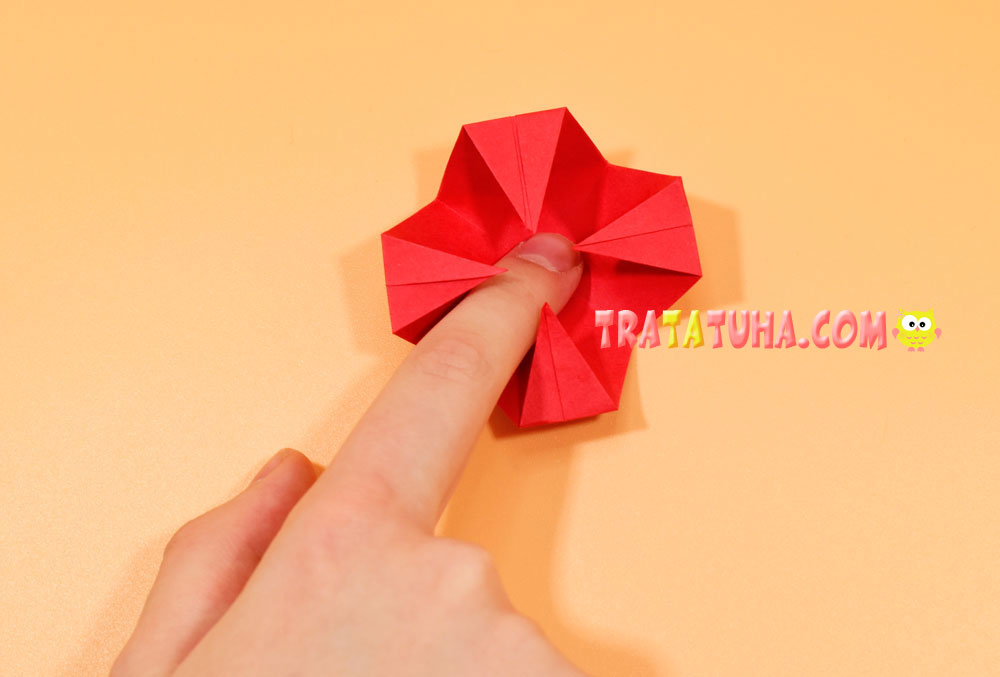
Everything, the origami finger trap is ready. To make the edges collapse, you need to sharply press your finger into the center of the trap.


