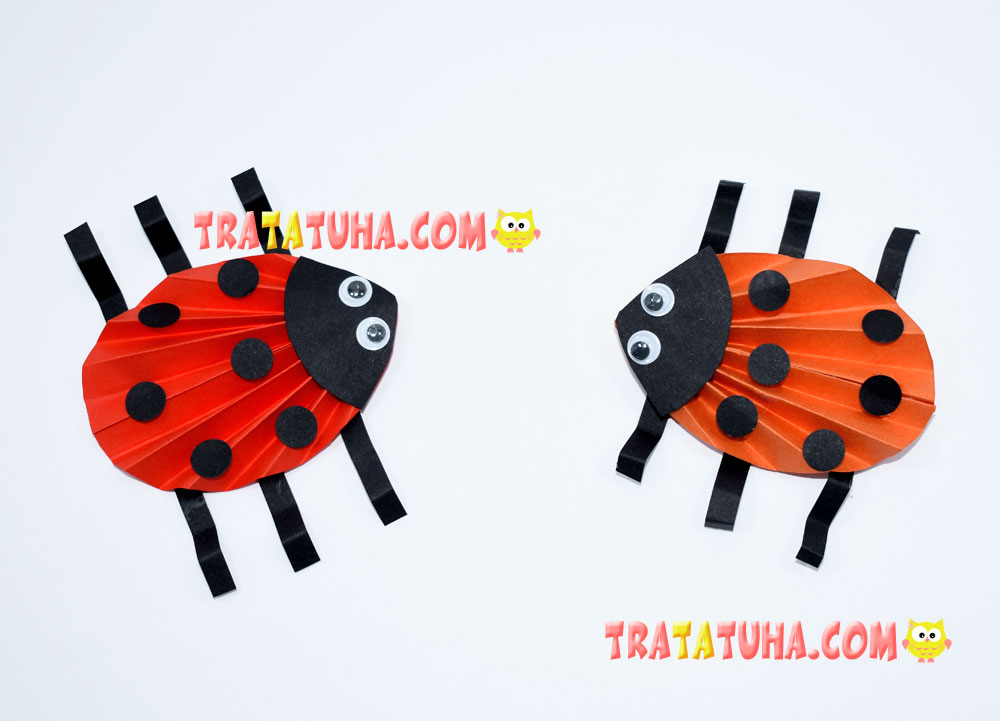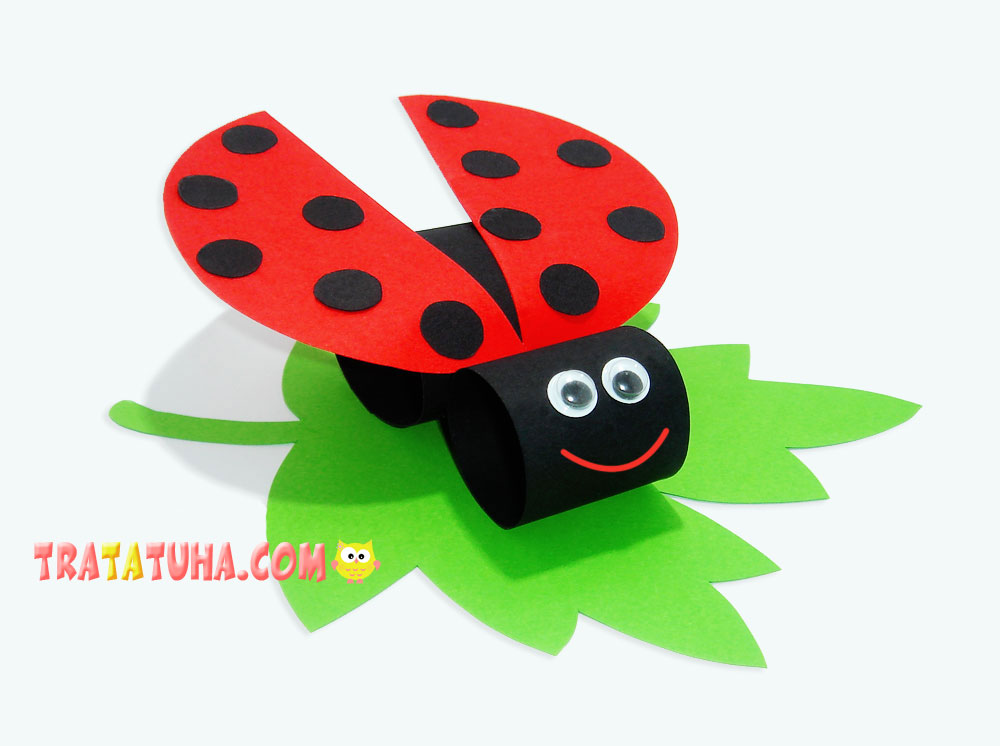
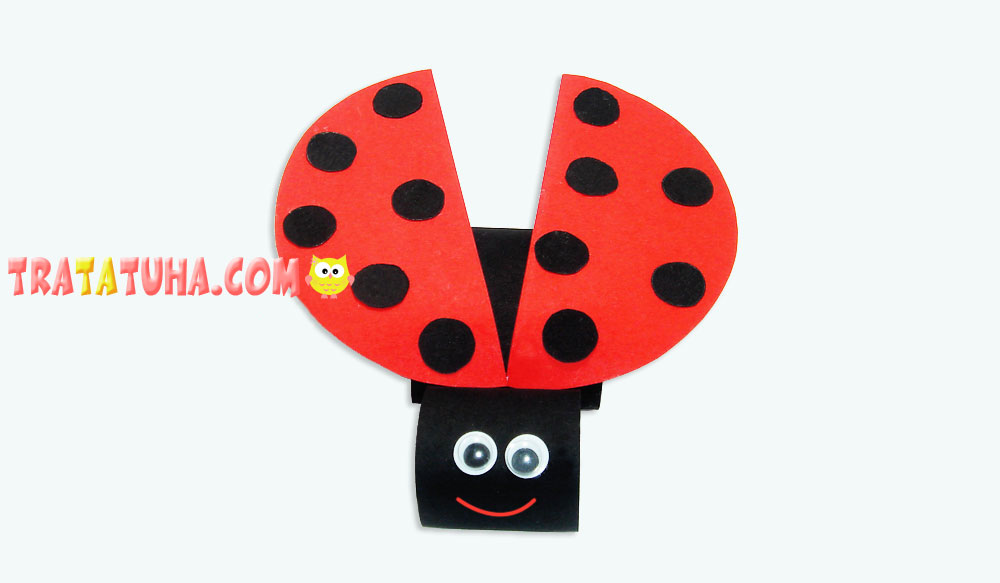
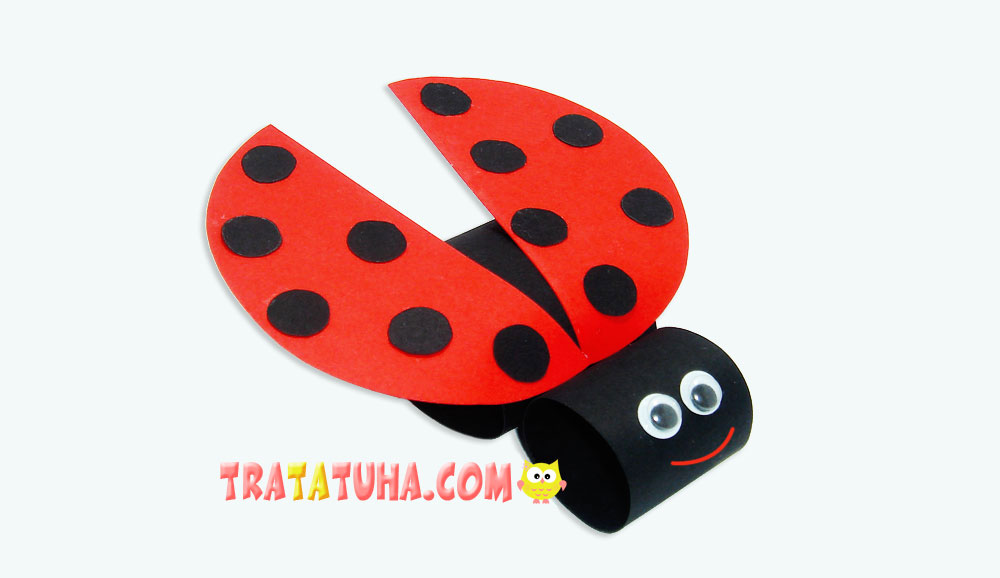
This paper ladybug is a very easy craft, perfect for kids. The work will not require much time and special skill, because all the steps are incredibly simple.
Craft materials:
- Double-sided cardboard in black and red. You can also use colored paper;
- Green Cardboard for Maple Leaf;
- A simple pencil, scissors, glue stick, compasses;
- Moving eyes, either made from black and white paper.
Paper Ladybug Step by Step
We Make a Body
Since the insect consists of rolled paper, first cut off two strips of black cardboard. One strip should be slightly smaller and thinner than the other, as the head will be smaller than the body. Sizes are chosen randomly, there are no exactitudes here. It all depends on the desired size of the ladybug.
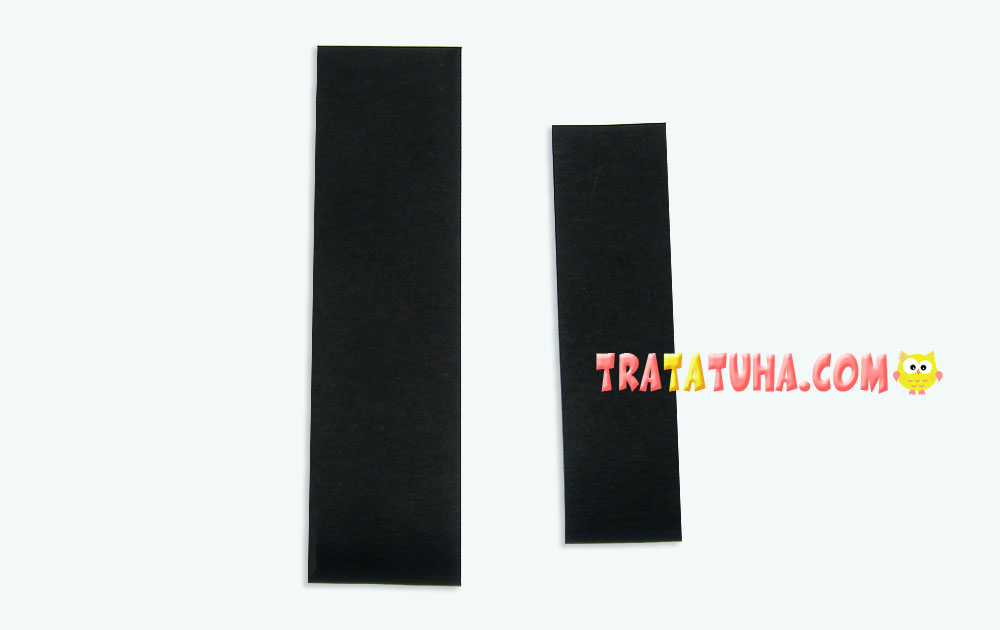
Apply glue to the narrow side of the strip, twist into a ring and make rolls from both pieces of paper.
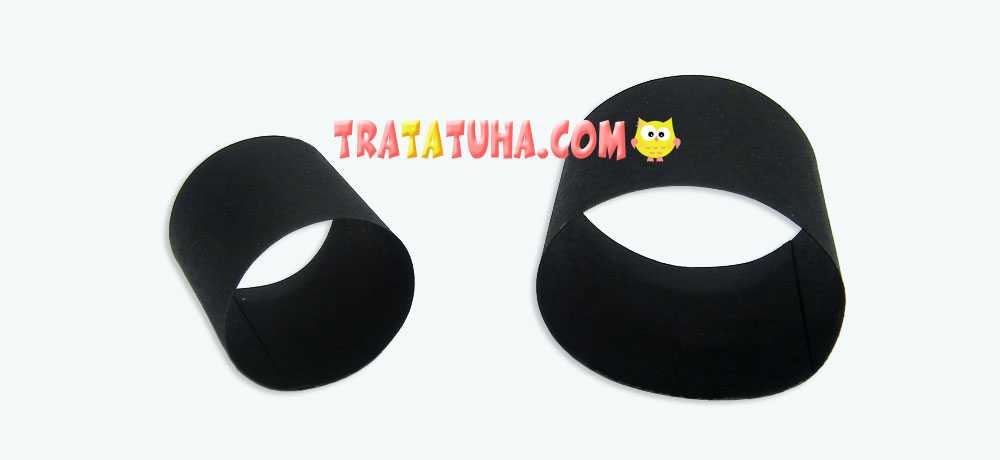
Glue their sides. The body is ready.
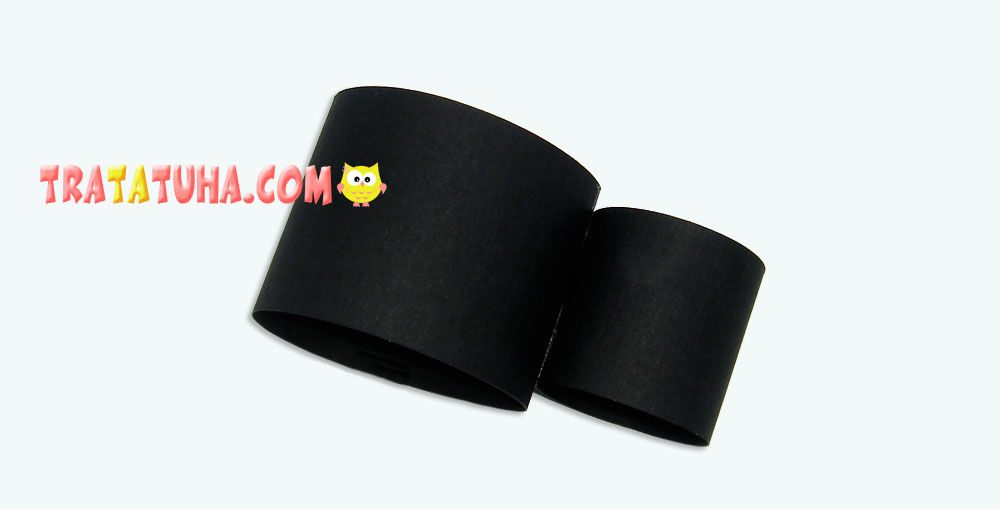
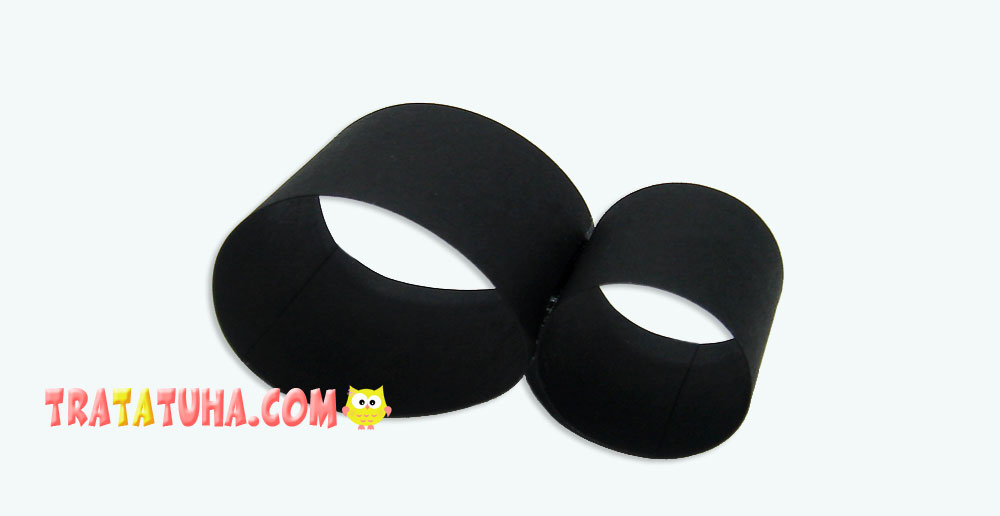
Working on the Armor
We will have wings or shell in the form of two halves of a circle. Therefore, using a compass or any rounded object at hand and suitable in size, draw a circle on red cardboard and cut it out. The size of the circle can be slightly larger than the body or flush with it. Cut the circle in half.
Cut out enough small circles from black paper.

Glue the black dots onto the red semicircles. The shell is ready.
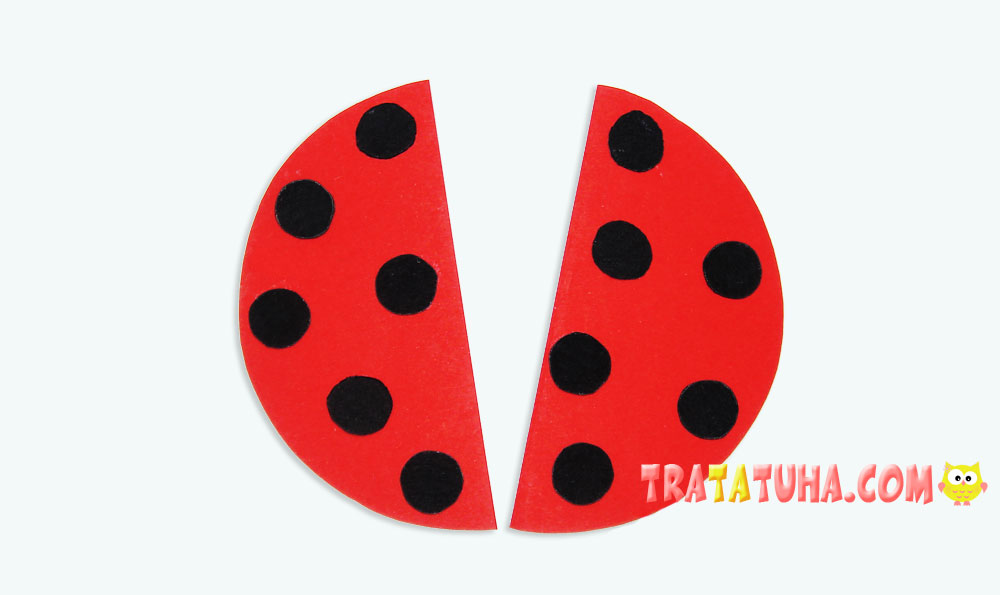
Glue ready-made moving or home-made eyes to the ladybug’s head, and a shell on the body, slightly moving apart. Everything, the ladybug from the rolls is ready.
For a beautiful and complete look, this bright insect can be planted on a green leaf. For example, draw a very simple, oblong or round leaf, or use a template to create a maple leaf.
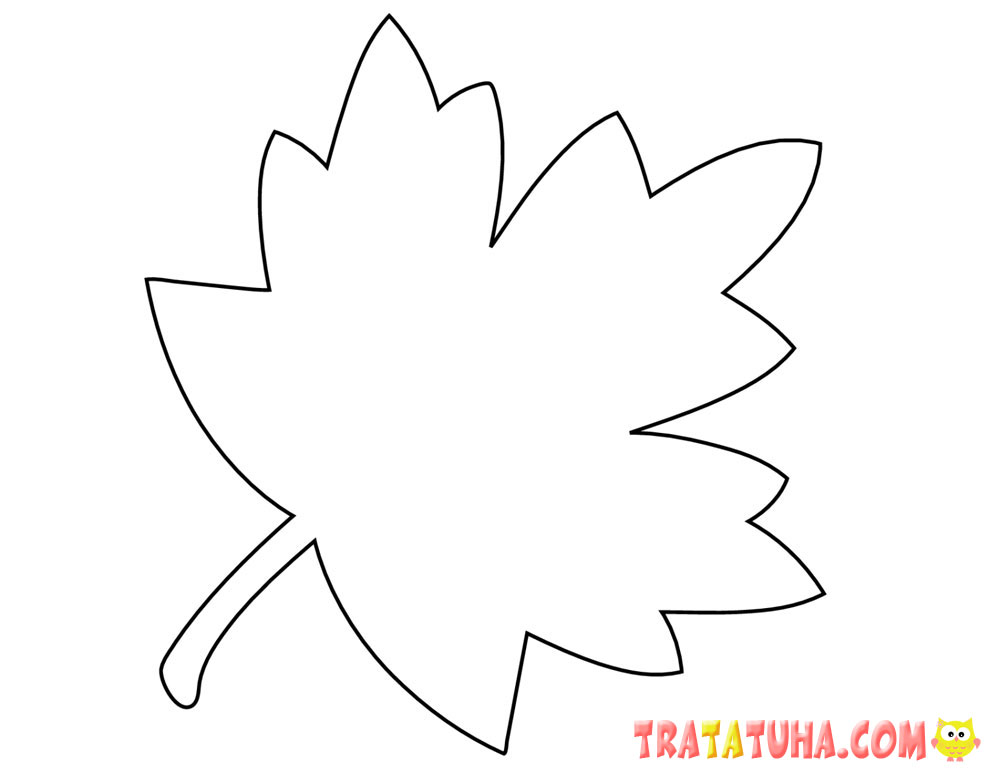
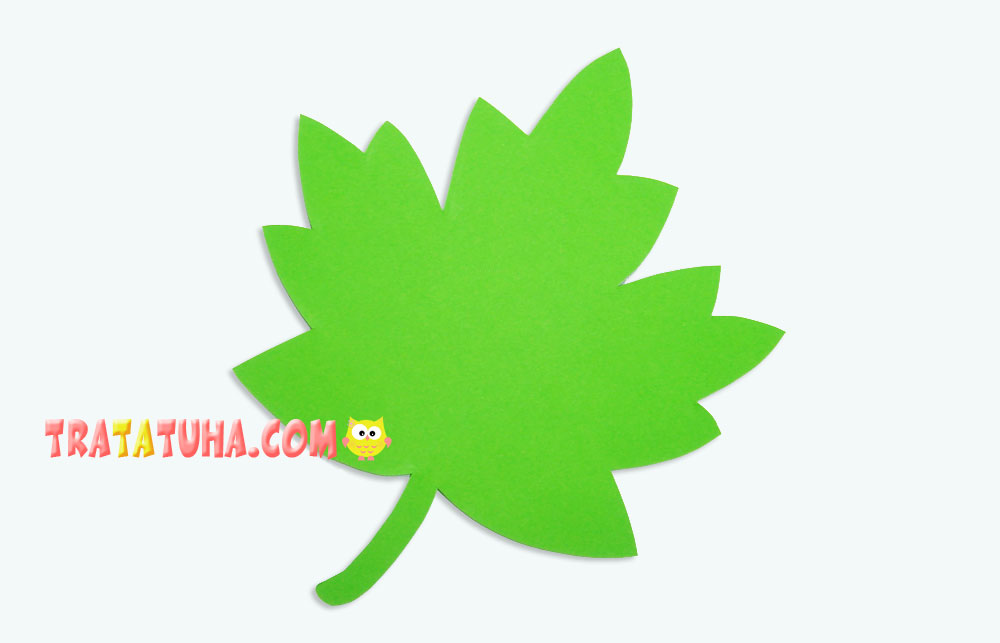
The main thing is the correct size of the leaf so that the paper ladybug fits completely on it.

Many other Insects Crafts for kids.
Crafts for Kids – learn how to make craft at home! Super cute crafts for all age groups!
