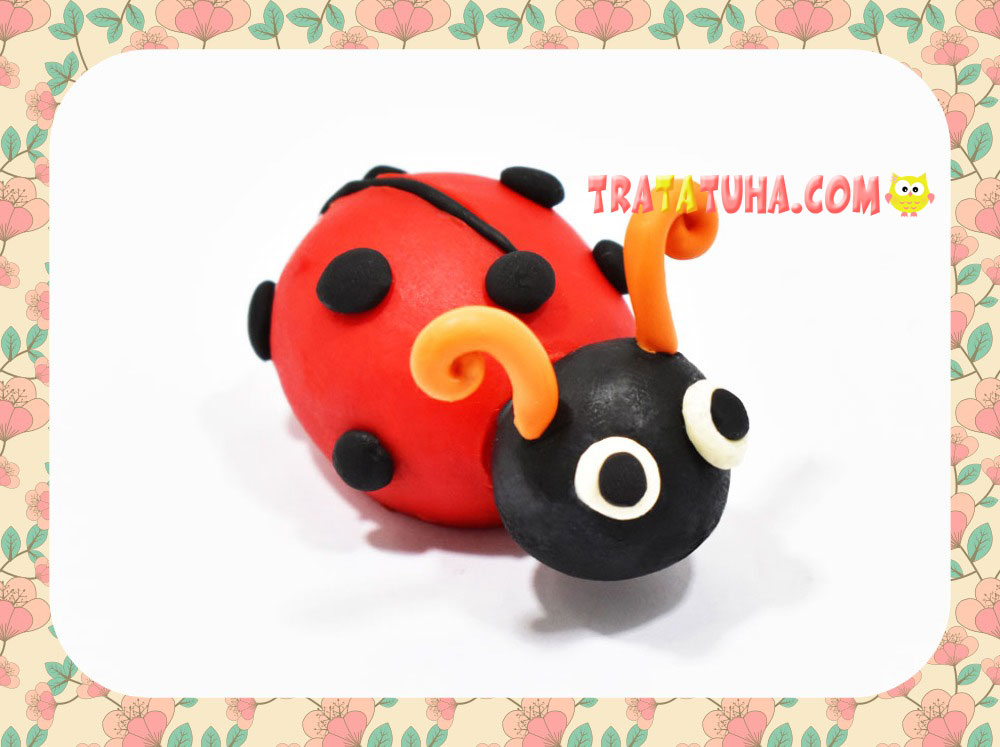
Step-by-step modeling – a clay ladybug. Do-it-yourself insect popular in kid’s creativity.
Materials for work:
- Clay red, black, white and orange;
- Stack, substrate for modeling.
Clay Ladybug Step by Step
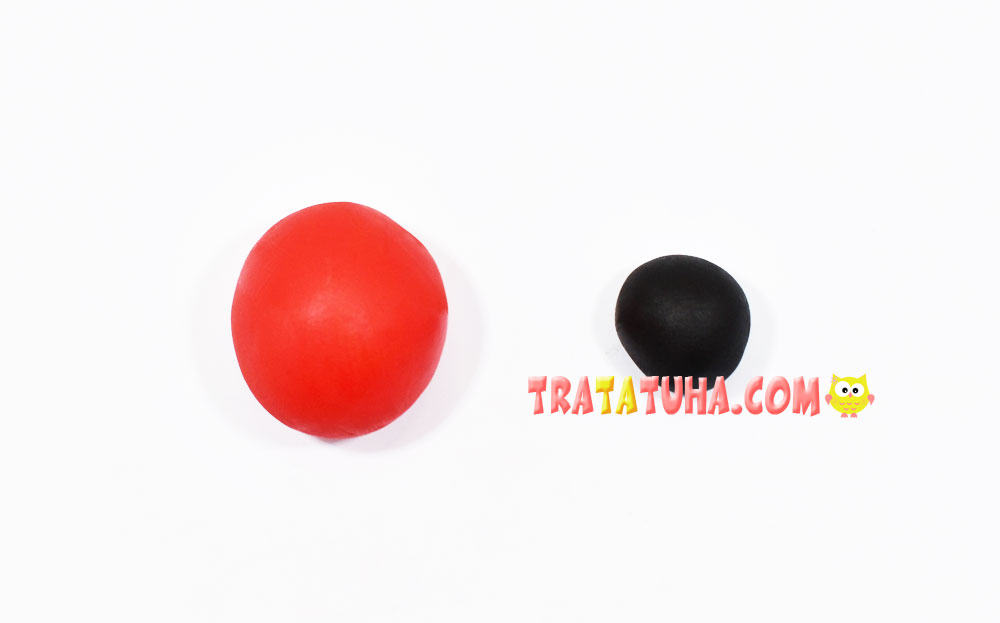
Clay craft consists of a body and a head. Therefore, prepare pieces of clay in red and black, where the red will be slightly larger than the black. Roll the clay into balls.
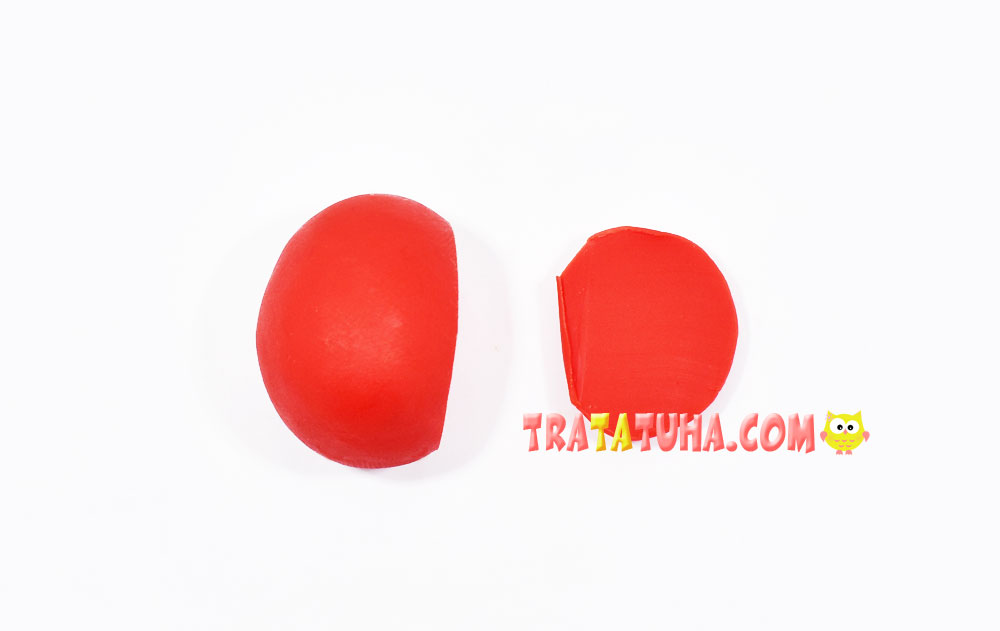
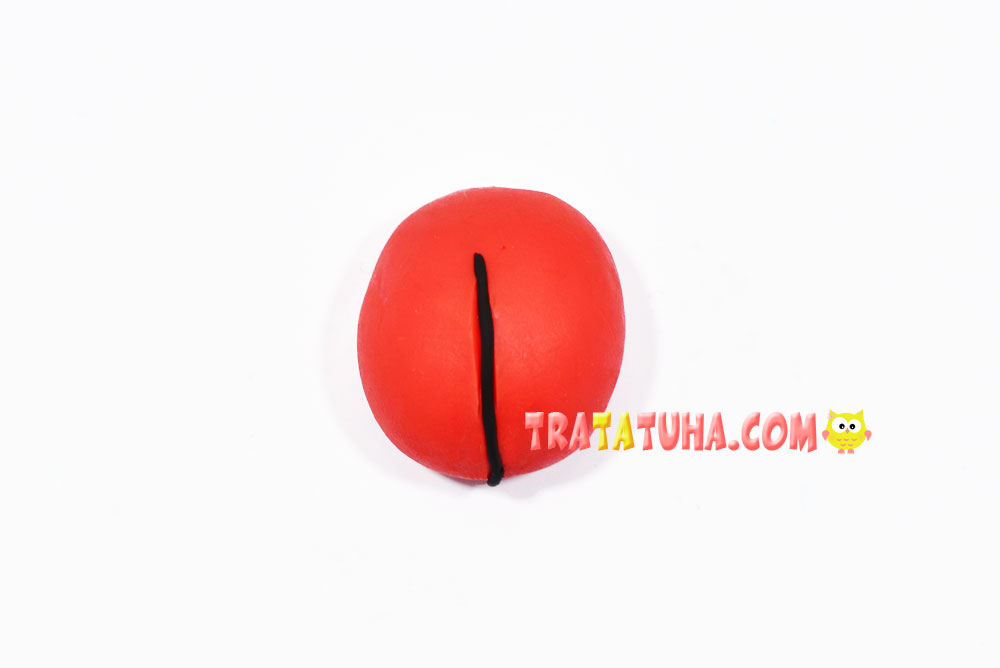
Cut off the edge of the red balloon with a stack. Most of it should remain intact.
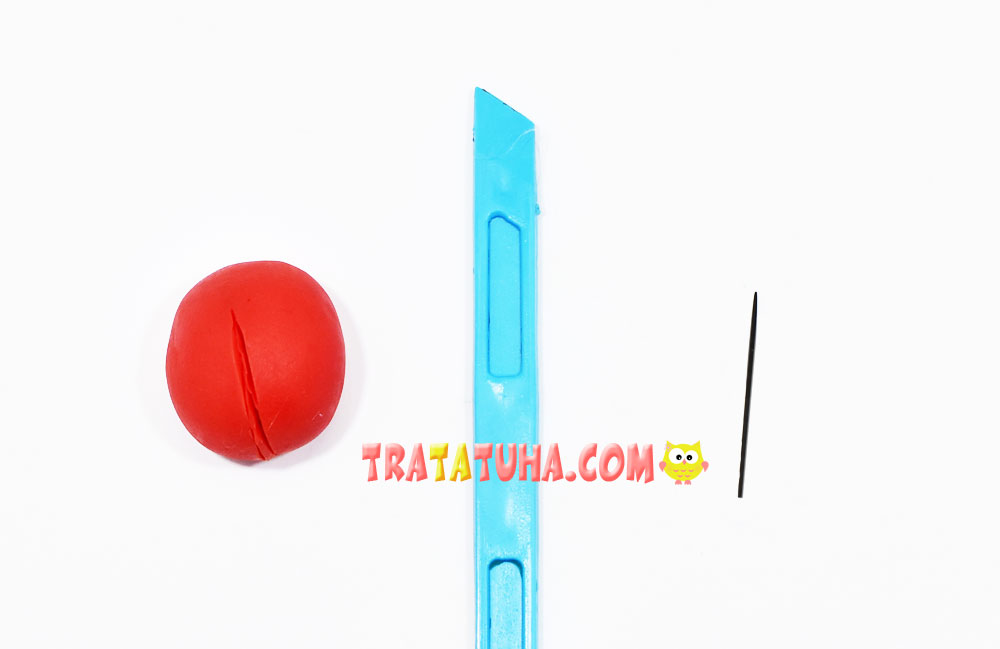
Now make a small incision in the center of the red blank with a stack. And then roll up a thin flagellum from black clay.
Place the black strip in the red notch. Get the shell of a ladybug.
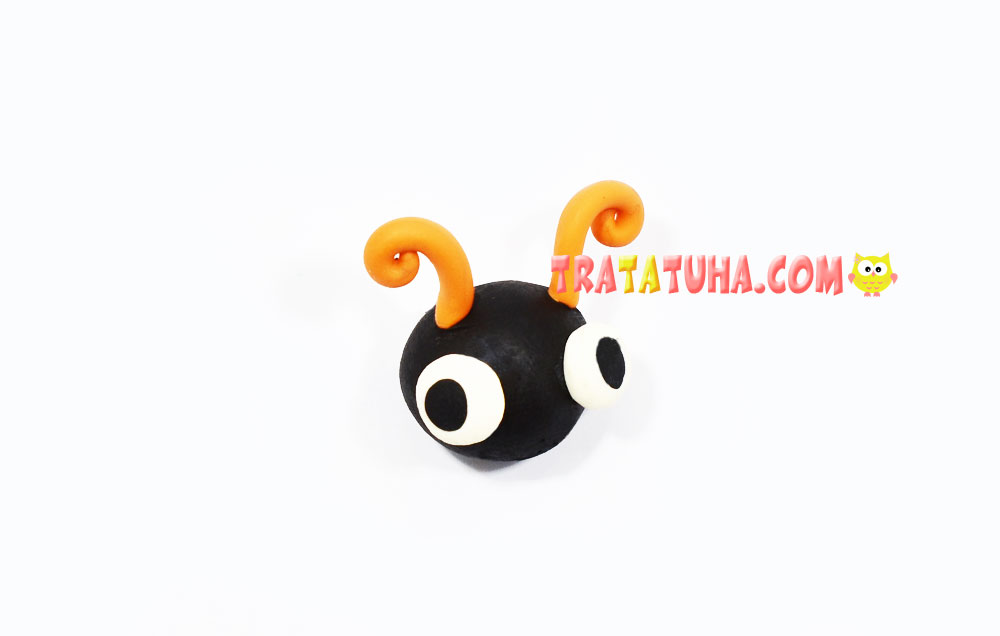
Let’s move on to sculpting the insect’s head. Roll the eyes out of white and black clay. You will also need two antennae made of orange clay. They are two thin sausages, the tips of which then need to be twisted into spirals. Glue the eyes and antennae to the black ball, you get such a head.
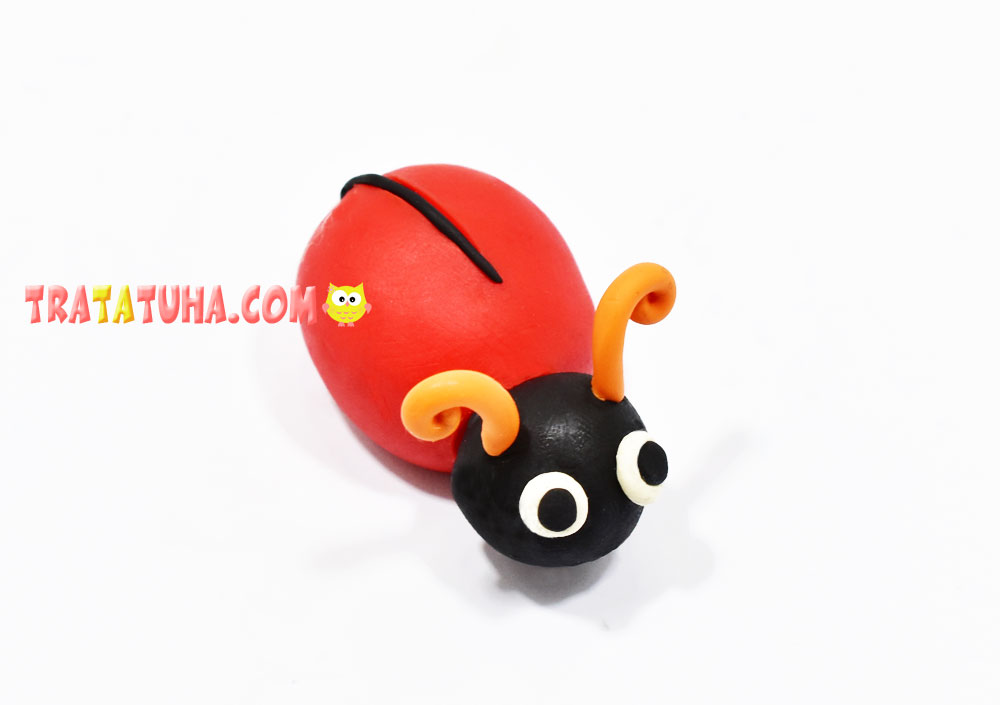
Attach the head to the body, our clay craft is almost ready.
It remains to add the details characteristic of this insect – black spots. To do this, roll 5-9 small balls of black clay.
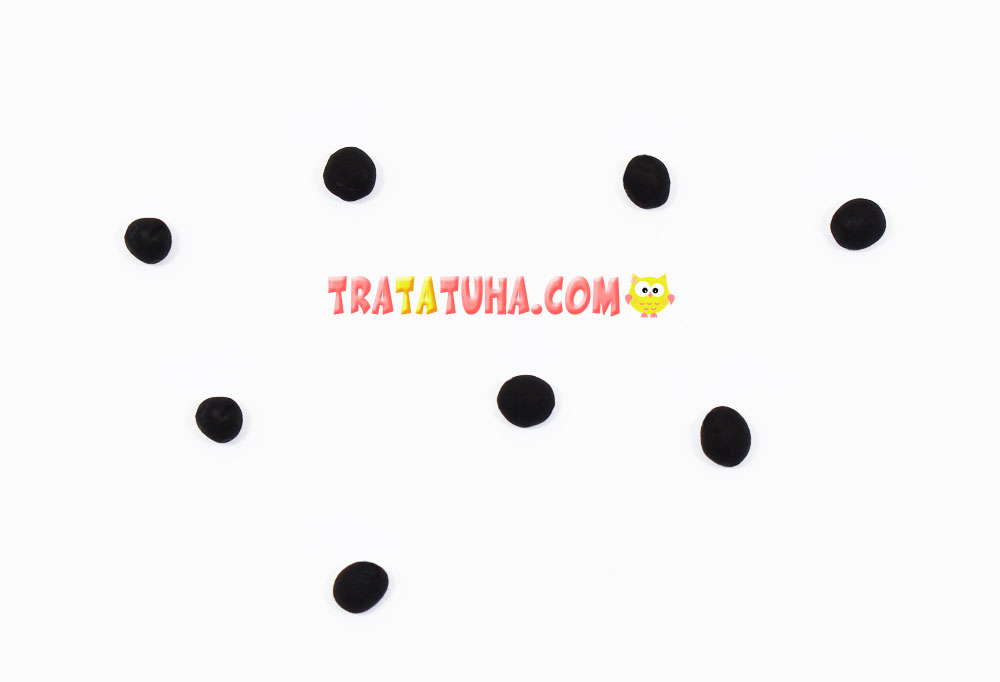
Distribute them evenly over the shell area.
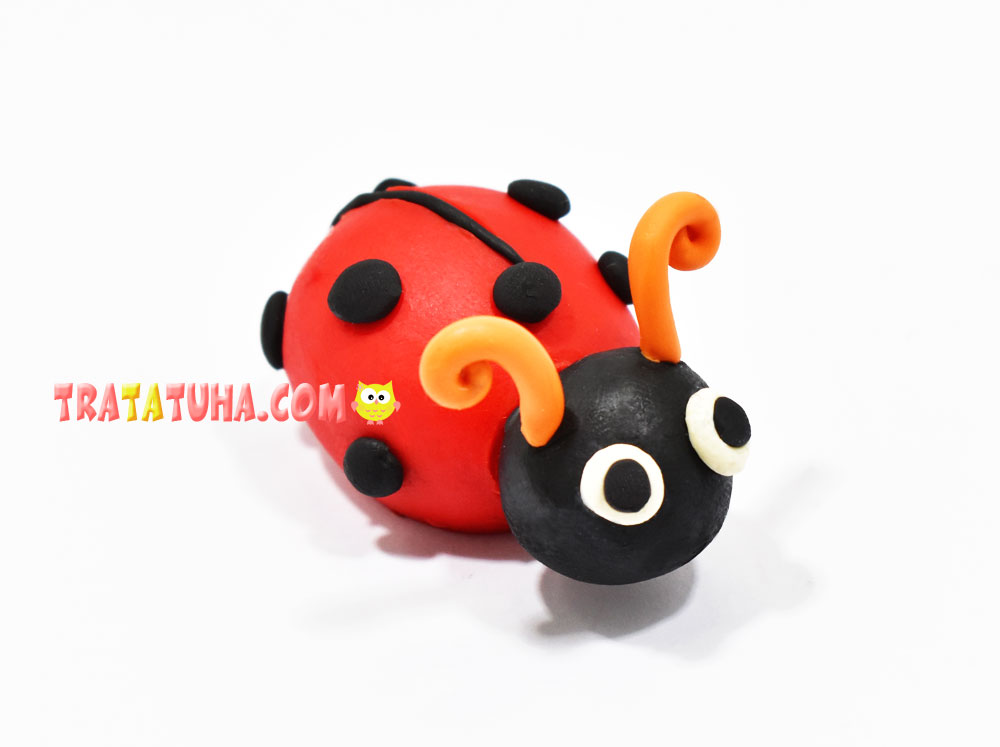
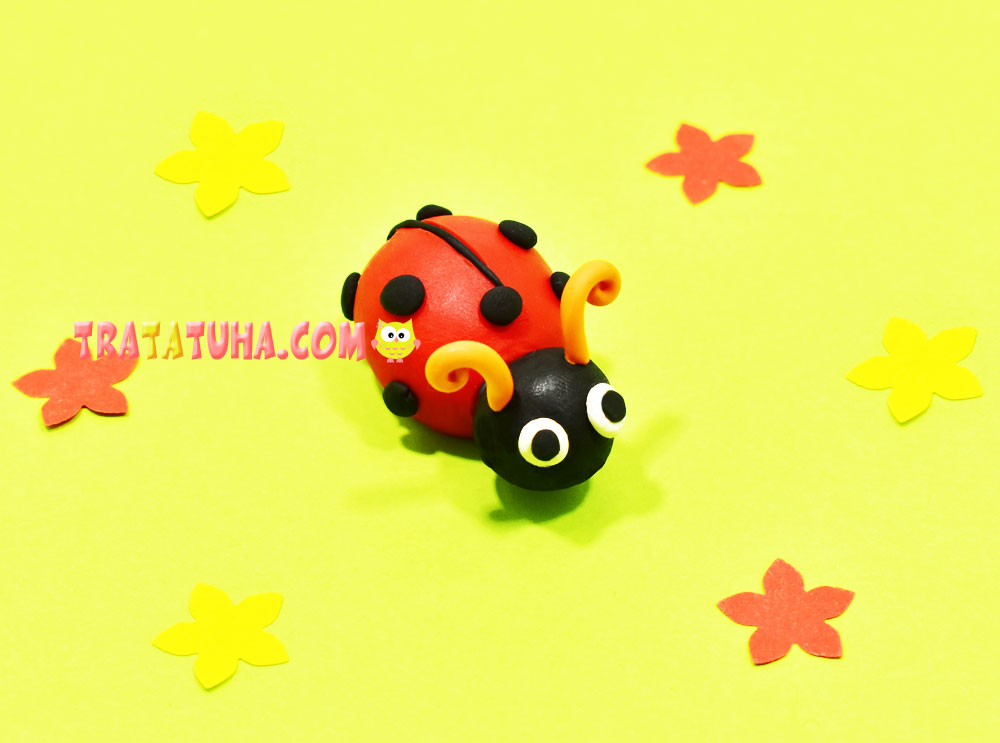
Everything, the clay ladybug is ready. This is the easiest way to sculpt this colorful insect. If desired, he can still blind black paws. By the way, a ladybug can still be yellow and even white with black spots. Kids will be interested and informative to learn about these options.
Many interesting ideas can be found here — plasticine modeling.
Love to sculpt? To your attention a selection of tutorial on this topic:
Related Post: