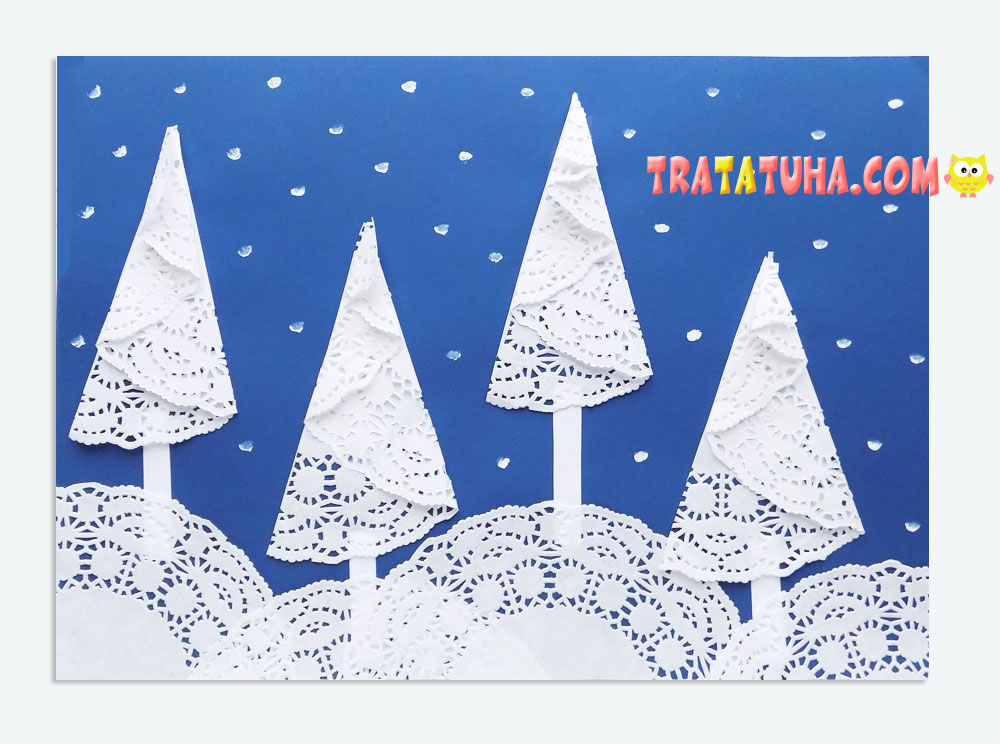
Today we have a lesson on how to make paper napkin winter Christmas trees craft. Suitable for children, simple and fast.
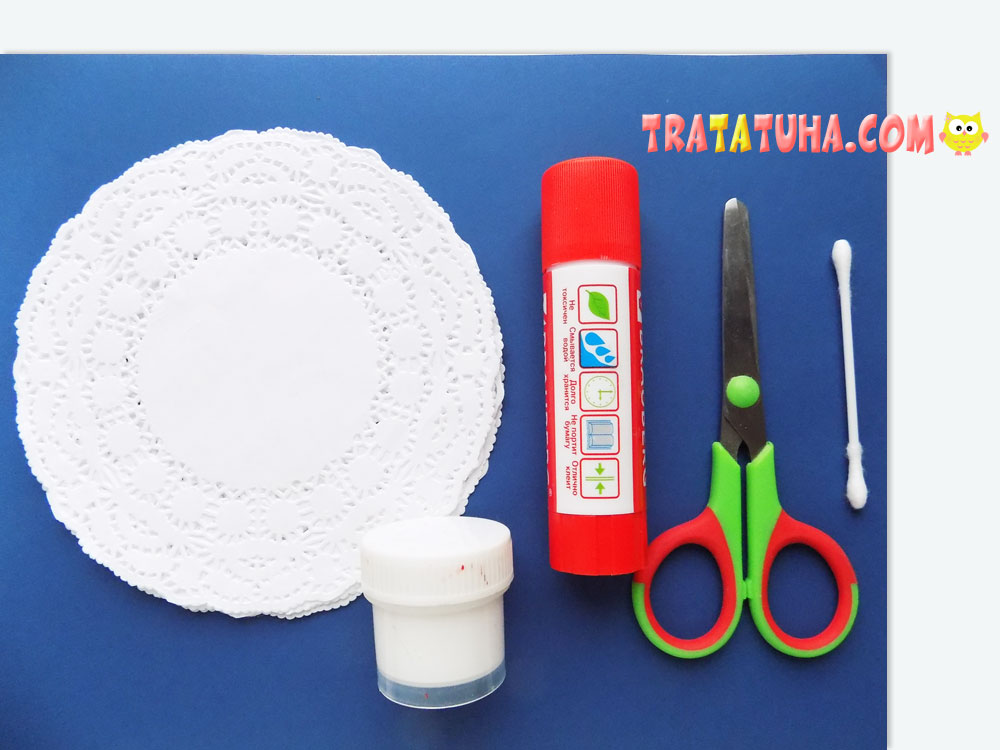
To make such an craft we will use:
- dark blue and white paper;
- scissors;
- openwork paper napkins;
- glue stick;
- cotton swab;
- white gouache.
Paper Napkin Winter Christmas Trees Craft Step by Step
We will make the Christmas trees in our craft from openwork paper napkins. First, take one and cut it in half with scissors.
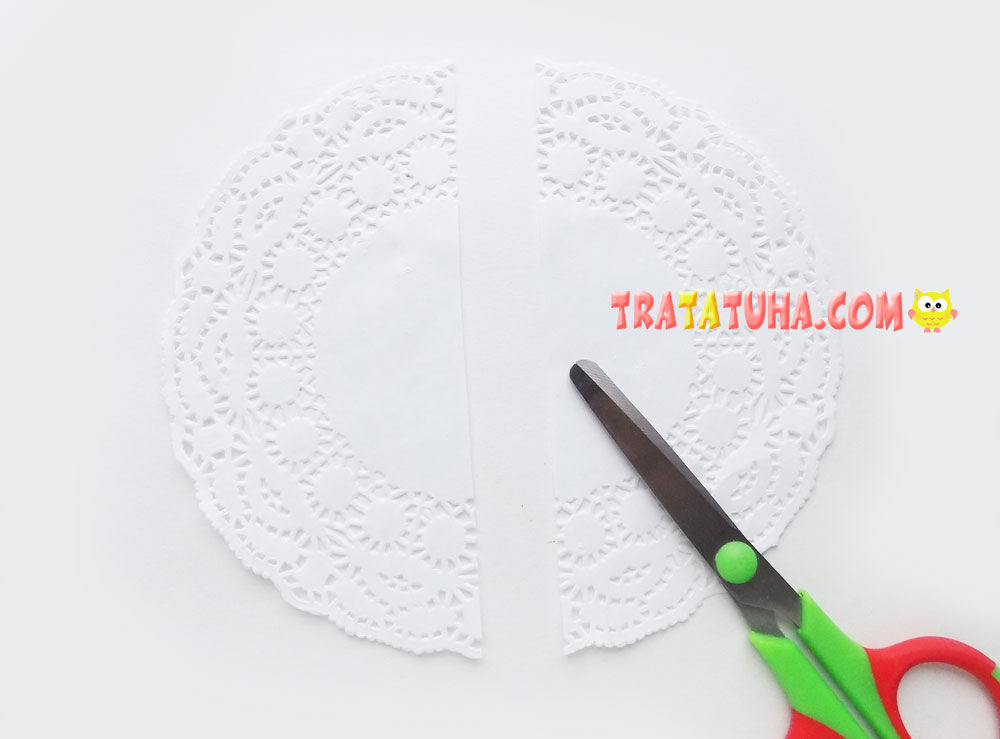
For one Christmas tree, half will be enough. Make the first fold diagonally to the left.
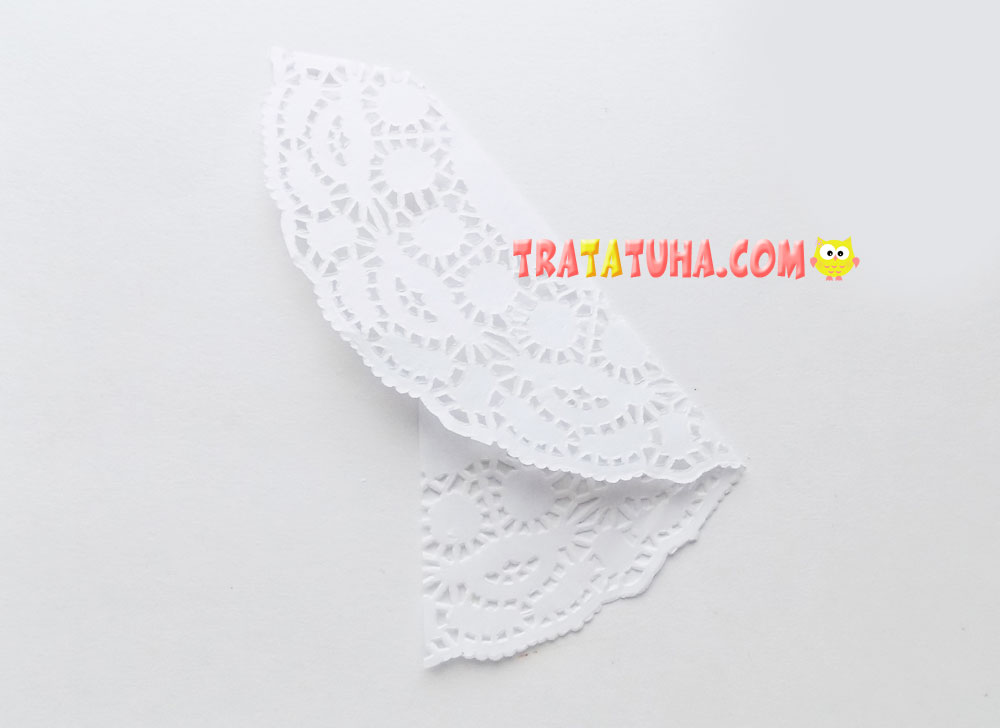
Then we bend the same part to the opposite right side.
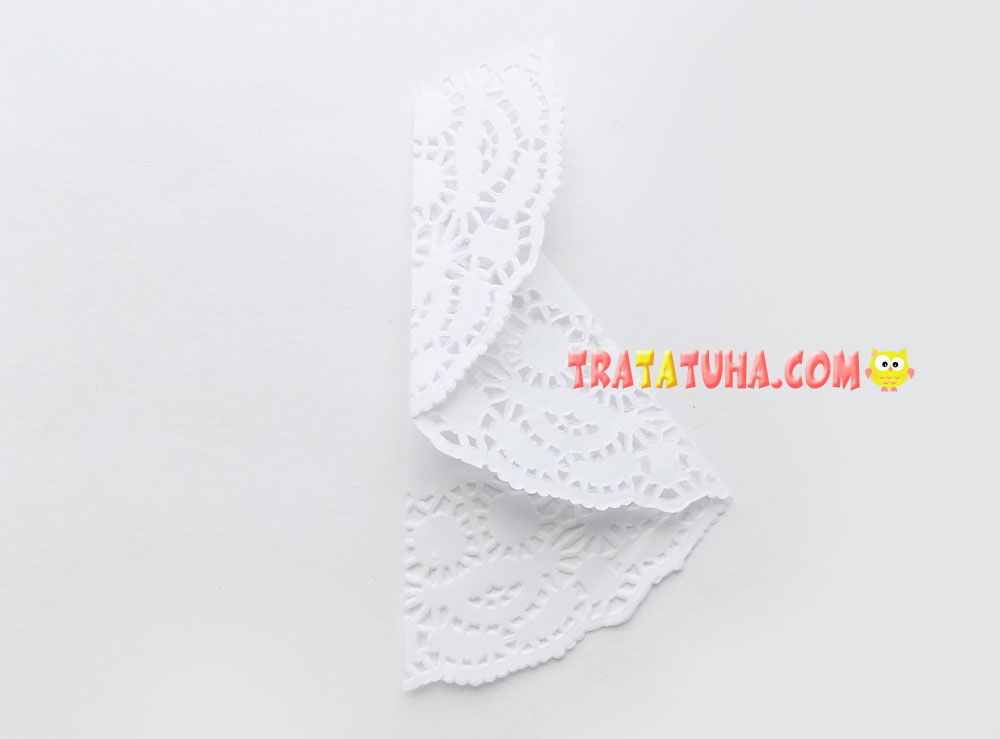
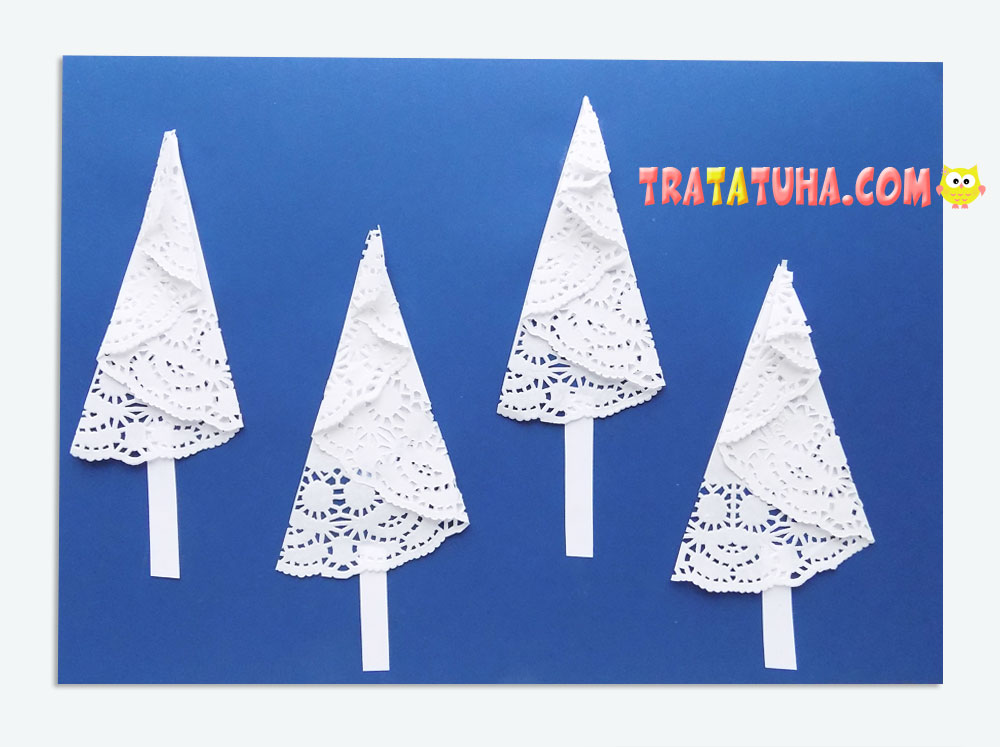
In this way we perform several more folds in different directions. So we made the first Christmas tree for our craft.
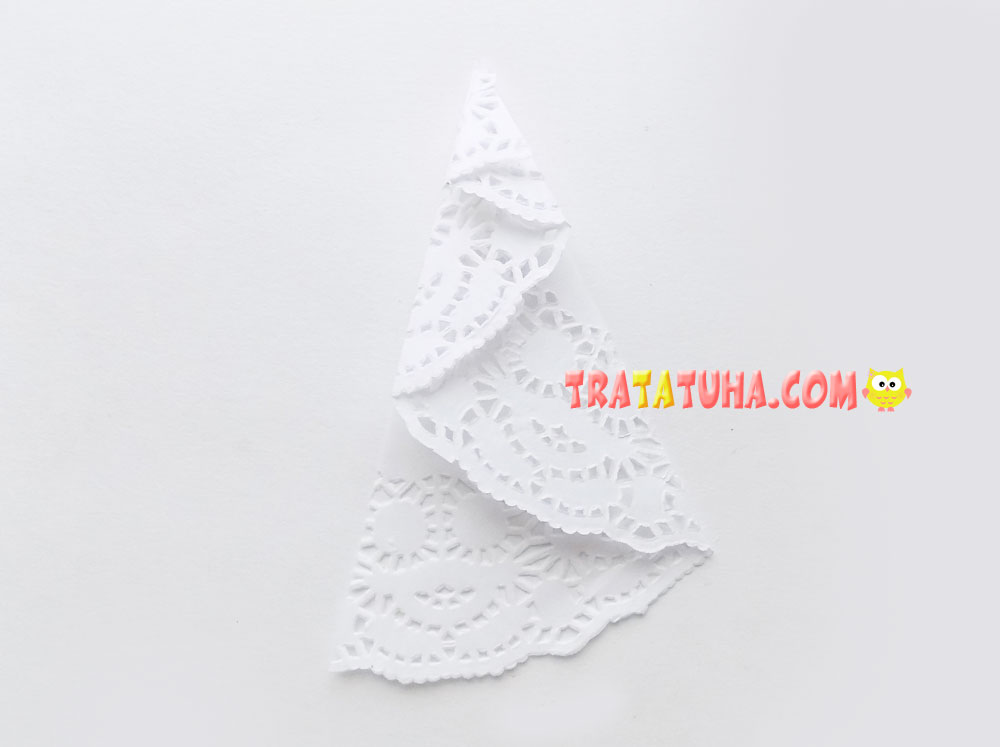
We decide on the number of trees. We will have 4 of them, for this we used 2 openwork napkins.
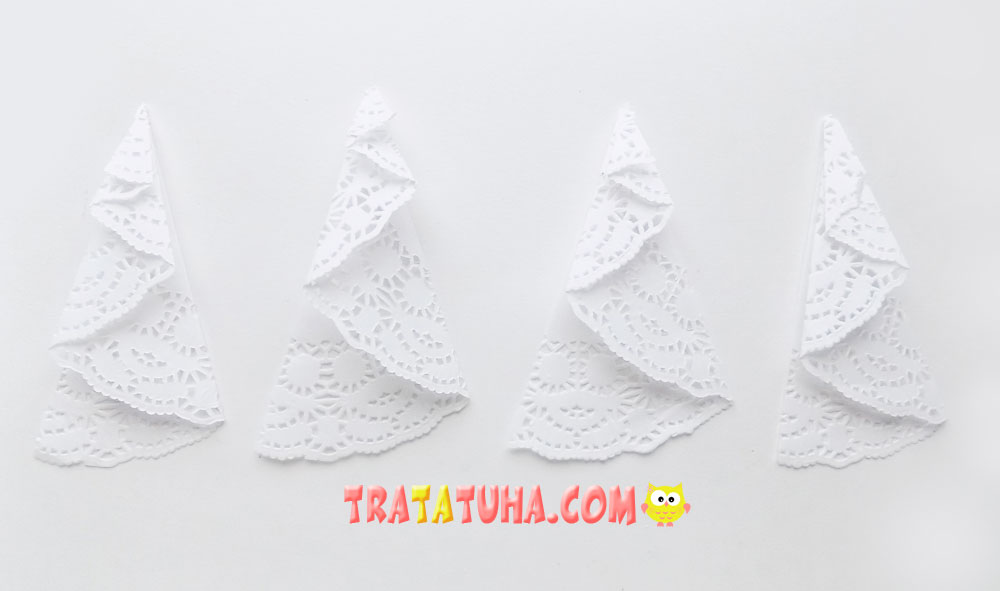
Glue the spruce onto a dark blue sheet of paper.
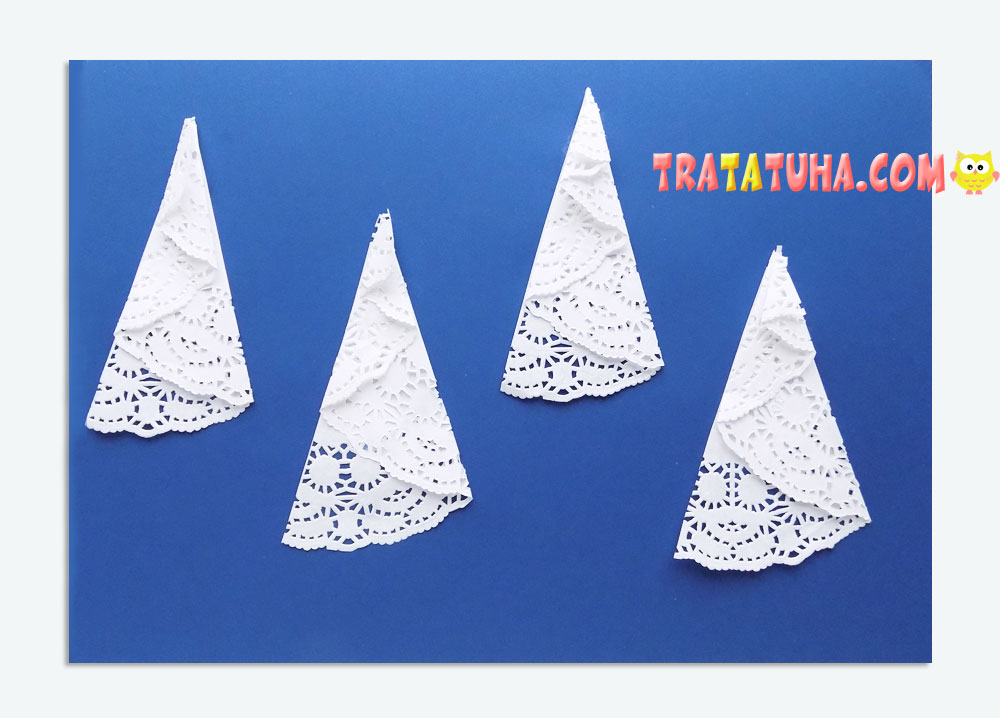
We add small trunks to them, cut in the form of narrow strips of white paper. Alternatively, they can be painted with white gouache.
Now let’s depict snow on the craft. To do this, we will again use openwork napkins. Let’s cut 2 pieces in half and glue them at the bottom, simulating snowdrifts.
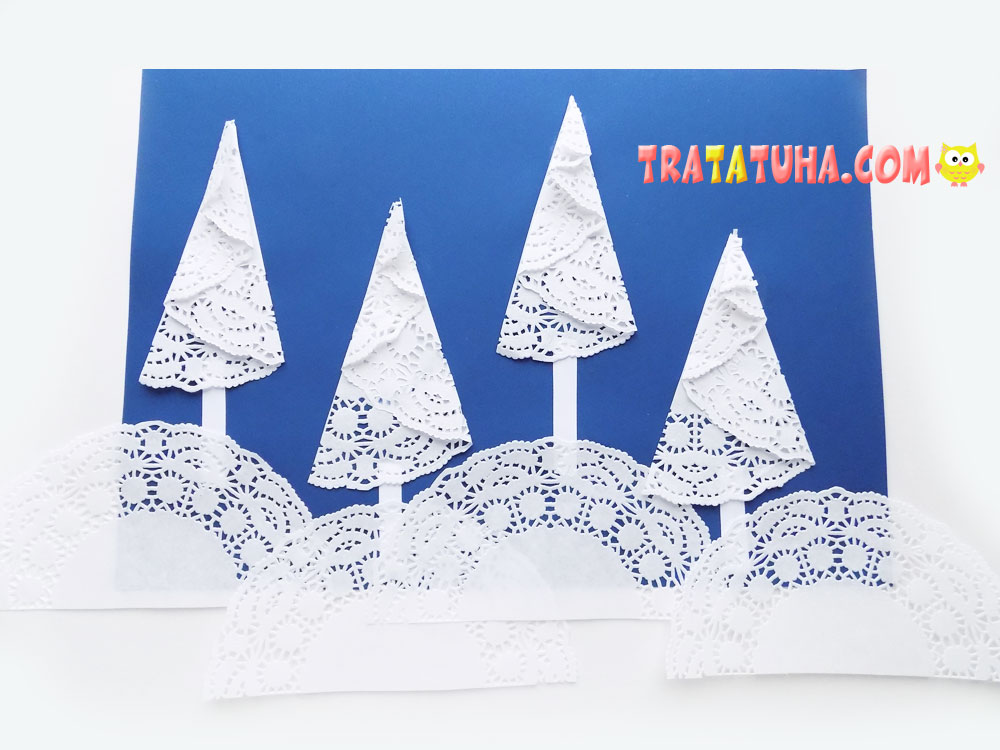
Then trim off the excess along the edges of the blue base.
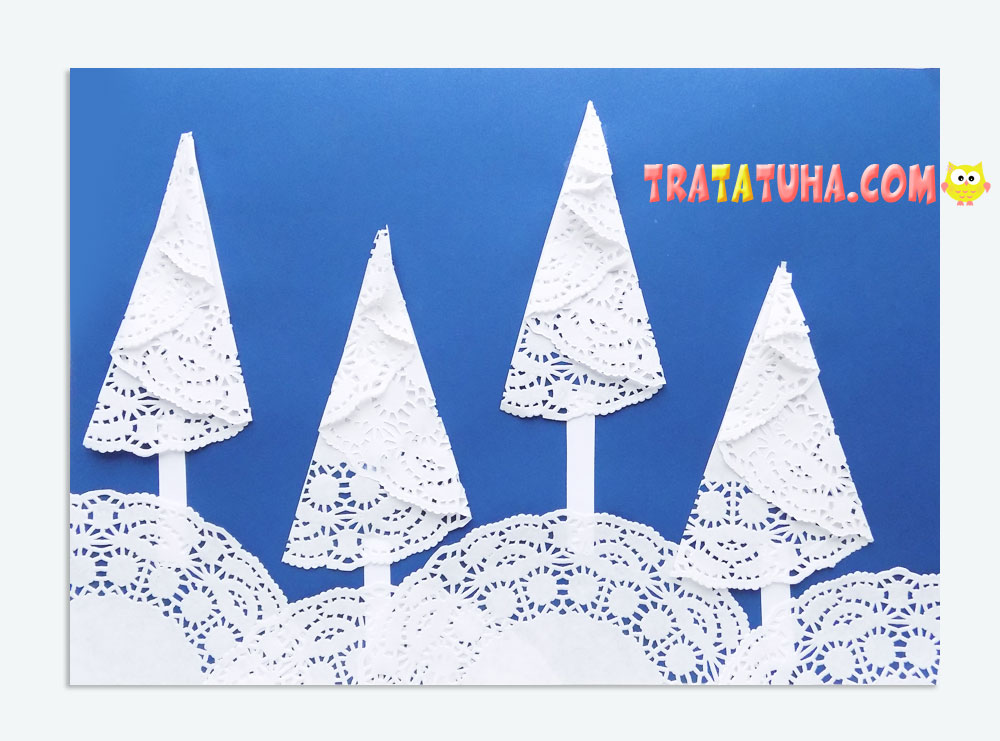
All that remains is to use white gouache again. It will help us depict falling snow. And we will draw it with a cotton swab. This is how we got the paper napkin winter Christmas trees craft.

