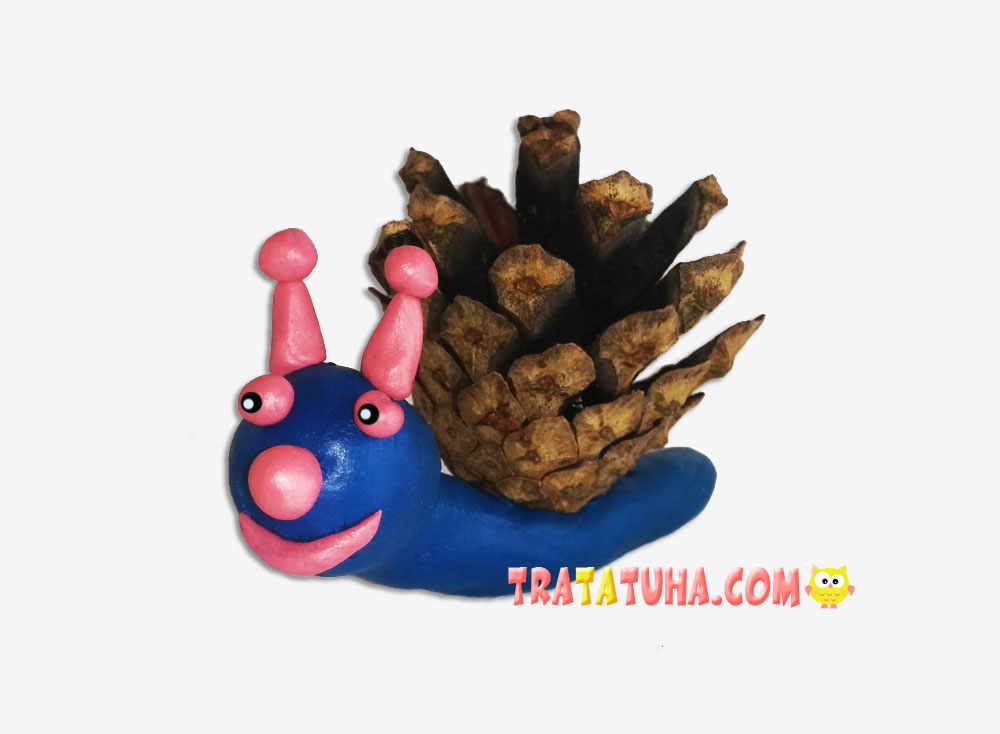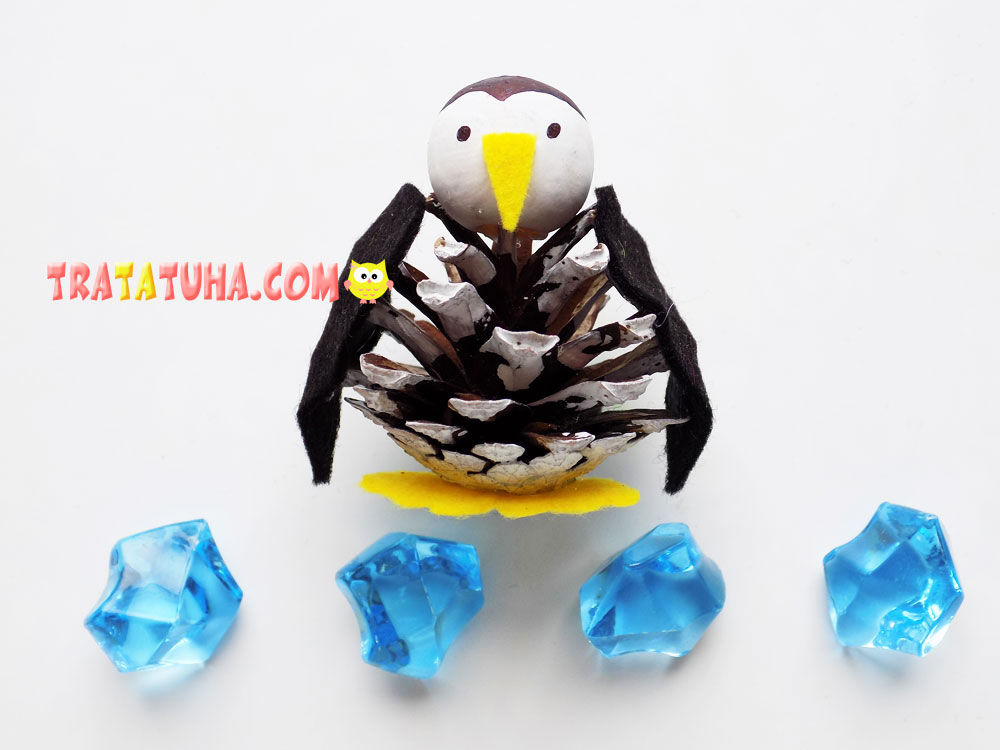
What bird doesn’t fly? You can start creating this craft with such a question to the child. Of course it’s a penguin. It is the pinecone penguin that is the theme of this tutorial.
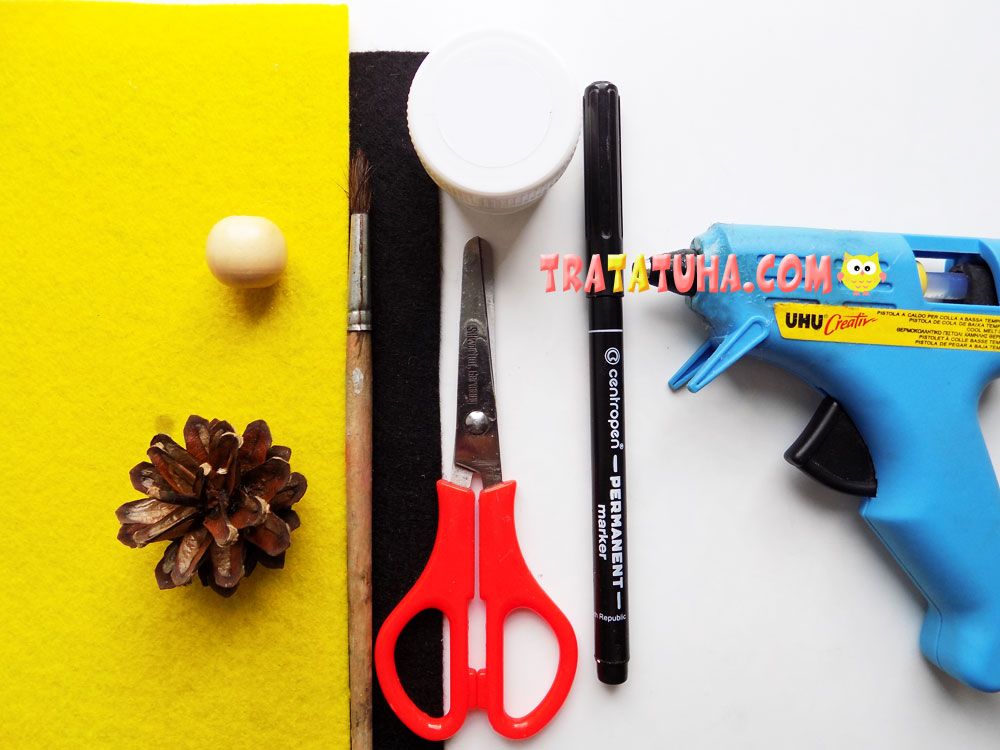
To make a penguin, we will prepare:
- pinecone;
- black and yellow felt;
- wooden bead (or white clay);
- white gouache with a brush;
- black marker;
- glue gun;
- scissors.
Pinecone Penguin Step by Step
First you need to prepare a pinecone to create our crafts. To do this, we paint it white, use the appropriate gouache. This will be the body of the future penguin.

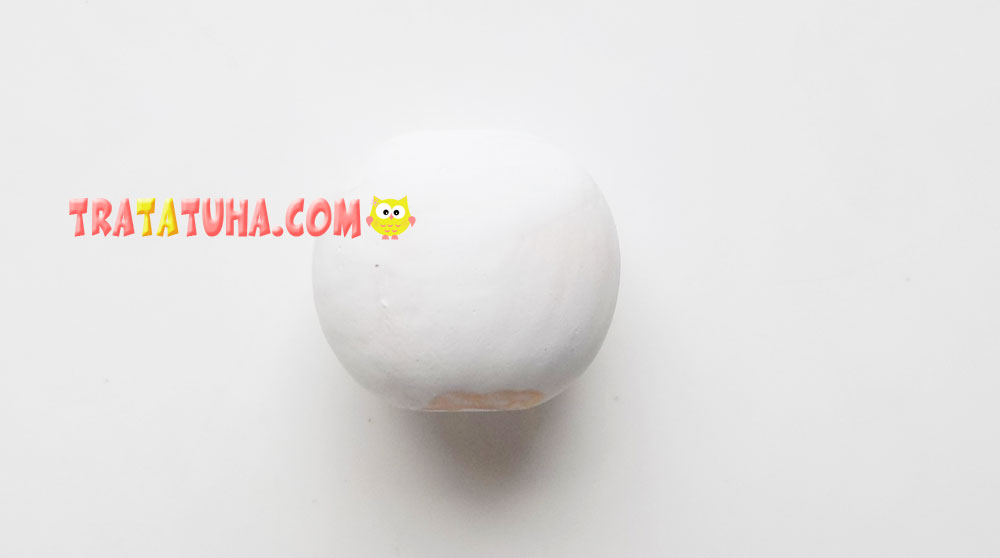
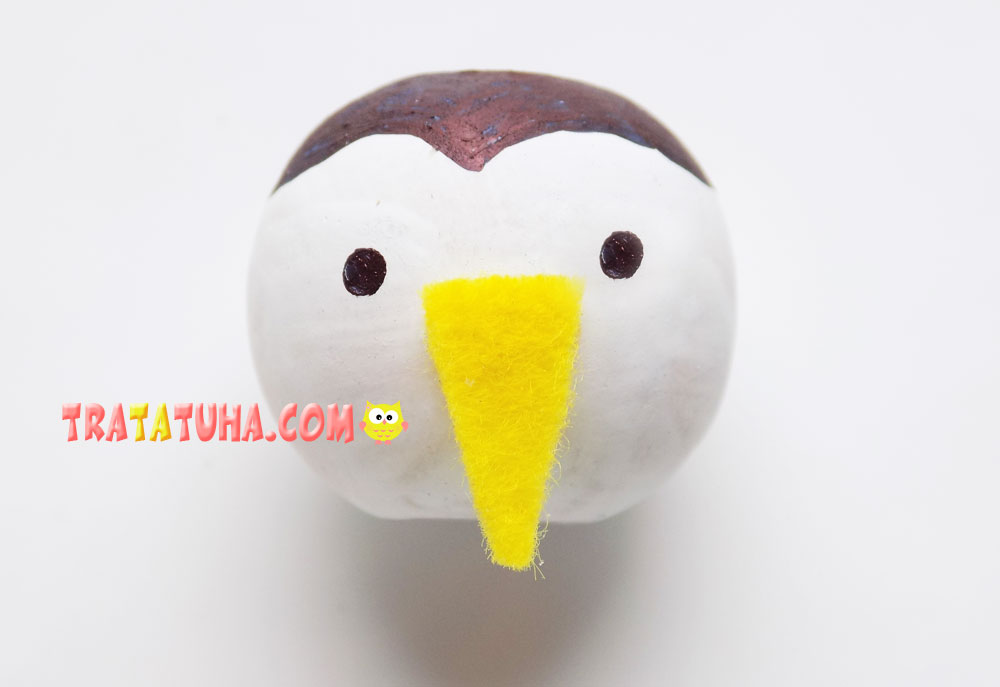
We will make the head from a wooden bead, we also pre-paint it with white paint. We are waiting for complete drying. If there is no bead, you can use a foam ball or white clay.
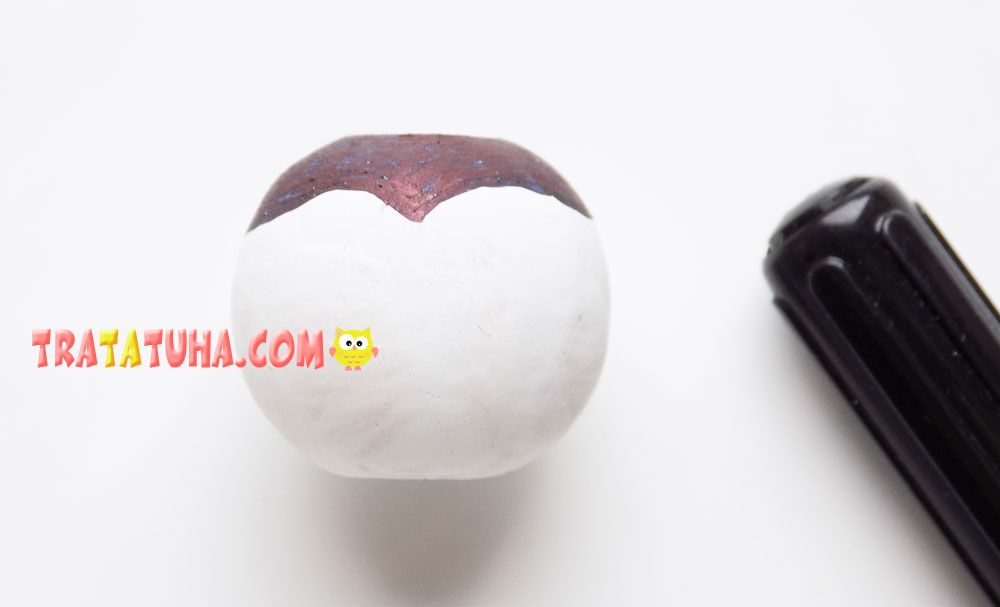
After that, you can use a black permanent marker. With it, we make out the head of the penguin.
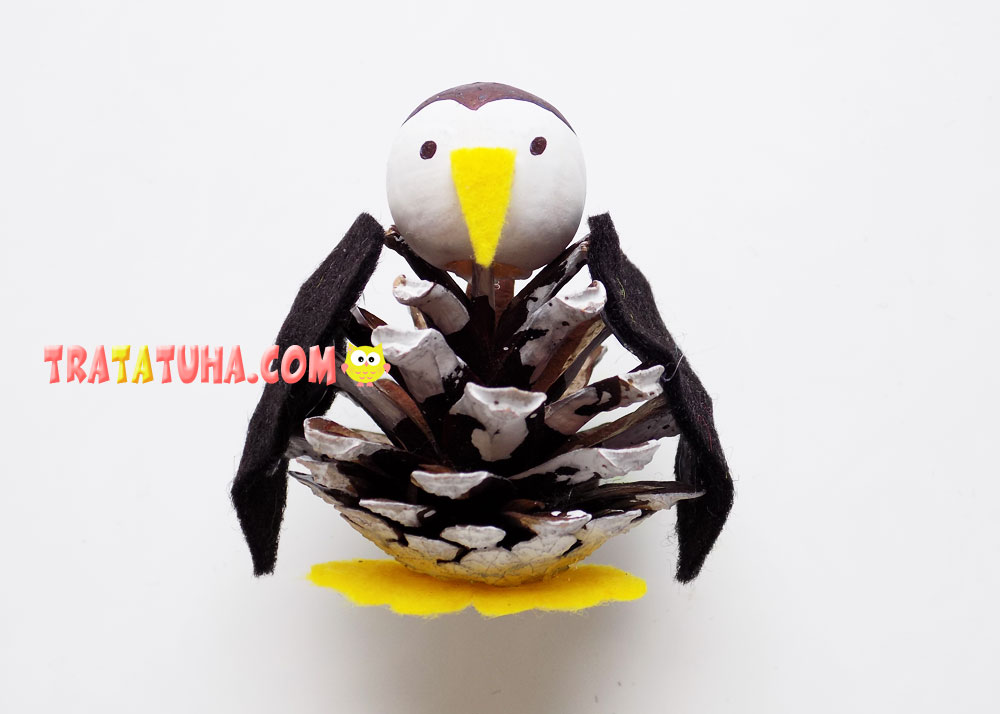
Next, let’s start adding details. They will be made of felt. Cut out a small triangle from yellow felt, this will be the beak. We fix it with hot glue on the head of the penguin. And draw eyes with a black marker.
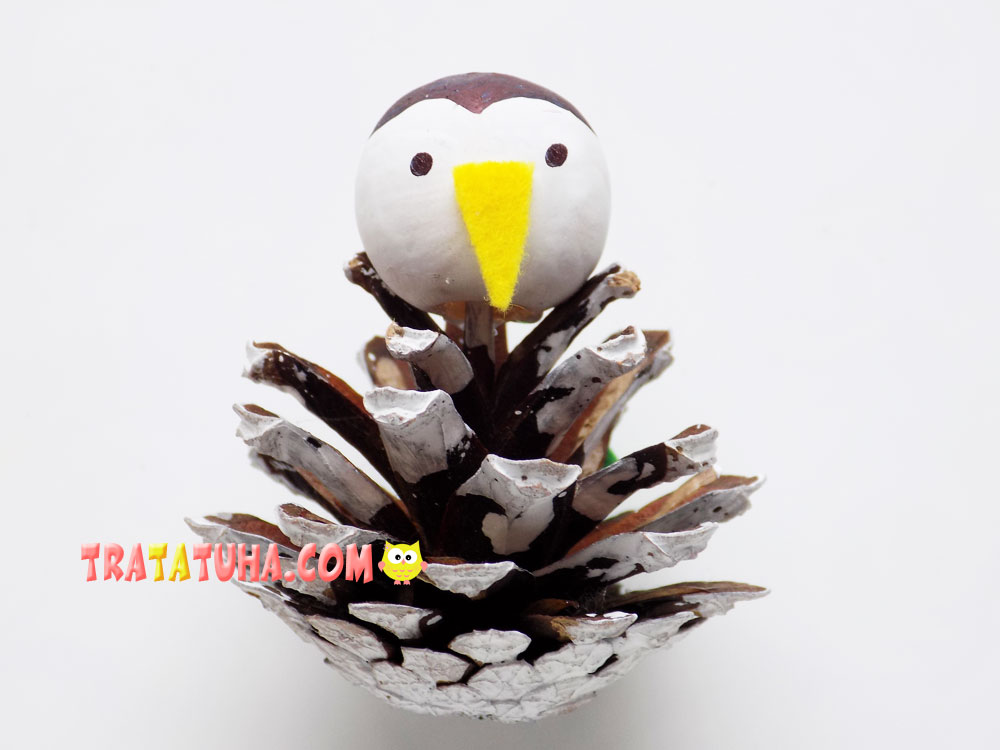
Now you need to connect the head to the body. To do this, use the glue gun again. Please note that we use the pinecone upside down. Instead of glue, you can take clay.
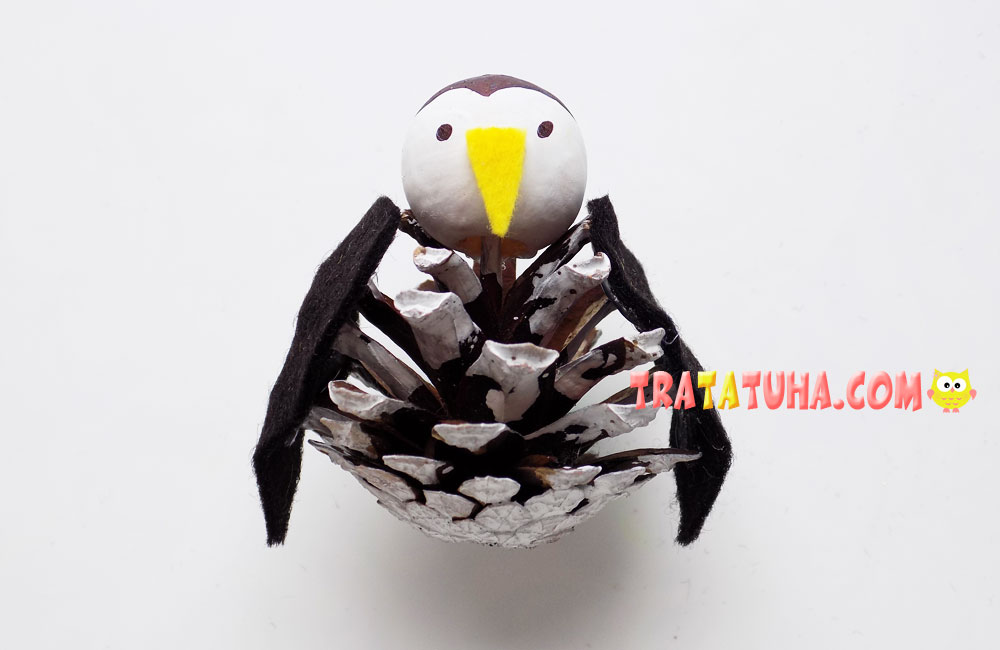
The wings of the penguin are made of black felt. We cut out a pair of identical blanks from this material, which resemble drops in shape.

Glue them on the sides of the pinecone.
It remains to make paws. They will be yellow, so cut out these details from the appropriate felt.
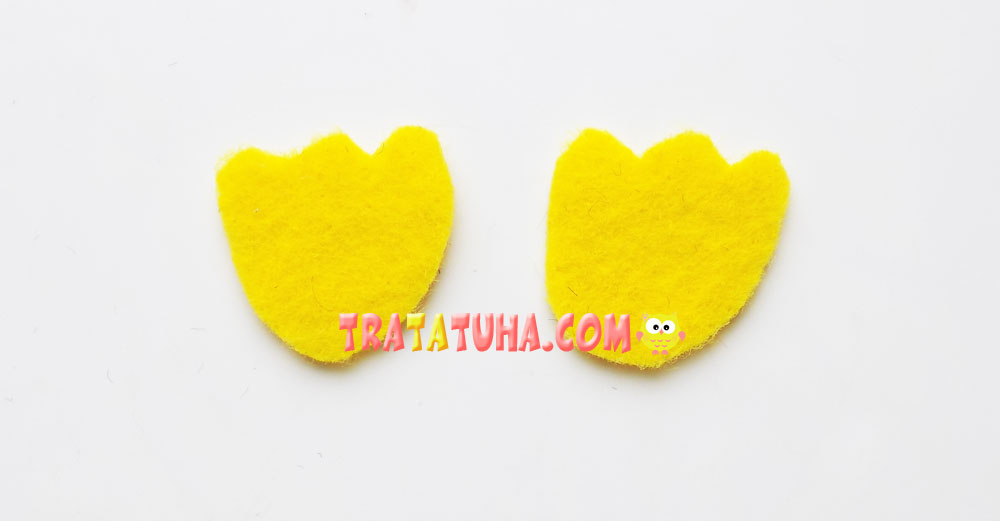
And fix with hot glue to the lower part of the body. Pinecone penguin is ready.
See more ideas about Pinecones Crafts.
Crafts for Kids – learn how to make craft at home! Super cute crafts for all age groups!
Related Post: