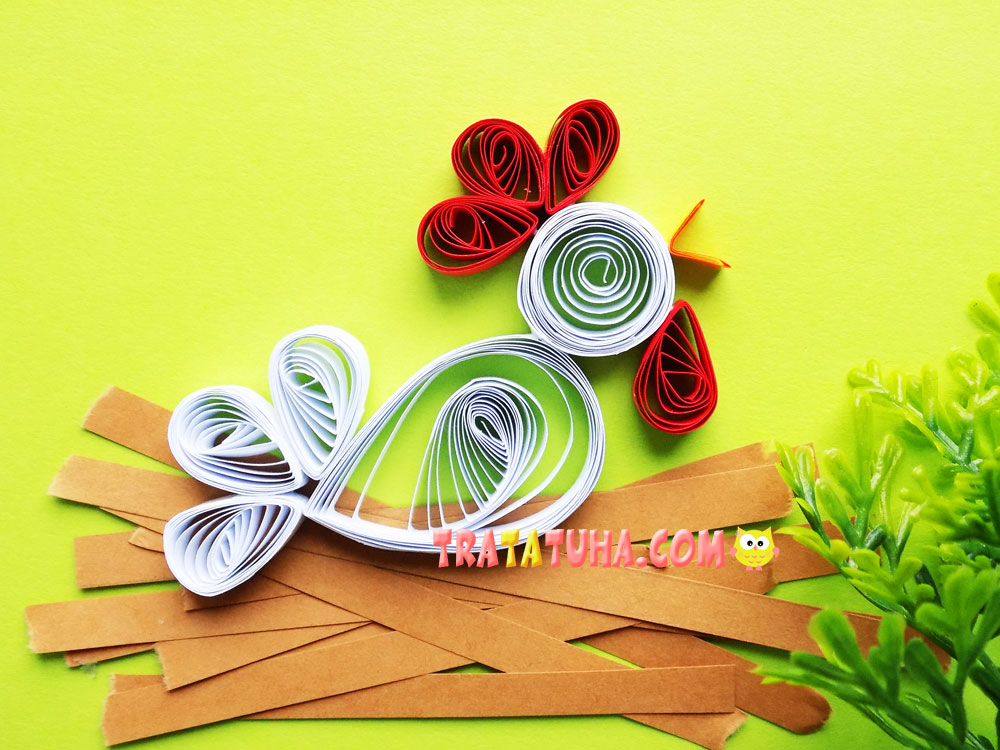
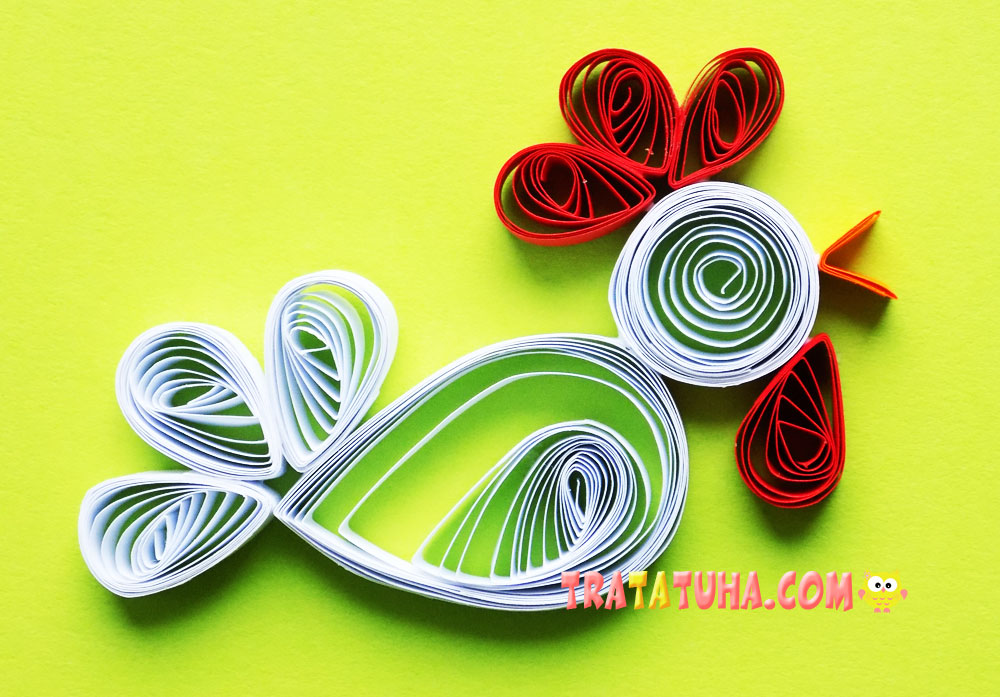
This tutorial presents a quilling chicken with a nest, with step-by-step photos and instructions. Simple shapes, creative work for kids and beginners.
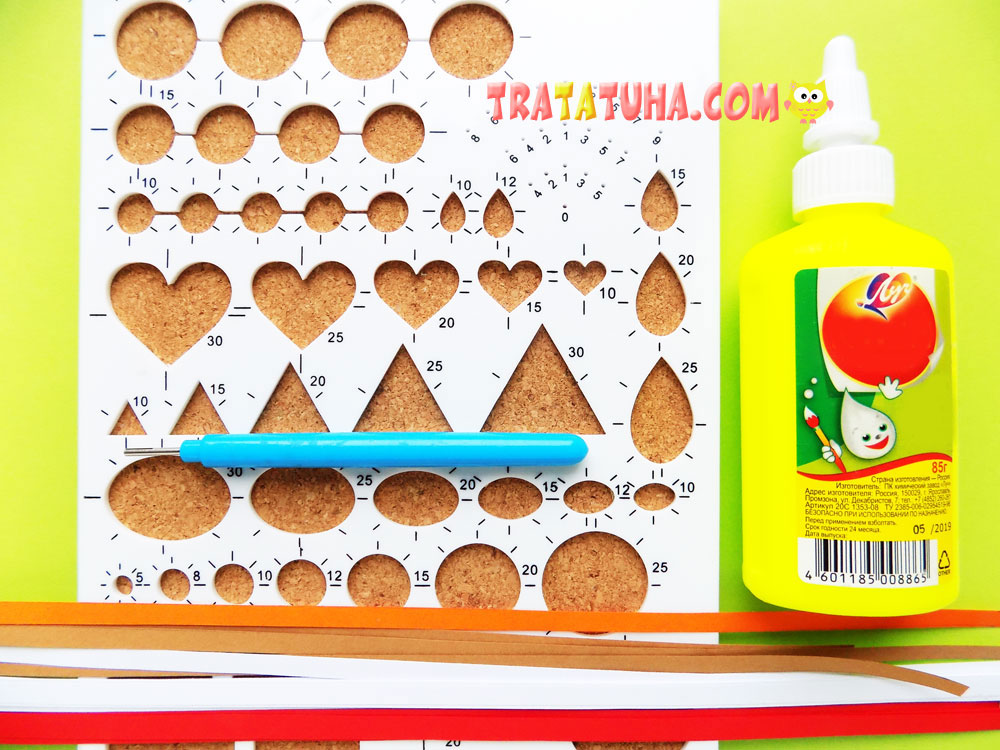
To make such a chicken you will need:
- strips of paper in white, brown, orange, red;
- glue;
- strip twisting tool;
- quilling template.
Quilling Chicken Step by Step
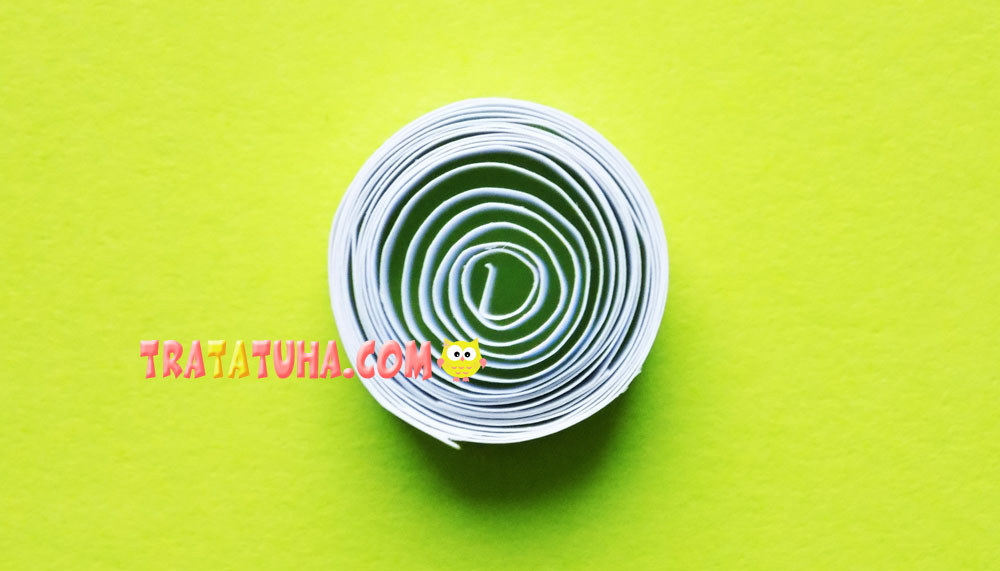
First, we need white stripes, from which we will begin to make the chicken itself. We pre-glue 3 strips, twist them and place them in a template with a recess of 25 mm.
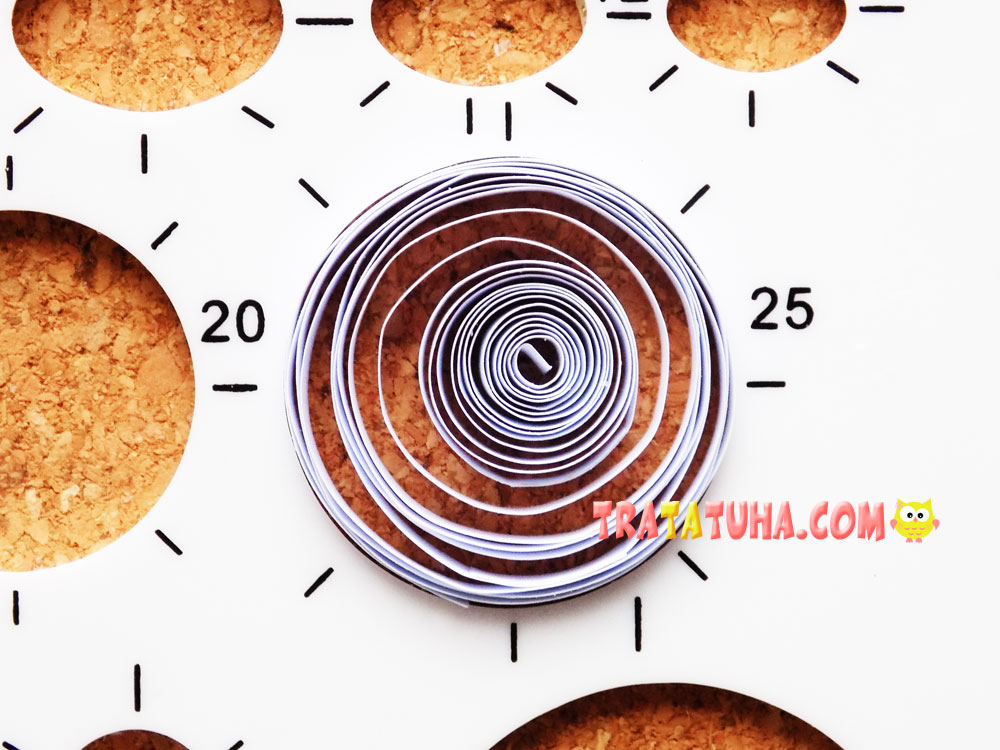
We take out the resulting circle of the desired diameter, fix its tip with glue.
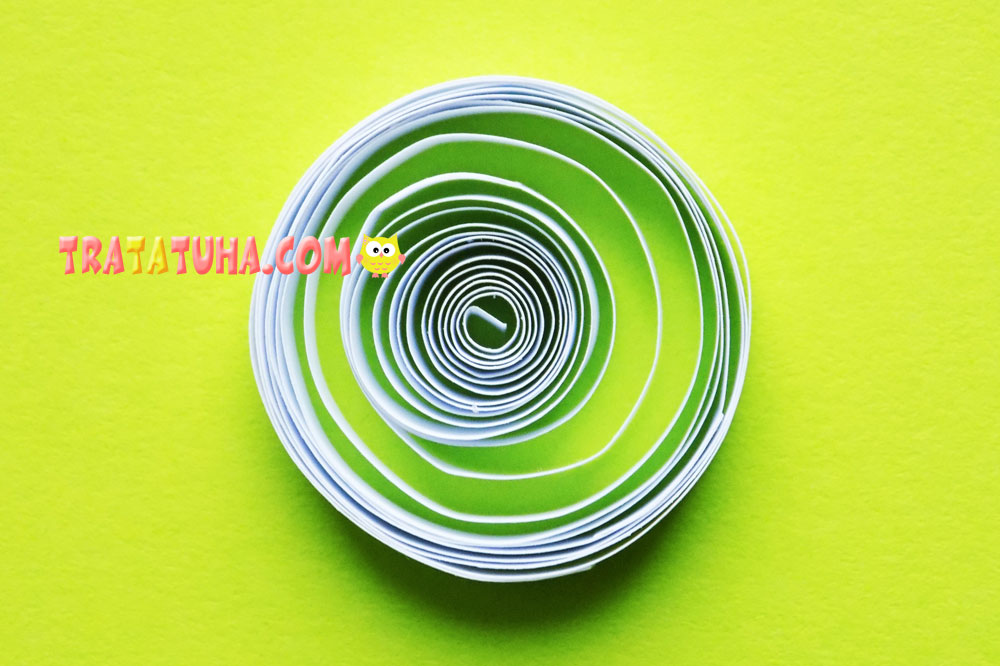
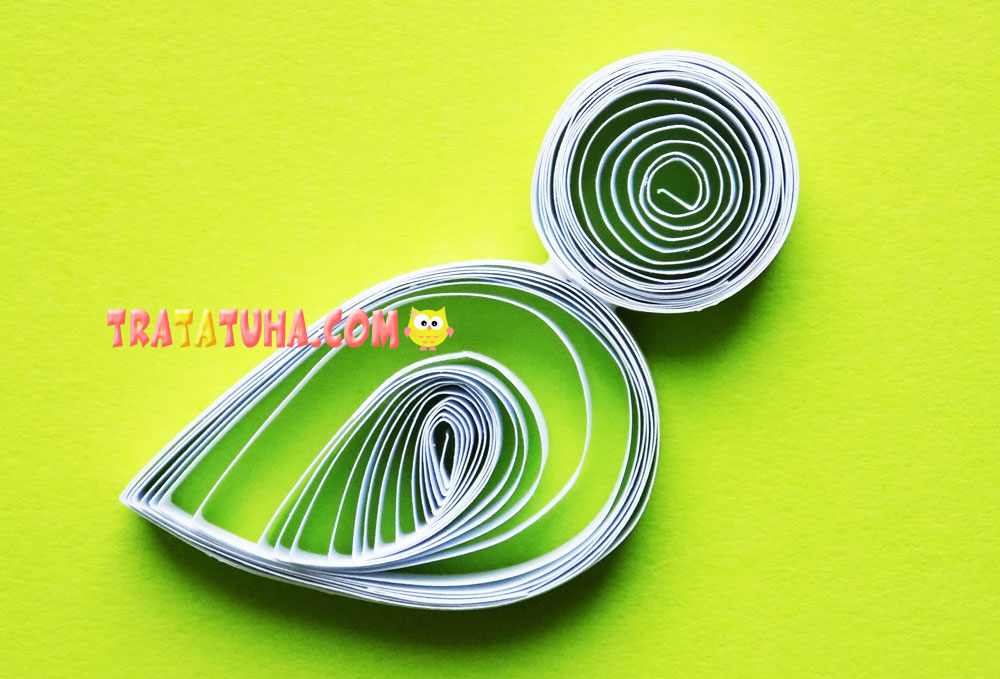
Press lightly on one side. So we got the body of the future chicken.
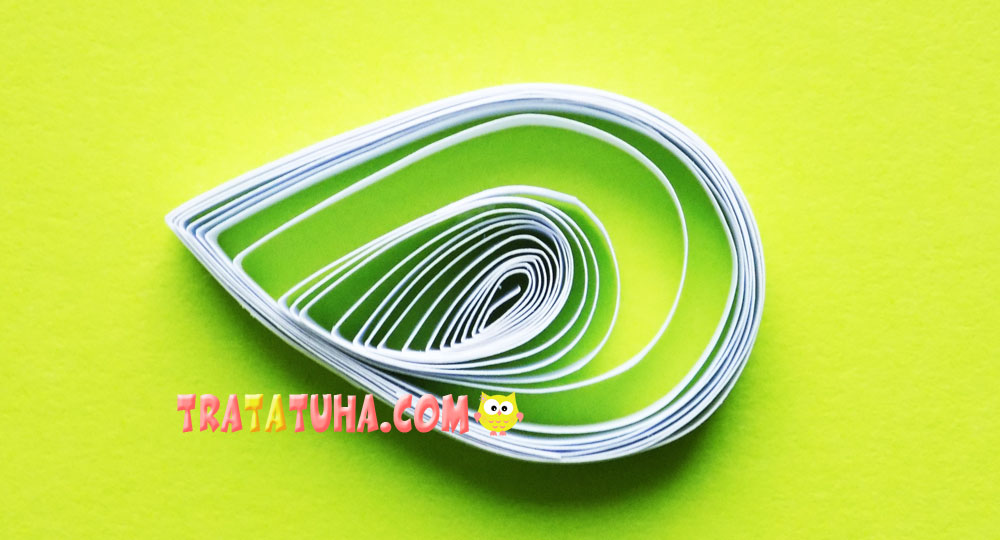
For the head, we need to glue 2 strips of white color, and then twist them into a blank with a diameter of 15 mm.
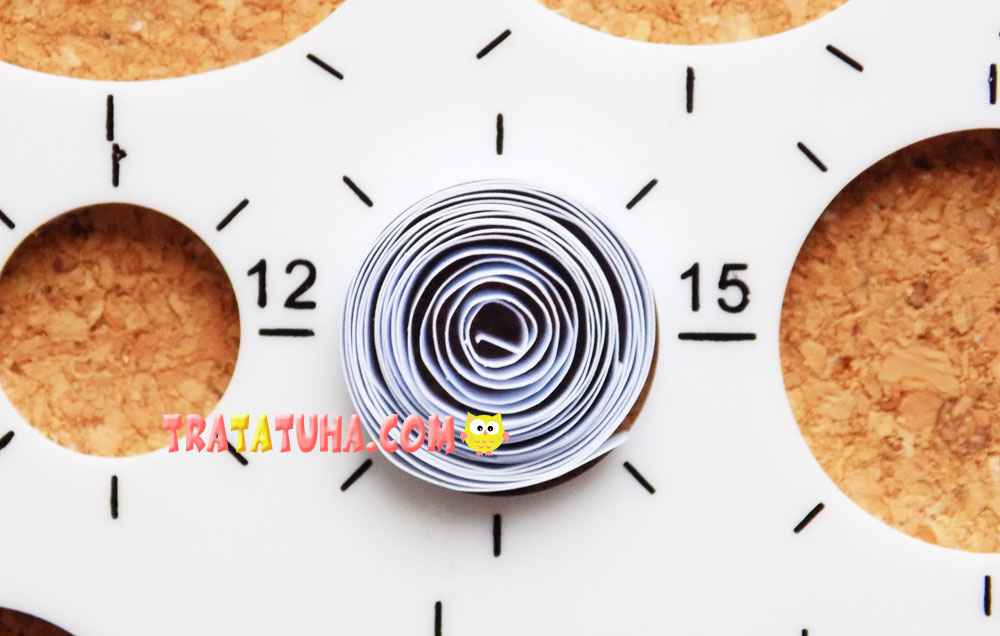
We get a circle.
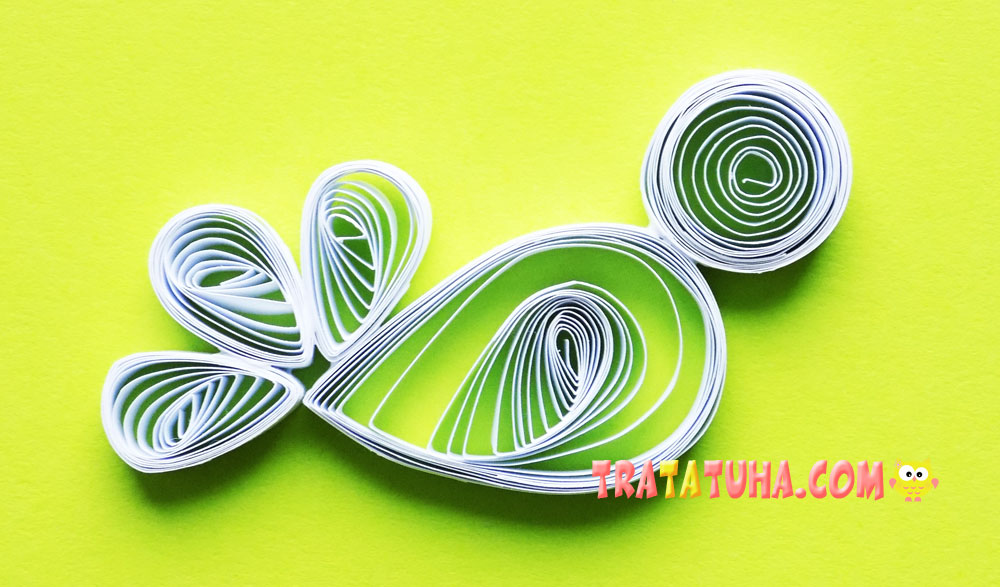
Glue the resulting head to the body of the chicken.
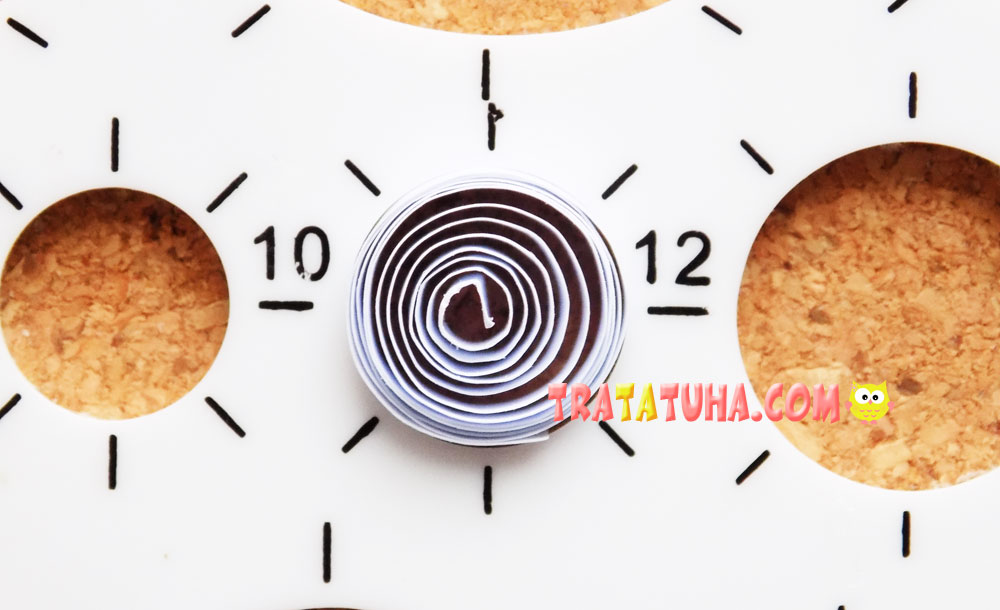
Next we will make the tail. From one paper strip we twist the workpiece with a size of 12 mm.
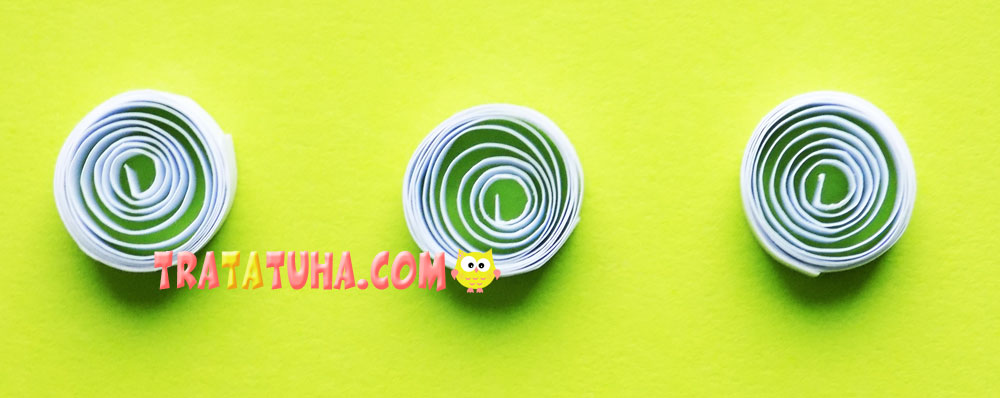
We need to make 3 such circles.
We give them a teardrop shape.

We glue these parts together as follows.

Glue the finished tail to the chicken.
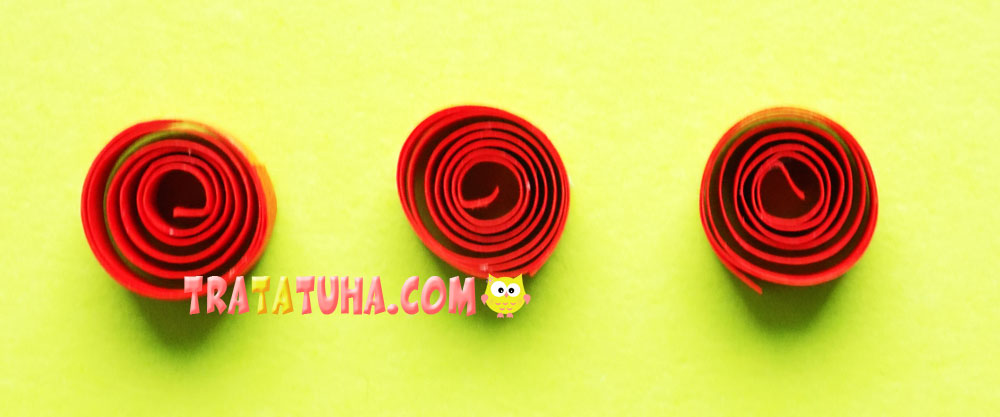
Now we take a red strip, twist it, forming a circle with a diameter of 10 mm. We make 2 more such blanks.
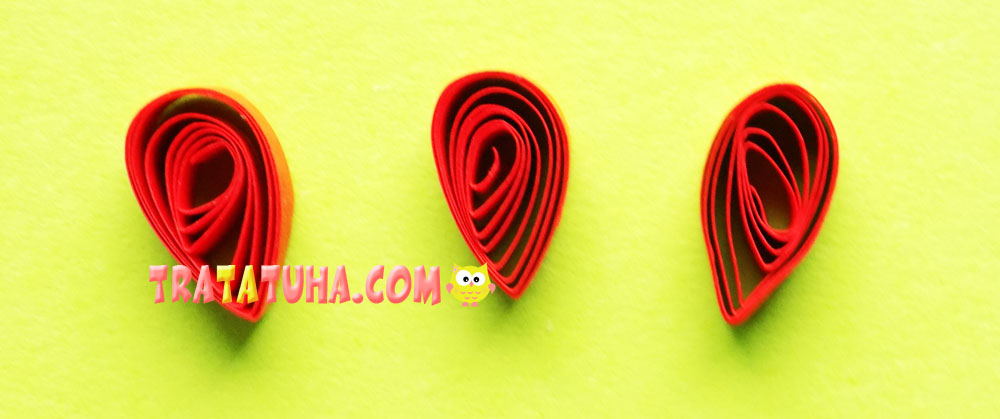
We give them the shape of droplets.
From the resulting red parts we form a scallop.
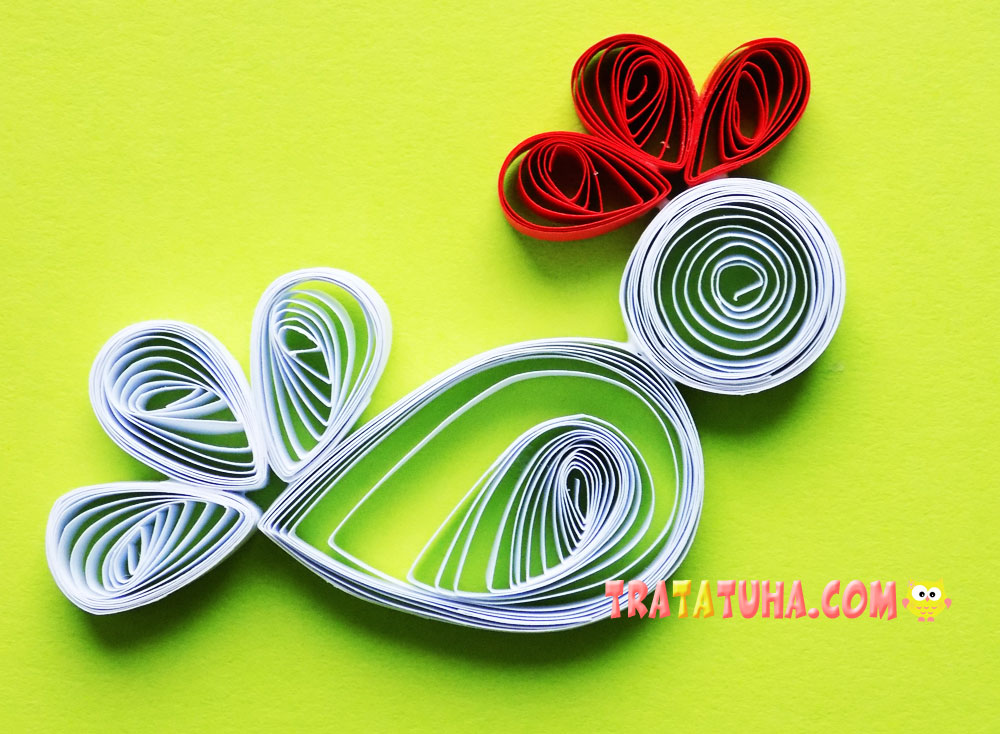
You will need another red strip, from which we make a circle with a diameter of 12 mm and fix it on the chicken’s head. For the beak, we need to take a small piece of orange strip, fold it 3 times, glue it, and then bend it in half. We fix the finished beak with glue. Quilling chicken is ready.
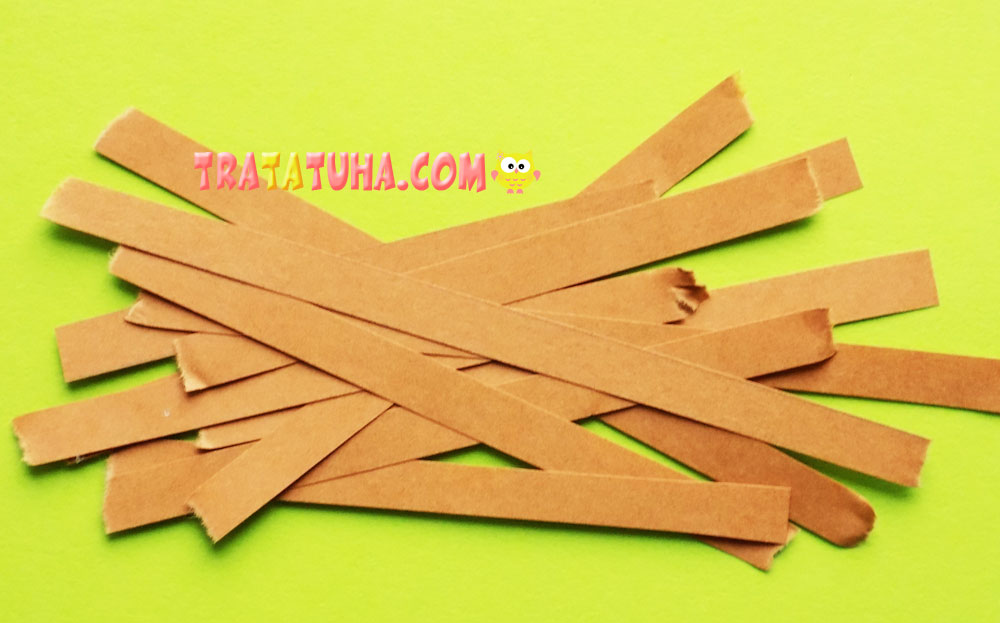
It remains to make a nest. To do this, we need brown strips, which we simply tear into small pieces. Then we form a nest from them, gluing them together.
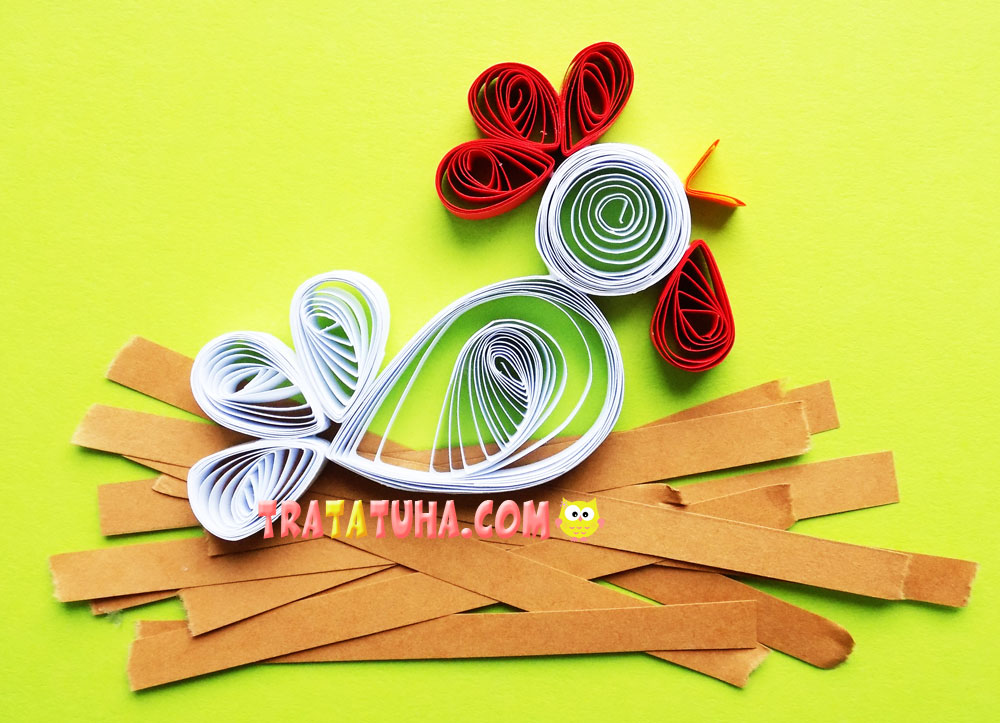
We seat the quilling chicken on top.
Birds Paper – art and craft ideas for all ages.
See more ideas about Easy Paper Quilling.
Crafts for Kids – learn how to make craft at home! Super cute crafts for all age groups!
