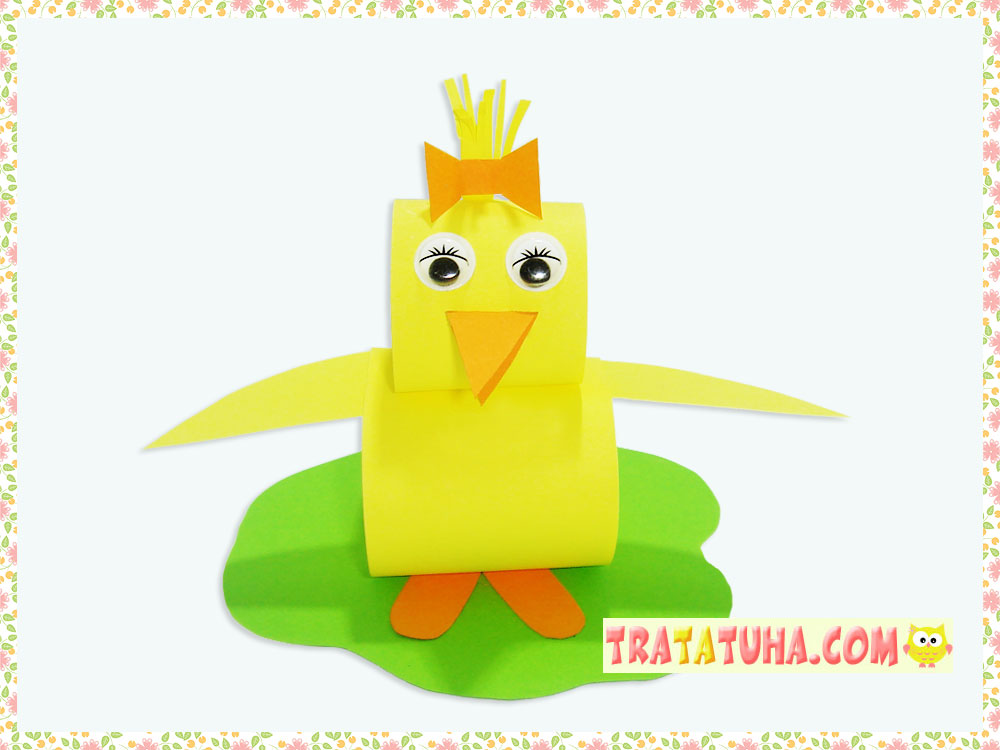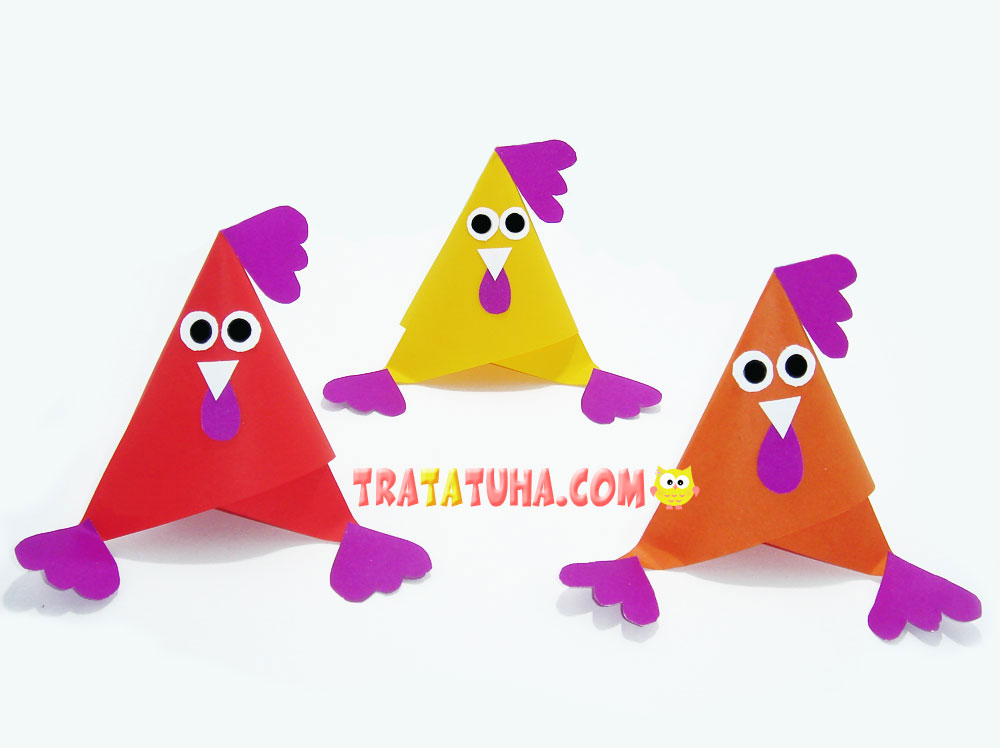
There are a lot of complicated variants of making a hen, containing patterns and numerous actions. But this Easter paper hen can be made extremely easily and fast.
Its basis is a paper triangle and simple additional small details.
Prepare the following materials:
- Coloured paper. You will need two colours – one for the pen and one for the legs, crest, earrings and tail;
- A bit of white paper for a nib and eyes;
- Scissors, a glue stick, a black felt pen.
Easter Paper Hen Step-by-Step
At the first stage of creating this colourful Eater craft, cut a triangle out of coloured paper. It can be of any size. Put it in front of you the widest side up.
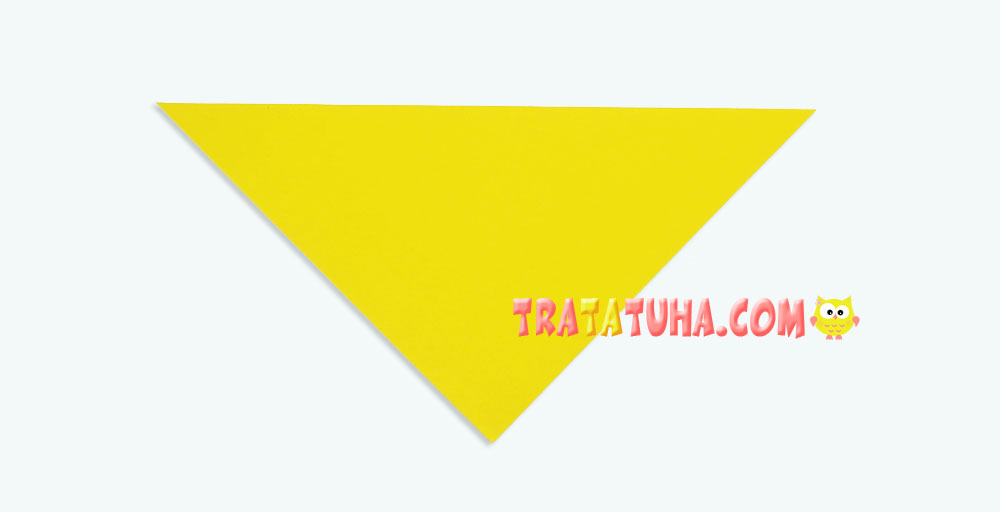
Approximately, find the middle of the wide side of the triangle, fold one of the corners toward the opposite side.
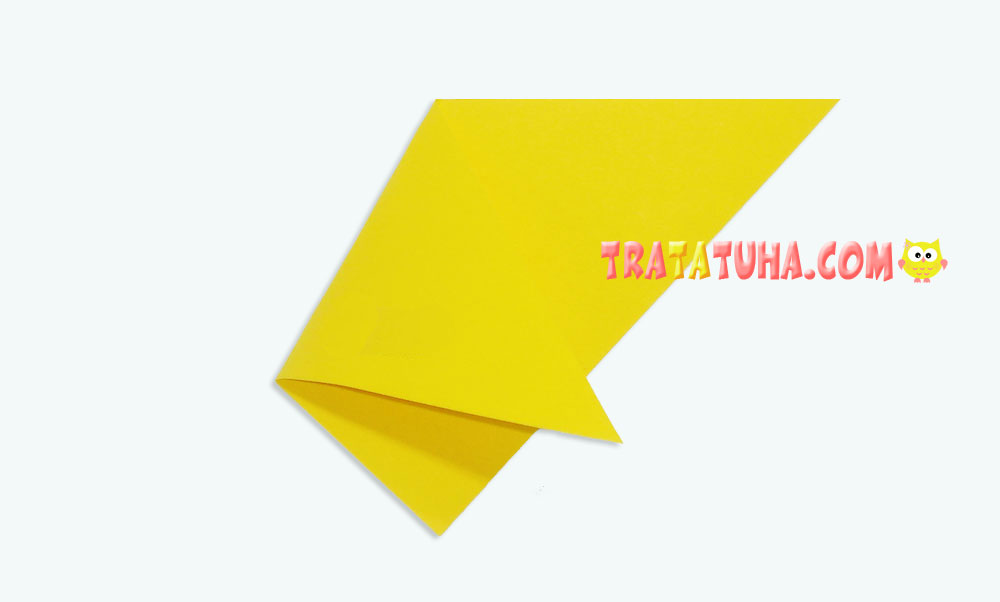
Then, repeat the procedure with the second one, trying to level them so that the bottom ends were equal and the upper acute angle was completely covered. After adjusting the right position, fix the side with glue. In general, the process resembles the one of making a cone; however, in this case, there are hanging ends at the bottom that shouldn’t be cut and leveled along the edge as in a cone.
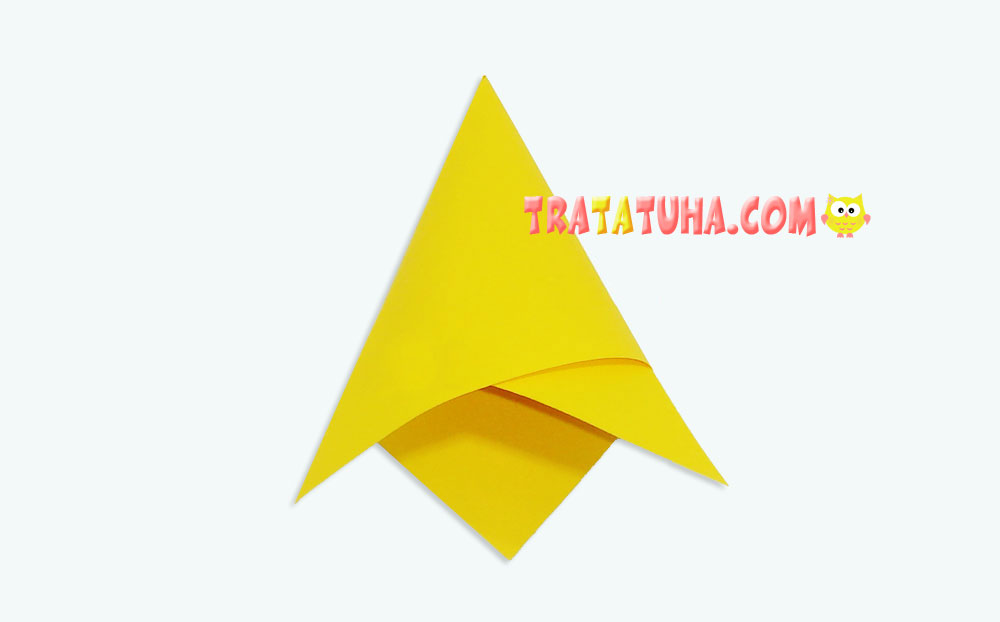
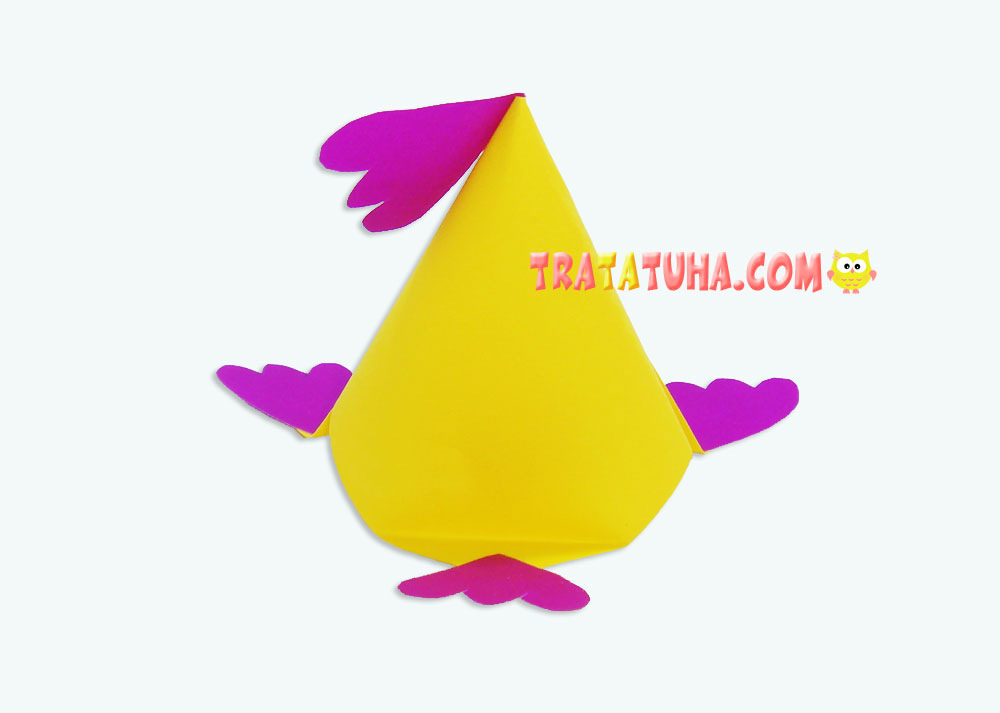
To make the hen’s body stable on the surface, fold the tail at the back upwards.
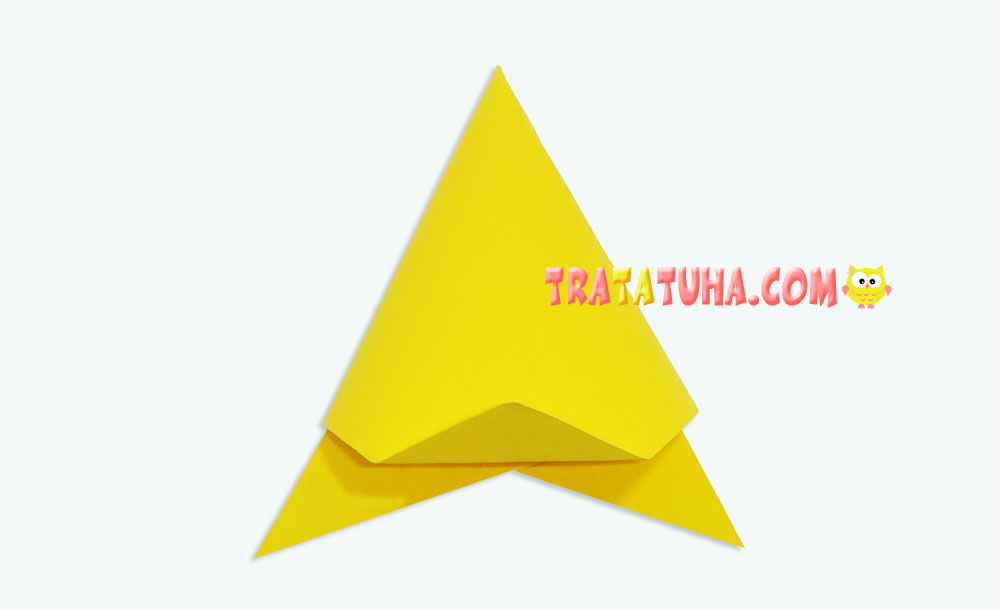
Draw and cut out 4 details shown on the picture that will make up legs, crest and tail of the hen.

Glue these parts to the body.
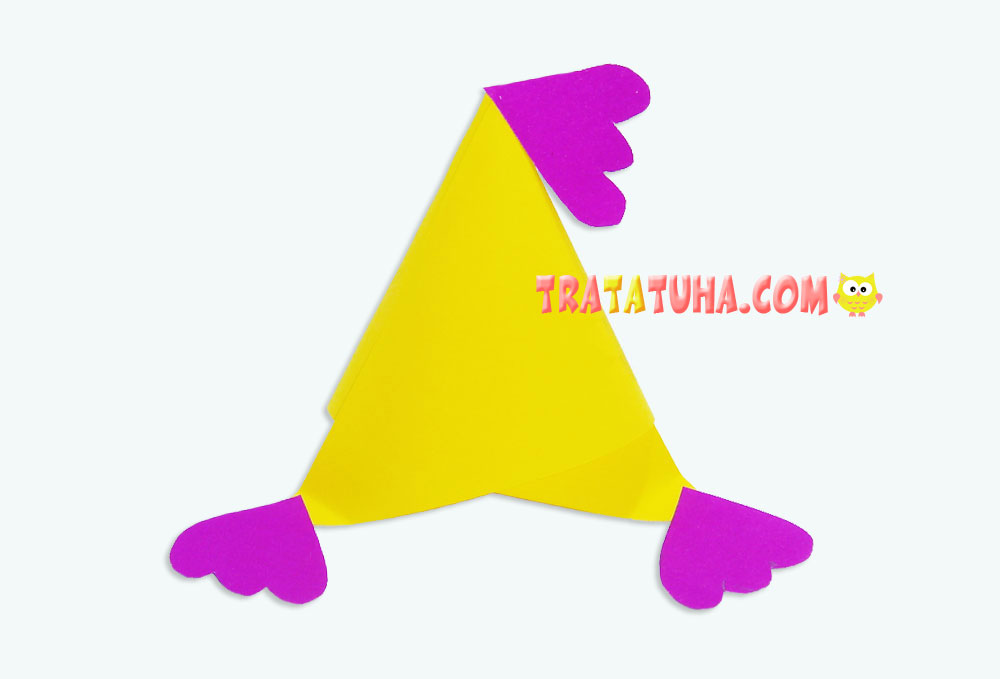
And to the tail as well.
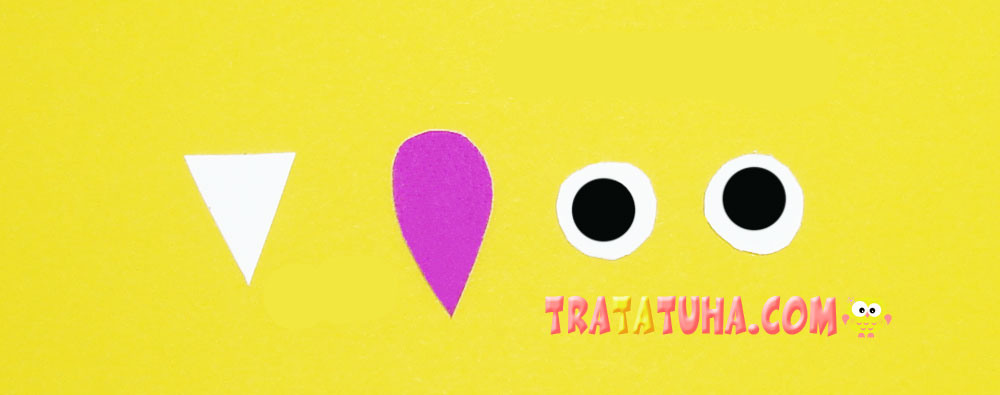
Cut a drop-shaped earring out of coloured paper of the same shade as the previous details. Moreover, the hen needs a nib (here, it is triangular and made of white paper) and eyes. You can take pre-made moving eyes or make them out of white paper circles with a black circle in the middle that you can draw with a felt pen.
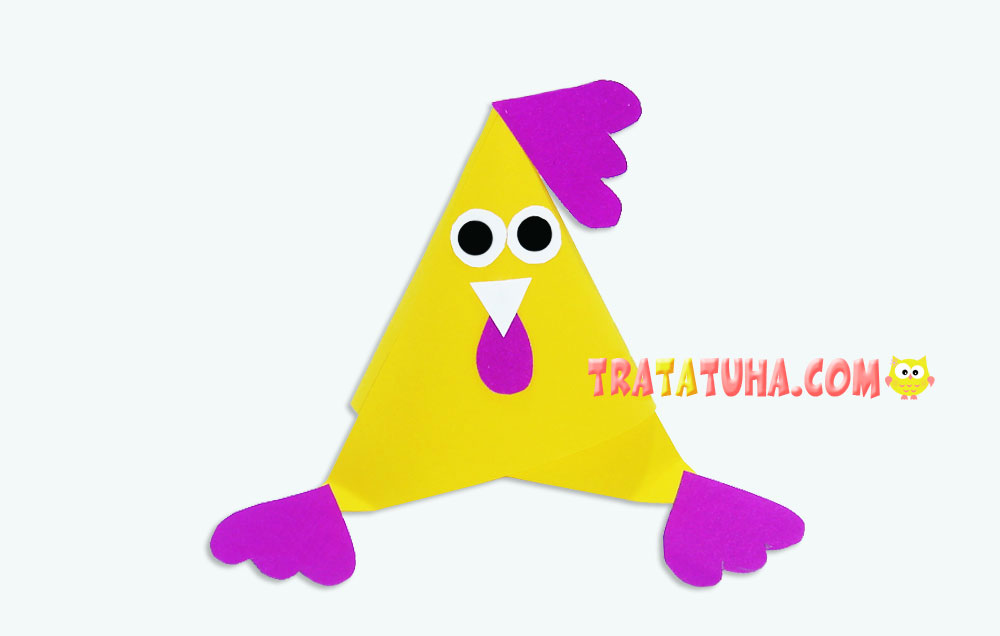
Glue it all and the Easter paper hen is ready. Optionally, you can add wings to it.
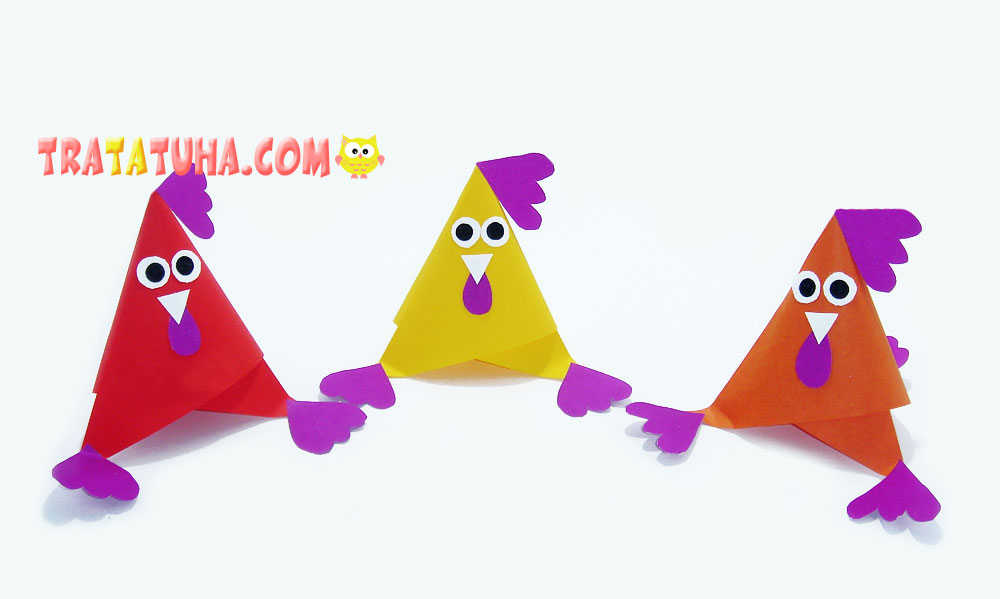
You can make hens of different colours.
Birds Paper – art and craft ideas for all ages.
Crafts for Kids – learn how to make craft at home! Super cute crafts for all age groups!
