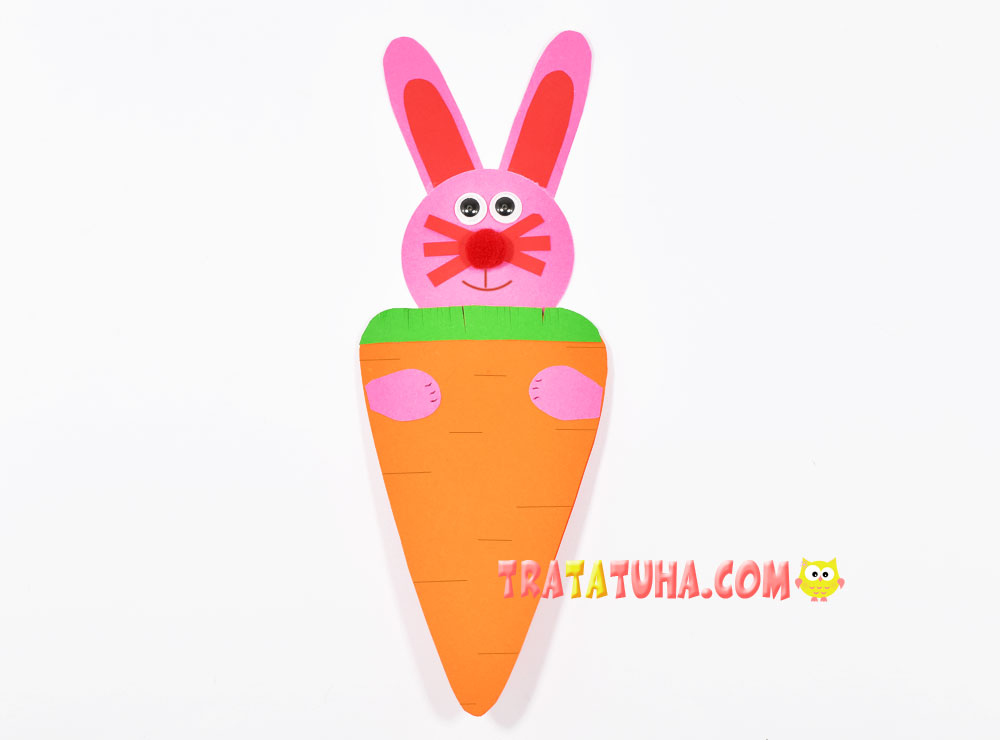
Easter bunny with a carrot card step by step. A new idea of creative work for children on the eve of Easter.
What is used in creating a postcard:
- Orange cardboard;
- Green paper;
- Pink cardboard;
- Red paper;
- Red pompom;
- Moving plastic eyes;
- Scissors, glue, a simple pencil, compasses, felt-tip pens.
Easter Bunny With a Carrot Card Step by Step
At the first stage, we make a carrot, which, in combination, will be the basis of a postcard, inside which you can write a congratulation.
Cut out a long rectangle.
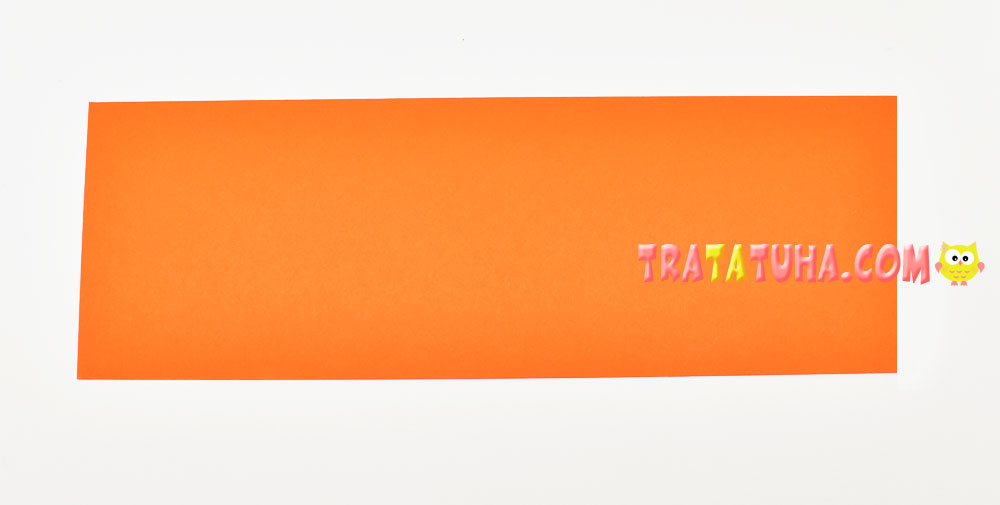
Fold it in half.
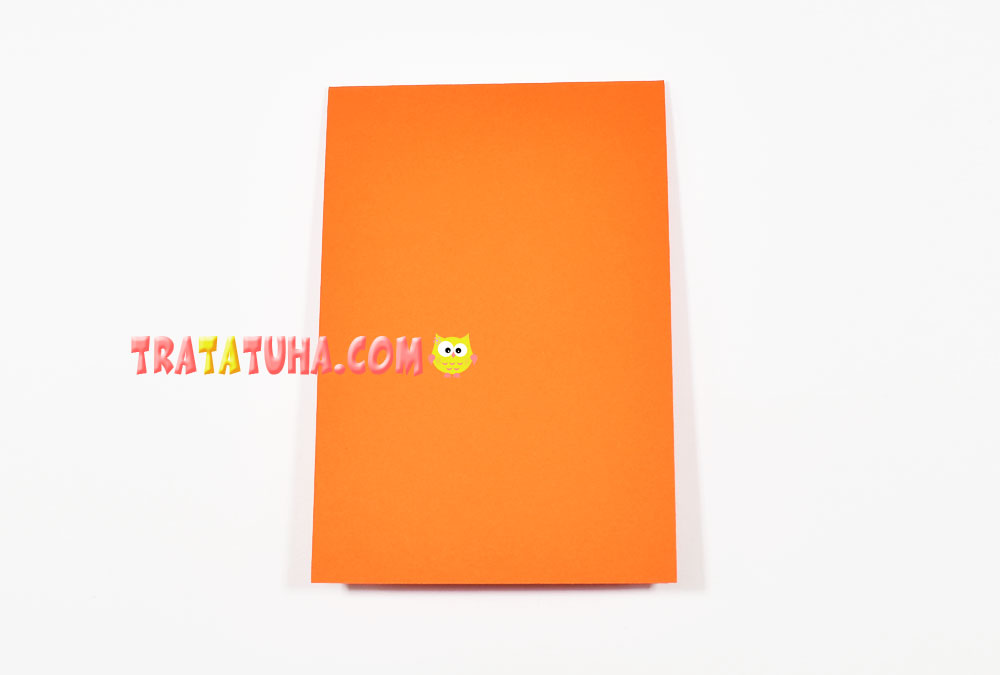
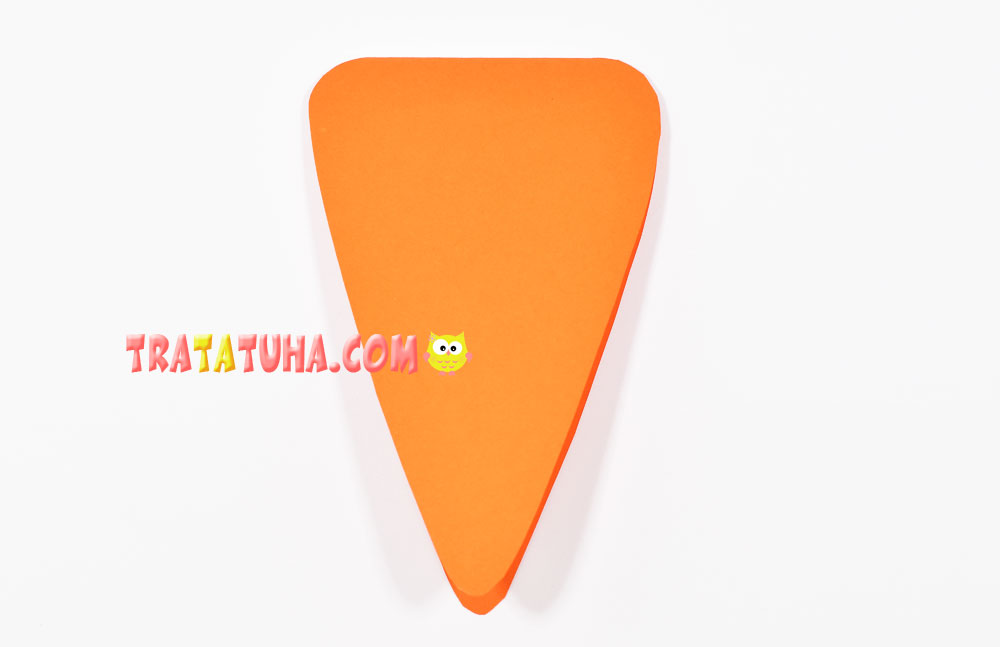
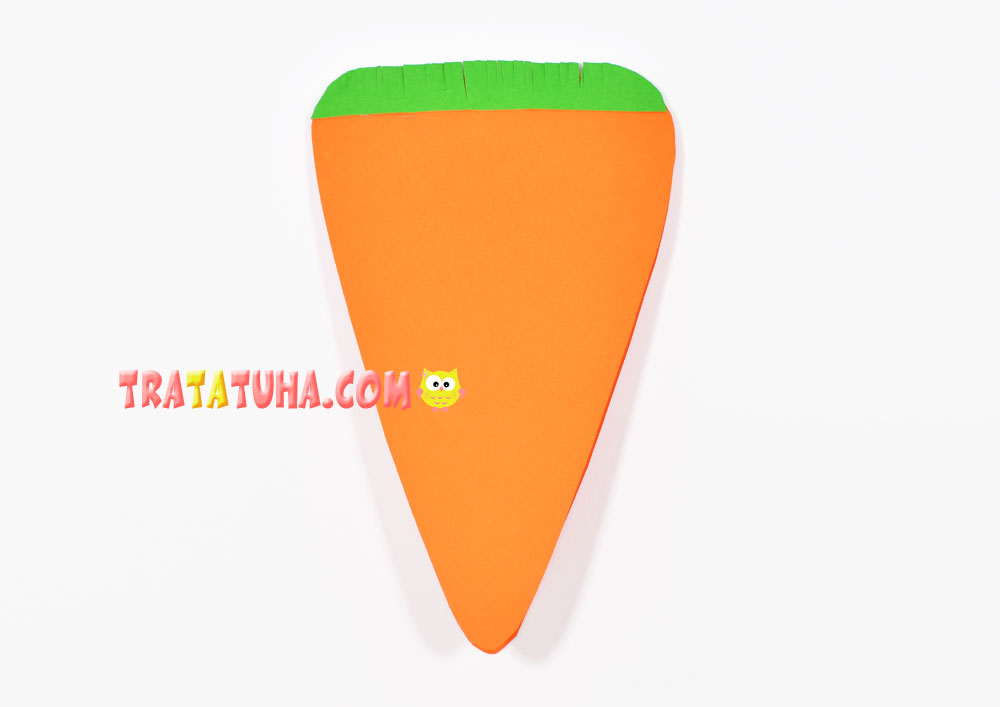
Draw a carrot on it so that its top is just along the fold. Cut out the carrot without cutting the top fold. It will turn out as if double, connected from above. Thanks to this, in the future, the card can be opened and closed.
Considering the width at the top of the carrot, cut a not very wide strip from green paper, which will be the tops of the vegetable. On one side, make a fringe by cutting the paper with scissors.

Glue the tops to the carrots.
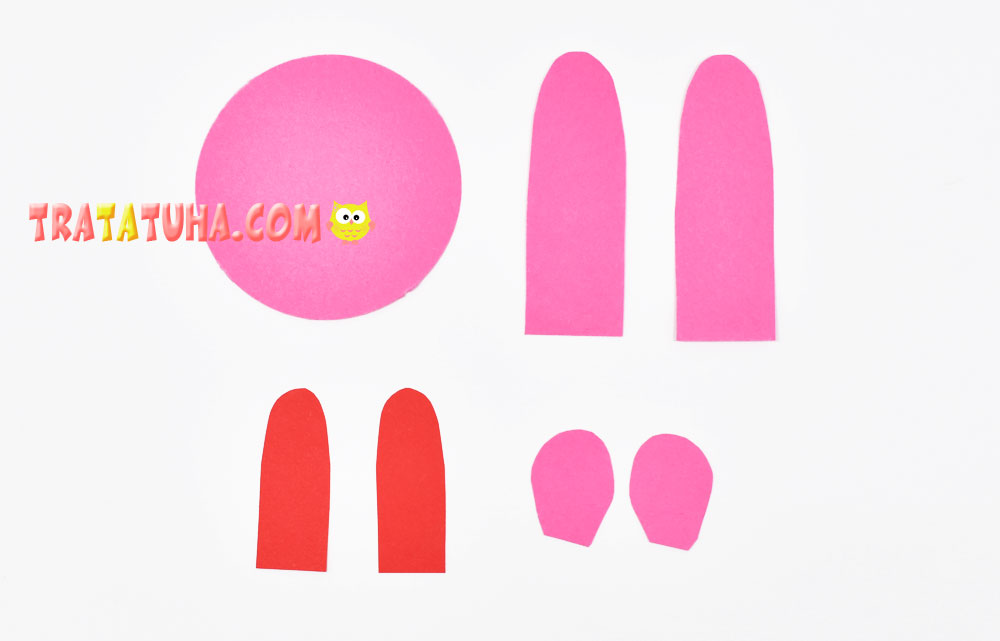
Make a bunny. To do this, cut:
- From pink cardboard circle;
- Pink ears and paws;
- From red paper inserts for the ears.
Glue a head with ears on the top of the carrot, and paws on the sides of the carrot itself. Draw claws on the paws.
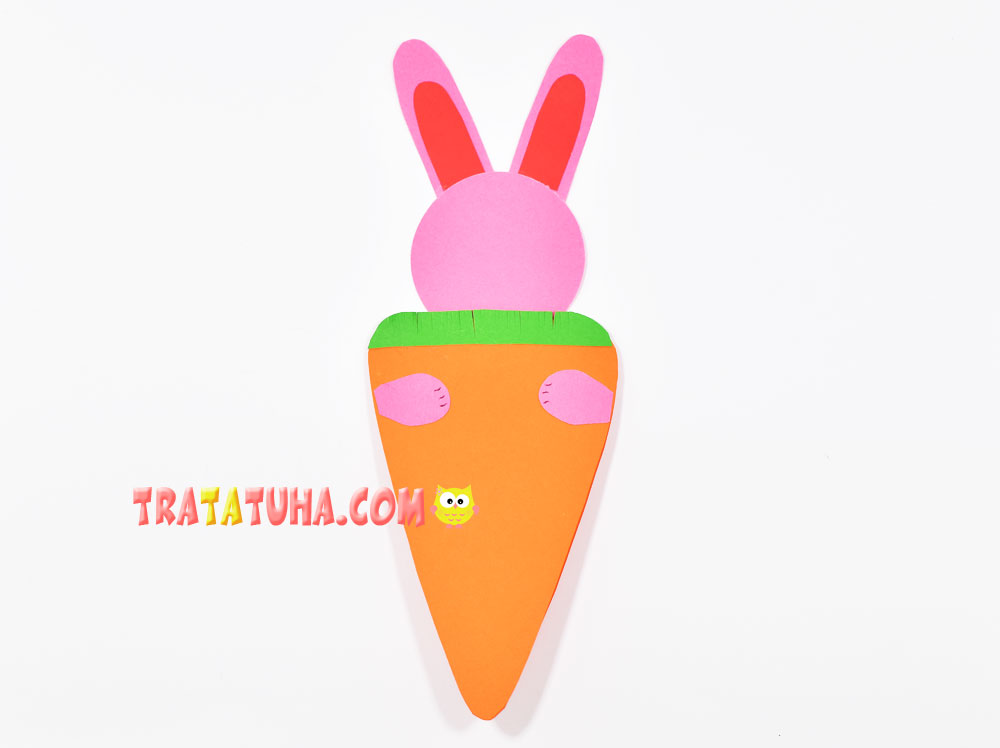
Glue the eyes, cut out 3 thin strips of red paper and glue them as a mustache. Add a pom-pom spout, draw a mouth, stripes on the carrots.

Easter bunny with a carrot card is ready. Inside you can write a congratulations.
Many other ideas in the collection of Easter Cards for Kids.
Here’s to more easy Easter Crafts for Kids.
