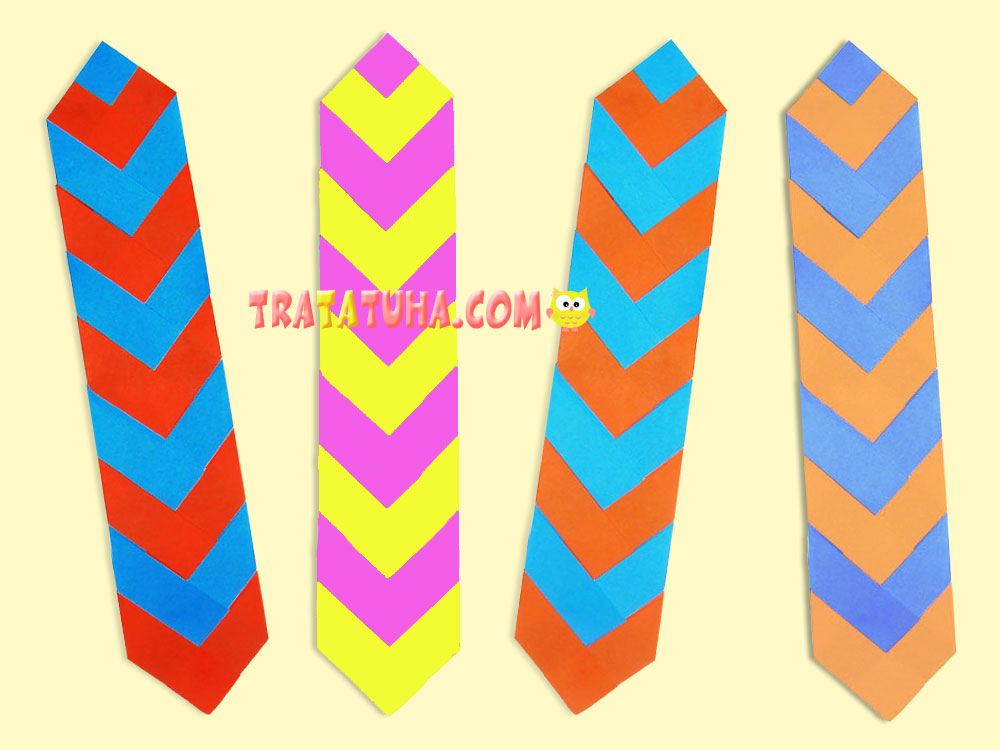
An excellent option for creative work for children is a braided paper bookmark, which is braid from 4 strips.
Follow the step-by-step photo tips to make a paper braid that makes a great bookmark.
Materials you will need:
- Colored paper in any desired colors;
- Scissors and glue.
Braided Paper Bookmark Step by Step
Prepare 4 strips of colored paper. The color, width and length can be any, at your own discretion, depending on your imagination and the size of the book for which you will need a bookmark.
For example, you can use stripes 1 cm wide and 30 cm long. And stripes of blue and orange.

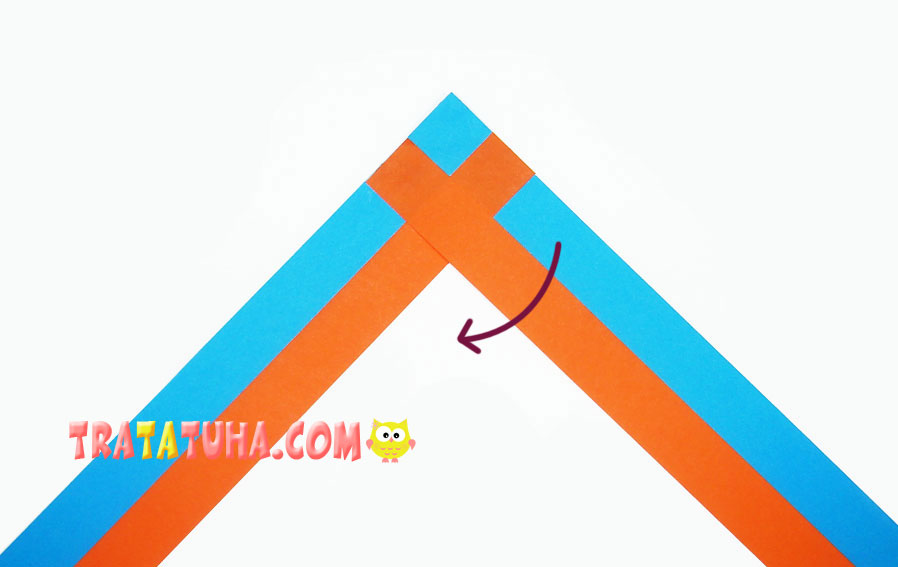
Glue two blue stripes at right angles.

Now glue two more strips of orange, criss-cross, but next to the blue stripes.
Making a Paper Braid
We bend the outer, in this work, blue stripe to the left.
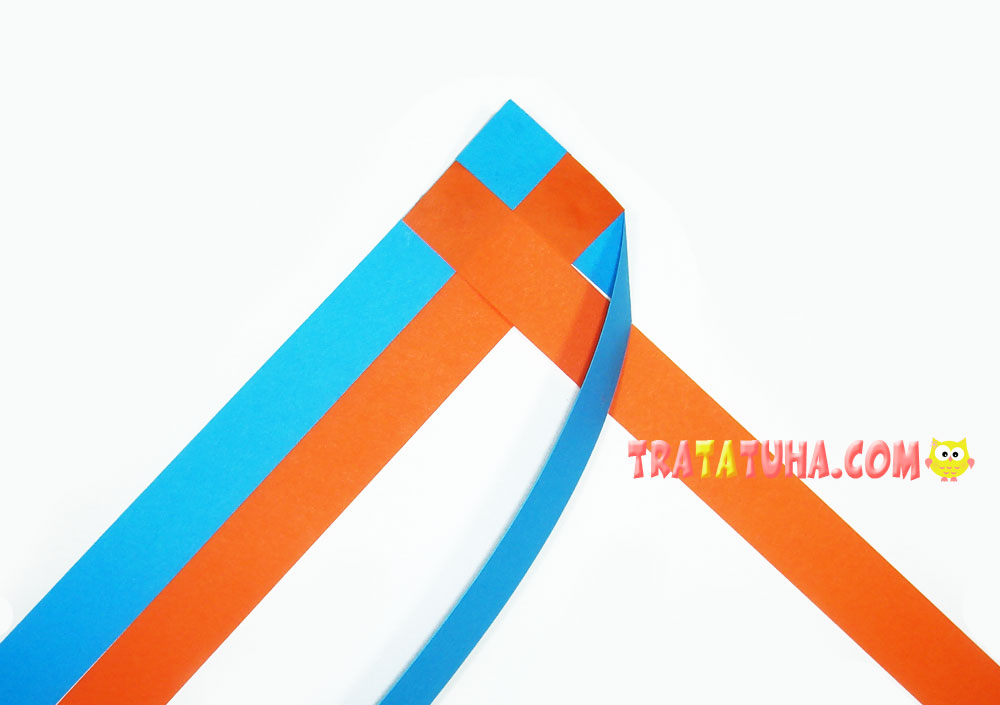
We position it so that it is parallel to the orange stripe.
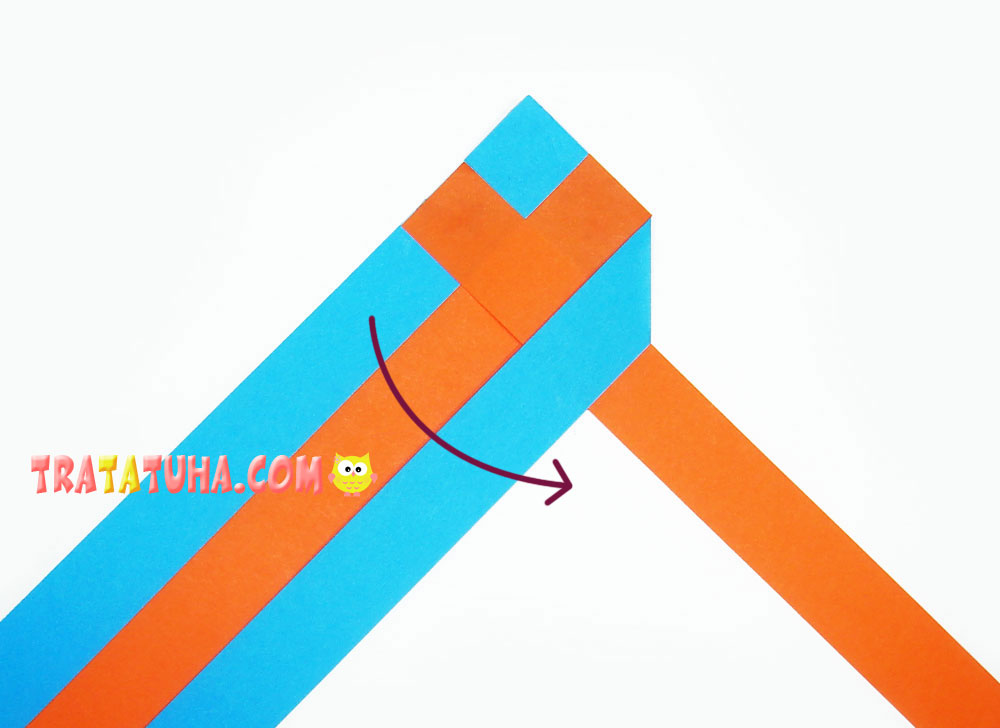
Next, fold the second outer blue strip inward in exactly the same way, but now to the right.
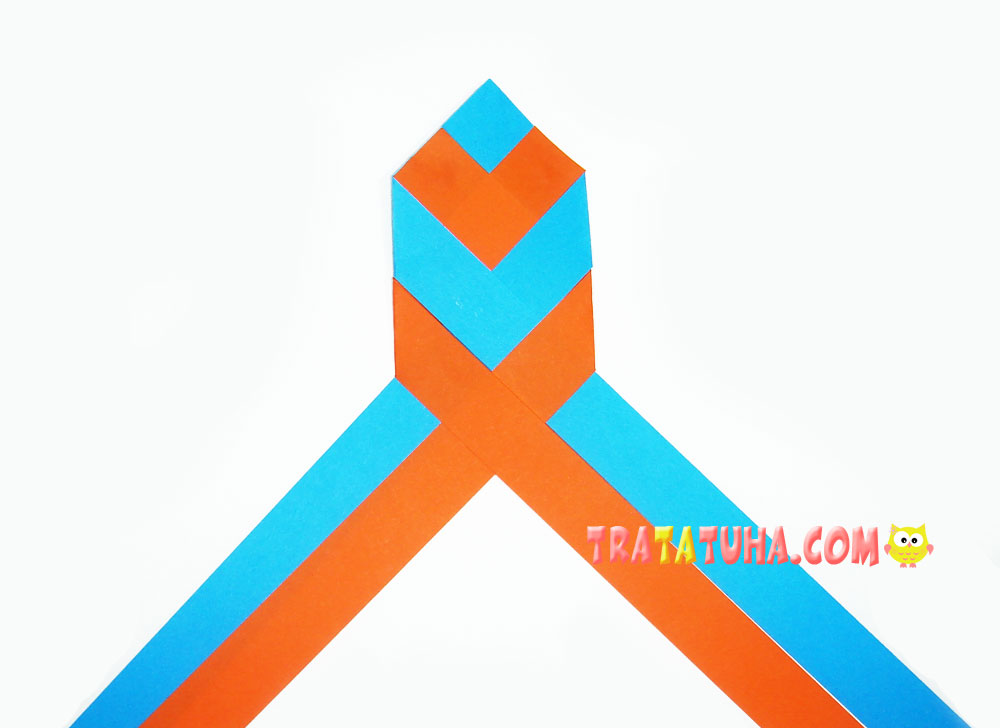
We continue weaving and bend the orange strips one by one. In this way, you should weave the strips almost to the end.
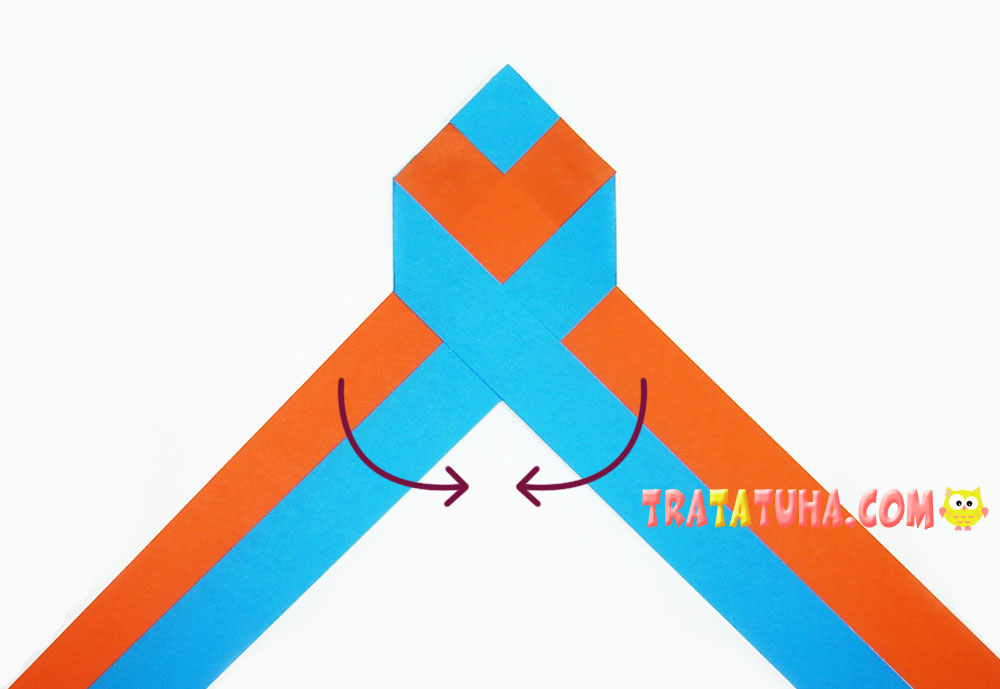
Important: during the process of weaving the bookmark, you should watch the outer edges of the braid. They should be even so that the stripes do not puff up, but create a straight line. After all, the shape of the bookmark itself depends on this.
We braid the bookmark to the end, bend or cut off the ends and be sure to secure it with glue.
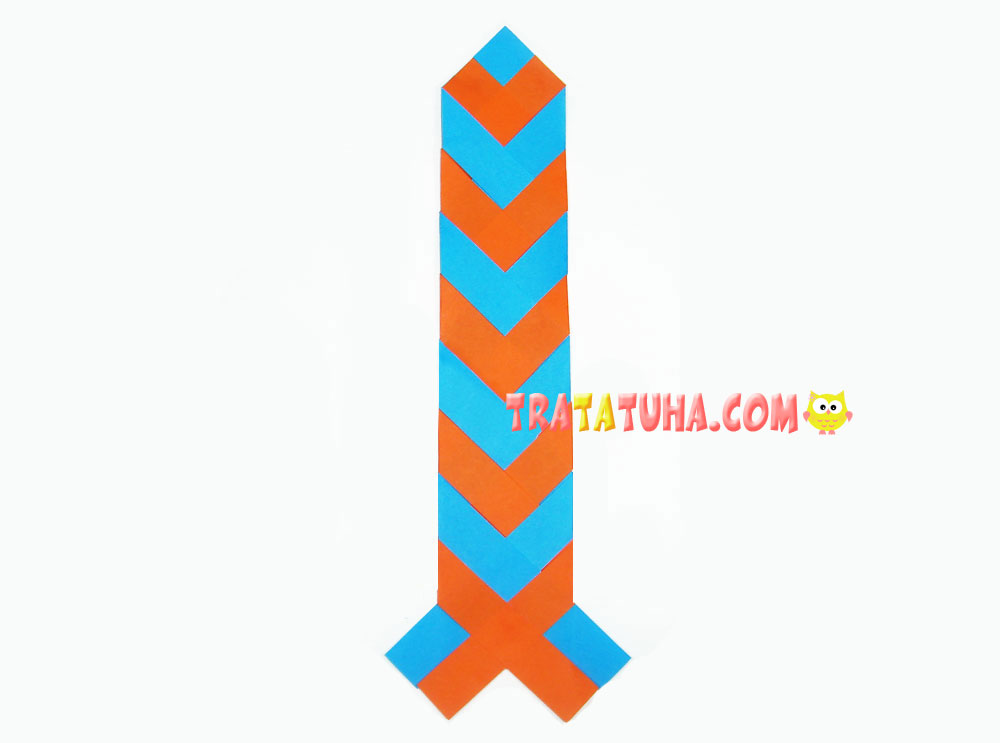
By the way, to make the bookmark more complete, you can also sometimes use glue during the work process, more securely fastening the strips together.
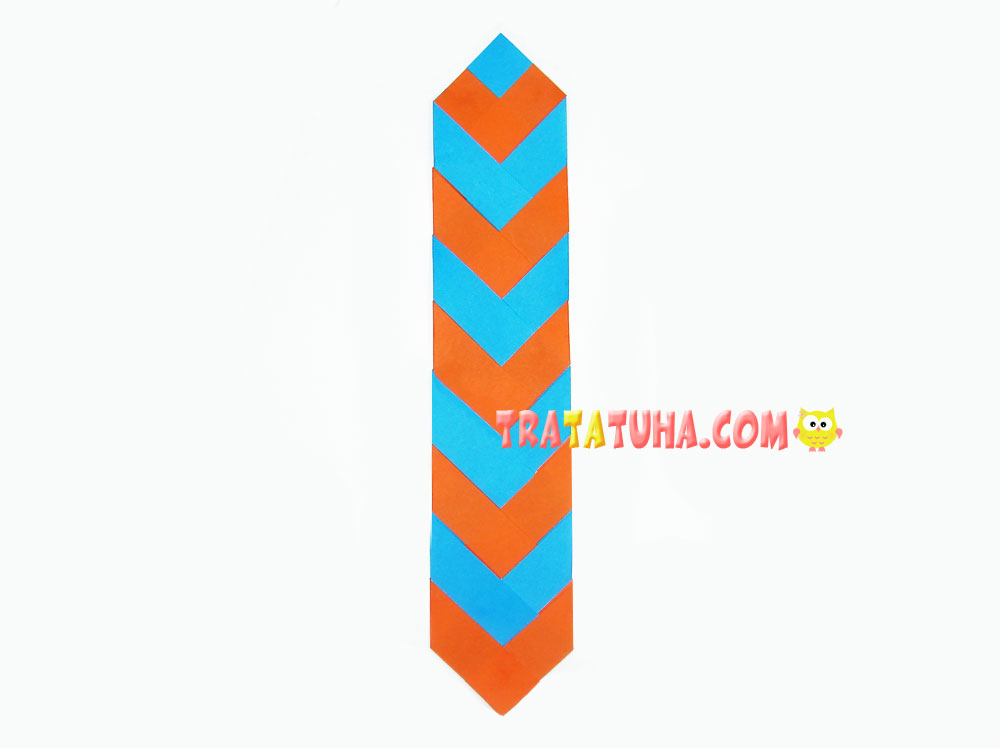
The braided paper bookmark is ready. A child will like a homemade craft, especially if he makes it with his own hands, using the desired colors of colored paper. Moreover, the braid can be decorated with paper flowers and painted with colored markers.

See also how to make a pencil bookmark out of paper.
