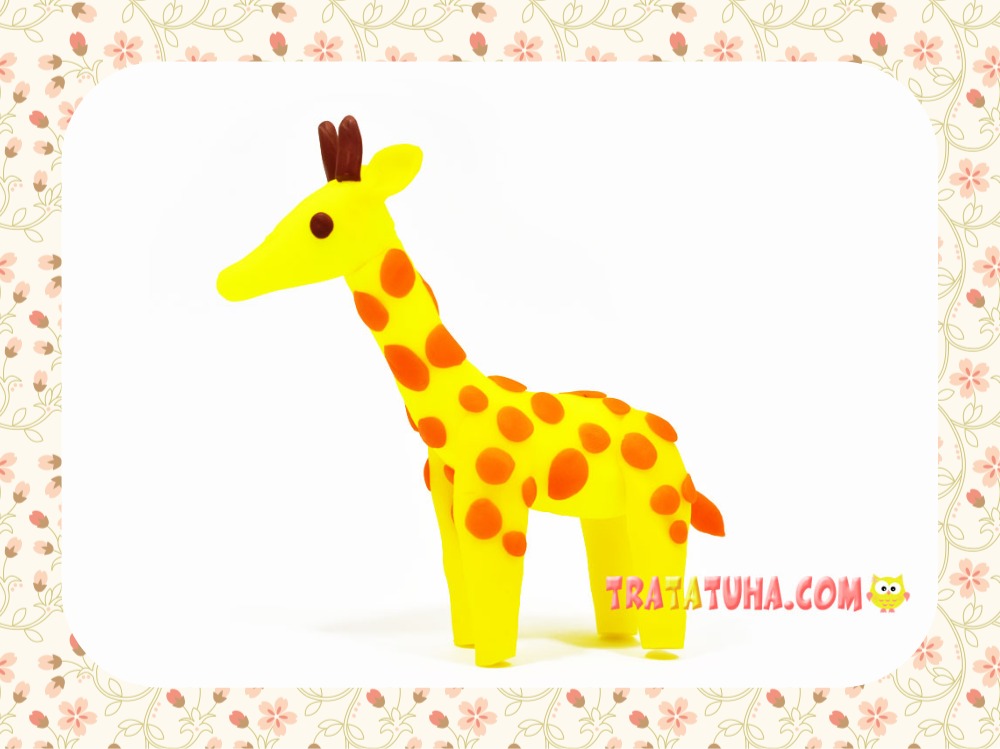
Bright clay giraffe for kids in a step-by-step execution. Lesson of simple modeling of an animal from clay.
What you need from the materials:
- Clay yellow, orange and brown;
- Stack, mat for modeling.
Clay giraffe for kids: modeling steps
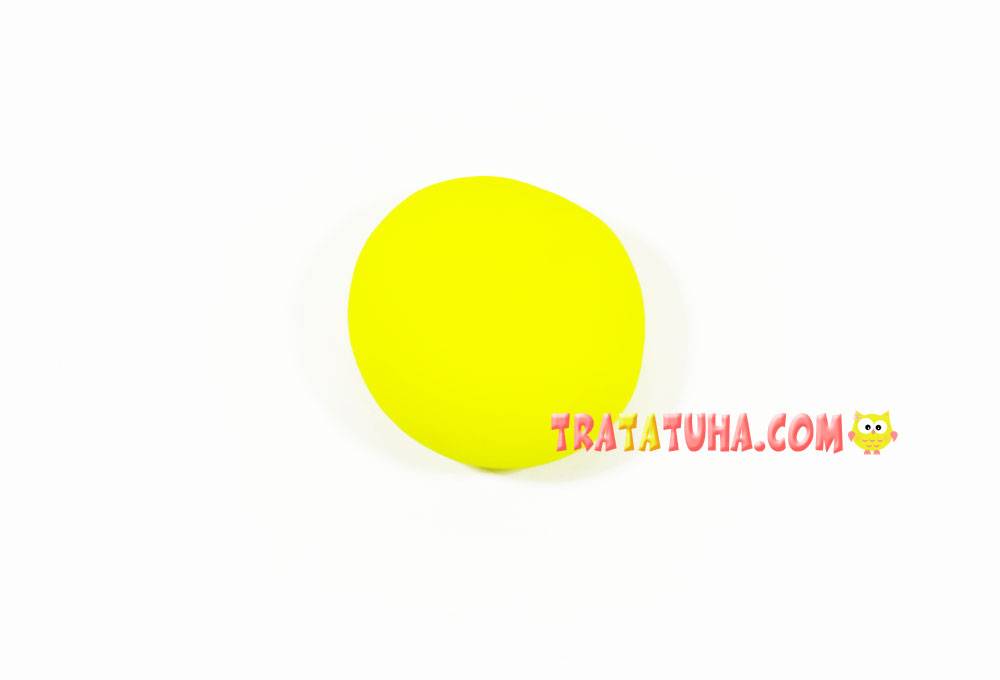
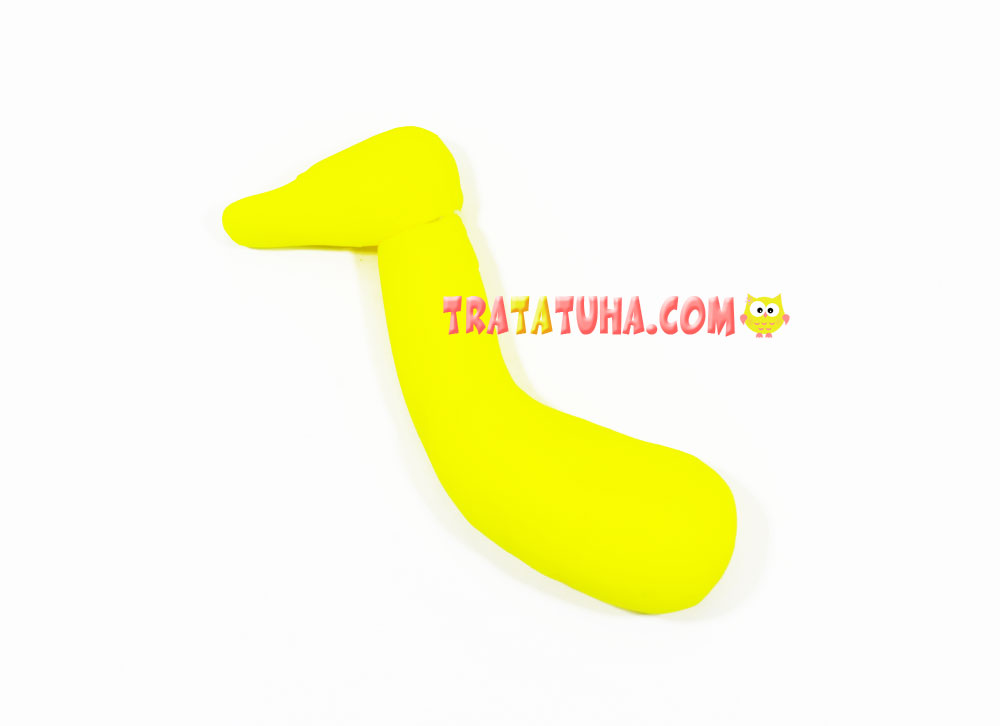
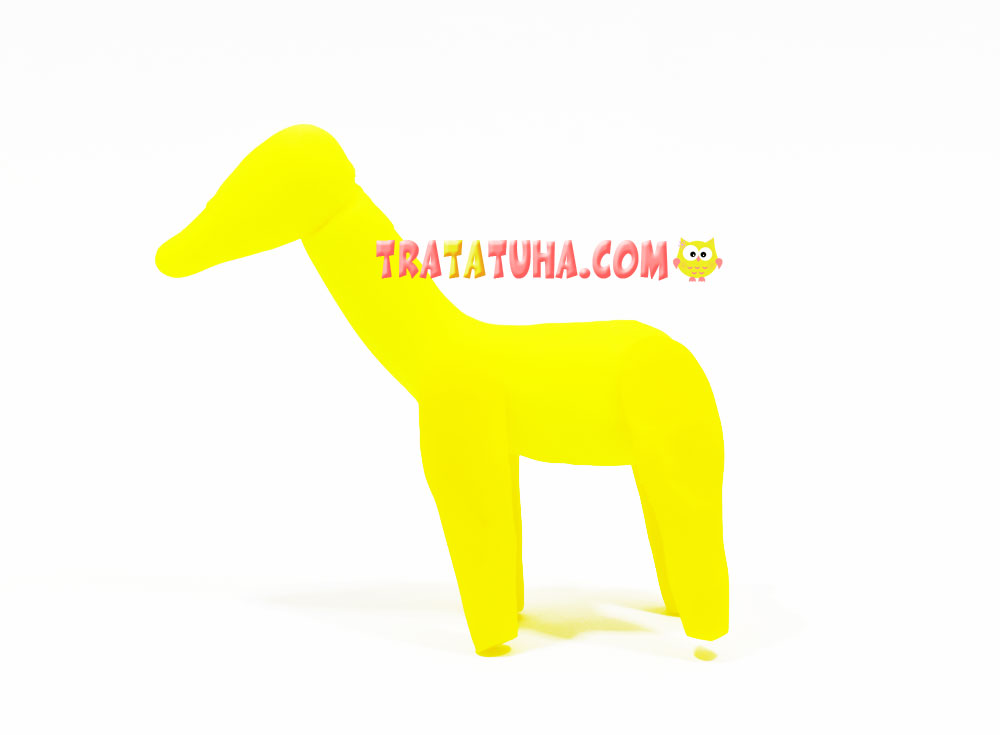
At the first stage, we blind the body. Take yellow clay, knead it and roll it into a ball.
Roll the ball into a cylinder, where one side should be slightly thinner than the other.
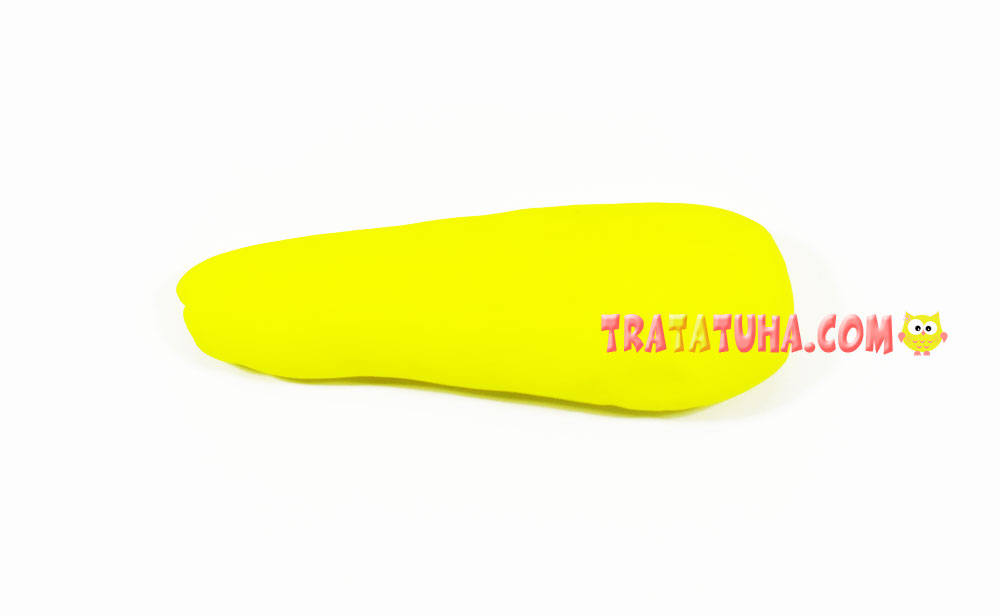
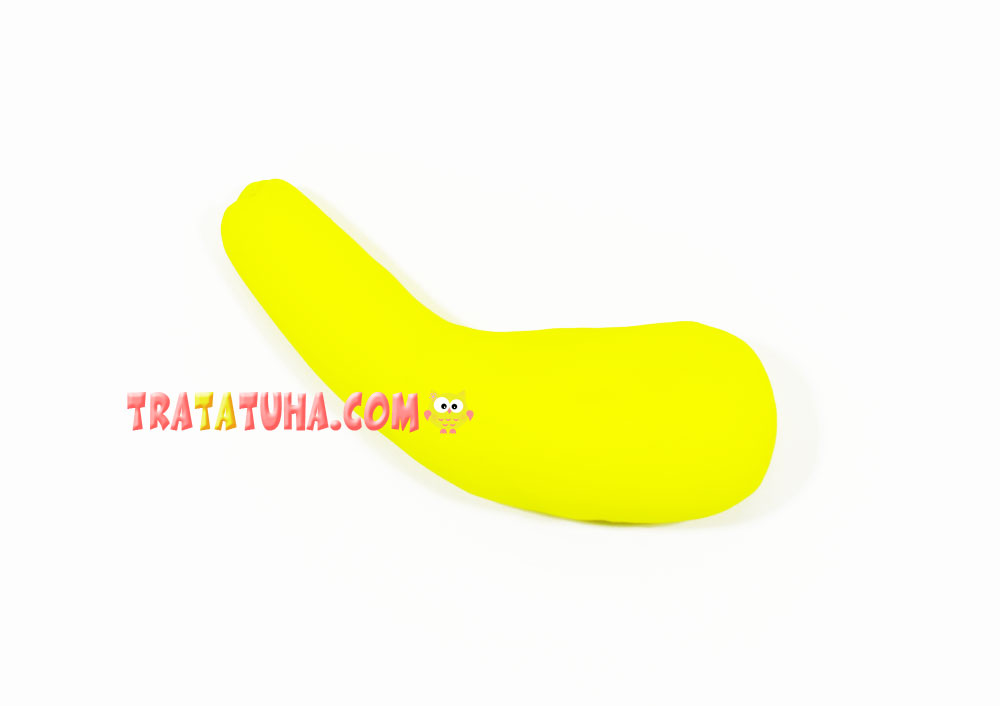
Bend the part with the thin side up, delimiting the neck with the body.
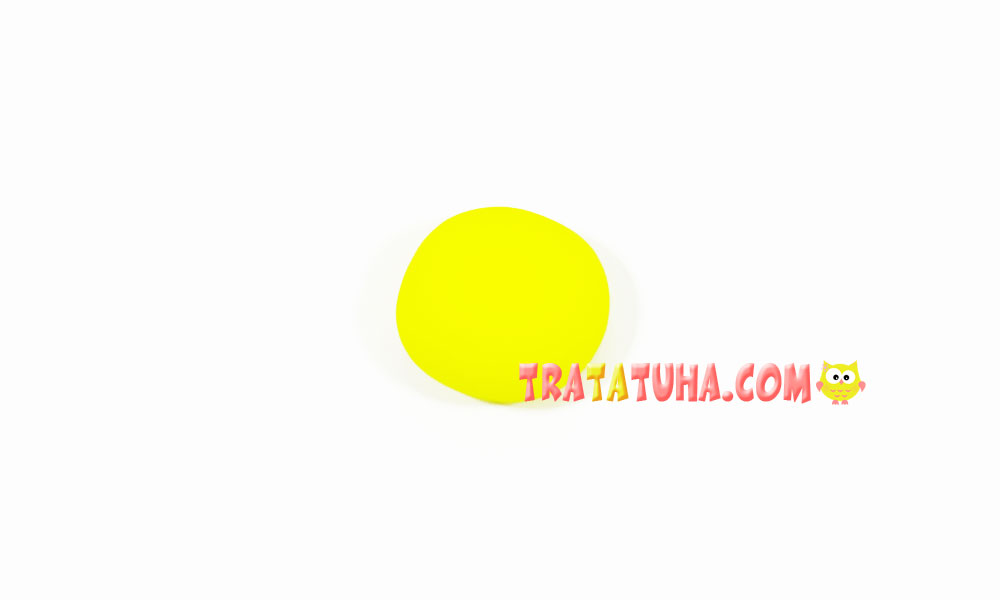
Now let’s start creating the head of the giraffe. Roll out the ball three times less than the body.
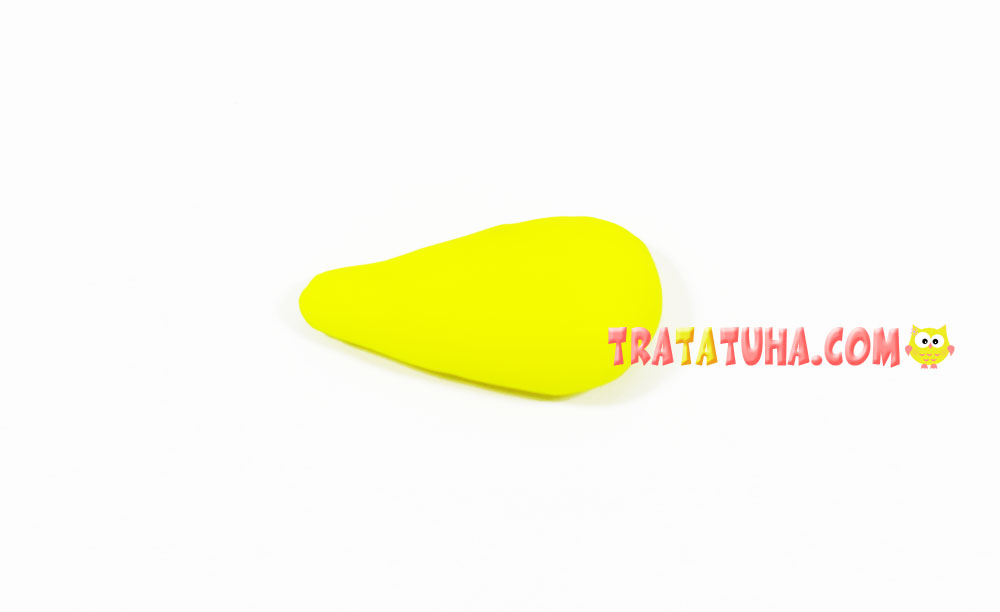
Pull one side of the ball a little, making it a little thinner. Got a head.
Attach the head to the neck.
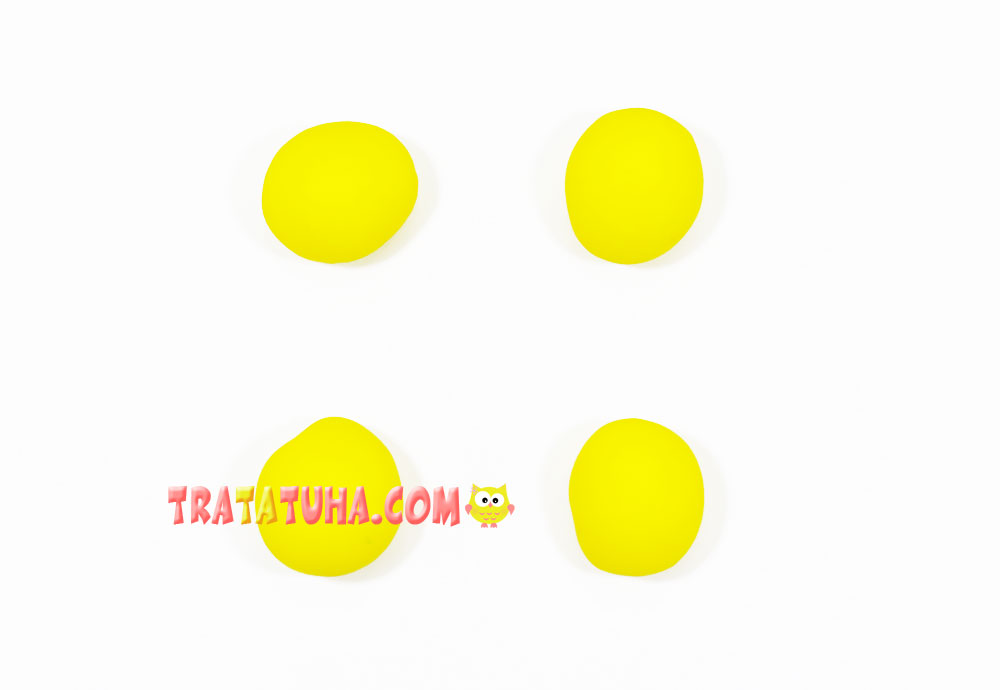
Let’s start sculpting the legs. Prepare yellow clay for them, from which roll 4 balls.
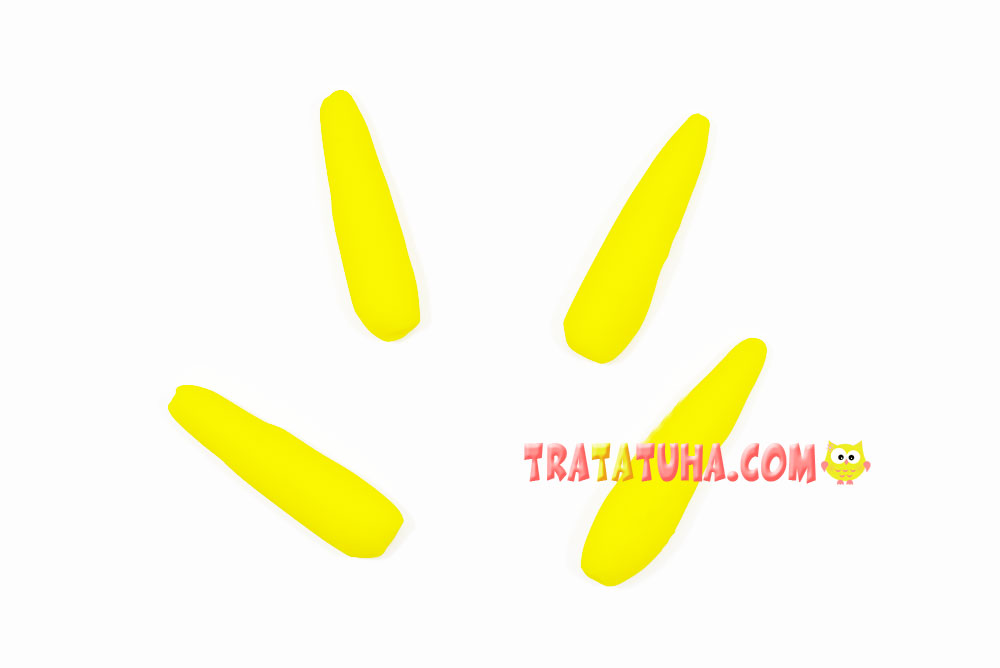
Pull the balls into long carrots by rolling with the palm of your hand with great pressure on one side.
Flatten the base of each carrot, the legs are ready.
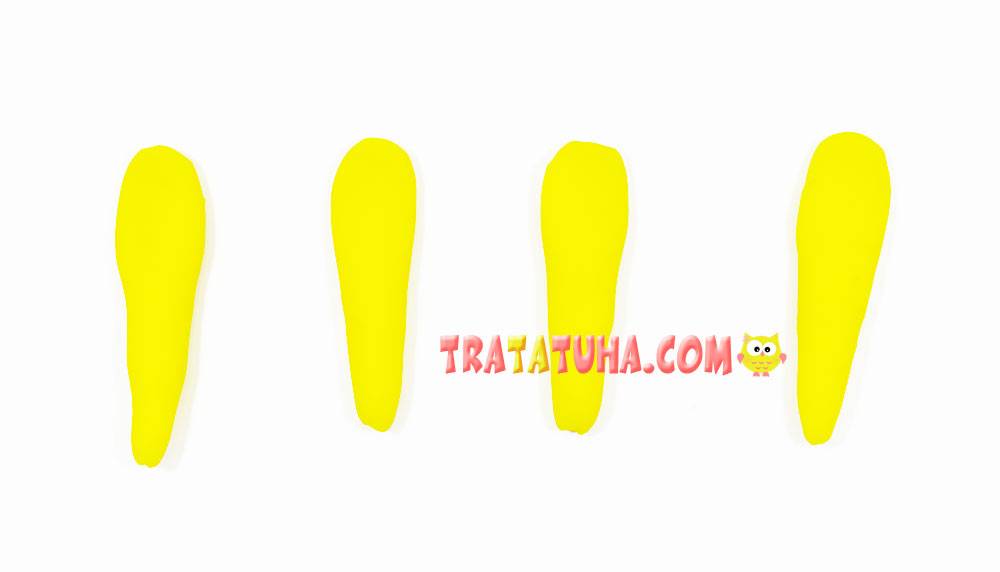
Attach the legs to the body on both sides.
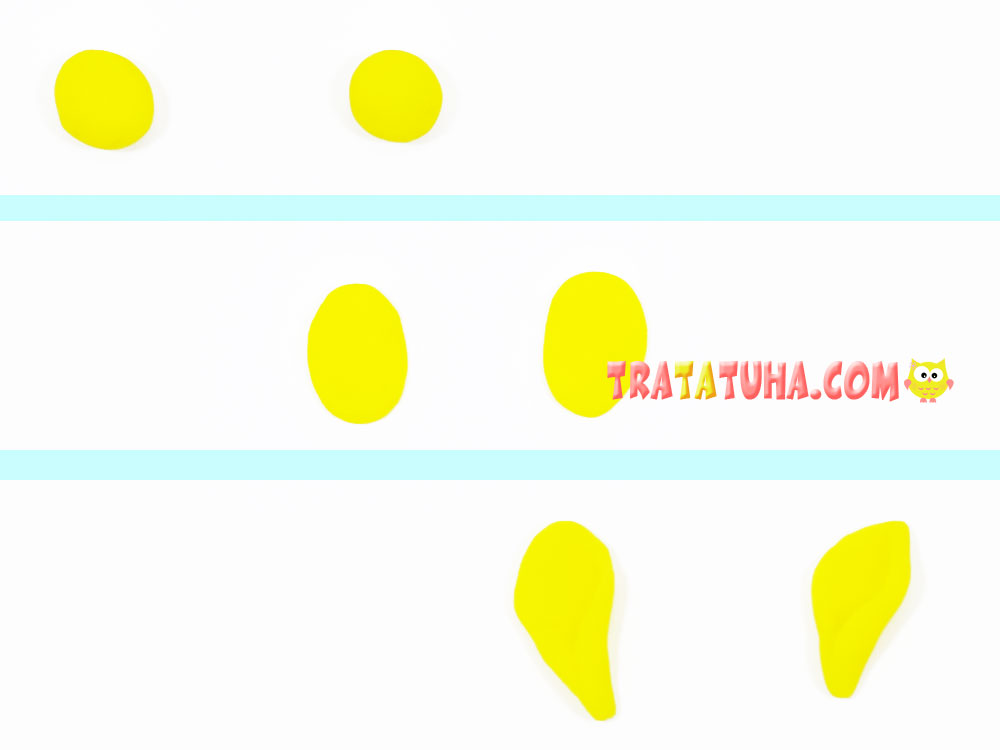
To blind the ears, you will need two small yellow balls. They need to be flattened, giving the shape of leaves, and then bent a little.
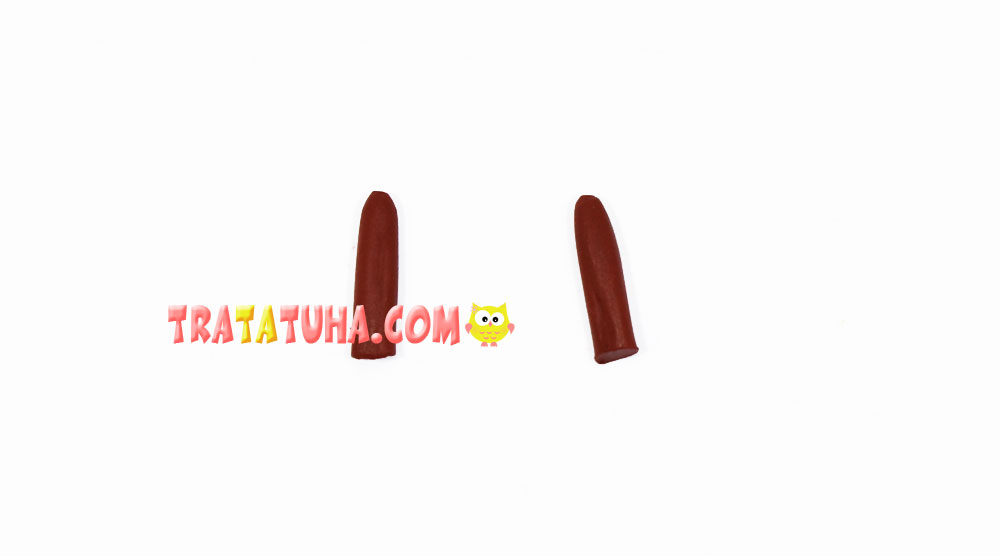
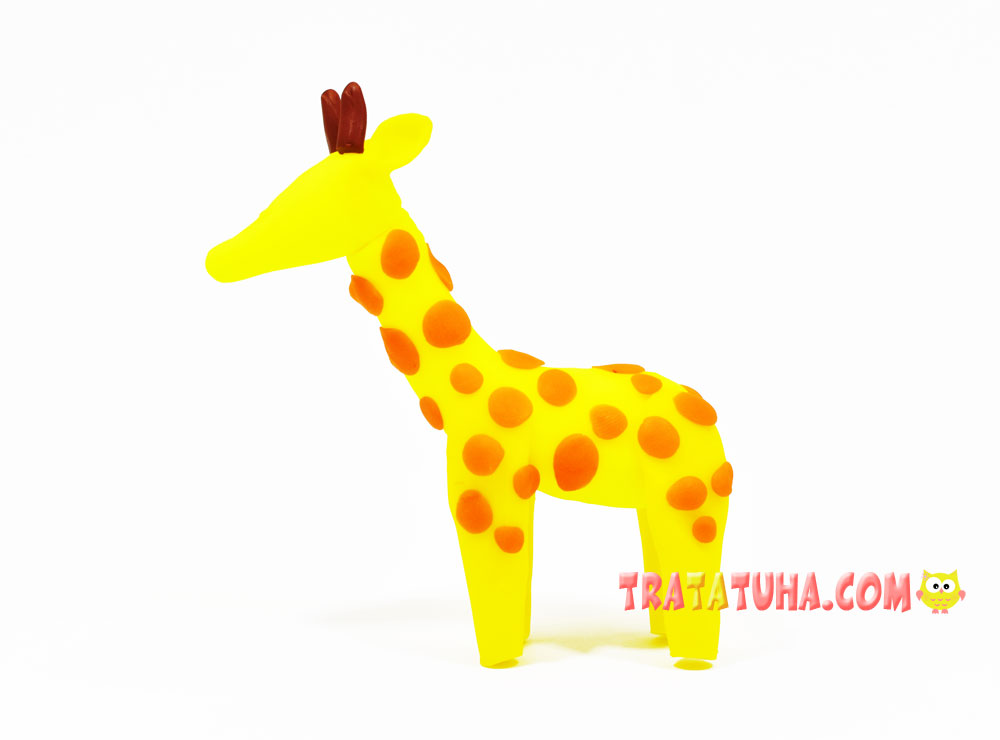
Roll out the horns from brown clay. This is an ordinary thin flagellum, a stack divided in two.
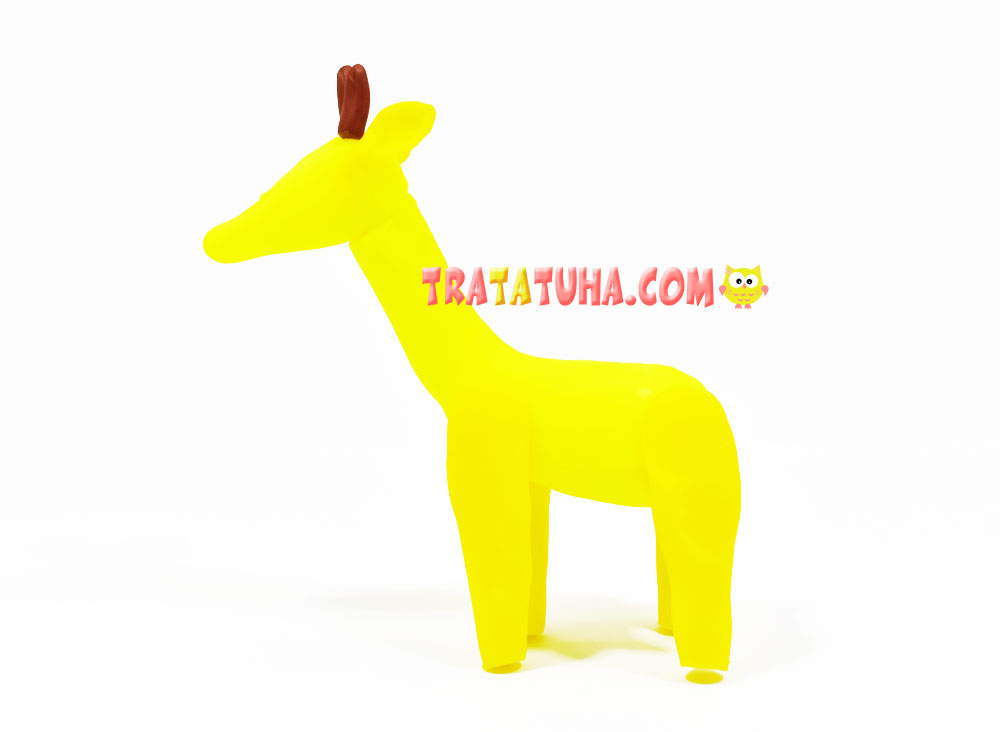
Stick the ears to the head of the giraffe, and the horns on top, between the ears.
Roll up a lot of balls from orange clay, which can be of different sizes and shapes. These will be the spots of the giraffe.
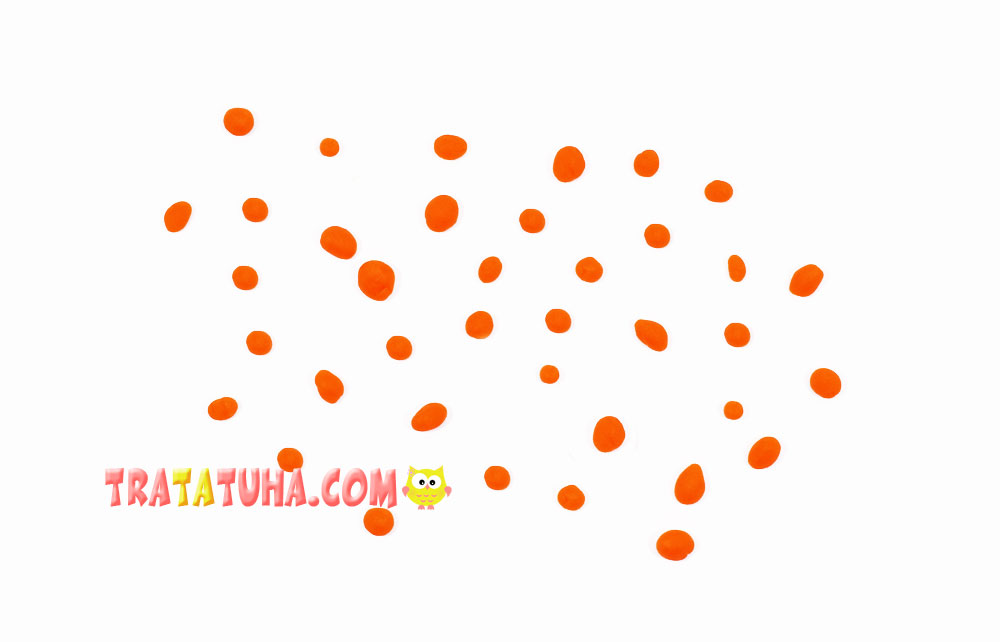
Flatten the balls and stick them to the neck, torso and legs of the animal.
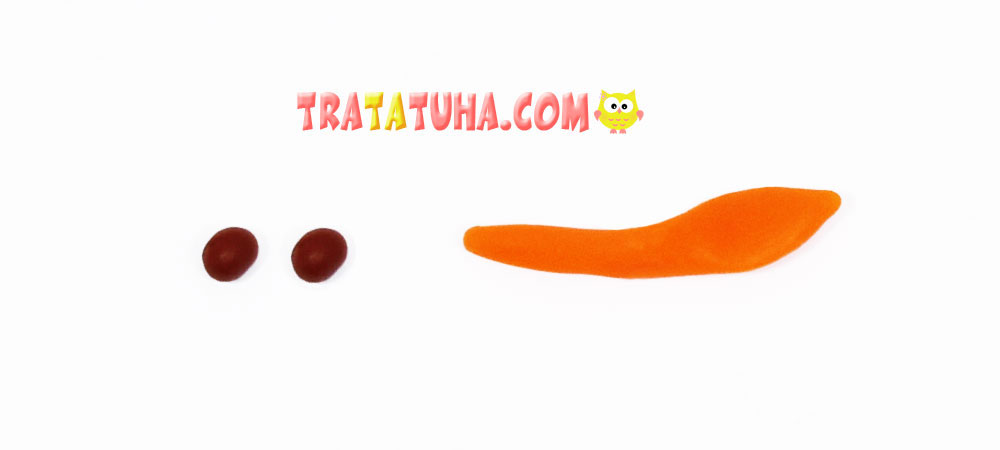
Roll up two small balls of brown clay, making blanks for the eyes, and also blind a thin tourniquet with a thickening at the end, which will be the tail.
Attach the tail to the back of the body, add eyes on the sides of the head.
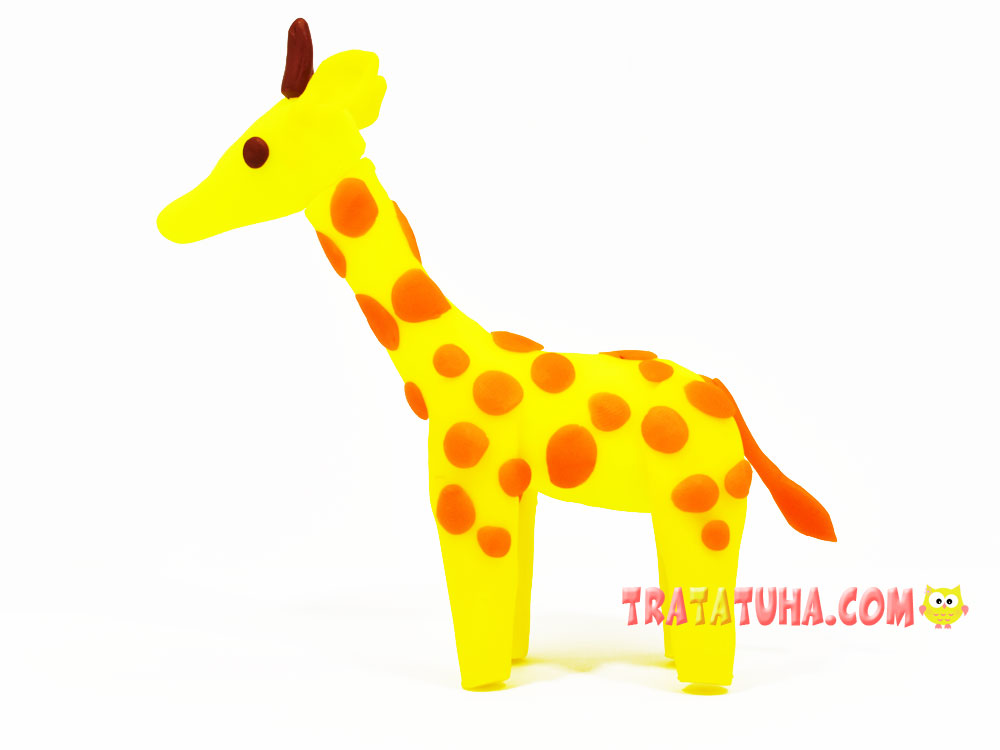
Everything, the clay giraffe is ready.
Is this topic interesting? Here are a few more selections for you:
