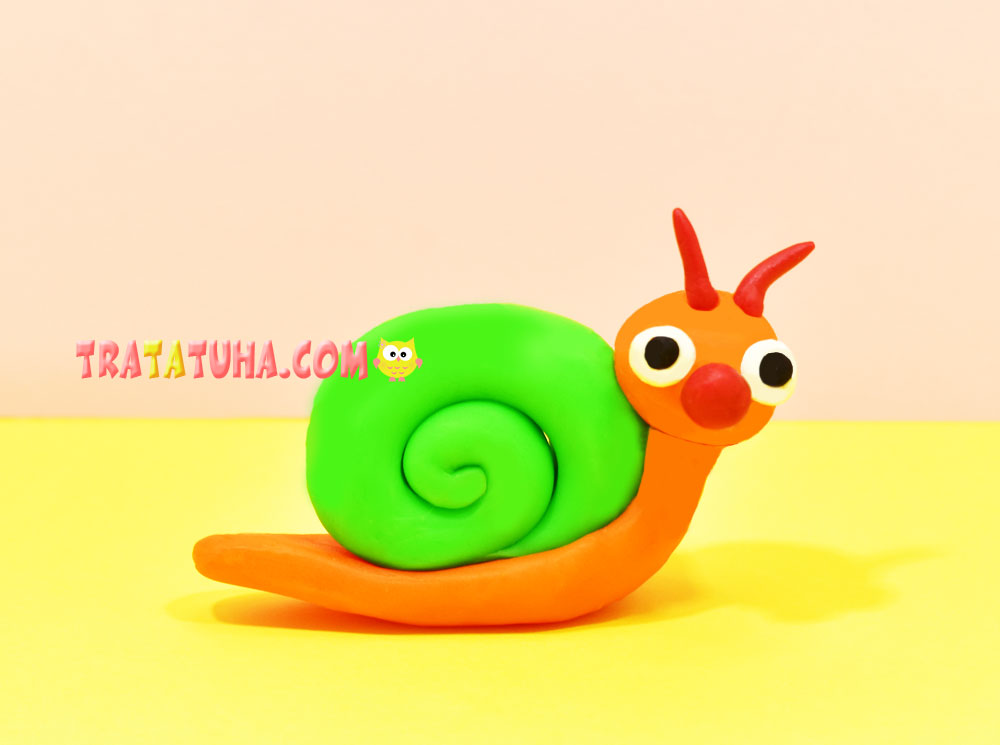
A simple clay snail with a detailed description of the modeling process and step-by-step instructions.
Snails are one of the most grateful objects for modeling. After all, they are so beautiful and so different. Their shell-houses are twisted in a spiral, can be decorated with a variety of growths and spikes.
Materials:
- Clay orange, green, red, white and black;
- A molding substrate that will save the desktop;
- Stack (knife for modeling).
Clay Snail Step by Step
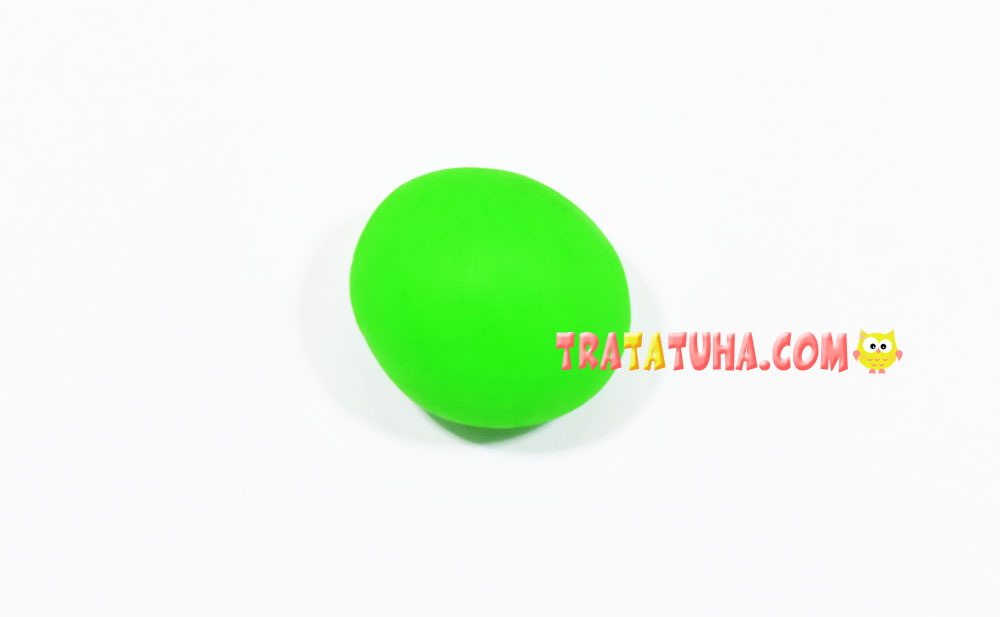
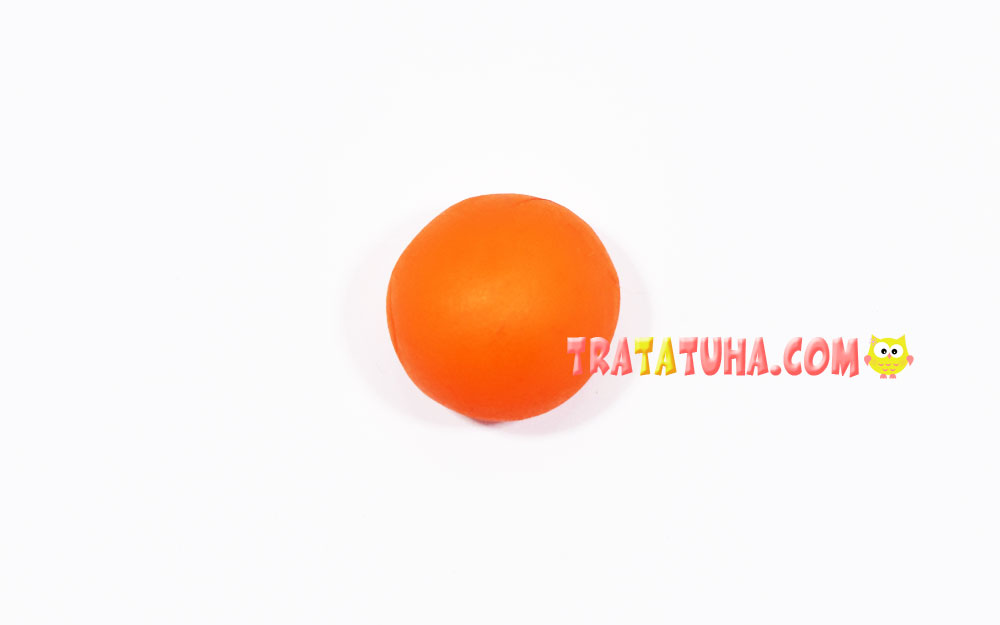
Cut off a piece of clay with a stack of the desired size. Knead it, gently press it to the surface and make several circular movements with the palm of your hand, giving the workpiece the shape of a ball.
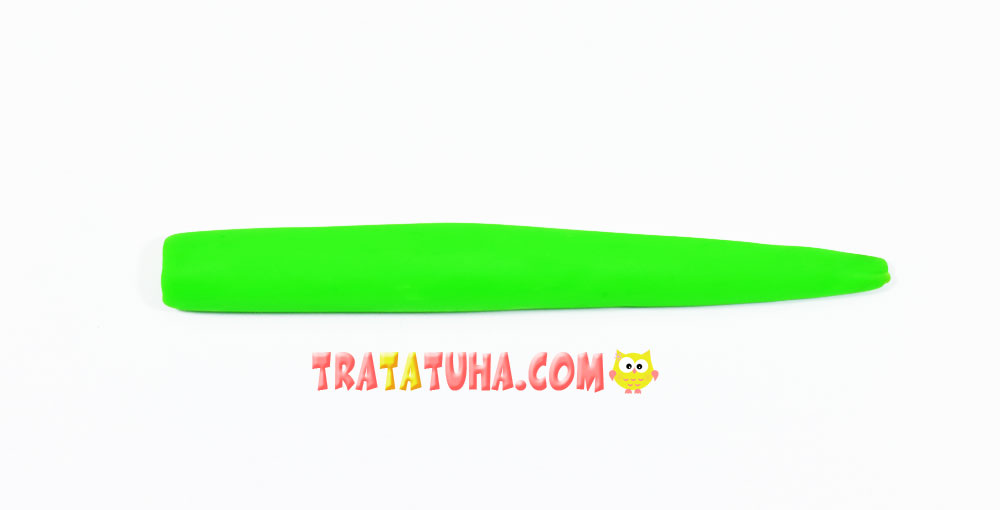
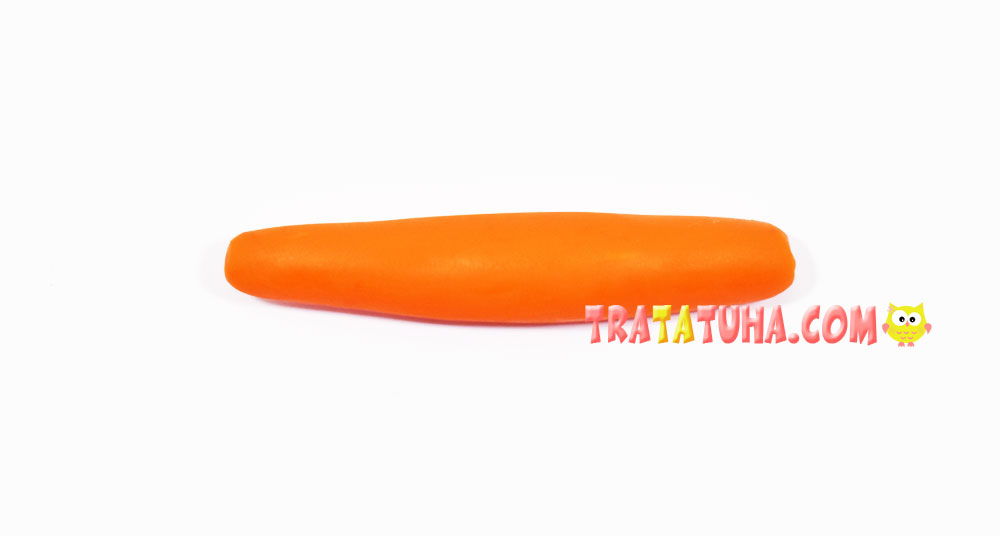
Roll the ball into a roller, one side of which should be thinner.
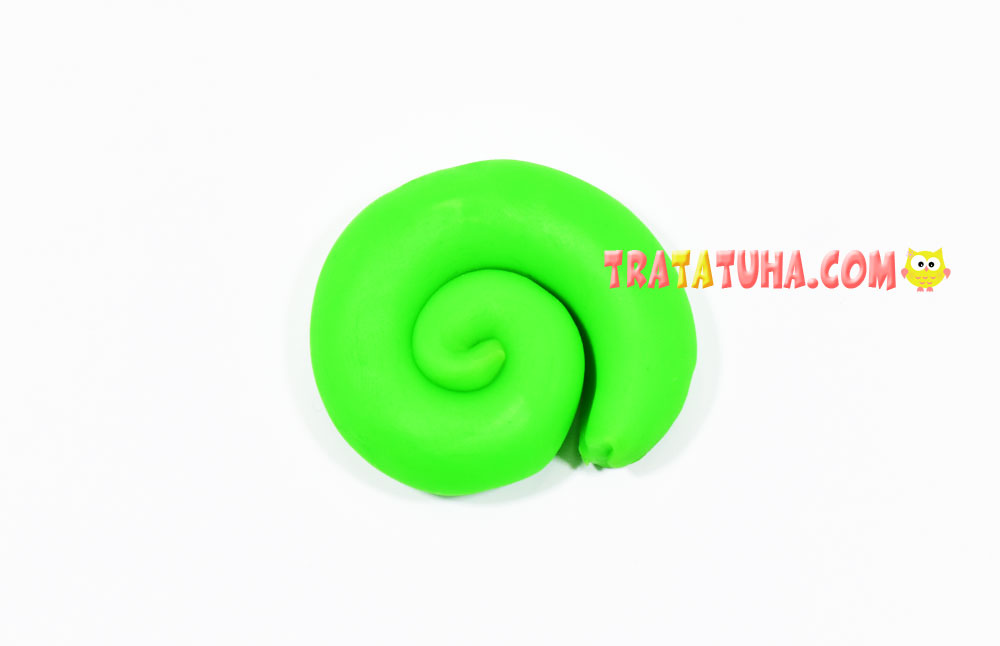
Starting from the narrow end, we begin to form the beginning of the spiral.
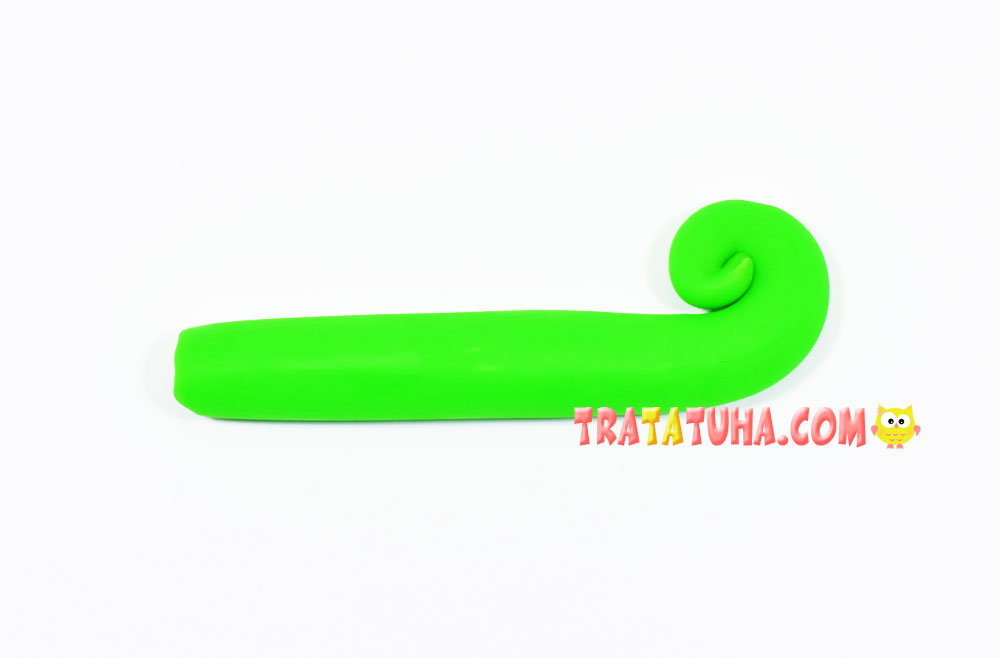
We twist the roller into a spiral completely. The sink is ready. If desired, it can be decorated with colored clay balls.
Now we will sculpt the body for the snail. Prepare another piece of clay, roll it into a ball.
Roll out into a thick roll.
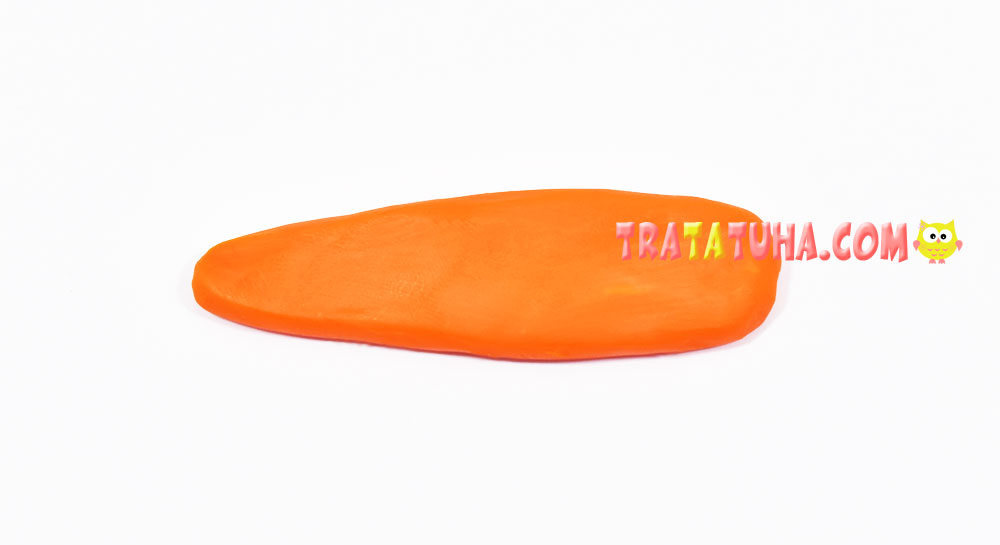
Flatten as shown in the photo.
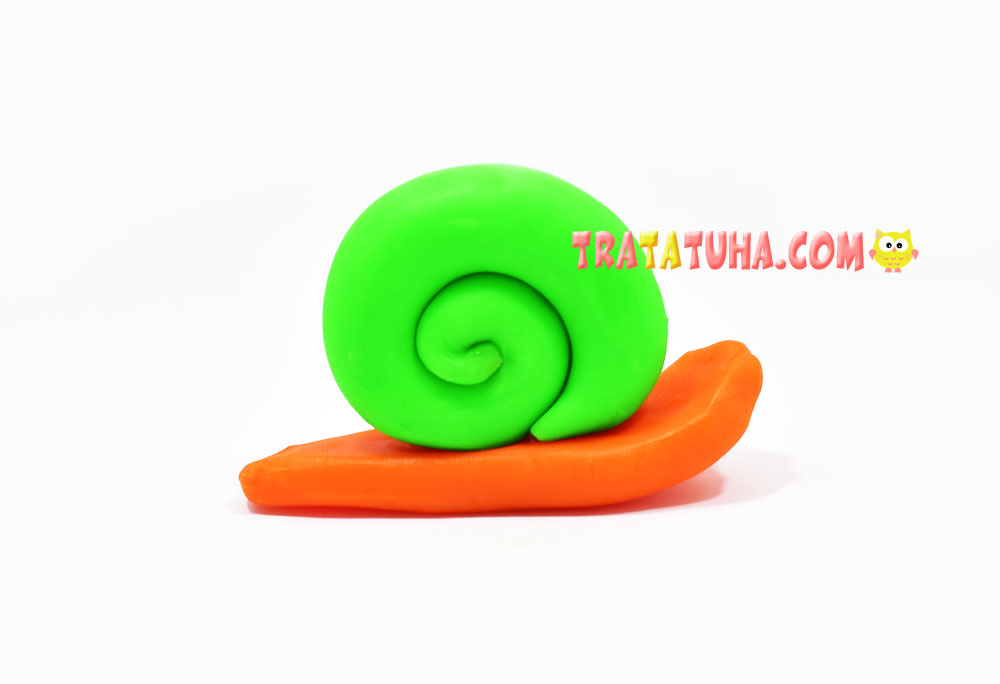
Lift up the wider side of the orange blank and stick a green shell on top.
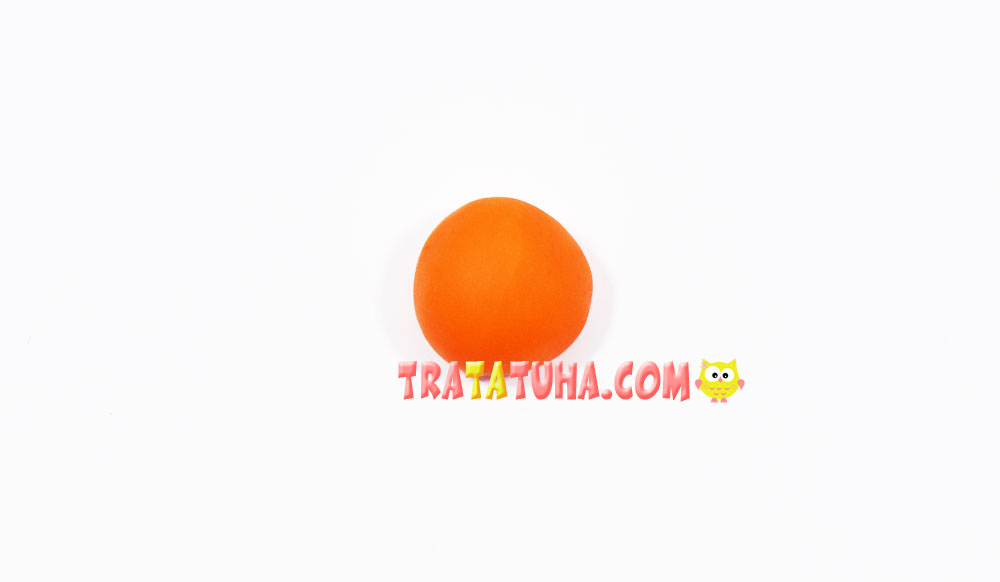
Now let’s start sculpting the head. To do this, prepare a small ball of orange clay. Correlate the size with the already finished workpiece from the body and shell.
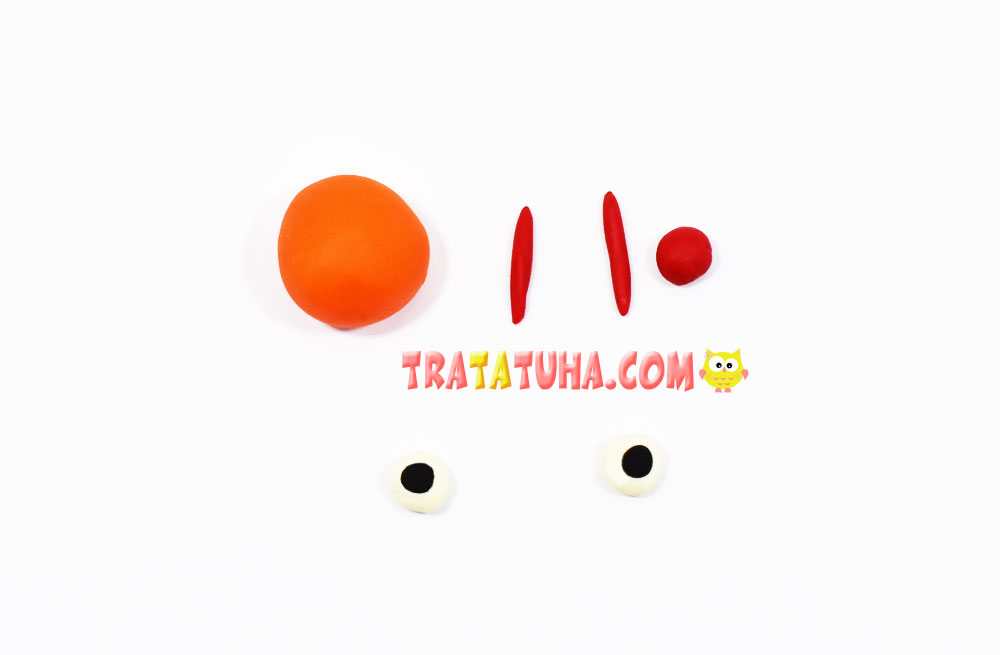
Also blind:
- Two red tendrils;
- Eyes made of black and white clay;
- Red round nose.
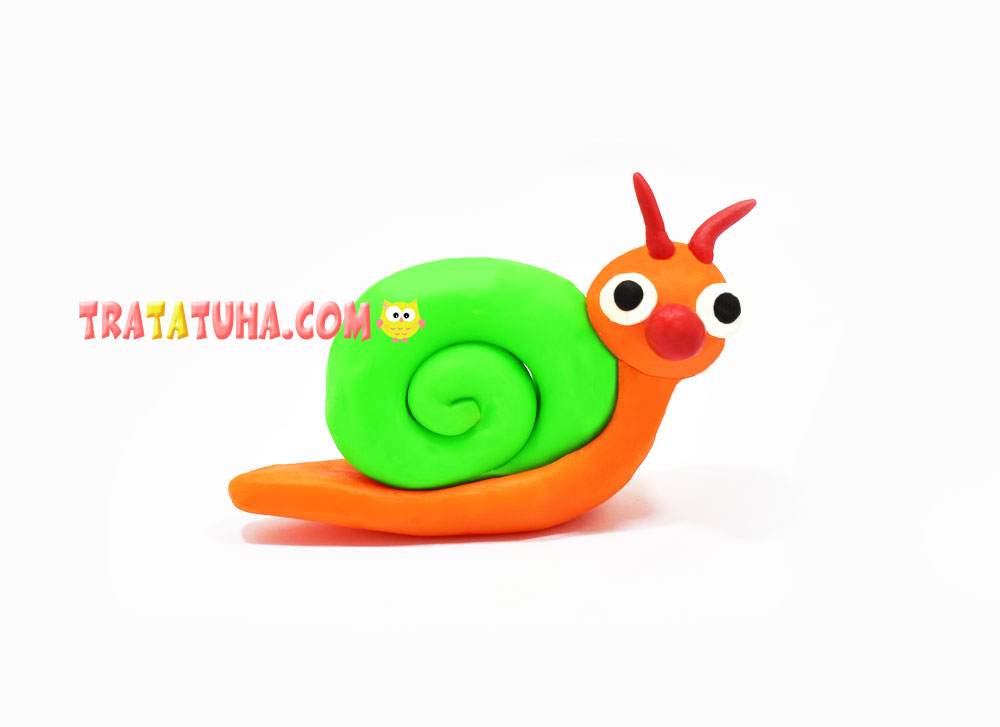
Glue small pieces to the orange balloon to complete the head. After sticking the head to the orange clay, right next to the sink. Everything, the clay snail is ready.
Love to sculpt? To your attention a selection of tutorial on this topic:
Related Post: