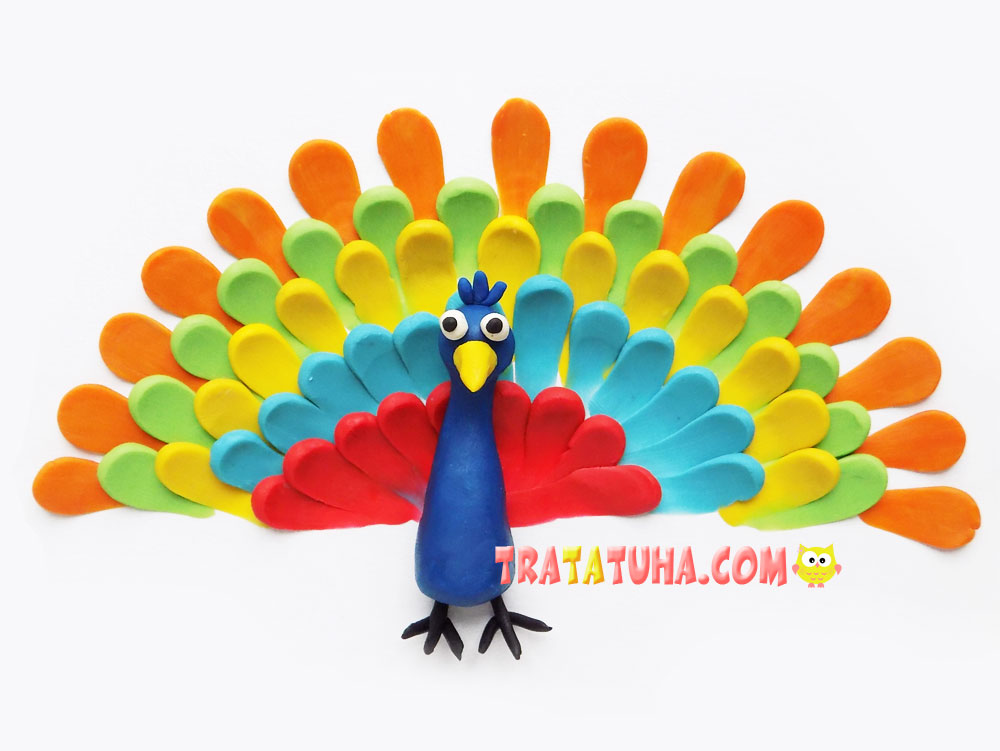
Bright clay painting peacock. We will create this craft on a sheet of cardboard. Detailed tutorial for children.
To work on such a bird we will use:
- a set of clay of different colors;
- a sheet of white cardboard;
- stack of plastic.
Clay Painting Peacock Step by Step
First, let’s prepare small balls rolled from clay of different colors. We decided to use bright colors of this material.

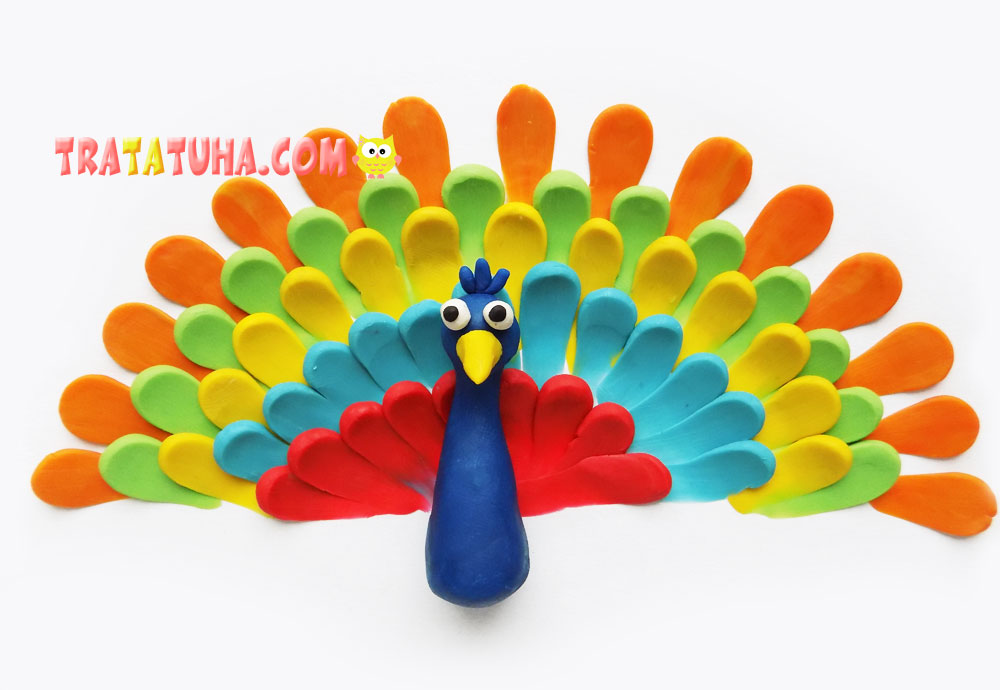
Now let’s start forming the fluffy tail of our bird. To do this, place orange balls in the form of a semicircle on a sheet of white cardboard.

Then press the ball with your finger, and then gently smear it. This is what you need to do with all the orange blanks, stretching them towards the center.

Next, place green balls between the resulting clay strokes.

And again we press them down, and then carefully smear them.

We repeat the same steps with the yellow blanks.

Then lay out the blue balls. Each time the number of colored balls will decrease.

Finally, we add red clay blanks. This is how a peacock will have a bushy tail.

To form the body and head of the bird, first roll a ball of blue clay.

We sculpt this part in the form of a single blank.

Then we apply it to the tail in the middle, securing it to the cardboard.
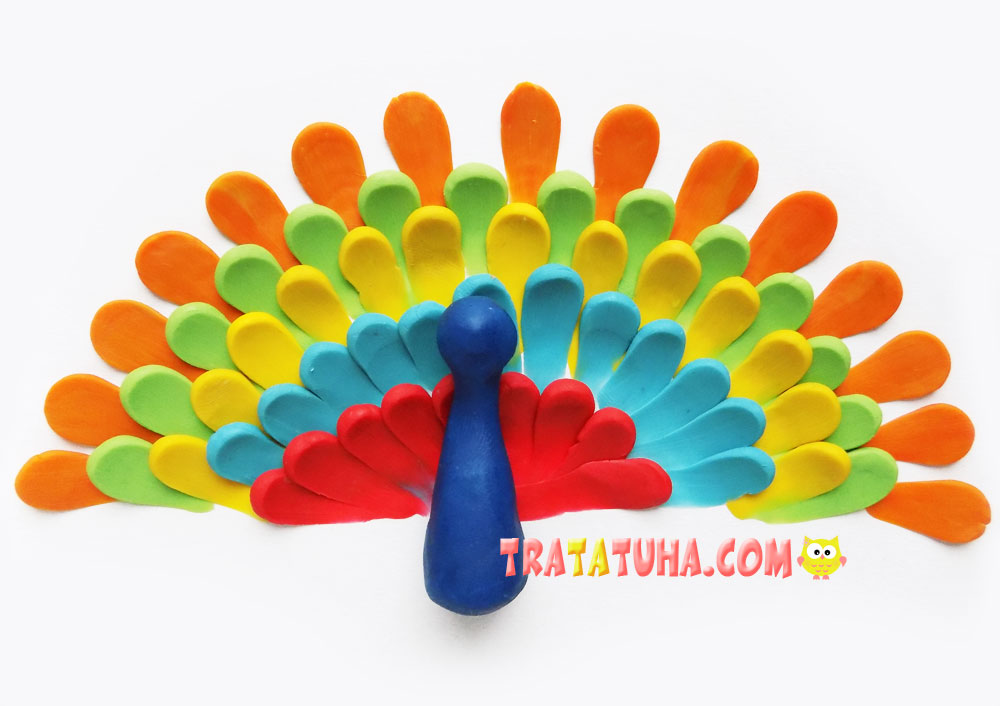
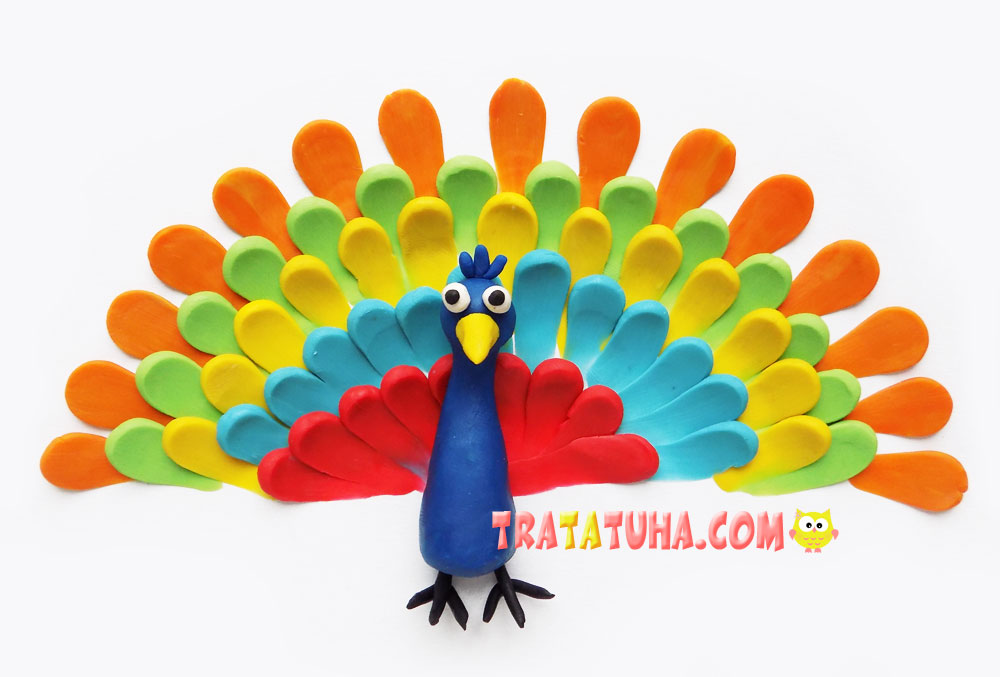
Add eyes, a beak and small plumage in the form of thin flagella on the head.
All that remains is to mold the legs and secure them to the bottom of the craft. Clay painting peacock is ready.
See more ideas about Clay Crafts.
Clay Painting – art ideas for all ages.
Crafts for Kids – learn how to make craft at home! Super cute crafts for all age groups!

