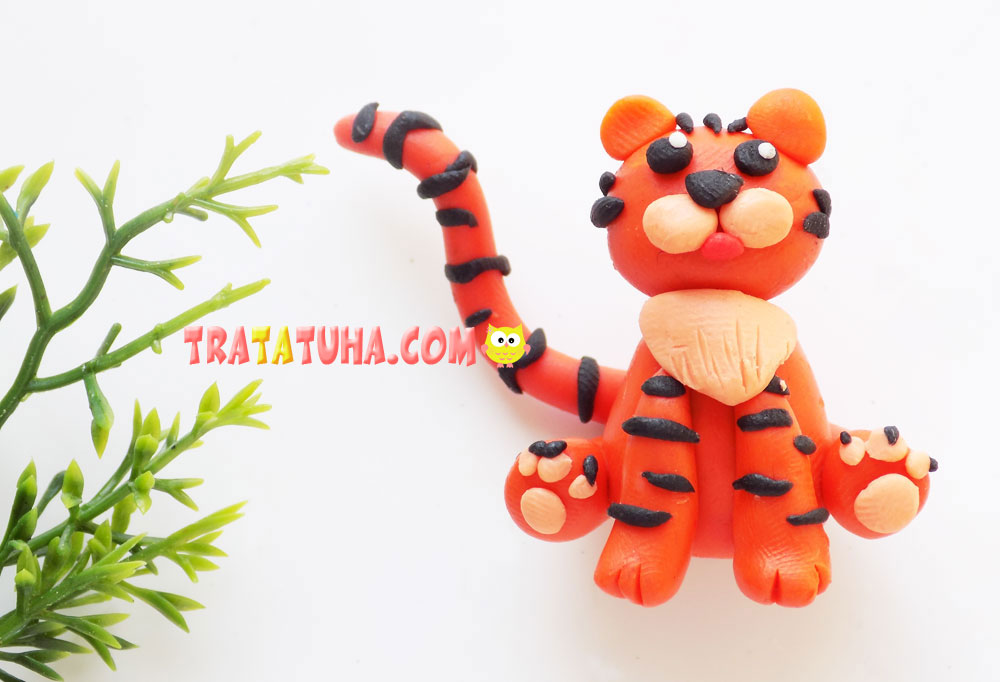
Bright clay tiger for kids. All steps for its creation are shown in detail in our tutorial.
To sculpt this predatory animal, we will prepare:
- clay set;
- plastic stack.
Clay Tiger Step by Step
The main colors in our craft will be orange and black. Let’s start by creating the head of the tiger. To do this, roll up a ball of orange clay.

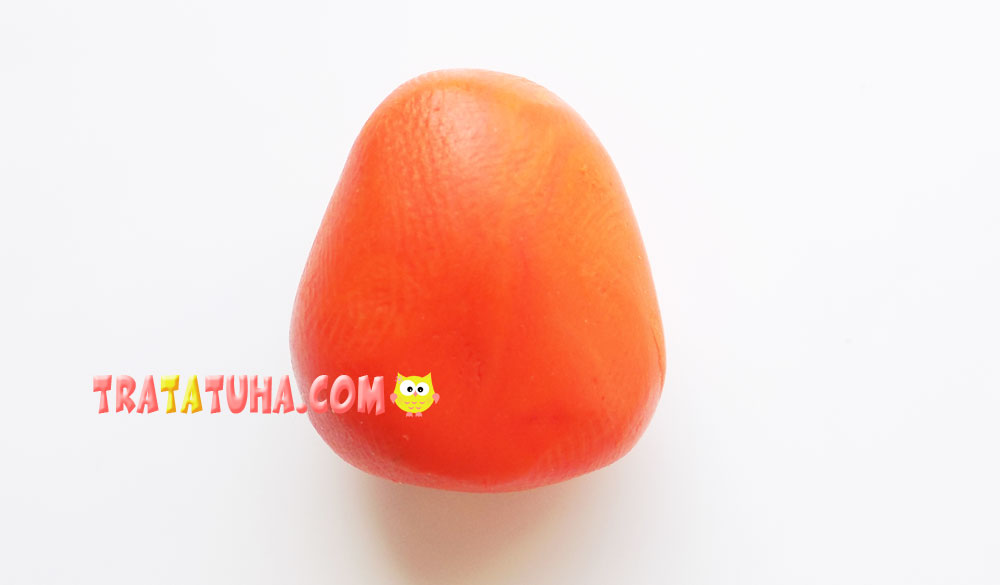
Then we will make the body. Initially, we roll the ball, and then we give it the shape of a cone, but we make the top smoother.
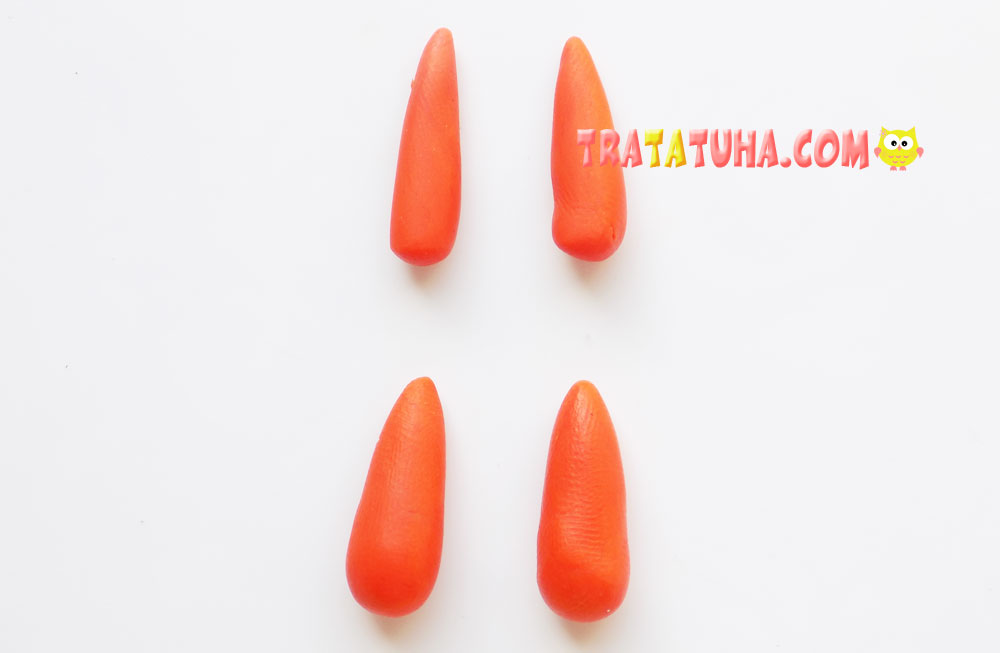
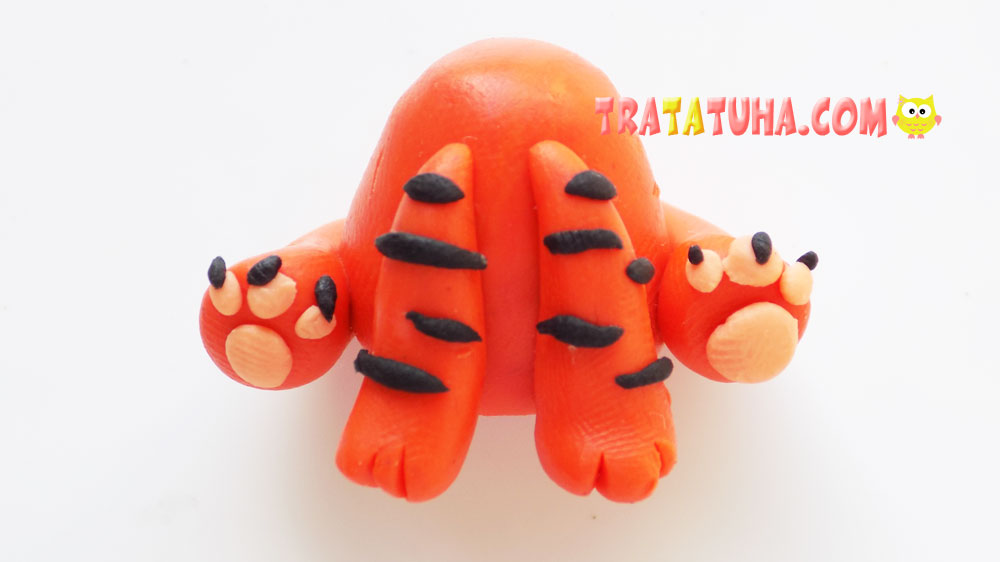
For the paws we sculpt 4 balls, 2 of which will be slightly larger.

We form elongated “sausages” from them, which will be pointed at one end.
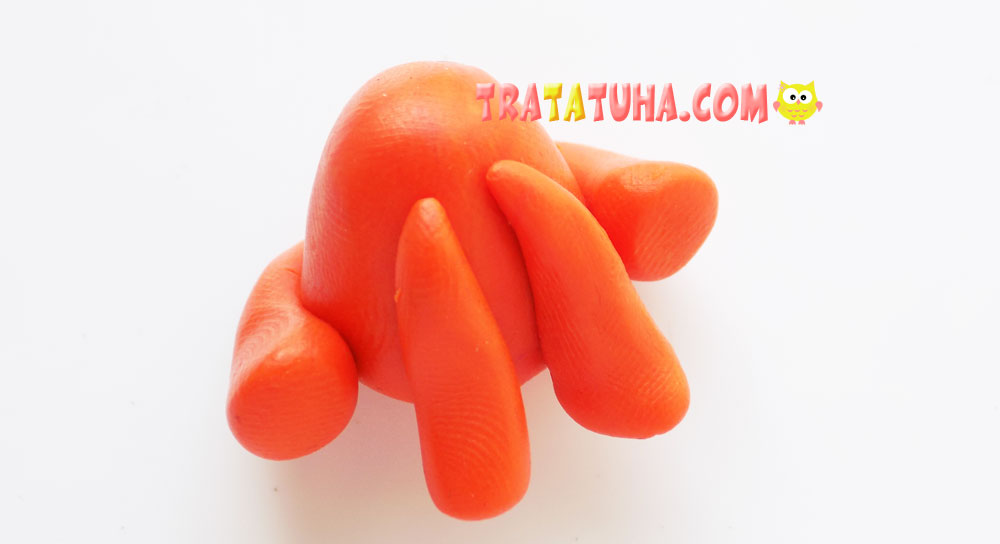
Attach the legs to the body. At the same time, we fix them in such a way that our tiger is in a sitting position.
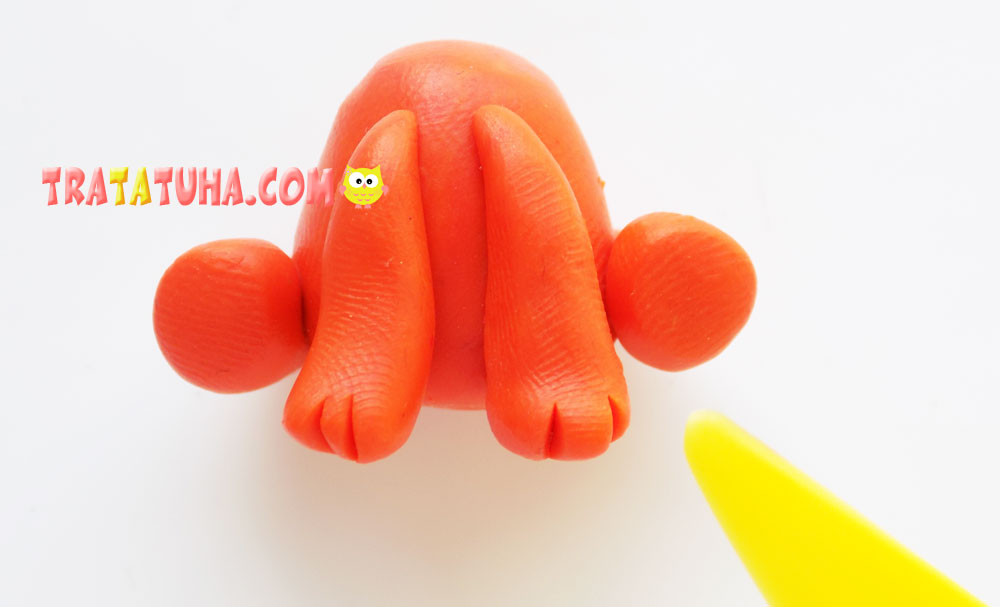
With a stack we denote the claws at the tips of the paws.
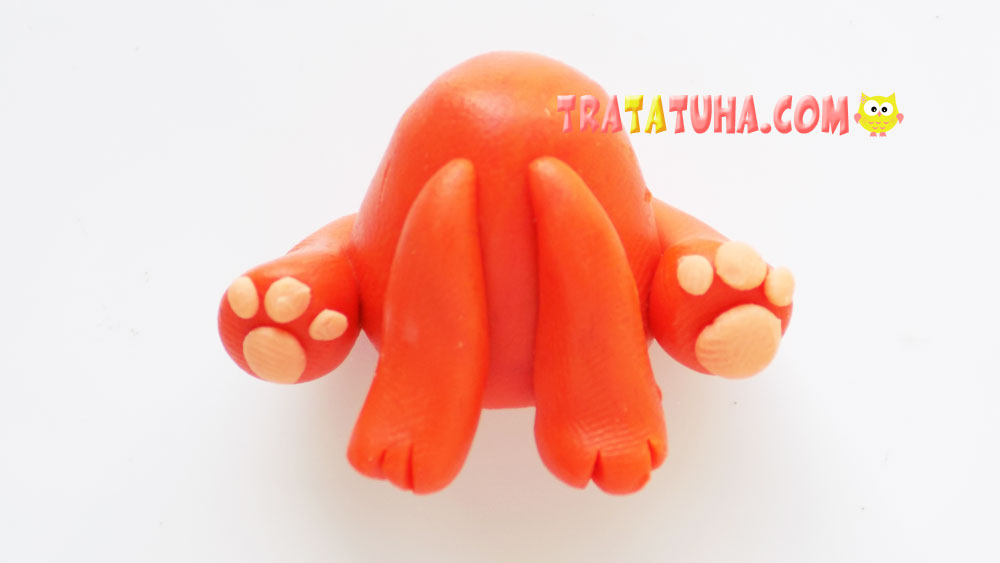
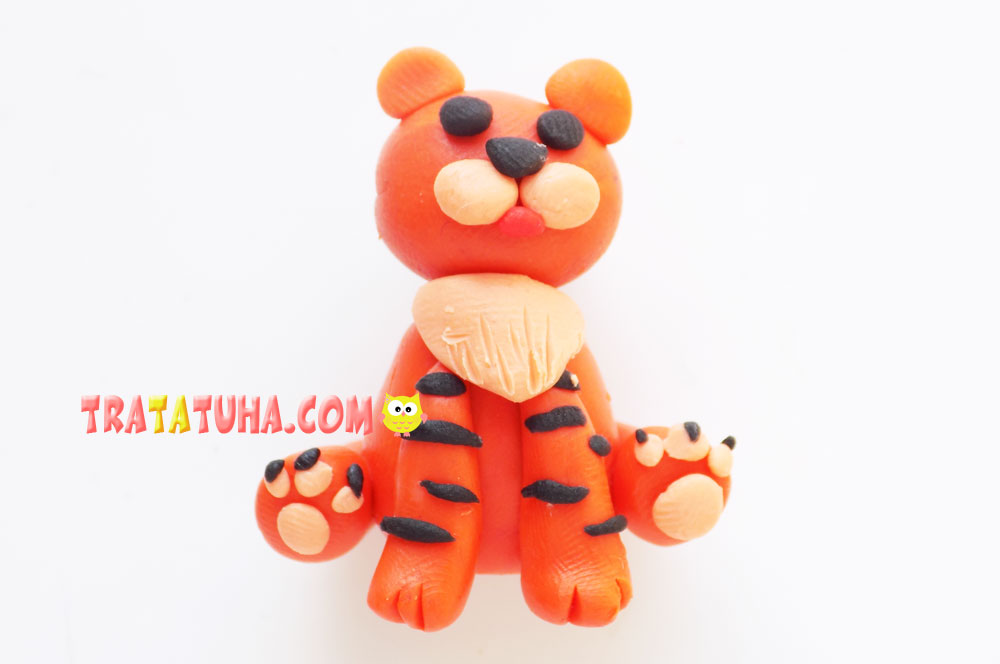
Next, use a small amount of beige clay. From it we sculpt small balls and add them to the tips of the hind legs.
Then we take black clay and roll thin flagella out of it. We need them to create the stripes on the paws of the tiger.
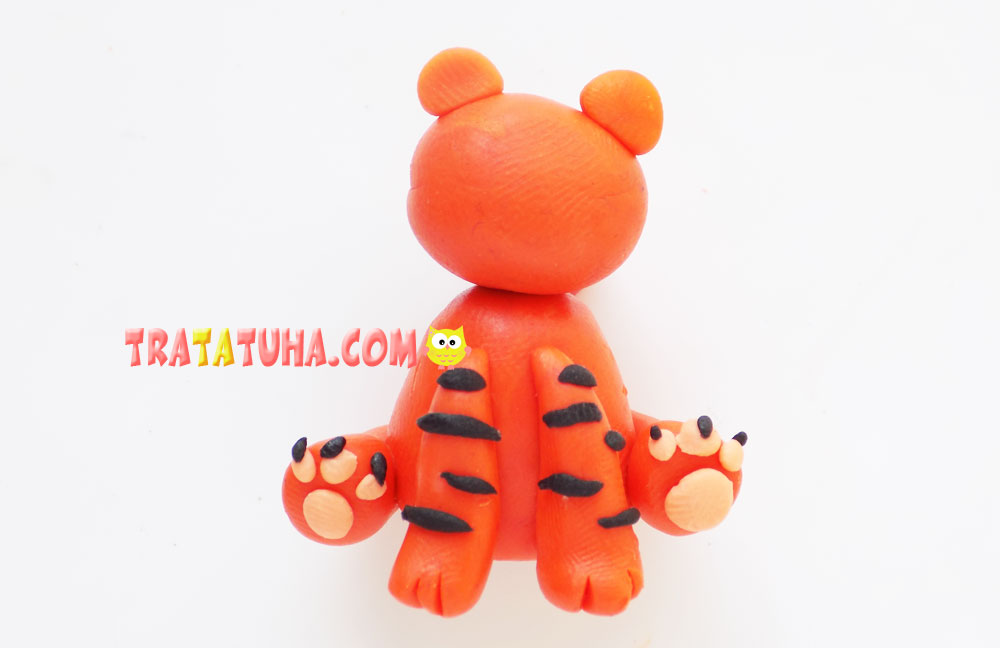
From above we fix the head and add a pair of small ears.
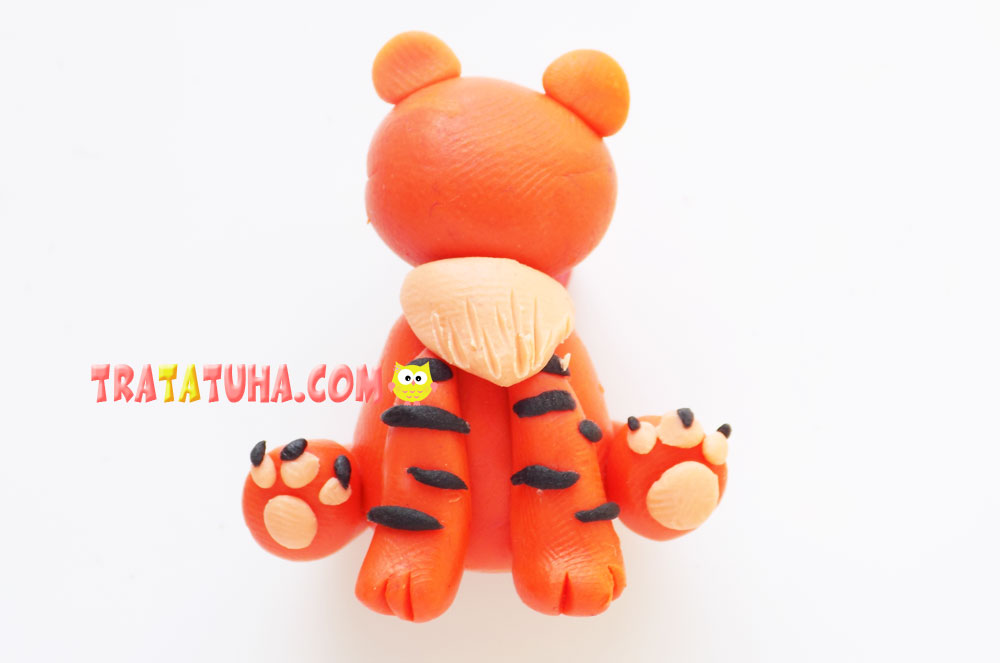
We blind the animal’s breast from beige clay and additionally decorate it with a plastic stack.
Let’s start creating the muzzle. To do this, we fix a couple of balls of beige clay on the head, and between them a little lower we add a piece of red clay.
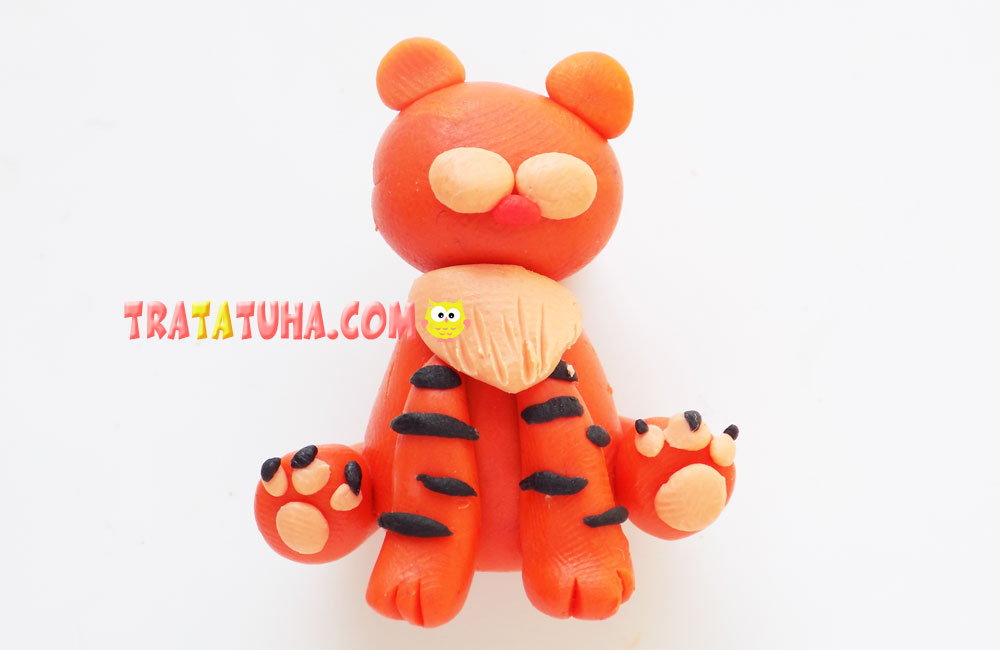
From black clay we sculpt eyes and a nose.
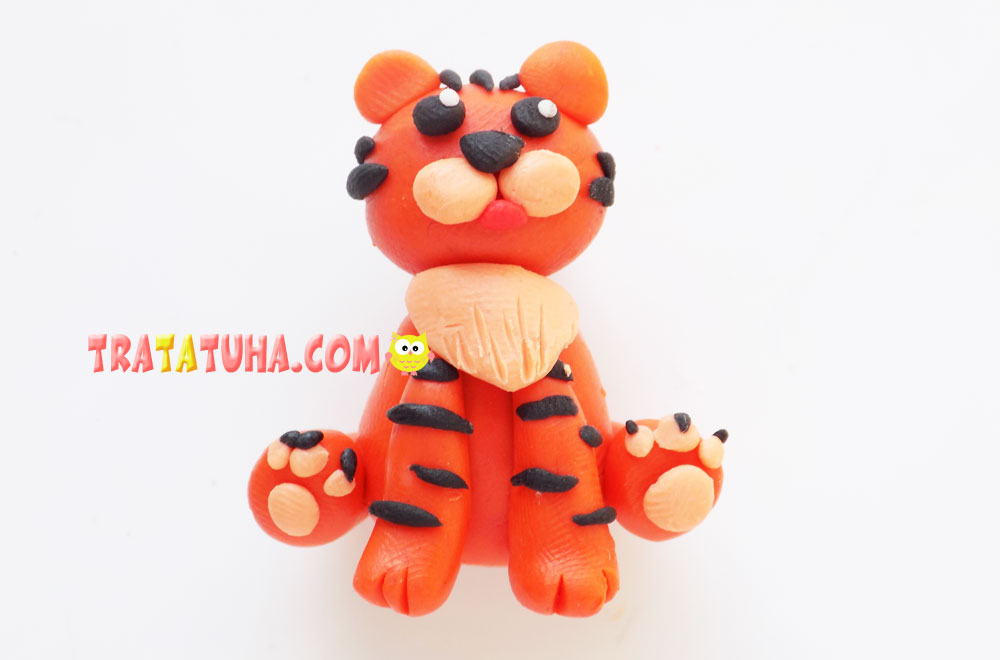
We add white dots on the eyes, and from thin black flagella we make stripes on the head of the tiger.
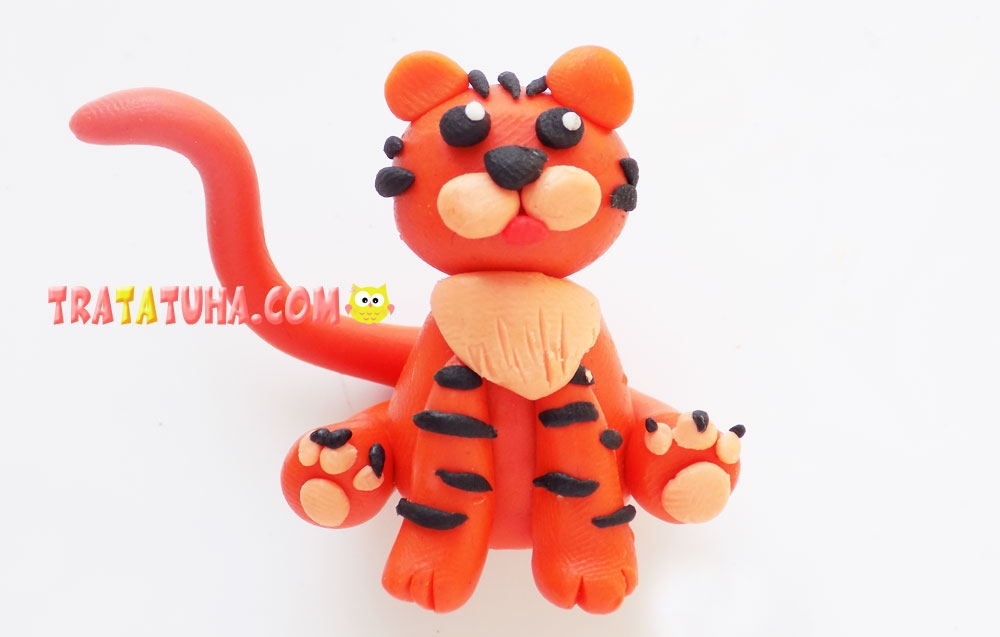
It remains to blind the tail. We form it in the form of a long curved “sausage” of orange color, after which we fix it at the back of the craft.
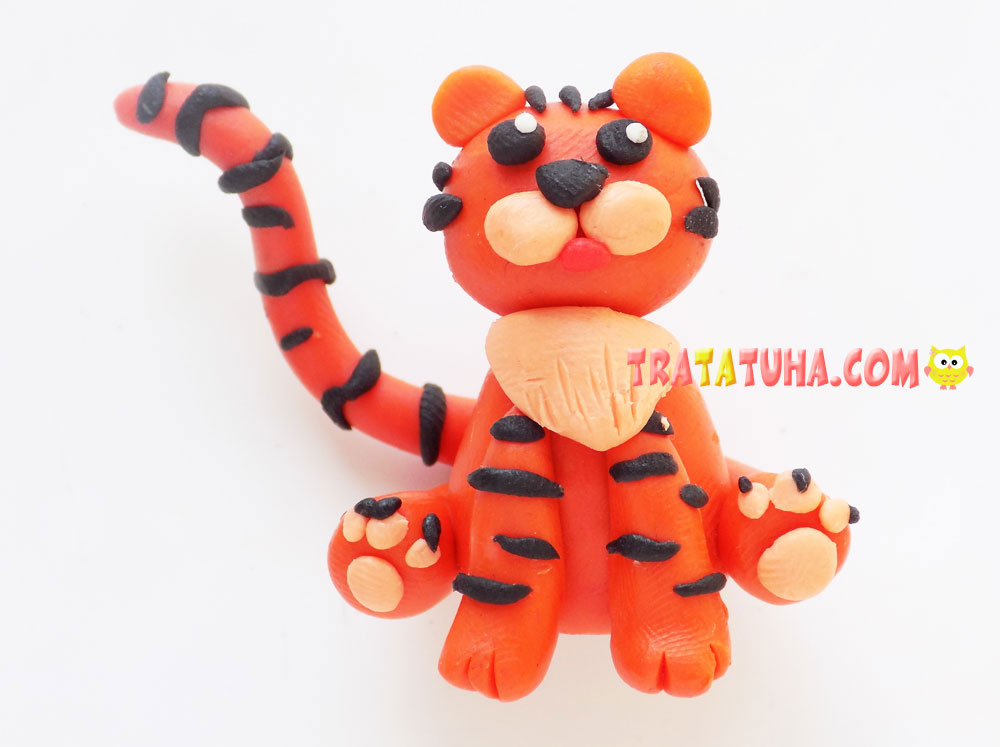
And decorate with black thin flagella. The clay tiger is ready.
See more ideas about Clay Crafts.
Clay Animals – art and craft ideas for all ages.
Crafts for Kids – learn how to make craft at home! Super cute crafts for all age groups!
