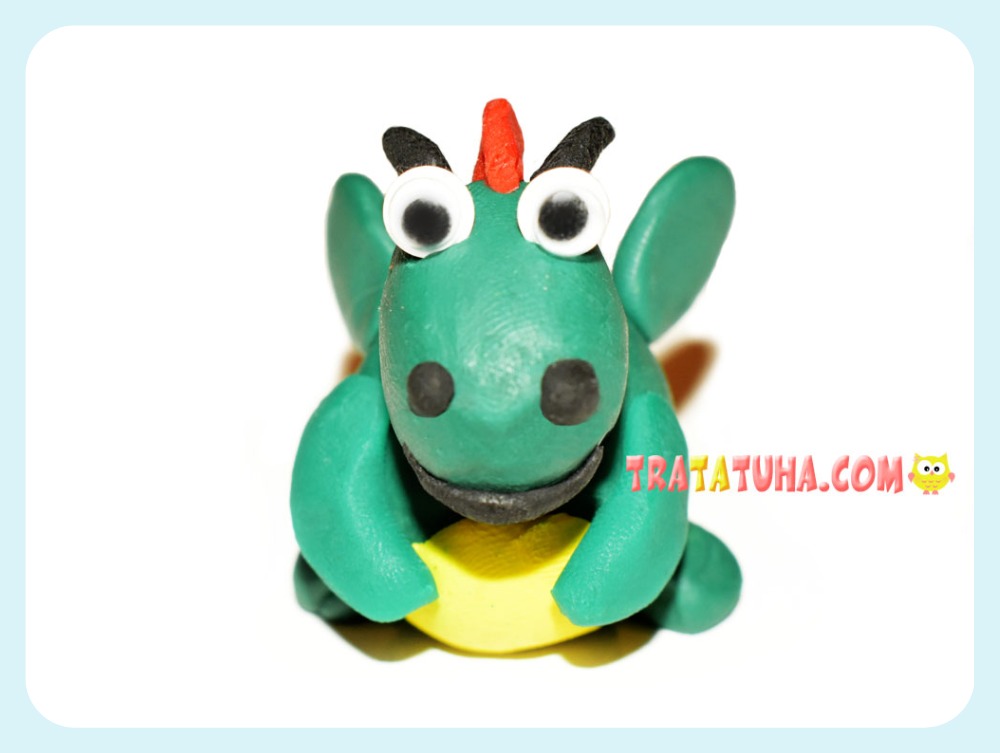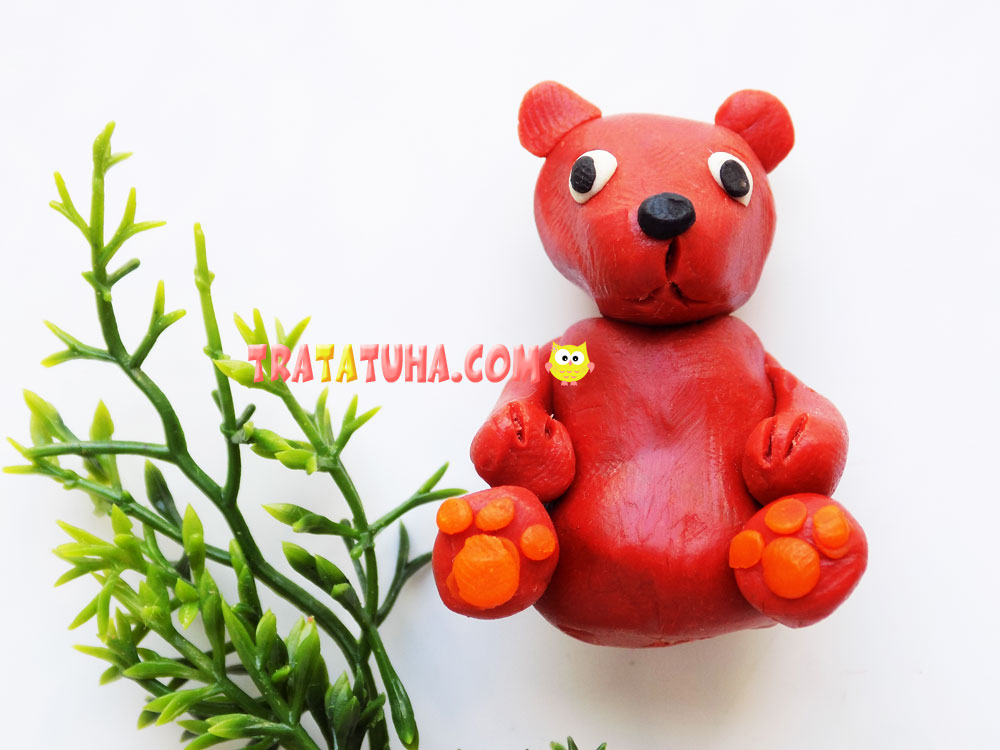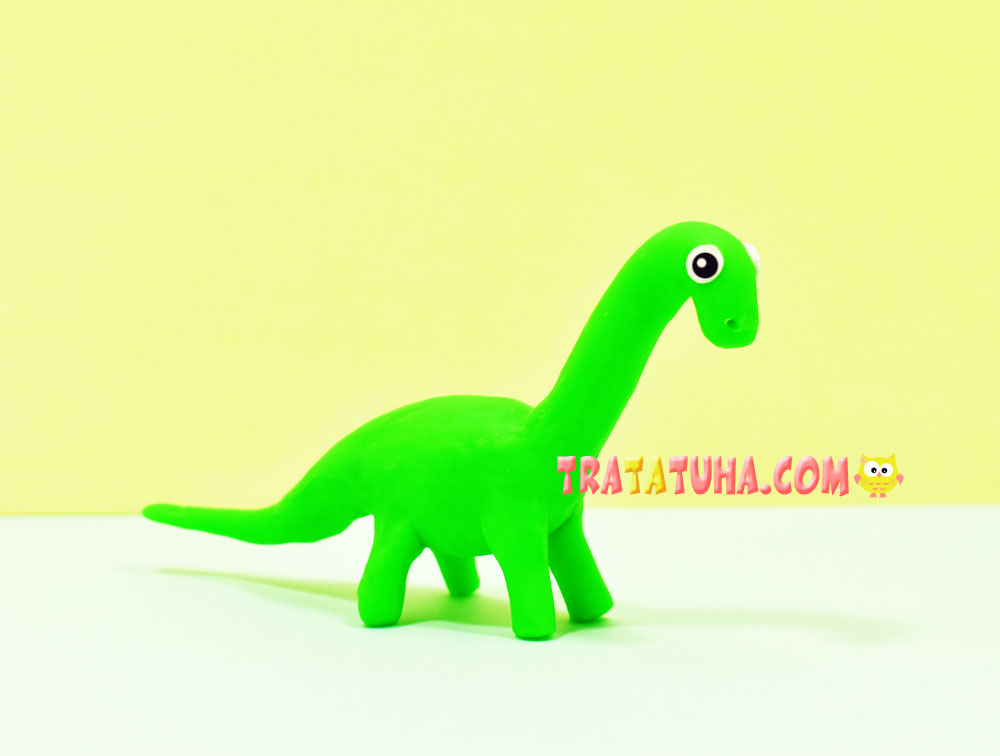
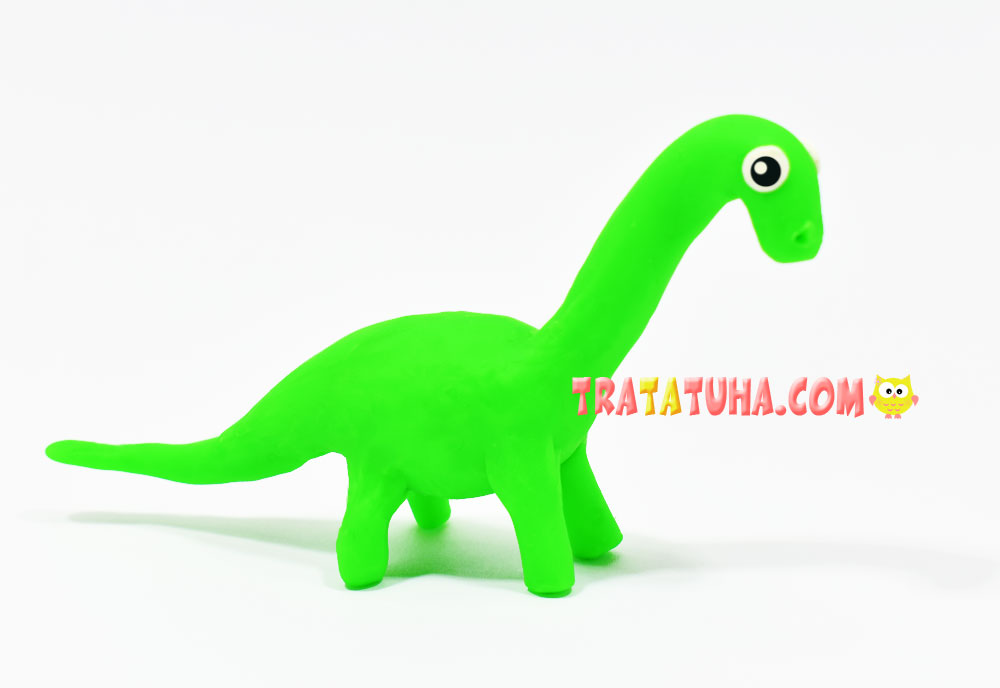
We are replenishing the collection of animal crafts, and this time we have a clay dinosaur. This is one of the easiest ways and is perfect for kids.
What you need for sculpting:
- Green clay;
- A little black and white clay for sculpting eyes;
- Stack, cover on the work surface.
Clay Dinosaur Step by Step
At the first stage, we blind the body, neck with head and tail.
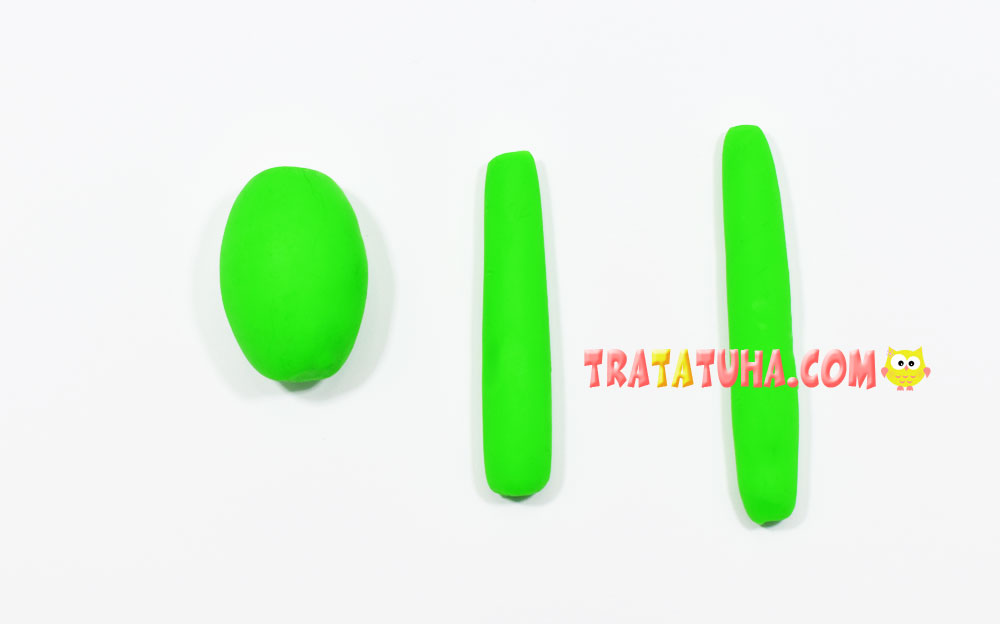
To do this, prepare 3 pieces of clay, one of which is larger than the other two. Mash and roll the pieces into balls.
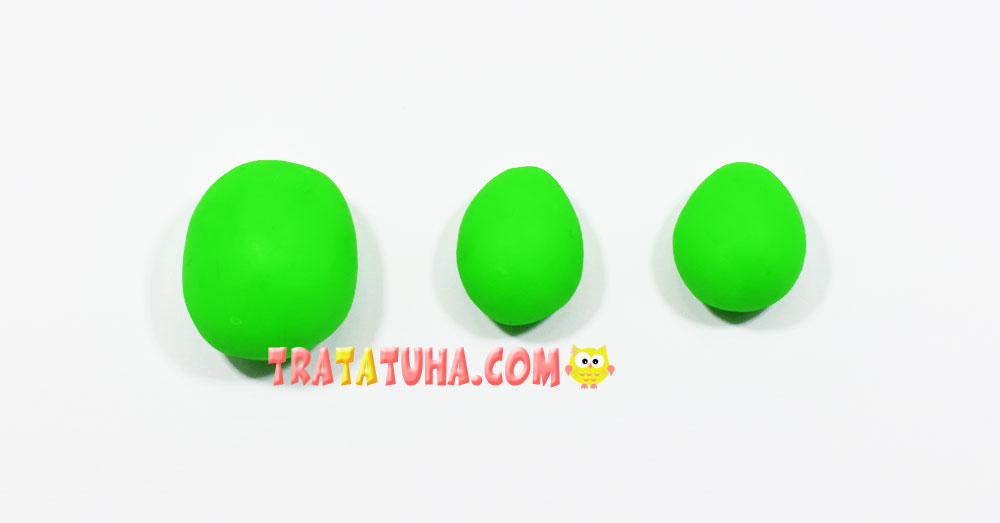
Turn the largest ball into an oval – it will be the body of a dinosaur. Roll out the remaining two balls into sausages of medium thickness.
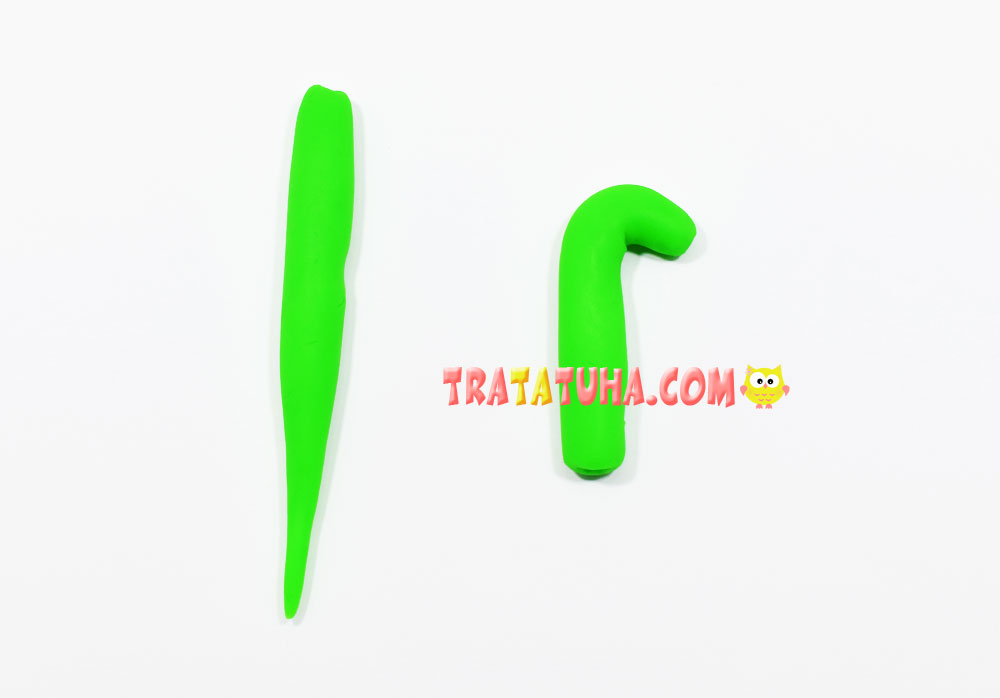
Bend one of the sausages at one end to make a head. And roll the second a little more on one side so that it becomes the other.
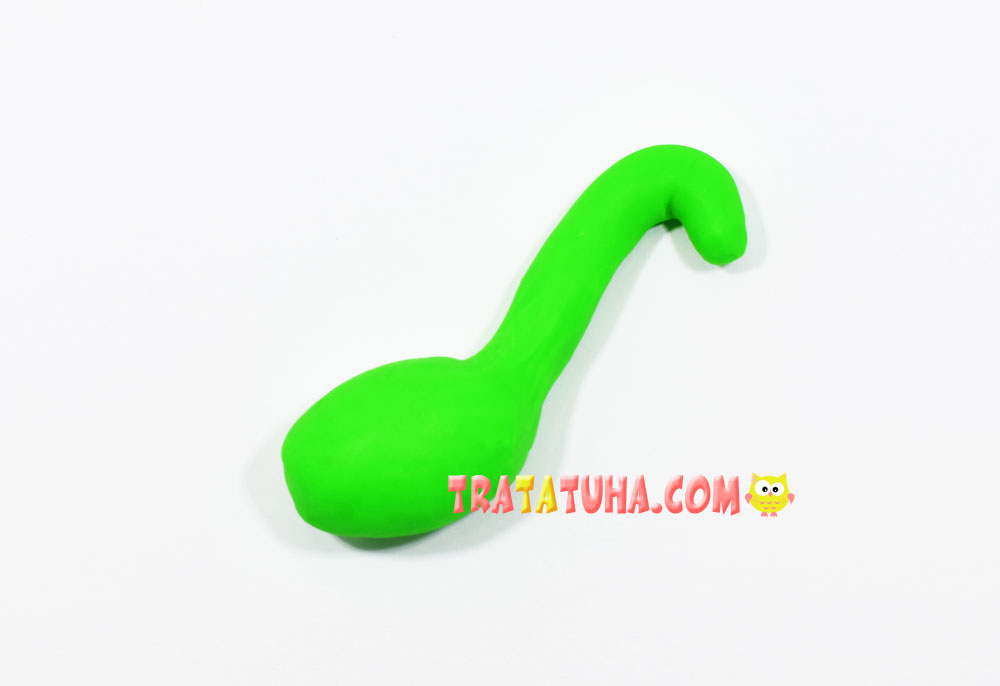
Stick the neck with the head to the oval body, carefully smoothing the joint.
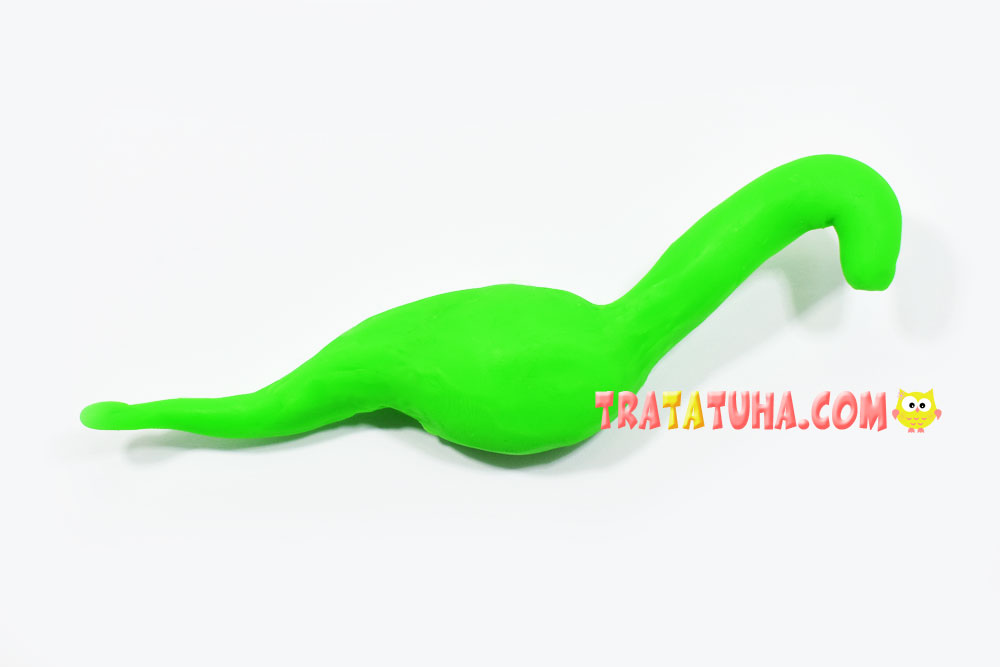
Now stick the tail on the other side of the oval, also smoothing the joint, turning the craft into one single whole. The tail itself can be slightly bent.
The next stage of work will be sculpting the limbs of the animal. Roll out green clay into a long sausage.
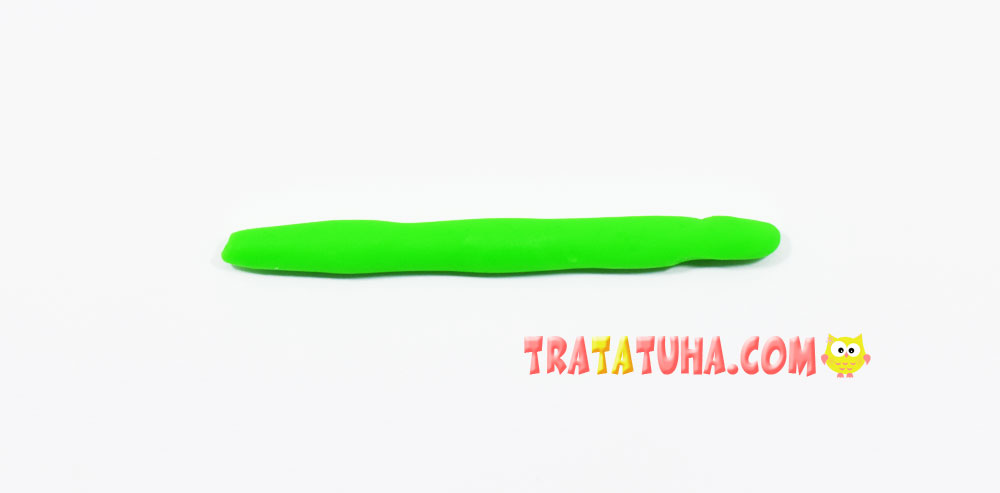
And then cut it into four pieces.
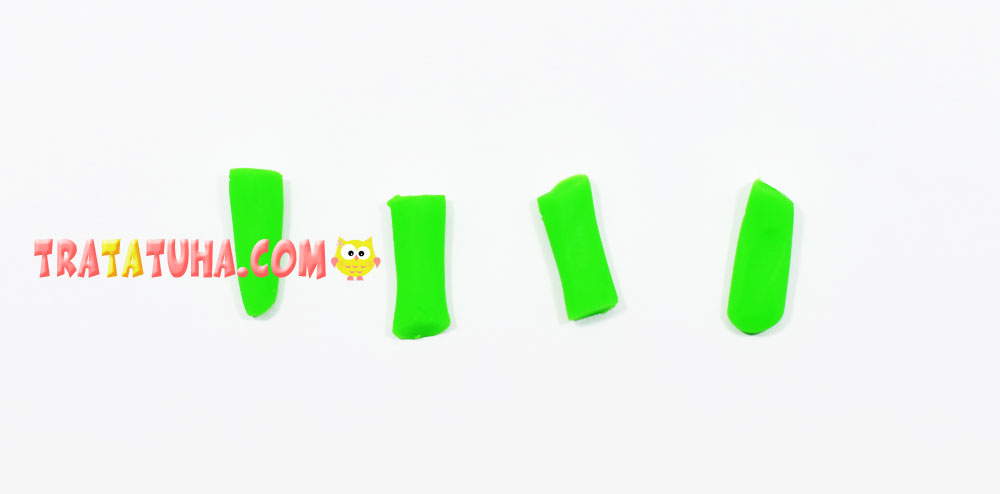
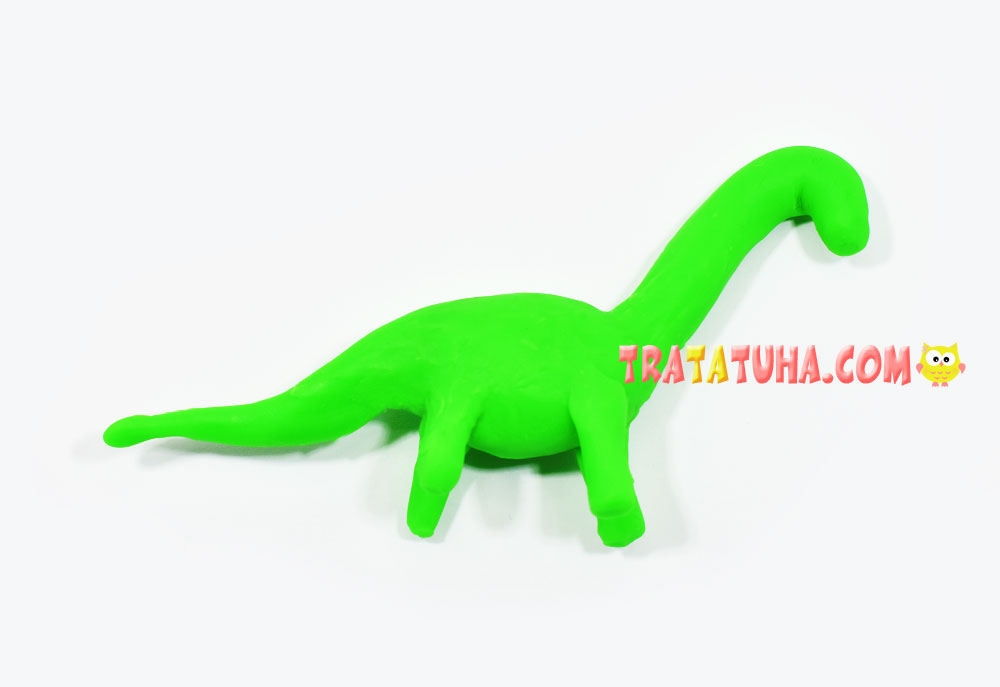
Glue the limbs to the dinosaur’s body.
Blind eyes from white and black clay and stick in the head area.
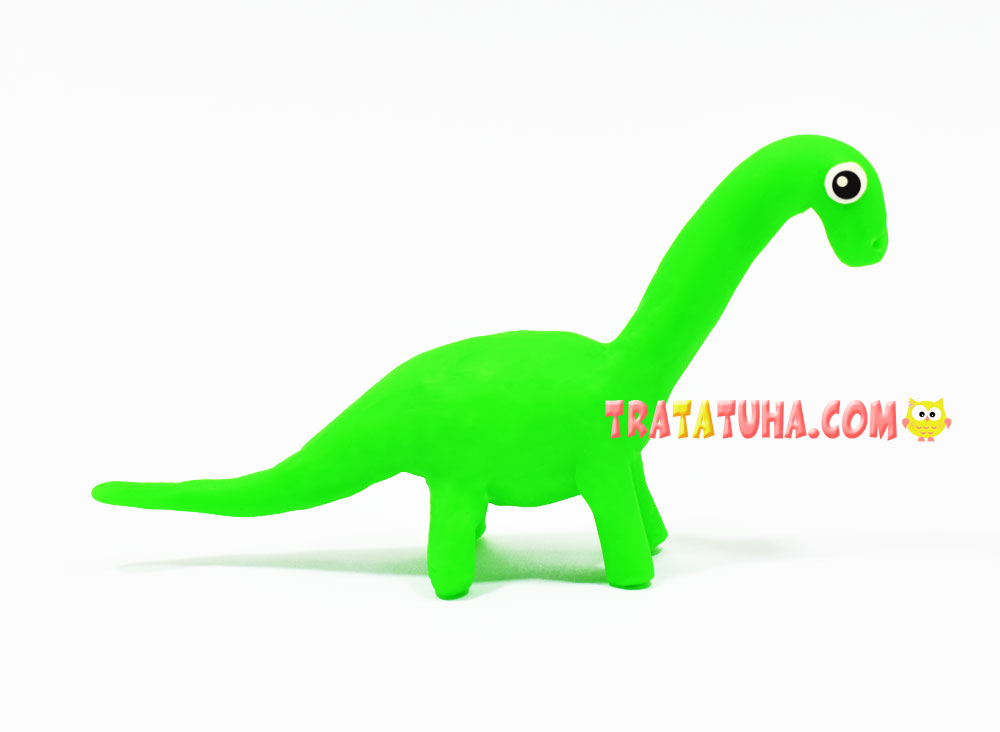
Everything, a simple clay dinosaur is ready. If desired, it can be improved in a variety of ways. For example, glue spikes from the head to the very tip of the tail, mold a huge comb on the back, decorate with clay spots, apply wavy lines with a stack, make holes with a toothpick, push through the scales with a felt-tip pen cap. Or simply initially roll together several pieces of plasticine of different colors, and you get a beautiful marble dinosaur, bright without any additions.
See even more ideas in the following collections:
