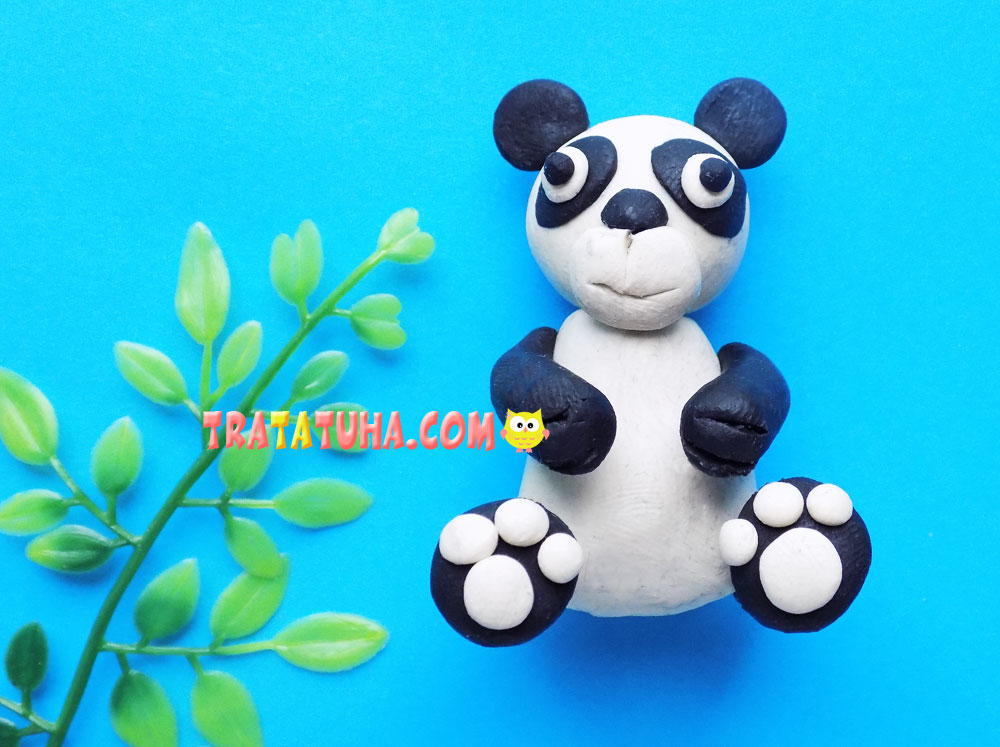
Clay panda for kids. Step-by-step modeling of an animal, instruction in simple modeling for kids.
This animal is also often called the bamboo bear. The characteristic coloring of the panda allows us to recreate it with the help of modeling. This is exactly what we will do in today’s tutorial.
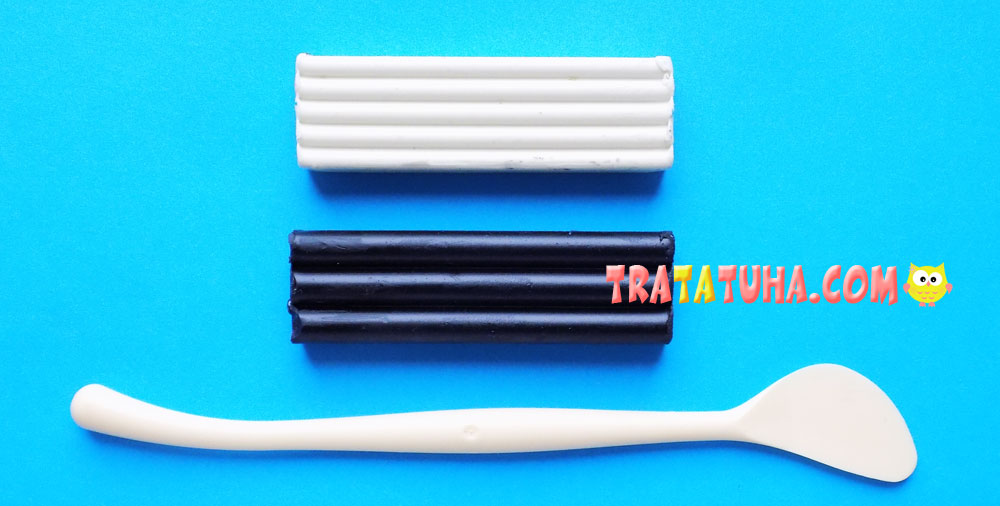
To sculpt a panda you will need:
- clay black and white;
- plastic stack.
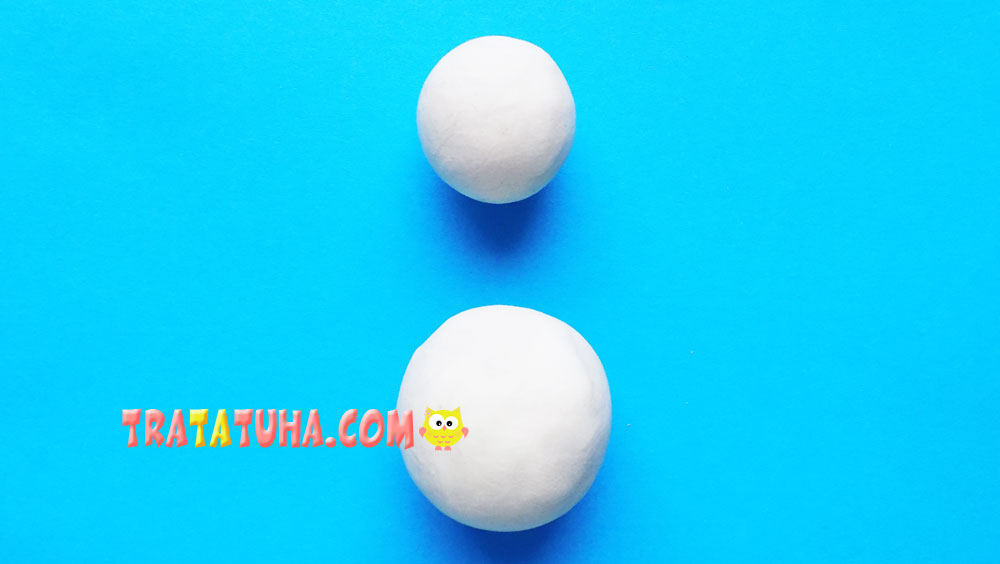
Clay Panda Step by Step
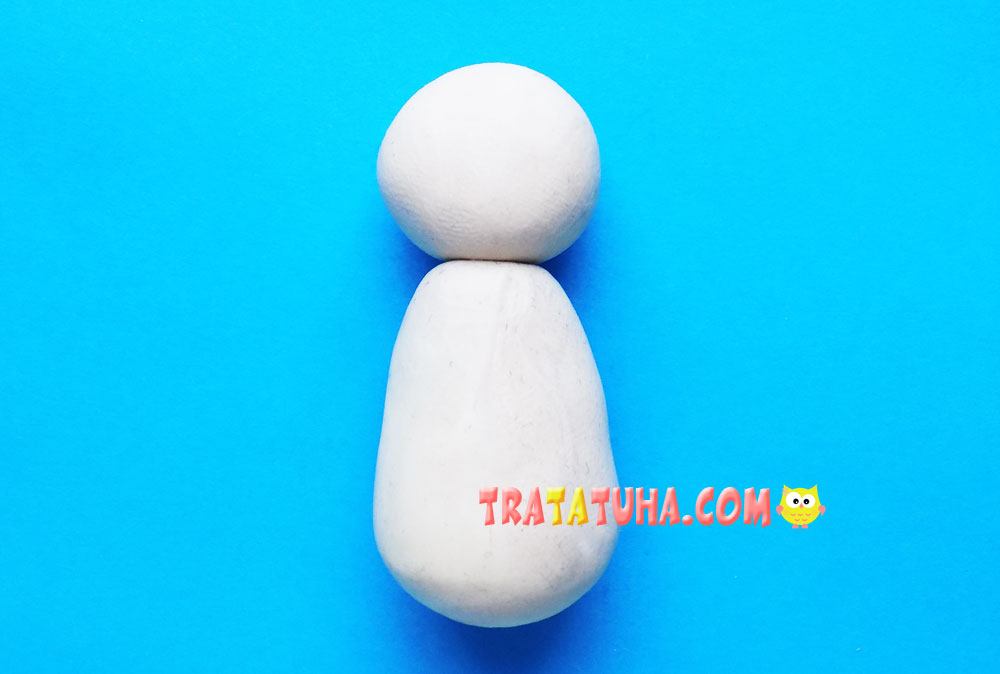
First, roll up large balls of white clay. We need them for the subsequent creation of the head and body of the panda. In this case, the blank for the head will be slightly smaller.
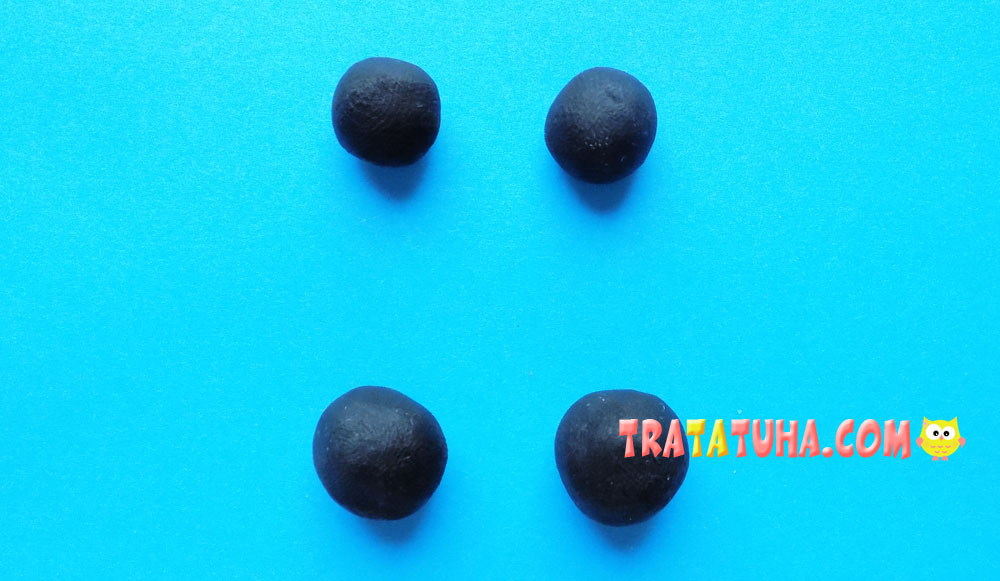
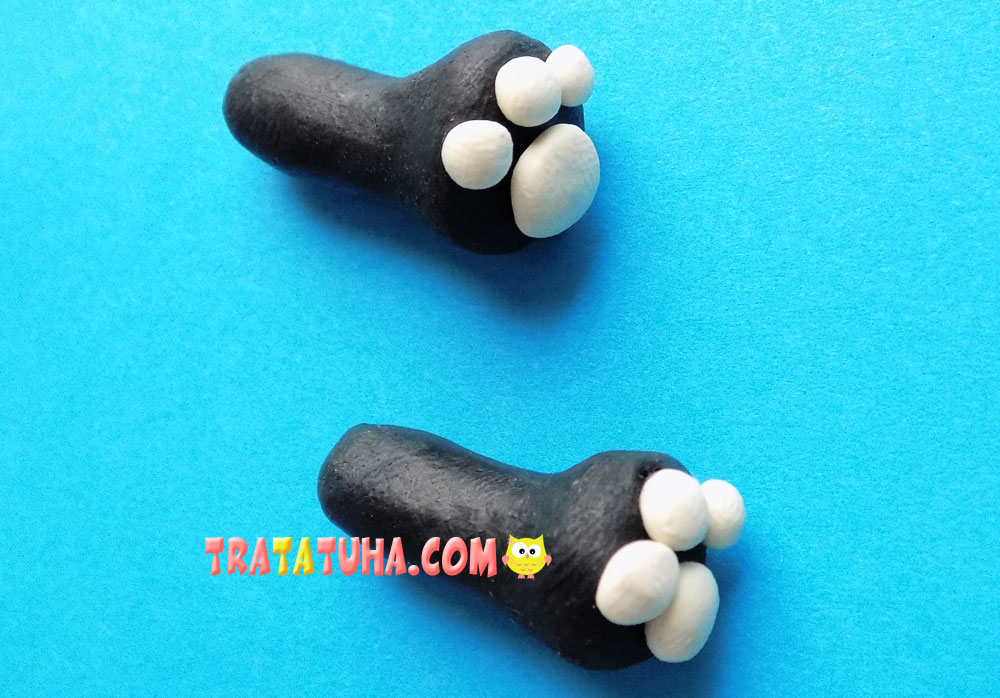
We roll 4 balls for paws from black clay, a couple of them should be larger.
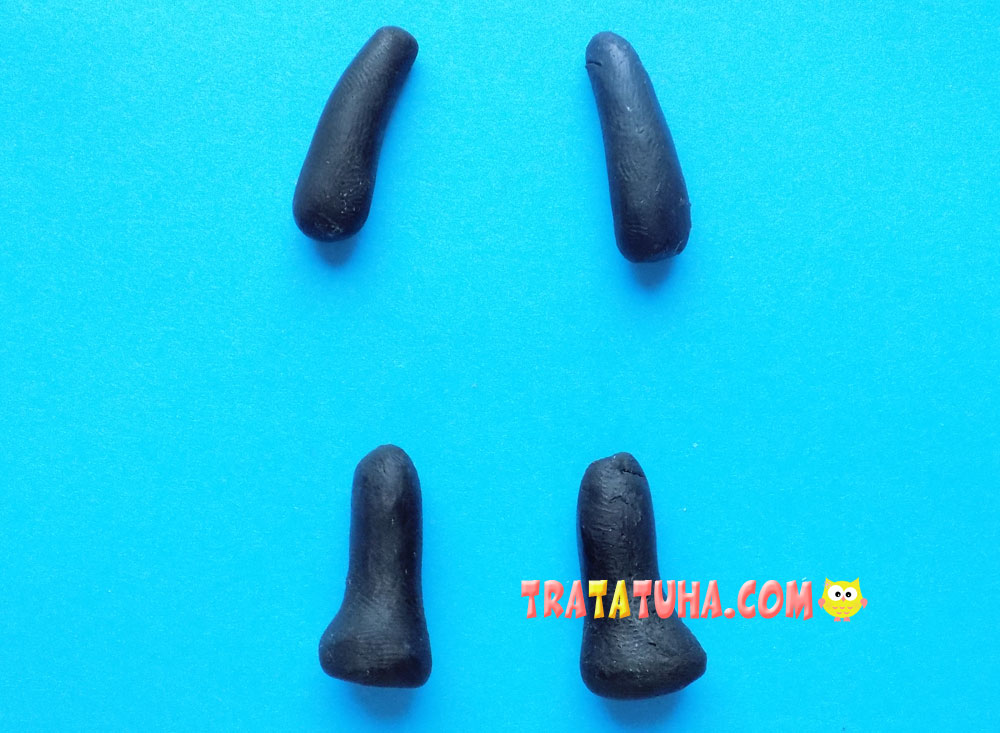
We begin to form paws for our panda. We roll small balls into “sausages”, these will be the front paws. We fashion the hind legs from large balls.
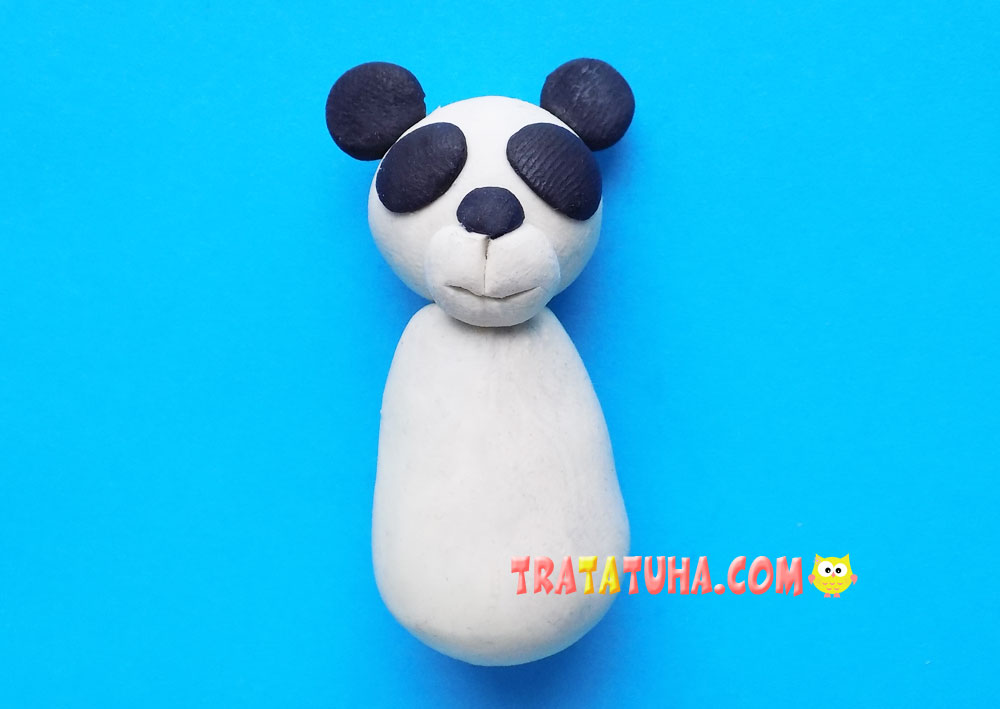
We connect the head and torso together. For a more secure fit, you can insert a match or a toothpick inside these parts.
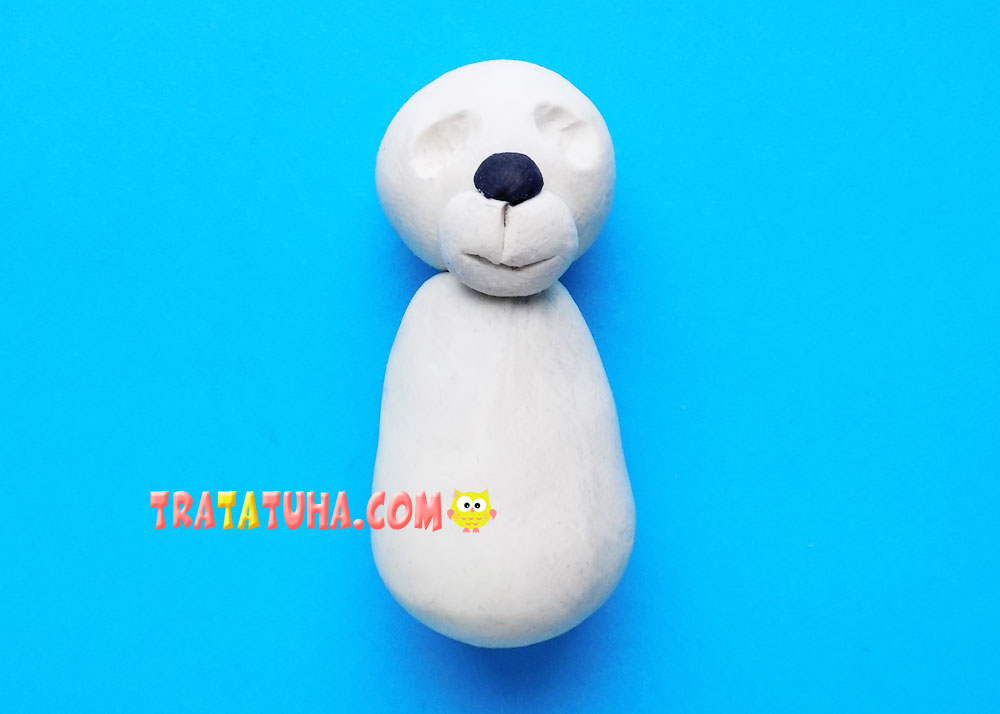
We begin to make out the muzzle. To do this, add a small flattened piece of white clay, make a black nose, and use a stack to create indentations for the eyes.
Now we sculpt ears from black clay, fix them on the head. We place small oval blanks of black clay into the recesses made.
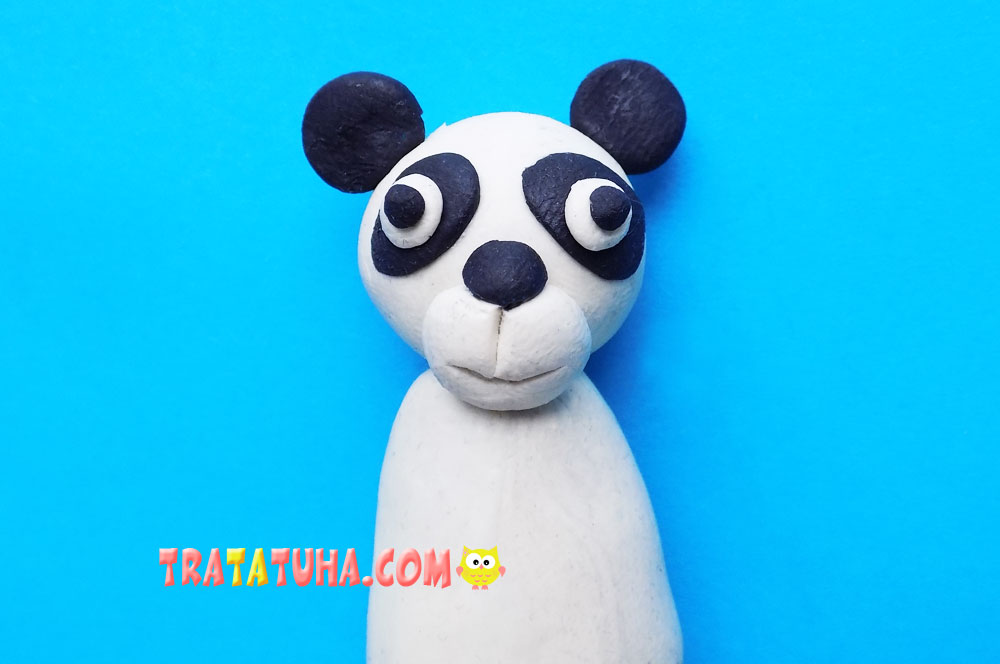
Add details for the eyes, made from small balls of black and white clay.
We fix small white pieces on the hind legs.
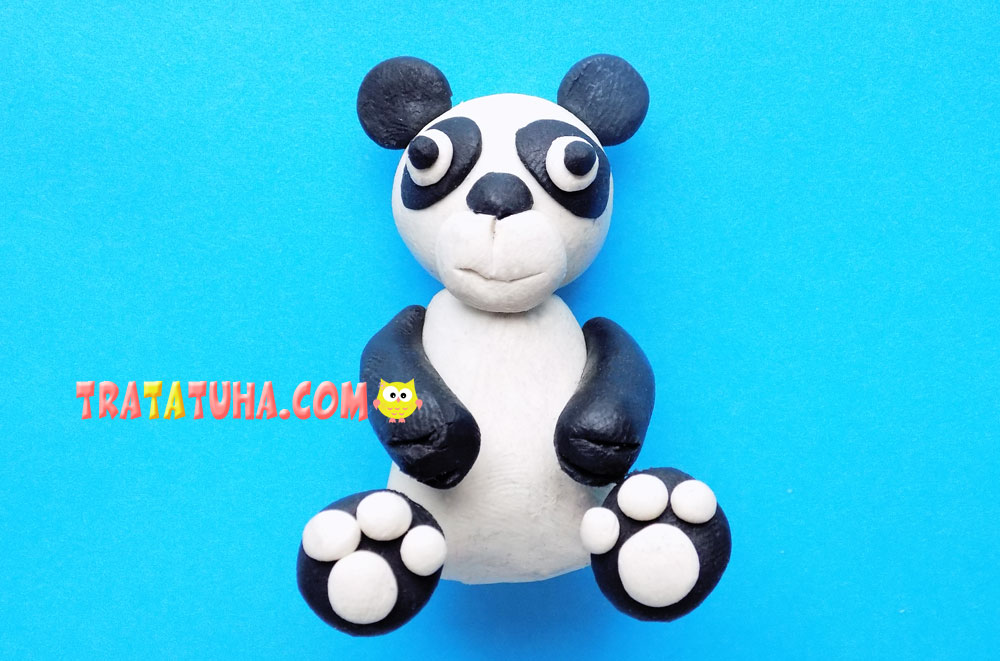
Attach the legs to the body. Clay panda is ready.
See more ideas about Clay Crafts.
Clay Animals – art and craft ideas for all ages.
Crafts for Kids – learn how to make craft at home! Super cute crafts for all age groups!
Related Post: