Tutorial for kids — a clay bat. A simple step-by-step method with a photo.
What you need for sculpting:
- Blue clay;
- White and black clay for the eyes;
- Stack, mat for modeling.
- Toothpick.
Clay bat Step by Step
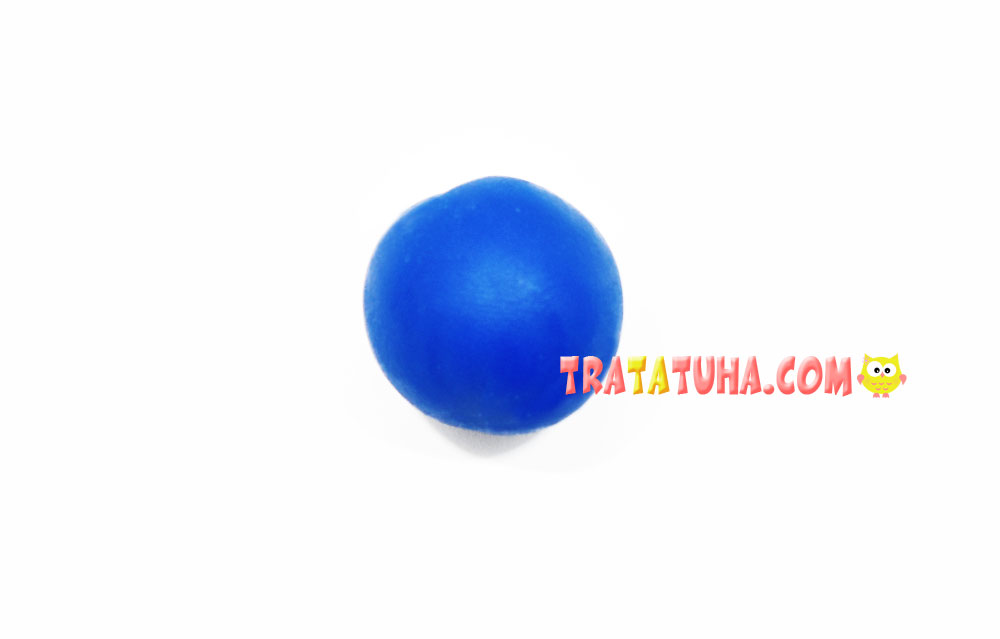
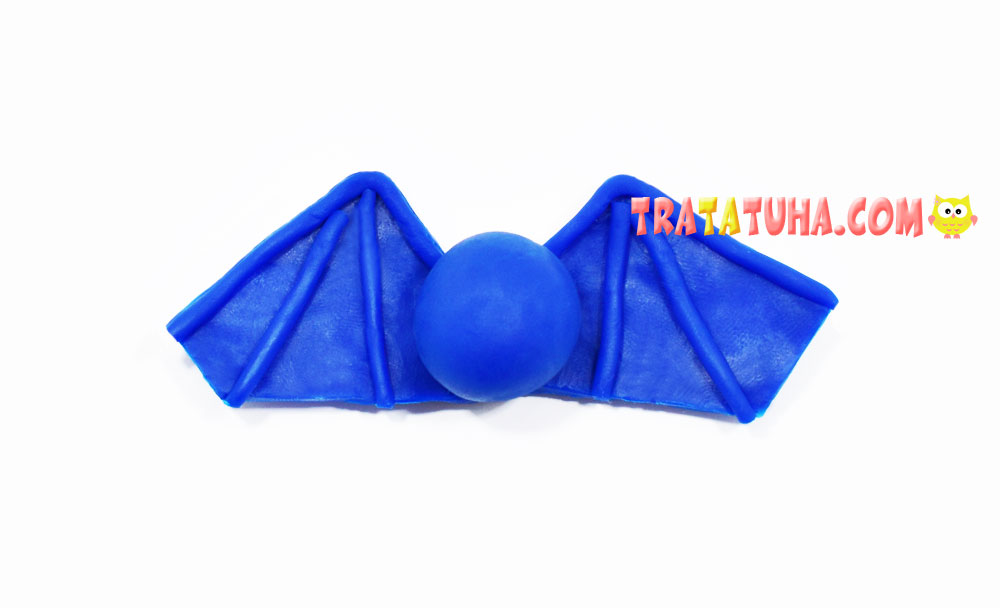
Usually we start sculpting from the body, but in this work, at the first stage, we will have to sculpt the wings. Because, given the size of the wings, the size of the body of the bat will be determined.
Knead the clay and roll it into a ball.
Now the ball needs to be flattened or rolled out with a rolling pin. And then cut off the edges, giving the shape of a rectangle.
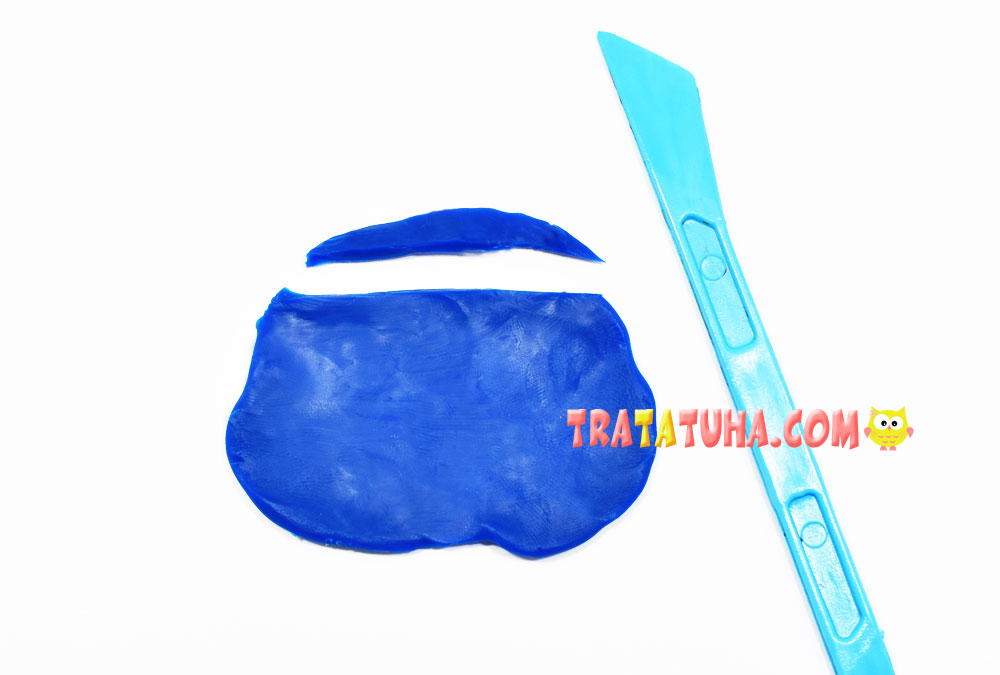
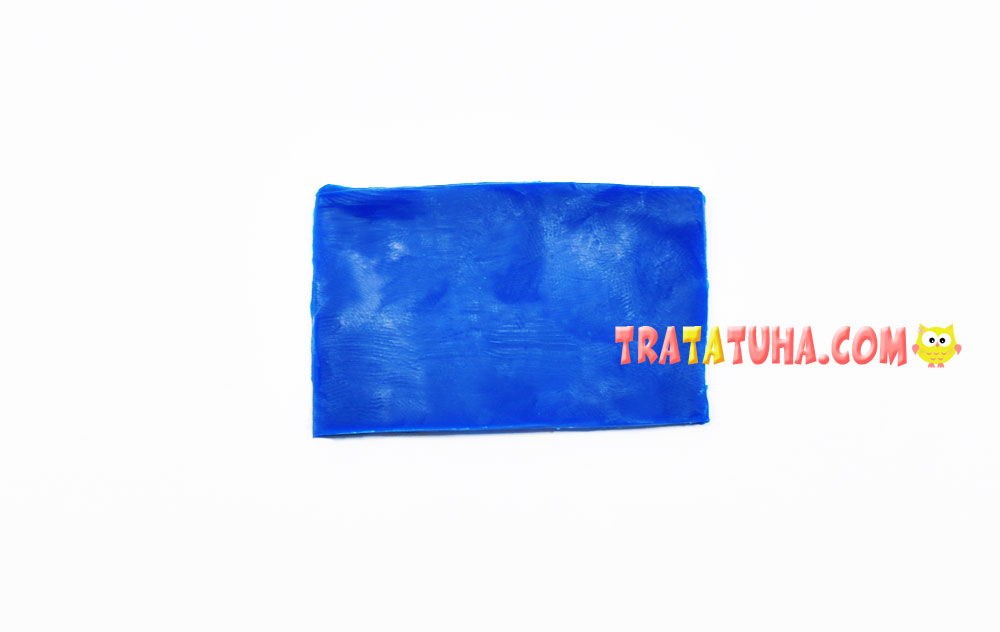
Cut the rectangle diagonally.
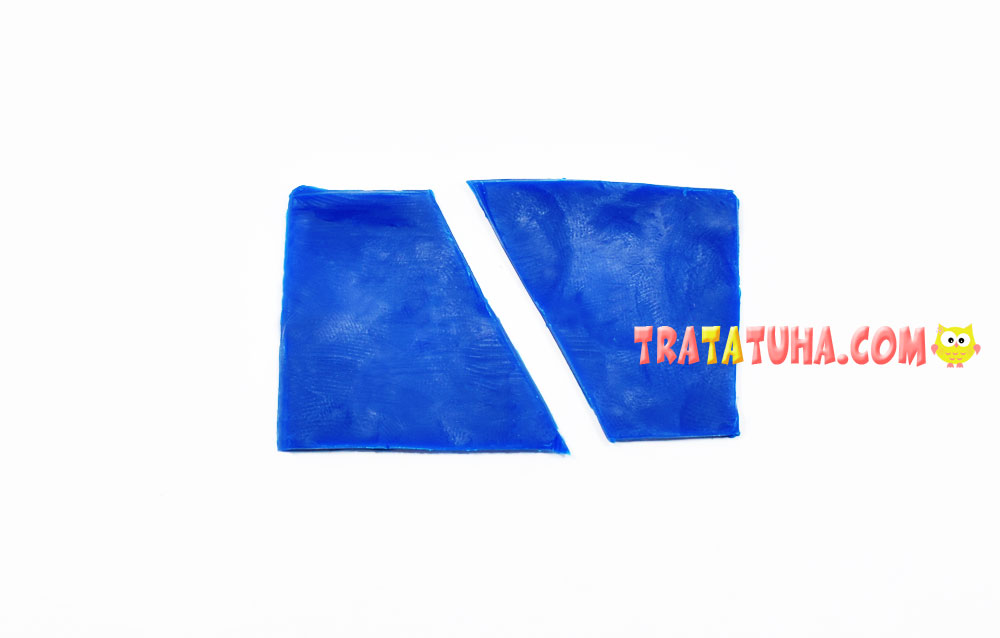
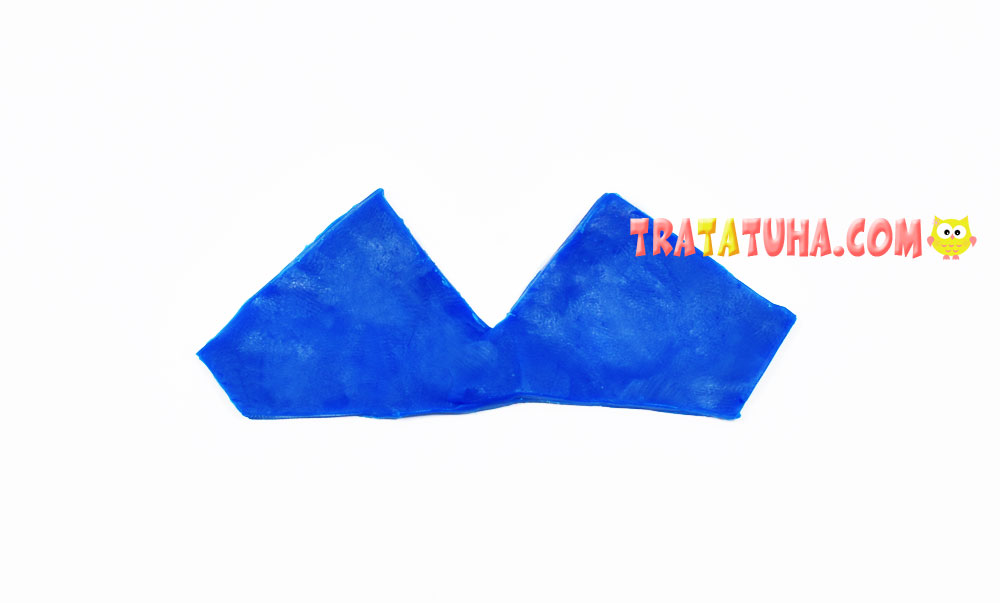
Unfold and stitch the halves together.
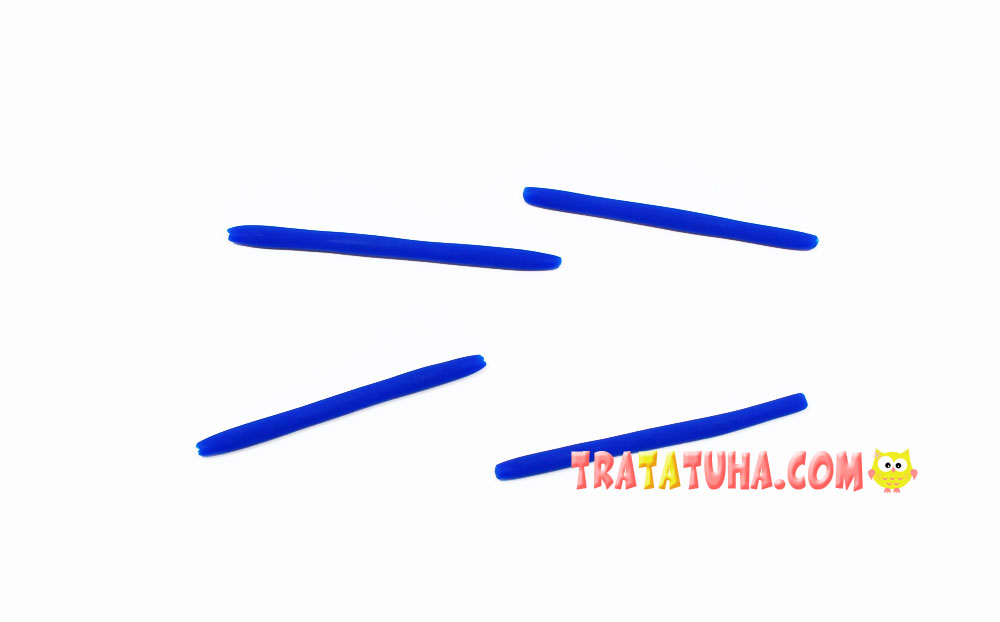
Roll the scraps into thin clay strips. They can be made larger and longer, the excess can then be cut off.
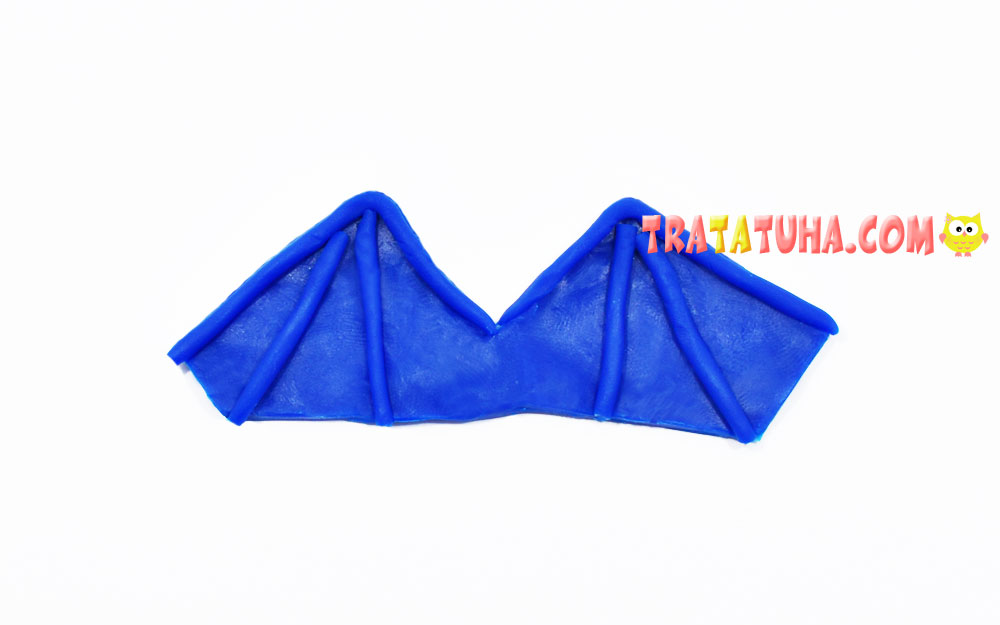
Stick the flagella on the wings. Along the edge in the upper part and a pair per wing.
We turn to the modeling of the body and head. Given the size of the wings, roll two balls, one slightly smaller, as it will be the head of the clay bat.
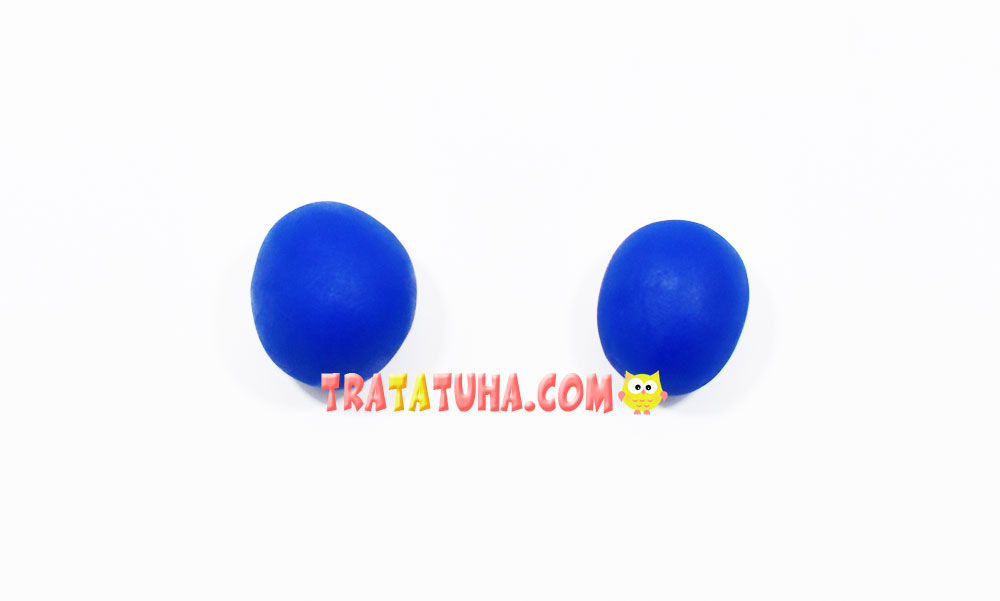
Stick a ball that is larger on the wings.
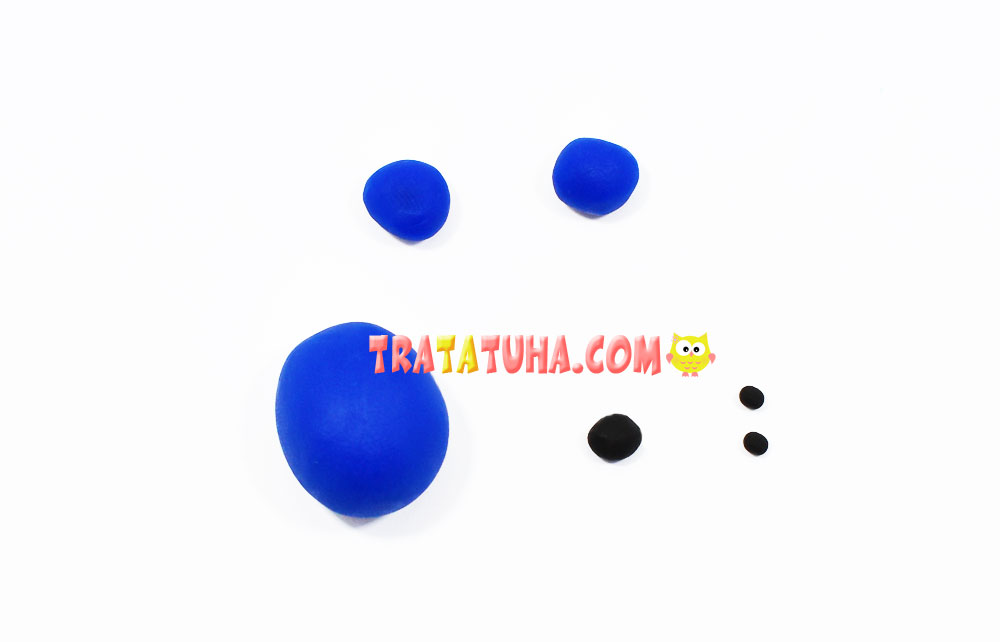
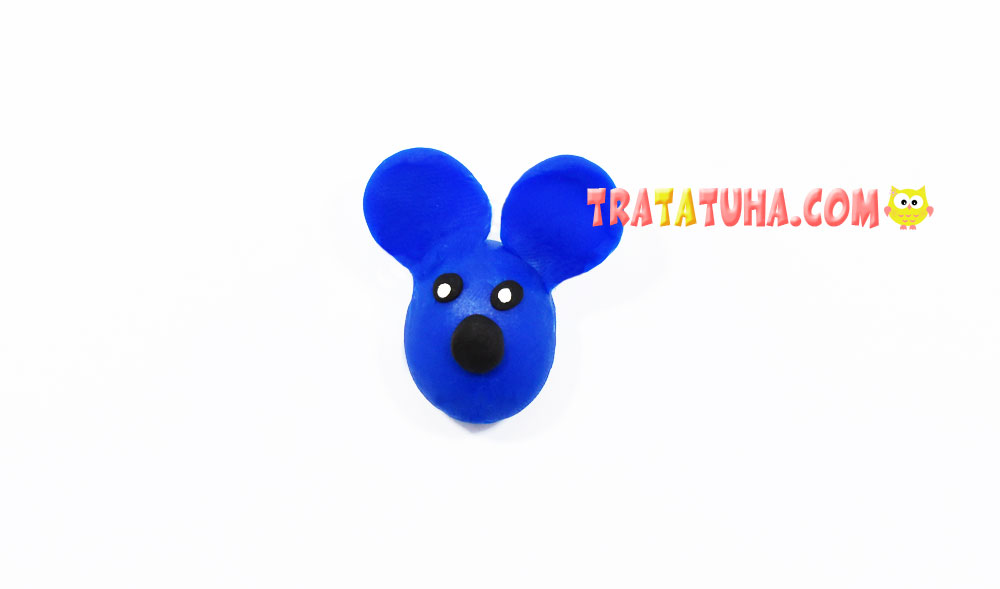
Prepare additional small details to complete the head:
- Two circles of blue clay for the ears;
- Black nose ball;
- Two small black balls for the eyes. Optionally, you can roll two more white balls to complete the eyes of the mouse.
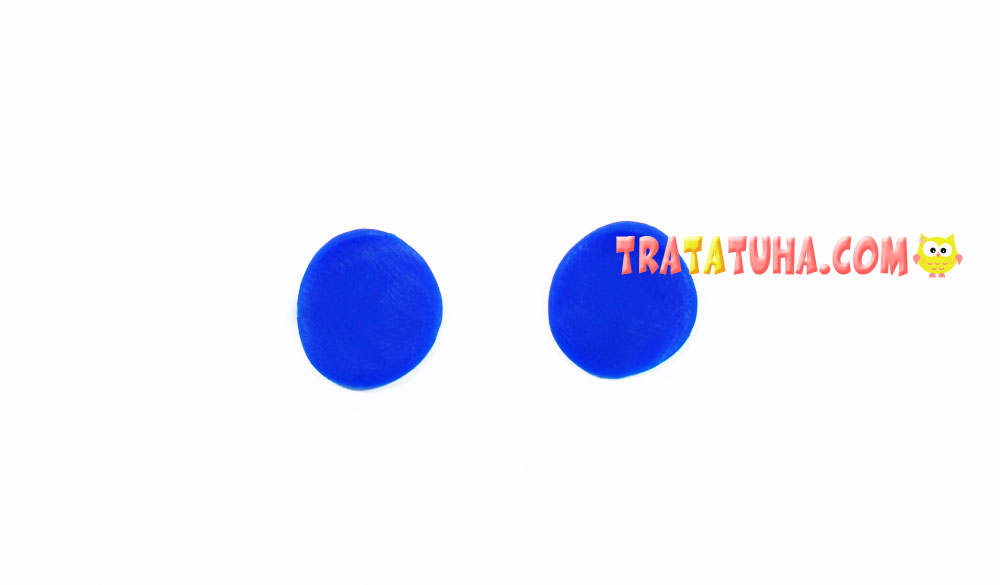
Balls that are for the ears need to be flattened.
And then attach them to the top of the head. Add the front nose and eyes.
There are different types of clay, the classic one connects the details very well, it has excellent stickiness. But soft clay is good only for subsequent smoothing of the joints, but just like that, it fastens two parts badly. Therefore, in such cases, you should use a toothpick.
If the craft is small, break the toothpick and insert part of it into the lower region of the mouse’s head.
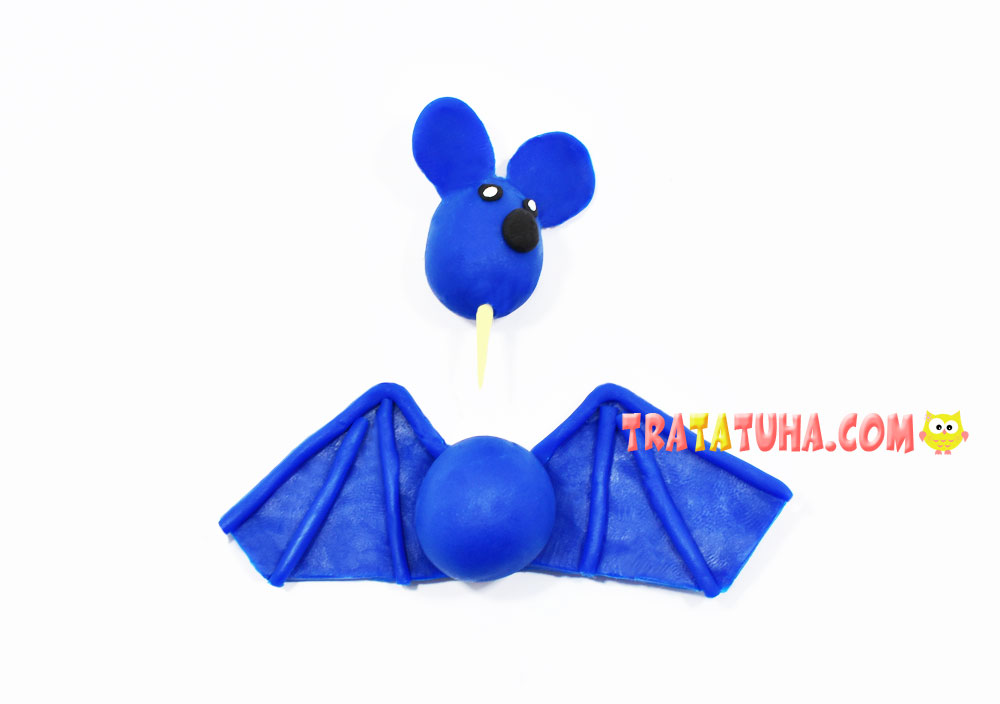
And then attach the head to the body.
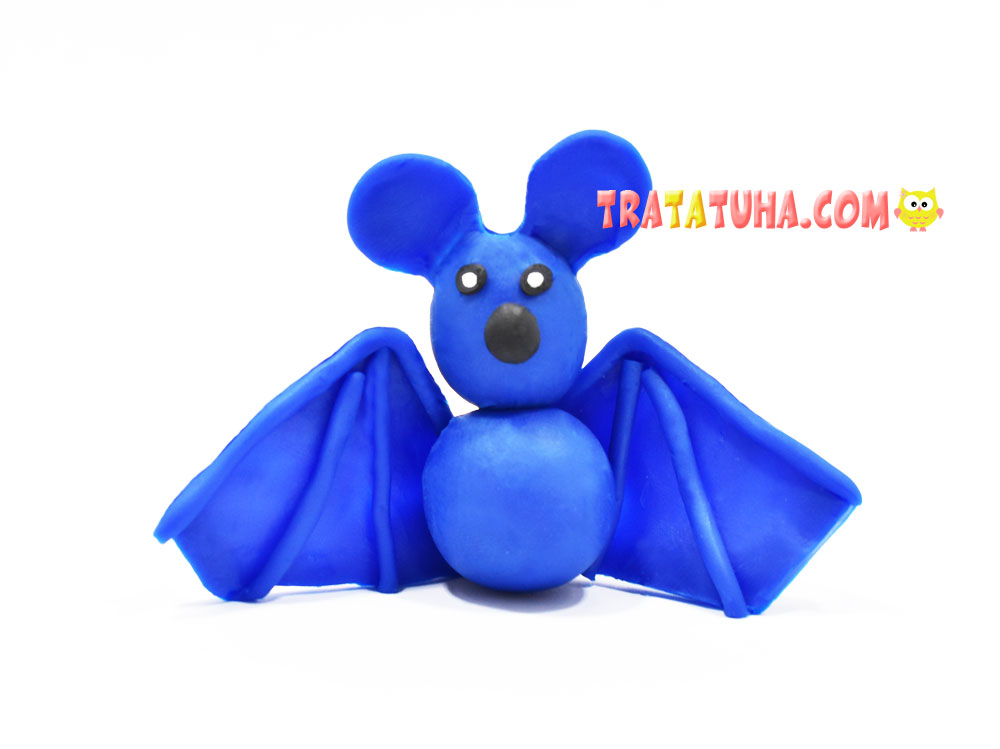
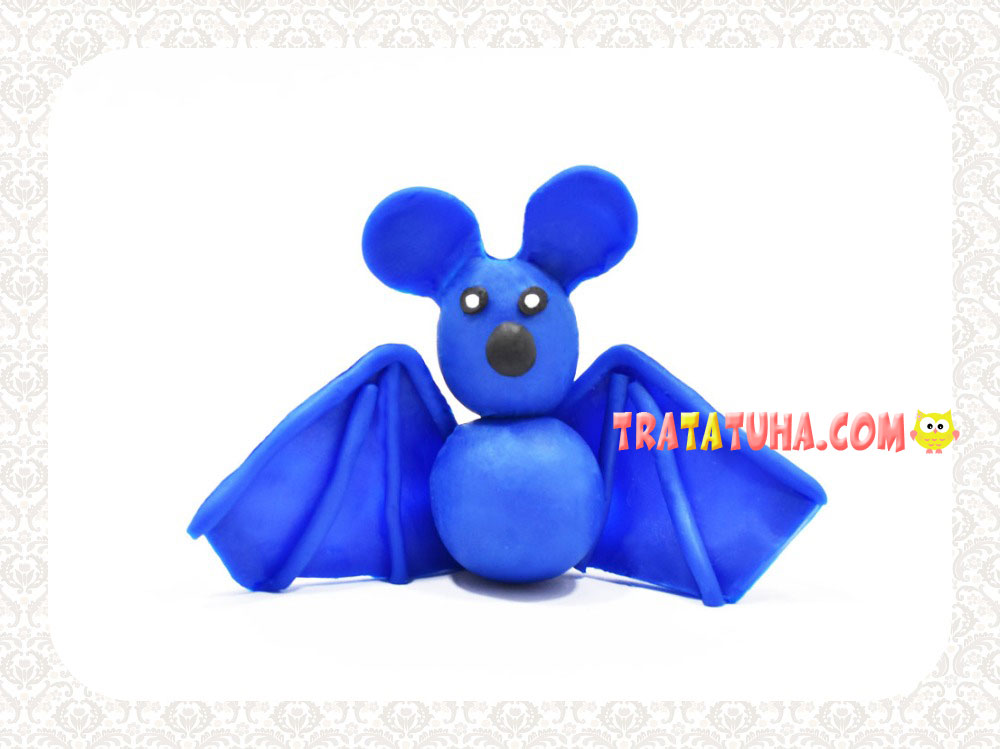
Everything, the clay bat is ready.
Love to sculpt? To your attention a selection of tutorial on this topic:
Many other ideas in the collection of Halloween Craft.
Related Post: