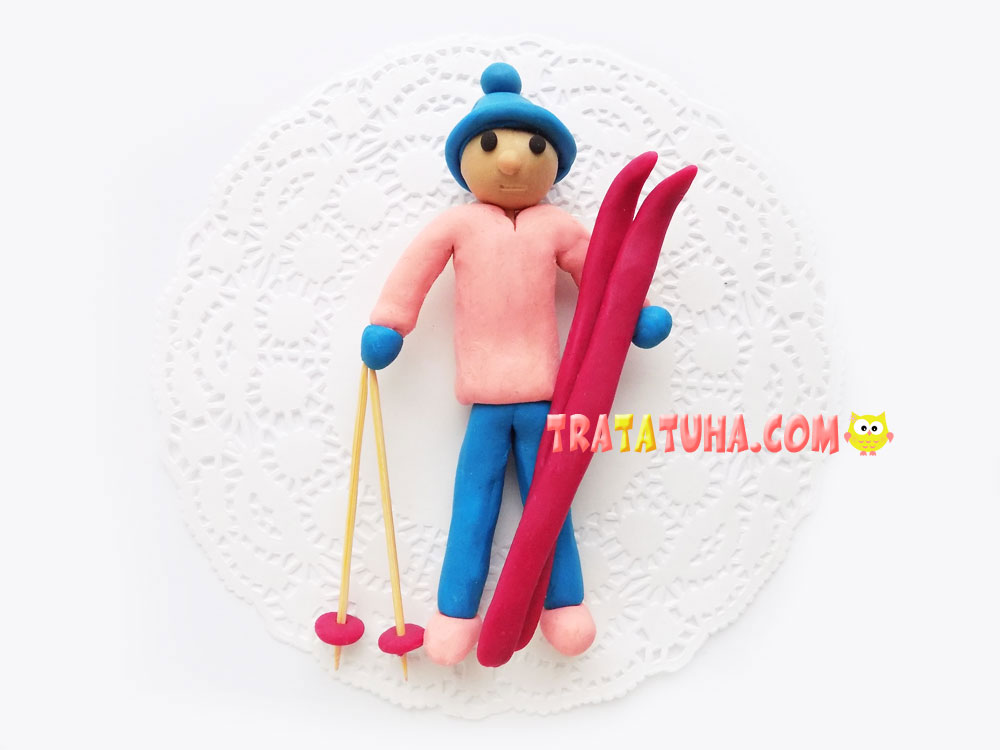
Before you start creating this craft, it will be good to talk with your child about winter sports. The most accessible of them is skiing. It is the clay skier that is the theme of our tutorial.
To create such a skier we will use:
- clay of selected colors;
- 2 toothpicks;
- match;
- plastic stack.
Clay Skier: Stages of Modeling
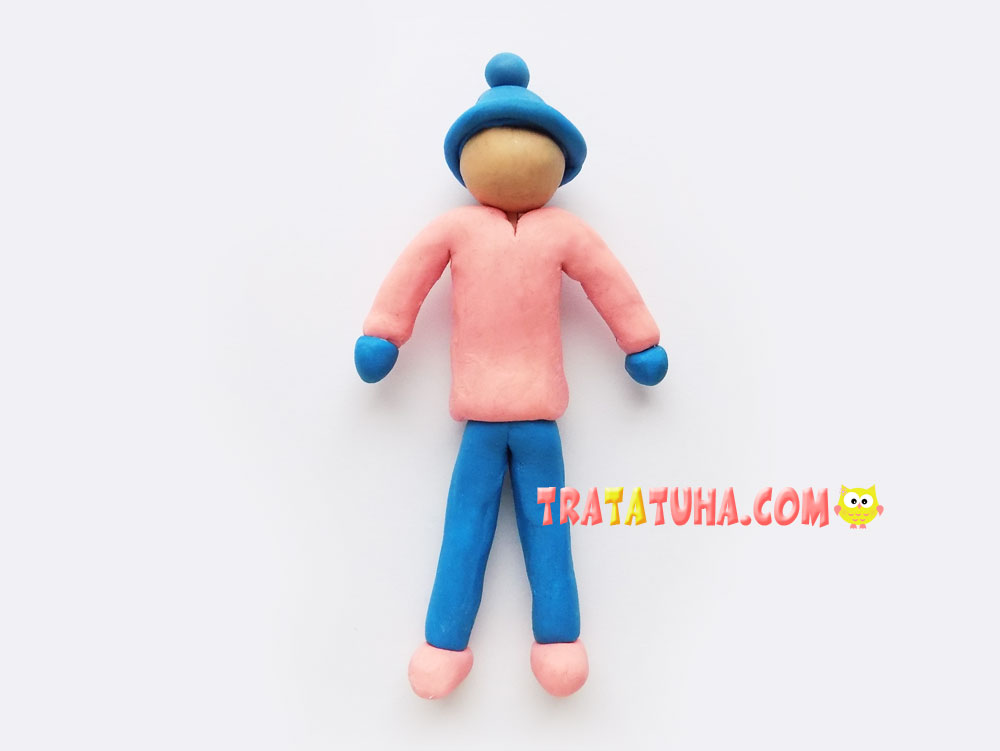
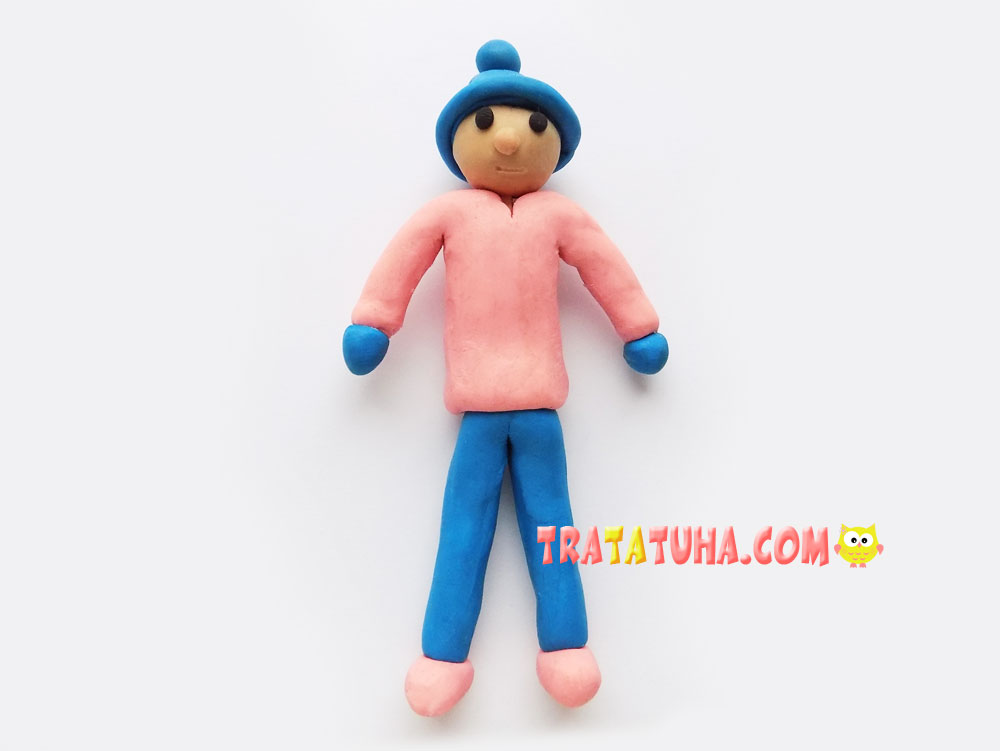
First we will make a blank for the body. Let’s make it from pink clay.

Using a stack, carefully cut this part in the middle.

We bend the cut ends down, and then form the hands of the future skier from them.

For the legs we roll a “sausage” out of blue clay.

We bend it in half, forming legs in this way.

Using a piece of match we connect the body with the legs.

Next we will make the head with a cap. For this we use beige and blue clay. We sculpt hemispherical blanks.

We connect these blanks together, add a edging and a pompom for the hat, and then secure the head using a piece of a match.

We will make small blanks from blue and pink clay; these will be our skier’s mittens and boots.

We attach them to the craft.
Let’s create a face. We use small balls of black clay to form eyes, the nose will be beige, and we use a stack to mark the mouth.
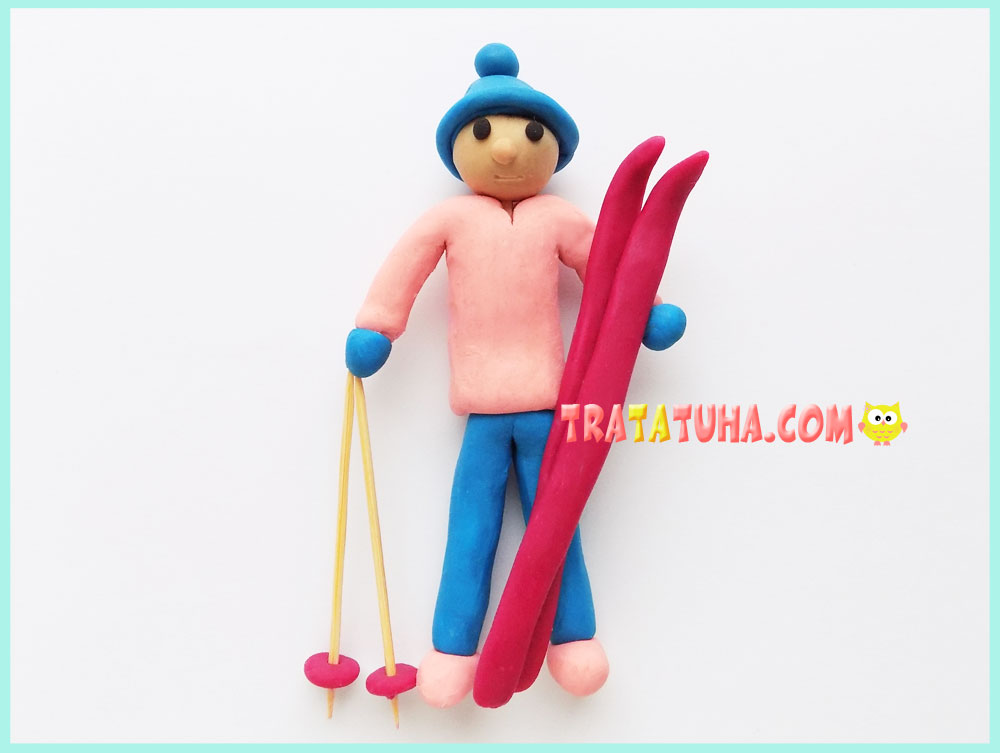
To create ski poles we will use two toothpicks. Additionally, we make small circles from clay and secure them at the bottom.

To make skis, roll up a couple of clay flagella.

Then we carefully flatten them along their entire length, giving them the desired shape.

Next, you can create crafts to suit your taste. We simply connected the skis together and gave them to our athlete. Or you can put it on skis, additionally giving the desired position to your arms and legs. This is what we got as a clay skier.
More collection ideas:

